manuals.online logo
Brands
  1. Home
  2. •
  3. Brands
  4. •
  5. Maco
  6. •
  7. Household Hardware
  8. •
  9. Maco RUSTICO Vario 13321 User manual

Maco RUSTICO Vario 13321 User manual

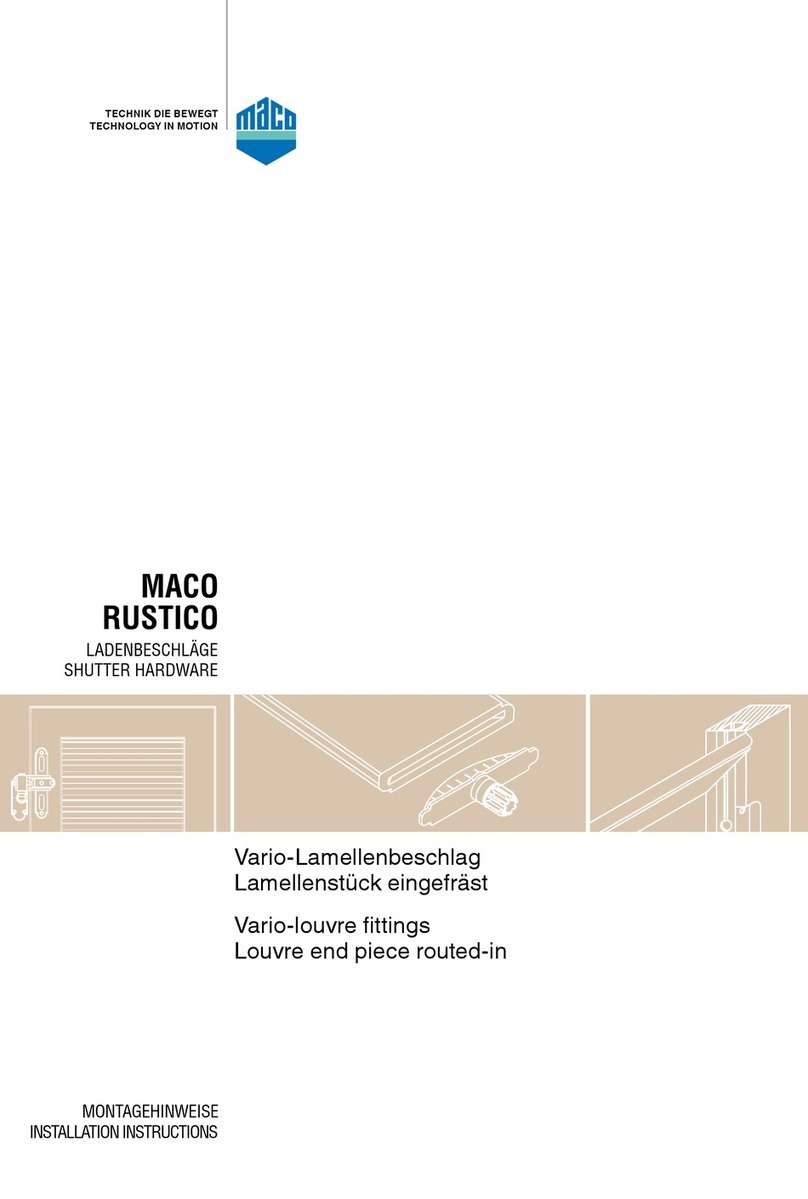
TECHNOLOGY IN MOTION
SHUTTER HARDWARE
Vario-louvre ttings
Louvre end piece drilled in
INSTALLATION INSTRUCTIONS
TECHNIK DIE BEWEGT
MACO
RUSTICO
Vario-Lamellenbeschlag
Lamellenstück eingebohrt
LADENBESCHLÄGE
MONTAGEHINWEISE
2
MACO
RUSTICO
1
2
3
Vario-louvre ttings
Louvre end piece drilled in
Croping the
prole rods
1Turn the cropping aid as
far as it will go.
2Shorten the locking rod
and pivoting rod at the
mark.
Locking rod
Pivoting rod
Cropping aid
3Rotate the cropping aid
and cut o the protru-
ding cograil.
Locking rod
Vario-Lamellenbeschlag
Lamellenstück eingebohrt
Ablängen der
Prolstangen
1Ablänghilfe bis zum
Anschlag drehen.
2Verschluss- und Lager-
stange an der Markie-
rung kürzen.
Ablänghilfe
3Ablänghilfe schwen-
ken und überstehende
Zahnstange abschnei-
den.
Lagerstange
Verschlussstange
Verschlussstange
3
MACO
RUSTICO
1
2
3
Vario-louvre ttings
Louvre end piece drilled in
2Set the cropping aid
parallel to the lockin
rod and then align and
mount a louvre at a 45°
angle.
3Pull out the
cropping aid.
Please note:
The prole rods may not jam
in the groove!
Installation of the rst
louvre
1Position the locking rod
and pivoting rod in the
grooves.
Vario-Lamellenbeschlag
Lamellenstück eingebohrt
Montage der ersten
Lamelle
1Verschluss- und Lager-
stange in den Nuten
platzieren.
2Ablänghilfe parallel
zur Verschlussstange
stellen und eine Lamelle
45° zur Ausrichtung ein-
fädeln und montieren.
3Ablänghilfe
herausziehen.
Achtung:
Die Prolstangen dürfen in
der Nut nicht klemmen!
4
MACO
RUSTICO
1
2
Vario-louvre ttings
Louvre end piece drilled in
Installation (hinging)
of fourther louvres
1Place the previously
mounted louvre at a 20°
angle.
2Align the louvres with
the gear pins facing
upwards in the locking
rod and then press the
pivoting rod downwards
(spring-loaded) and
allow the louvre end
piece to snap into place.
Optimal slot-in position
Vario-Lamellenbeschlag
Lamellenstück eingebohrt
Montage (einhängen)
der weiteren Lamellen
1Bereits montierte
Lamelle 20° zur Aus-
richtung stellen.
2Die Lamellen mit dem
Getriebebolzen nach
oben in die Getriebe-
stange einfädeln, die
Lagerstange nach un-
ten drücken (gefedert)
und das Lamellenstück
einschnappen lassen.
Optimale Einhängposition
5
MACO
RUSTICO
15
R8
13
90137
8
2,5
min. 23
∅ 6
65
6,5
14
7,5
Vario-louvre ttings
Louvre end piece drilled in
Louvre design
suggestion
Lock
routing
Please note:
The prole rods and the
lock ar non-handed, there
establish the locking side
rst and then order the louvre
end pieces for the selected
locking side (refer to the
order sheet)!
Routing jig order no.: 10057
Vario-Lamellenbeschlag
Lamellenstück eingebohrt
Konstruktions-
vorschlag für Lamelle
Ausfräsung für
Verschluss
Achtung:
Die Prolstangen und der
Verschluss sind links und
rechts verwendbar, daher
zuerst die Verschlussseite
festlegen und zur gewählten
Verschlussseite die Lamel-
len-Endstücke bestellen
(s. Bestellblatt)!
Fräslehre Best.-Nr.: 10057
6
MACO
RUSTICO
18
15 15
32
30
18
2
2
2
Garnituren
Vario-Lamellenbeschlag
Sets
Vario-louvre fittings
Größen
Sizes
Maß A in mm
Dimension A in mm
1300 360
2420 480 540
3600 660 720
4 780 840 900
5 960 1020 1080
6 1140 1200 1260
Vario-louvre ttings
Louvre end piece drilled in
Please note:
The internal shutter dimensi-
on must always correspond
to dimension A.
Pivoting rod Locking rod
Frame design
suggestion
1The required shutter
height can be achieved
by means of either the
width of the horizontal
frieze or by changing the
shutter coverage on the
frame or wall.
Internal shutter dimension -12 mm =
Louvre dimension
Clear width = Prole rod dimension + 4 mm
Dimension A of the prole rod
2Insert the endpieces in
the correct position in all
four frame corners (end
pieces non-handed).
End piecesEnd pieces
End pieces
Vario-Lamellenbeschlag
Lamellenstück eingebohrt
Konstruktionsvorschlag
für Rahmen
1Die gewünschte Laden-
höhe kann entweder
durch die Breite der
waagrechten Friese
oder durch die Ände-
rung der Überdeckung
des Ladens am Blend-
rahmen bzw. an der
Mauer erreicht werden.
Achtung:
Das Ladeninnenmaß muss
immer dem Maß A entspre-
chen.
Lagerstange Verschlussstange
Ladeninnenmaß -12 mm =
Lamellenmaß
2Die Endstücke lagerich-
tig in alle vier Rahmen-
ecken einsetzen
(Endstücke links/rechts
verwendbar).
Lichte Weite = Maß der Prolstange + 4 mm
Maß A der Prolstange
EndstückeEndstücke
Endstücke
7
MACO
RUSTICO
Vario-louvre ttings
Louvre end piece drilled in
Firmly securing
the ttings
1When all louvres are
mounted, move the lou-
vres into the horizontal
position and screw in all
xing screws ush with
the prole rod.
(To do so, the locking
rod is lifted out of the
groove.)
Important:
Predrill with ∅ 3 mm.
Carry out the operational
test.
Adjusting axis
Bit size 2
Lock
installation
2Close cover the louvre
eld
3Position the lock in
accordance with the
drawing.
4Screw x laterall on the
frame with 4,5 x 30 mm
RUSTICO screws.
Vario-Lamellenbeschlag
Lamellenstück eingebohrt
Fixieren des
Beschlages
1Sind alle Lamellen
montiert, die Lamellen
in waagrechte Stellung
aufdrehen, alle Fixie-
rungsschrauben eben
mit der Prolstange
eindrehen.
(Die Getriebestange
wird dabei aus der Nut
gehoben.)
1
Wichtig:
Vorbohren ∅ 3 mm.
Funktionsprüfung durch-
führen.
Montage des
Verschlusses
2Lamellenfeld schließen
3Verschluss in Stellung lt.
Skizze aufsetzen.
4Mit RUSTICO-Schrau-
ben 4,5 x 30 mm seitlich
am Rahmen verschrau-
ben.
Stellachse
Bit Größe 2
2
3
44
MACO
RUSTICO
VARIO-Lamellenbeschlag
Garnituren
VARIO-louvre fittings
Sets
Maß A in mm
Dimension A in mm
13321 Größe 1 / Size 1 300 - 360 5
13322 Größe 2 / Size 2 420 - 480 - 540 5
13323 Größe 3 / Size 3 600 - 660 - 720 5
13324 Größe 4 / Size 4 780 - 840 - 900 5
13325 Größe 5 / Size 5 960 - 1020 - 1080 5
13326 Größe 6 / Size 6 1140 - 1200 - 1260 5
1 Garnitur: je 1 Stk. Verschlussstange / Lagerstange / Verschluss
1 set: 1 of each: Locking rod / Pivoting rod / Lock
VARIO-Lamellenstück
eingebohrt
VARIO-louvre end piece
drilled in
13235 für Verschlussseite links
left-hand locking side 50
13236 für Verschlussseite rechts
right-hand locking side 50
1 Garnitur: je 1 Stk. Verschlussstange / Lamellenstück
1 set: 1 of each: Locking rod / Louvre end piece
VARIO-Einzelteile
VARIO-individual components
41255 Endstück für schräges Fries
End piece for pitched frieze 100
Fräslehre für Verschluss
Routing jig for lock
10057 Fräslehre
Routing jig 1
MAYER & CO BESCHLÄGE GMBH
ALPENSTRASSE 173
A-5020 SALZBURG
TEL +43 (0)662 6196-0
FAX +43 (0)662 6196-1449
[email protected]
www.maco.at Best.-Nr. 49119 - Datum: Mai 1998 - Änderungsdatum: Mai 2009
Alle Rechte und Änderungen vorbehalten.

This manual suits for next models

9

Other Maco Household Hardware manuals

Maco MULTI-TREND User manual

Maco

Maco MULTI-TREND User manual

Maco Standard User manual

Maco

Maco Standard User manual

Maco RUSTICO 13321 User manual

Maco

Maco RUSTICO 13321 User manual

Popular Household Hardware manuals by other brands

Siegenia Snapper ALU Installation instruction

Siegenia

Siegenia Snapper ALU Installation instruction

Lefroy Brooks X1-3091 Installation, operating,  & maintenance instructions
Lefroy Brooks

Lefroy Brooks X1-3091 Installation, operating, & maintenance instructions
BLUM CLIP Cleaning and Maintenance Manual

BLUM

BLUM CLIP Cleaning and Maintenance Manual

Lefroy Brooks M1-5103 Installation, operating,  & maintenance instructions

Lefroy Brooks

Lefroy Brooks M1-5103 Installation, operating, & maintenance instructions

hawa Telescopic 40/4 Planning and installation instructions
hawa

hawa Telescopic 40/4 Planning and installation instructions

Henderson SOLTAIRE 120 Fitting instructions

Henderson

Henderson SOLTAIRE 120 Fitting instructions

BLUM TIP-ON manual

BLUM

BLUM TIP-ON manual

Stratco High Fronted Gutters Information guide

Stratco

Stratco High Fronted Gutters Information guide

manuals.online logo
manuals.online logoBrands
  • About & Mission
  • Contact us
  • Privacy Policy
  • Terms and Conditions

Copyright 2025 Manuals.Online. All Rights Reserved.