manuals.online logo
Brands
  1. Home
  2. •
  3. Brands
  4. •
  5. MadgeTech
  6. •
  7. Data Logger
  8. •
  9. MadgeTech State101A User manual

MadgeTech State101A User manual

Red 485
Dark Blue Pantone 289
Light Blue 58% of Pantone 289
To view the full MadgeTech product line,
visit our website at www.madgetech.com.
Red 485
Dark Blue Pantone 289
Light Blue 58% of Pantone 289
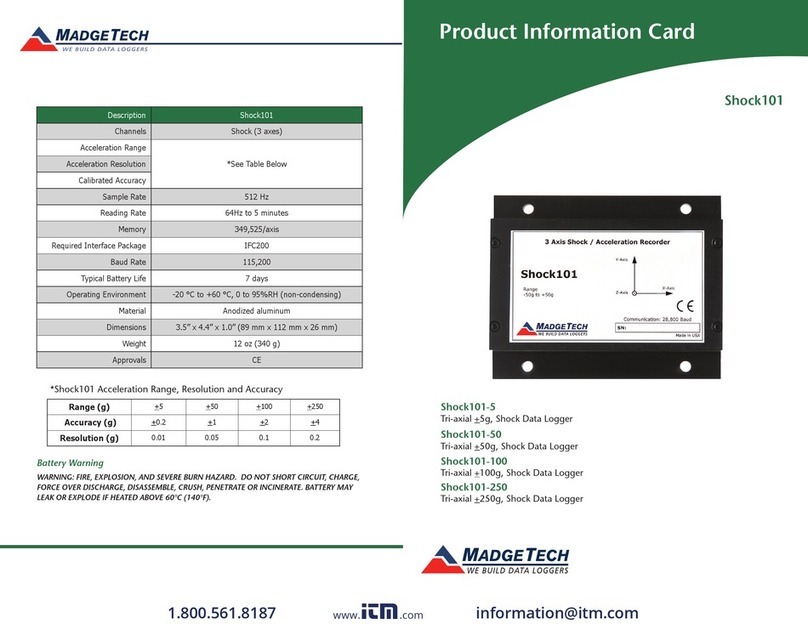
Battery Warning
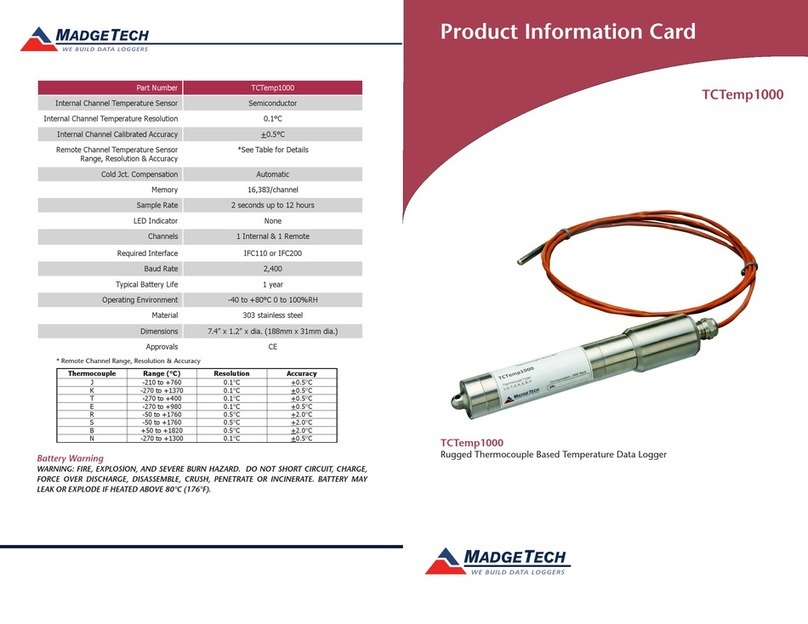
WARNING: FIRE, EXPLOSION, AND SEVERE BURN HAZARD. DO NOT SHORT CIRCUIT, CHARGE,
FORCE OVER DISCHARGE, DISASSEMBLE, CRUSH, PENETRATE OR INCINERATE. BATTERY MAY
LEAK OR EXPLODE IF HEATED ABOVE 80 °C (176 °F).
Specifications subject to change.
See MadgeTech’s terms and conditions at www.madgetech.com
MadgeTech, Inc.
6 Warner Road lWarner, NH 03278
Phone 603.456.2011 lFax 603.456.2012
www.madgetech.com l[email protected]
DOC-1222035-00 REV 6 2014.12.16
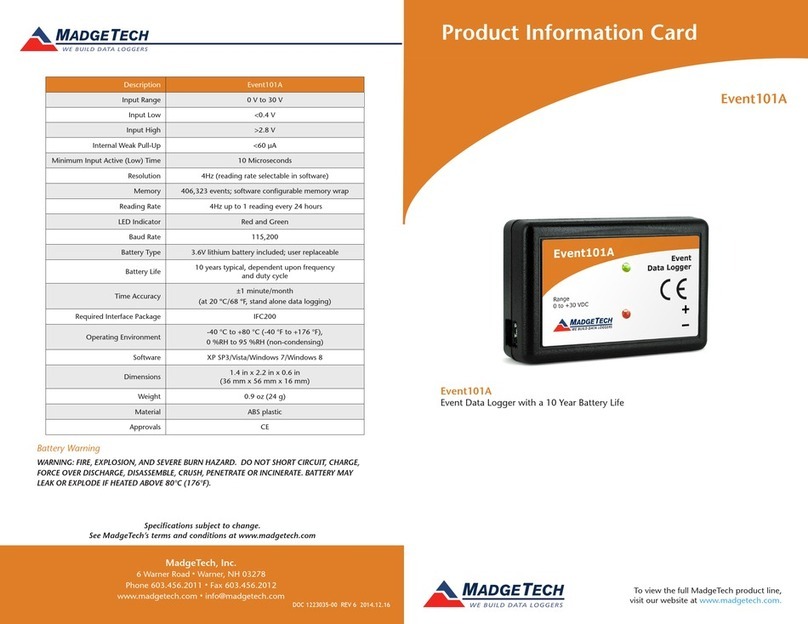
State101A
Description State101A
Input Range 0 V to 30 V
Input Low <0.4 V
Input High >2.8 V
Internal Weak Pull-Up <60 µA
Minimum Input Active (Low) Time 10 Microseconds
Resolution 4 Hz (reading rate selectable in software)
Channels 1
Memory 406,323 readings; software configurable memory wrap
Reading Rate 4Hz up to 1 reading every 24 hours
LED Indicator Red and Green
Required Interface Package IFC200
Baud Rate 115,200
Battery Life 10 years typical, dependent upon
frequency and duty cycle
Operating Environment -40 °C to +80 °C (-40 °F to +176 °F),
0 %RH to 95 %RH (non–condensing)
Material ABS plastic
Dimensions 1.4 in x 2.2 in x 0.6 in
(36 mm x 56 mm x 16 mm)
Weight 0.9 oz (24 g)
Approvals CE
Product Information Card
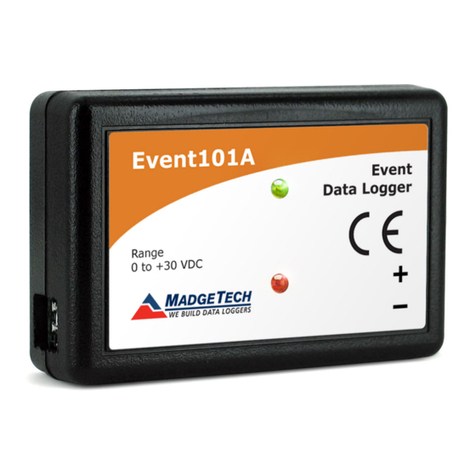
State101A
State Data Logger with 10 Year Battery Life
Wiring the Data Logger
Wiring Options
The State101A has a two-position removable screw terminal connection. It accepts 2-wire
configurations.
Warning: Note the polarity instructions. Do not attach wires to the wrong terminals.
Product Notes
The State101A data logger monitors and records the occurrence, duration and status of
predetermined events by measuring changes in voltage. Typically connected to a relay or
switch, this data logger features a removable screw terminal block to easily disconnect and
retrieve the logger for data download without disrupting wiring connectivity.
The State101A is a great solution for a variety of industries and applications including
HVAC studies to monitor heating and cooling systems for efficiency or the monitoring of
gas, water or electric pumps. This device replaces costly strip chart recorders and is also
used in TTL high/low monitoring, general status recording and security systems as well.
LEDs
- Green LED blinks: 10 seconds to indicate logging and 15 seconds to indicate delay start
mode.
- Red LED blinks: 10 seconds to indicate low battery and/or memory and 1 second to
indicate an alarm condition.
Engineering Units
Engineering units are used to convert one measurement unit to another. The MadgeTech
software allows for software level Engineering Units (conversion applied to data after
download). Certain devices have device level Engineering Units, which upon download
automatically appear in the chosen unit of measure.
Please refer to the application note “Engineering Units” and Technical Support Videos,
found on the MadgeTech website, for information on how to manage Engineering Units.
Also view the Engineering Units Video for step-by-step setup instructions.
Password Protection
An optional password may be programmed into the device to restrict access to
configuration options. Data may be read out without the password.
Multiple Start/Stop Mode Activation
- To start device: Press and hold the pushbutton for 5 seconds, the green LED will flash
during this time. The device has started logging.
- To stop device: Press and hold the pushbutton for 5 seconds, the red LED will flash
during this time. The device has stopped logging.
Product Information Card
State101A
Installation Guide
Installing the Interface cable
- IFC200: Insert the device into a USB port. The drivers will install automatically.
Installing the software
Insert the Software USB Stick in an open USB port. If the autorun does not appear, locate
the drive on the computer and double click on Autorun.exe. Follow the instructions
provided in the Wizard.
Device Operation
Connecting and Starting the data logger
- Once the software is installed and running, plug the interface cable into the data logger.
- Connect the USB end of the interface cable into an open USB port on the computer.
- The device will appear in the Connected Devices list, highlight the desired data logger.
- For most applications, select “Custom Start” from the menu bar and choose the desired
start method, reading rate and other parameters appropriate for the data logging
application and click “Start”. (“Quick Start” applies the most recent custom start options,
“Batch Start” is used for managing multiple loggers at once, “Real Time Start” stores the
dataset as it records while connected to the logger.)
- The status of the device will change to “Running”, “Waiting to Start” or “Waiting to
Manual Start”, depending upon your start method.
- Disconnect the data logger from the interface cable and place it in the environment to
measure.
Note: The device will stop recording data when the end of memory is reached or the device is stopped. At this point the
device cannot be restarted until it has been re-armed by the computer.
Downloading data from a data logger
- Highlight the data logger in the Connected Devices list. Click “Stop” on the menu bar.
- Once the data logger is stopped, with the logger highlighted, click “Download”. You will
be prompted to name your report.
- Downloading will offload and save all the recorded data to the PC.
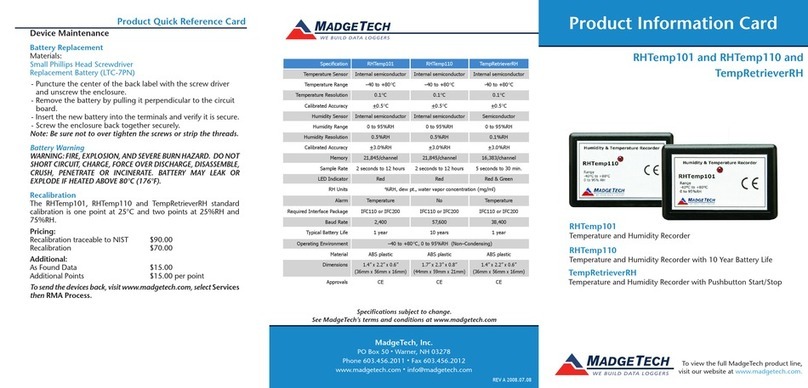
Device Maintenance
Battery Replacement
Materials: Small Phillips Head Screwdriver abd a Replacement Battery (LTC-7PN)
- Puncture the center of the back label with the screw driver and unscrew the enclosure.
- Remove the battery by pulling it perpendicular to the circuit board.
- Insert the new battery into the terminals and verify it is secure.
- Screw the enclosure back together securely.
Note: Be sure not to over tighten the screws or strip the threads.
Recalibration
The State101A has a digital input signal and cannot be calibrated. A certificate of
conformance can be provided.
Prices and specifications subject to change. See MadgeTech’s terms and conditions at www.madgetech.com
To send devices to MadgeTech for calibration, service or repair, please use the MadgeTech RMA Process by visiting
www.madgetech.com, then under the services tab, select RMA Process.
Other MadgeTech Data Logger manuals

MadgeTech OctVolt Specification sheet

MadgeTech

MadgeTech OctVolt Specification sheet

MadgeTech RHTemp2000 User manual

MadgeTech

MadgeTech RHTemp2000 User manual

MadgeTech PR2000 User manual

MadgeTech

MadgeTech PR2000 User manual

MadgeTech HITEMP140-PT Specification sheet

MadgeTech

MadgeTech HITEMP140-PT Specification sheet

MadgeTech HiTemp140X2 Series Specification sheet

MadgeTech

MadgeTech HiTemp140X2 Series Specification sheet

MadgeTech HiTemp150-TSK User manual

MadgeTech

MadgeTech HiTemp150-TSK User manual

MadgeTech Event101A User manual

MadgeTech

MadgeTech Event101A User manual

MadgeTech TempRetriever User manual

MadgeTech

MadgeTech TempRetriever User manual

MadgeTech SciTemp140-PT Specification sheet

MadgeTech

MadgeTech SciTemp140-PT Specification sheet

MadgeTech RHTemp1000IS-KR Specification sheet

MadgeTech

MadgeTech RHTemp1000IS-KR Specification sheet

MadgeTech Temp1000S User manual

MadgeTech

MadgeTech Temp1000S User manual

MadgeTech ThermoVault Specification sheet

MadgeTech

MadgeTech ThermoVault Specification sheet

MadgeTech TCTemp2000 User manual

MadgeTech

MadgeTech TCTemp2000 User manual

MadgeTech Volt101A-160 Specification sheet

MadgeTech

MadgeTech Volt101A-160 Specification sheet

MadgeTech Level1000 Specification sheet

MadgeTech

MadgeTech Level1000 Specification sheet

MadgeTech Cryo-Temp User manual

MadgeTech

MadgeTech Cryo-Temp User manual

MadgeTech Volt101A-2.5V Specification sheet

MadgeTech

MadgeTech Volt101A-2.5V Specification sheet

MadgeTech HiTempl40-PT-5 Specification sheet

MadgeTech

MadgeTech HiTempl40-PT-5 Specification sheet

MadgeTech PRTC110 User manual

MadgeTech

MadgeTech PRTC110 User manual

MadgeTech UltraShock Specification sheet

MadgeTech

MadgeTech UltraShock Specification sheet

MadgeTech PR1000IS Series Specification sheet

MadgeTech

MadgeTech PR1000IS Series Specification sheet

MadgeTech QuadTemp2000 User manual

MadgeTech

MadgeTech QuadTemp2000 User manual

MadgeTech EggTemp-RH User manual

MadgeTech

MadgeTech EggTemp-RH User manual

MadgeTech RFpHTemp101A User manual

MadgeTech

MadgeTech RFpHTemp101A User manual

Popular Data Logger manuals by other brands

Western Leonardo user manual

Western

Western Leonardo user manual

Cesinel ReCon T user manual

Cesinel

Cesinel ReCon T user manual

Hioki 3638-20 instruction manual

Hioki

Hioki 3638-20 instruction manual

ThingsLog LPMDL-110X Command guide

ThingsLog

ThingsLog LPMDL-110X Command guide

Avante VOTE-TRAKKER How to use

Avante

Avante VOTE-TRAKKER How to use

Addi-Data MSX-ilog Series Technical description

Addi-Data

Addi-Data MSX-ilog Series Technical description

Hobo MX100 manual

Hobo

Hobo MX100 manual

KNOWINK Poll pad quick start guide

KNOWINK

KNOWINK Poll pad quick start guide

HENGKO HT R71 manual

HENGKO

HENGKO HT R71 manual

Hobo UX100-023 manual

Hobo

Hobo UX100-023 manual

EA Technology CableData CDC3 operating manual

EA Technology

EA Technology CableData CDC3 operating manual

Neptune MRX920 user manual

Neptune

Neptune MRX920 user manual

Racelogic VBOX II user manual

Racelogic

Racelogic VBOX II user manual

Triplett RHDL60 user manual

Triplett

Triplett RHDL60 user manual

Opticon PX-25 manual

Opticon

Opticon PX-25 manual

Agilaire 8872 manual

Agilaire

Agilaire 8872 manual

GRAPHTEC GL100 Service manual

GRAPHTEC

GRAPHTEC GL100 Service manual

Racelogic Perfomance Box Touch V2 Setting manual

Racelogic

Racelogic Perfomance Box Touch V2 Setting manual

manuals.online logo
manuals.online logoBrands
  • About & Mission
  • Contact us
  • Privacy Policy
  • Terms and Conditions

Copyright 2025 Manuals.Online. All Rights Reserved.