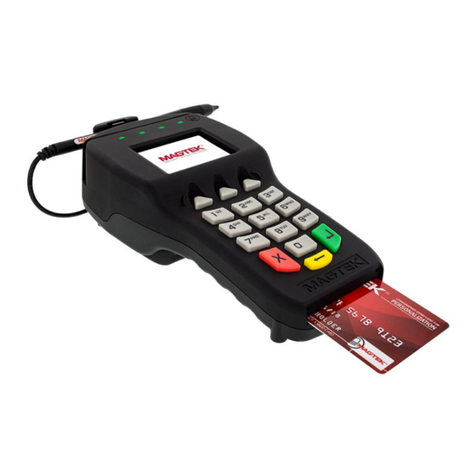
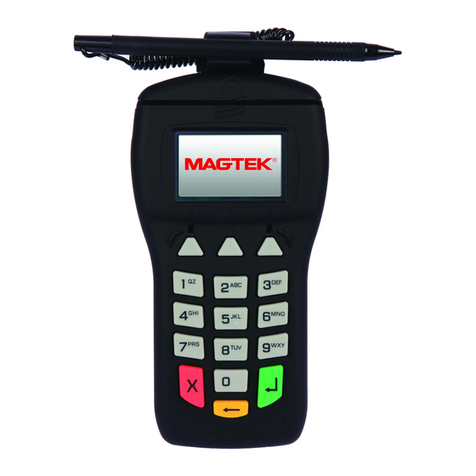
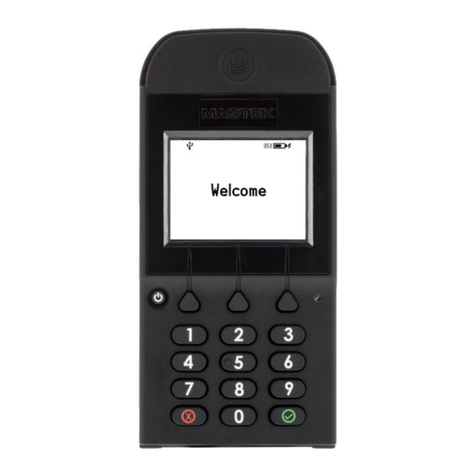
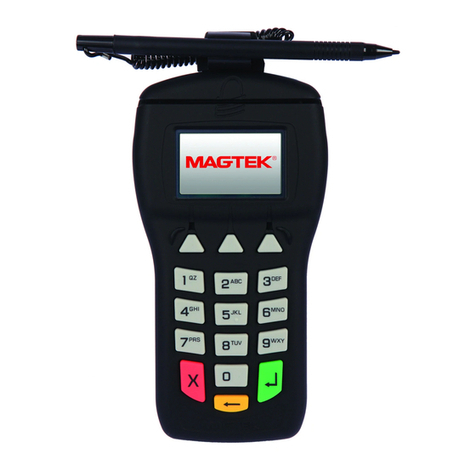
Magtek DynaPro Go User manual

DynaPro Go
Handheld PIN Pad Device with
MSR/Contact/Contactless
Quick Installation Guide
Installing DynaPro Go is straightforward: Conguration is done prior to deployment for the
certicate authority public keys and terminal and payment brand settings; end users need only set
up a host with appropriate software, congure the software, and connect the device to the host.
DynaPro Go
Compatible Operating Systems
iOS 7.1 and later
Android 4.4.2 and later
Windows 7, Windows 8.1, Windows 10

Contents/Pre-Installation Checklist
Figure 1. Major Components Diagram
The major components of DynaPro Go are shown in Figure 1. In addition to the components shown, the device has a tam-
per trigger recessed in the bottom that is intended for manufacturer use only.
DO NOT INSERT ANYTHING INTO THE TAMPER TRIGGER HOLE! DOING SO WILL ERASE ALL INJECTED KEYS; THE DE-
VICE WILL STOP FUNCTIONING, AND WILL HAVE TO BE RETURNED TO THE MANUFACTURER FOR RE-CONFIGURATION.
DynaPro Go’s power comes from an on-board rechargeable battery when it is not
connected to a host’s USB port. The battery must be periodically recharged by
connecting it to a charging station, a USB port, or a stand-alone USB charger.
Charging the device requires a micro-USB cable 6 feet (1.8 Meter) maximum length or
shorter to ensure appropriate battery charging.
To charge the device in the charging station for power only (no USB communication):
1. Connect the charging station to a USB port or to a USB charger.
2. Place the device in the charging station with the charging contacts pointing into
the charging station and the LCD display facing front.
Both the charging station and the device require a USB power supply that can
provide at least 500mA @ 5V.
Figure 2.
Device in Optional
Charging Station
DynaPro Go’s Lithium Polymer (LiPo) may be charged from MagTek’s charging
station or a USB charger until the device’s battery indicator shows maximum charge
has been reached. The device will stop charging its battery automatically.
To extend the LiPo battery’s life, it is required that the battery be charged regularly or
within a period of 5 months. Leaving the device unattended for a period longer than 5
months, the battery may experience passivation, this will make it harder or impossible
for the battery to sustain charge. To avoid this undesirable LiPo battery condition,
please charge the device regularly or within 5 months.
Battery Note
Charging the Device

To connect DynaPro Go to a host computer or charger using the Micro USB port, follow these steps:
• Connect the small end of the USB cable to DynaPro Go as shown in Figure 3.
• Connect the large end of the USB cable to the charger or to the host computer’s USB port.
As soon as DynaPro Go starts receiving power through USB, it will automatically power on. If the DynaPro Go device is not
automatically recognized you may need to unplug and plug it in again.
Connecting DynaPro Go to a Computer or USB Charger
www.magtek.com
ON and OFF
To power ON the device, press and hold the Power button for two seconds. Upon powering up, it will display the Welcome
screen and the current device status.
To power OFF the device, press and hold the Power button for seven seconds, or press the Power button for two seconds
to display a Power Off? Screen with a Yes / No selection above the left and right function keys. To power off, press the
function key below Yes.
Controls
In any solution, DynaPro Go is connected to a host, which must have software installed that knows how to communicate
with the device, and which is capable of processing transactions. To set up the host to work with DynaPro Go, follow the
installation and conguration instructions provided by the vendor of the host or the host software.
Figure 3.
USB connection
Congure 802.11 Wireless Connection
To congure the device so a host can connect to it via 802.11 wireless, follow these steps:
1. Obtain a copy of IPADSim_9.0.2.58 or later from MagTek and run on the host. Make sure to only have one MagTek connected
device at a time. Make sure the device is powered off and is not connected to a USB port. Install DynaPro Go to Public Root CA
certicate for secure socket connections to the Host using method TLS1.2 with mutual authentication. Obtain MagTek’s Public
TLS CA certicate and install on host.
2. Connect the device to the host’s USB port.
3. Launch IPADSim.exe , IPADSimulator MSR and ICC window.
4. Use the right and left arrow buttons in the tab bar to scroll the tab bar until you see the WiFi tab. Select the WiFi tab.
5. Select the security algorithm of the wireless access point you are connecting to: Open, WEP, or personal type connection
WPA2. Ignore the access point Type. Enter the Service Set ID (SSID) of the wireless access point you are connecting to.
6. Enter the Password/Key if you are using WEP or WPA.
7. Press the Set button.
8. Press the Reset WiFi button.
9. Press the Get WiFi Status button. IPADSim should report NetProcessorOpen, NetProcessorPowerOn, APConnected, IPAcquired.
Press the device’s power button for two seconds to turn it off, and use the function keys to select Yes. The device will reboot
because USB is attached.
10. Disconnect the USB cable from the device. The screen will show a ashing wireless network icon at the top (see section 5.6
How to Read Device Status).
11. Press Left function key, 7, 8, 3, Right function key. The device will show a page about the wireless connection. Write down the
IP Address and press the Cancel key to close the page.
12. The device is now congured for hosts to connect to it using the wireless access point.

Compliance
FCC INFORMATION
This device complies with Part 15 of the FCC Rules. Operation is subject to the following two conditions: (1) This device may
not cause harmful interference, and (2) This device must accept any interference received, including interference that may
cause undesired operation.
Note: This equipment has been tested and found to comply with the limits for a Class B digital device, pursuant to part 15
of the FCC Rules. These limits are designed to provide reasonable protection against harmful interference in a residential
installation. This equipment generates, uses and can radiate radio frequency energy and, if not installed and used in
accordance with the instructions, may cause harmful interference to radio communications. However, there is no guarantee
that interference will not occur in a particular installation. If this equipment does cause harmful interference to radio or
television reception, which can be determined by turning the equipment off and on, the user is encouraged to try to correct
the interference by one or more of the following measures:
• Reorient or relocate the receiving antenna.
• Increase the separation between the equipment and receiver.
• Connect the equipment into an outlet on a circuit different from that to which the receiver is connected.
• Consult the dealer or an experienced radio/TV technician for help.
Caution: Any changes or modifications not expressly approved by the party responsible for compliance could void the user’s
authority to operate this equipment. RF Exposure: A distance of 20 cm shall be maintained between the antenna and users,
and the transmitter may not be co-located with any other transmitter or antenna.
CUR/UR
This product is recognized per Underwriter Laboratories and Canadian Underwriter Laboratories 1950.
CANADIAN DOC STATEMENT
This digital apparatus does not exceed the Class B limits for radio noise from digital apparatus set out in the Radio Interference
Regulations of the Canadian Department of Communications.
Le présent appareil numérique n’émet pas de bruits radioélectriques dépassant les limites applicables aux appareils
numériques de la classe B prescrites dans le Réglement sur le brouillage radioélectrique édicté par le ministère des
Communications du Canada.
This Class B digital apparatus complies with Canadian ICES-003.
Cet appareil numérique de la classe B est conformé à la norme NMB-003 du Canada.
CE STANDARDS
Testing for compliance with CE requirements was performed by an independent laboratory. The unit under test was found
compliant with standards established for Class B devices.
UL/CSA
This product is recognized per UL 60950 1, 2nd Edition, 2011 12 19 (Information Technology Equipment - Safety - Part 1:
General Requirements), CSA C22.2 No. 60950 1 07, 2nd Edition, 2011 12 (Information Technology Equipment - Safety - Part
1: General Requirements).
ROHS STATEMENT
When ordered as RoHS compliant, this product meets the Electrical and Electronic Equipment (EEE) Reduction of Hazardous
Substances (RoHS) European Directive 2002/95/EC. The marking is clearly recognizable, either as written words like “Pb-
free,” “lead-free,” or as another clear symbol ( ).
Pb
Registered to ISO 9001:2000 © Copyright 2017 MagTek, Inc. PN D998200135 rev 20 7/17
MagTek® Inc., 1710 Apollo Court, Seal Beach CA 90740 p 562-546-6400 | f 562-546-6301 | 800-788-6835 | www.magtek.com
When contacting the support team make sure the device is charged, and have the part number
and serial number(s) available.
The device’s LCD display has a back-lite that can be congured to either remain at a constant
user-selected brightness level (Manual mode) or adapt its brightness to ambient lighting based
on the device’s light sensor (Auto mode). The factory default of the device is Manual mode at
75% brightness.
To change the LCD display back-lite mode, press Left Function Key 5 2 2 Right Function Key to
open the LCD Brightness Cong screen. To exit with saving changes, press the Cancel key or
wait 10 seconds for the device to return to the Welcome screen.
LCD Display
Other manuals for DynaPro Go
6
Table of contents
Other Magtek Payment Terminal manuals

Magtek
Magtek DYNAPRO Operating and maintenance manual

Magtek
Magtek DynaPro Go User manual

Magtek
Magtek DynaGlass User manual

Magtek
Magtek DYNAPRO User manual

Magtek
Magtek DynaPro Go User manual

Magtek
Magtek IPAD User manual

Magtek
Magtek DynaPro 30056072 User manual

Magtek
Magtek DynaWave Owner's manual

Magtek
Magtek kDynamo Air User manual

Magtek
Magtek DynaFlex User manual