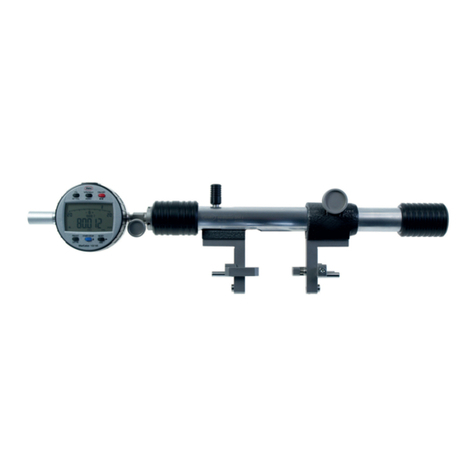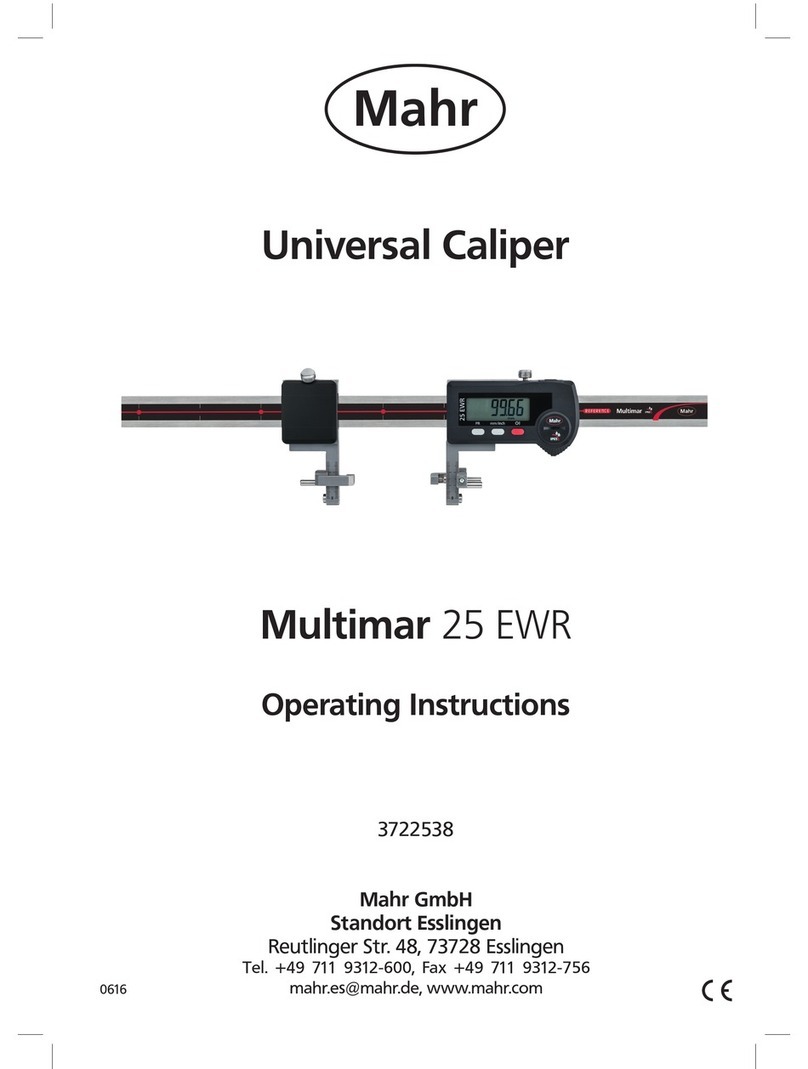
GB Beforethe DigitalUniversal Caliper 25 ES isput intooperation pleaseread theseinstructions
carefully.
Safetypointsconcerningthebattery:
• notrechargeable
• donotincinerate
• disposeoff as prescribed.
ThisinstrumentconformstotheEU-recommendations89/336/EWGconcerning
electromagneticcompatibility.
Important notes concerning first time use
The Digital Universal Caliper requires no extensive care. In order to ensure stable accuracy and
functionthefollowingshouldbeobserved:
• protect the Universal Caliper from dust, water or oil
• keep the beam clean and dry by periodically wiping over it with a dry, clean cloth
• when the data exit is not in use keep it closed, using therespective cover
• do not subject the caliper to any electric current (i.e. electric marker pen)
•unauthorizedopening of theinstrumentforfeits the warranty.
Shouldyou have anyquestions regarding the instrument, contactus and weshall be pleased to
answerthem.
Technical Data
Measuringrange
outside 0-300 mm(12")* 0-300mm (12") 0-600 mm (24" 0-1000mm(40")
inside 25 -325mm 25-325mm 25-625mm 25-1025mm
Extendedapplicationrange(reversing the measuringarmsby180°)
outside up to 375 mm up to 375 mm up to 675 mm up to 1075 mm
inside up to 400 mm up to 400 mm up to 700 mm up to 1100 mm
Beam cross section 24.5 x 5.6 mm
Resolution,switchable 0,01mm(.0005")
Accuracy DIN862
Max.measuringspeed 1,5 m/s (60"/s)
Measuringsystem capacitive
Digitaldisplay LCD, 6 digits and negative sign (-),
height of characters 6 mm
Battery Lithium3V, type CR2032,190mAh
service life approx. 2 years
Dataexit RS232C-compatible viainterface
cablewithopto-coupler
Operatingtemperature +5 °C to +40 °C
Storagetemperature – 20 °C to +70 °C
Max.relativehumidity 80%
Weight(withoutmeasuringarms).750 g 770g 970g 1330g
*caliperwithoutfineadjustment
910
Description
1 Beamwithmeasuringsystem
2 Rightmeasuringarmholder, adjustable, with digital display andoperatingelements
2.1Housing
2.2LCD-display
2.3 Key for ON/OFF and HOLD
2.4Selector key for measuringunit, reference, MAX/MIN andtolerance
2.5 Cover for battery compartment and data exit
2.6 Opening for RESET
2.7 Locking screw for clamping the measuring arm holder
3 Leftmeasuringarm holder,adjustable
3.1 Locking screw for clamping the measuring arm holder in any position; allowing
perfectbalancingofthe measuring instrumentforeverymeasuringtask.Particularly
advantageouswhenmeasuringsmalldistances.
4 Fine adjusting device for adjusting to the required dimension (depending on typeof
instrument)
4.1Lockingscrew
5 Mounting grooves onupperandlowerlongitudinaledgeof bothmeasuringarmholders,each
withtwo threadedbores. Inorder to extendthe applicationrange ,the exchangeable Measuring
Arms 844 Te/Tx or Mounting Attachments 844 Tm can be reversed
Accessories
MeasuringArms844Te
Required with the following measuring anvils: 844 Tp, 844 Ts, 844 Tk, 844 Tr, 844 Tg.
MeasuringArms844Tx
Requiredwith thefollowing measuring anvils:901 to908, 911H,912, 913.
MountingAttachments 844Tm
Required with the following measuring anvils: 844 Ti, 844 Ta, 844 Tv, 844 Tz, 844 Tt, 844 Tu, 844 Tb,
844 Tc, 25 Eb, 25 Es, 25 Eh.
Introduction
TheDigital UniversalCaliper 25 ES is used for measuringof outsideand insidemeasurements,
externalandinternal threads,holecentre distances,registers,narrow collars, grooves,dovetails,
outsideandinsidetapers, externalandinternaltapers. Patented mountingofmeasuringarms resp.
mountingattachmentsis provided ontheupper or lowerlongitudinaledgeof bothmeasuringarm
holders.The applicationrange forinternal and externalmeasurements canbe extendedby 75mmby
reversing the measuring arms. Virtually all measuring tasks can be solved on account of the various
operatingfunctions ofthe instrument and of the wide rangeof accessories.
USA
