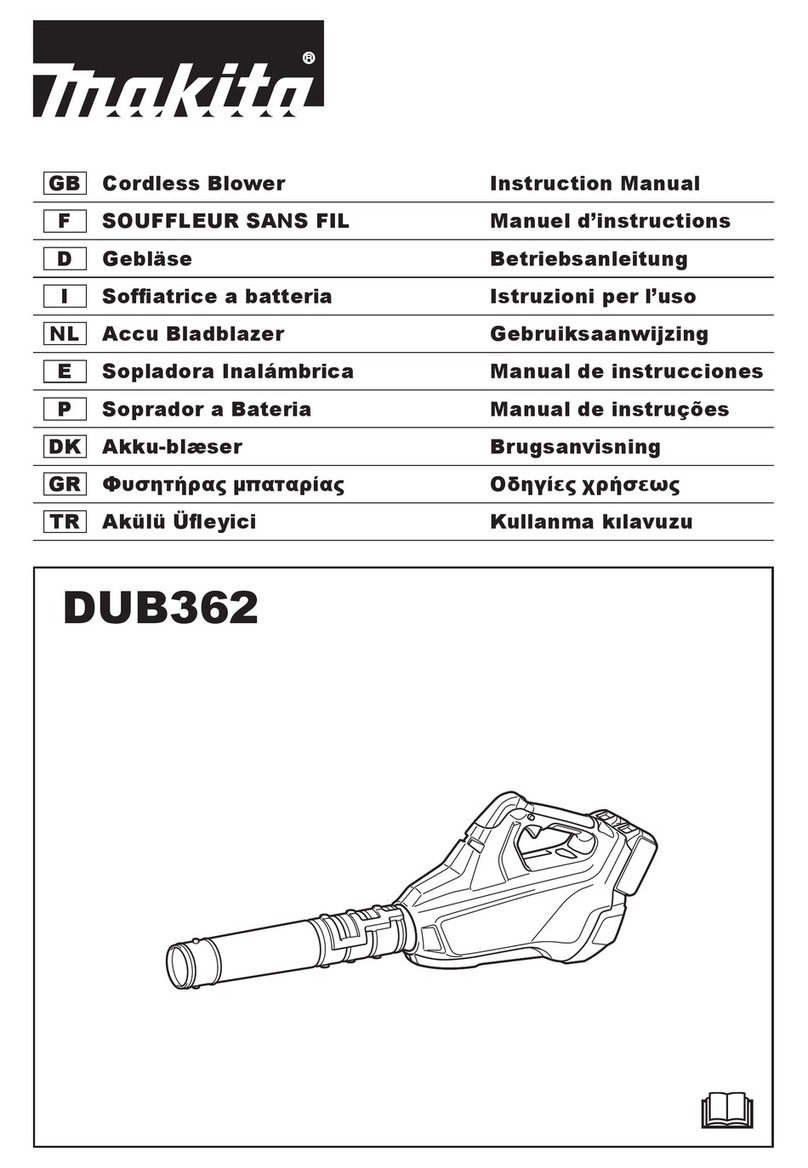
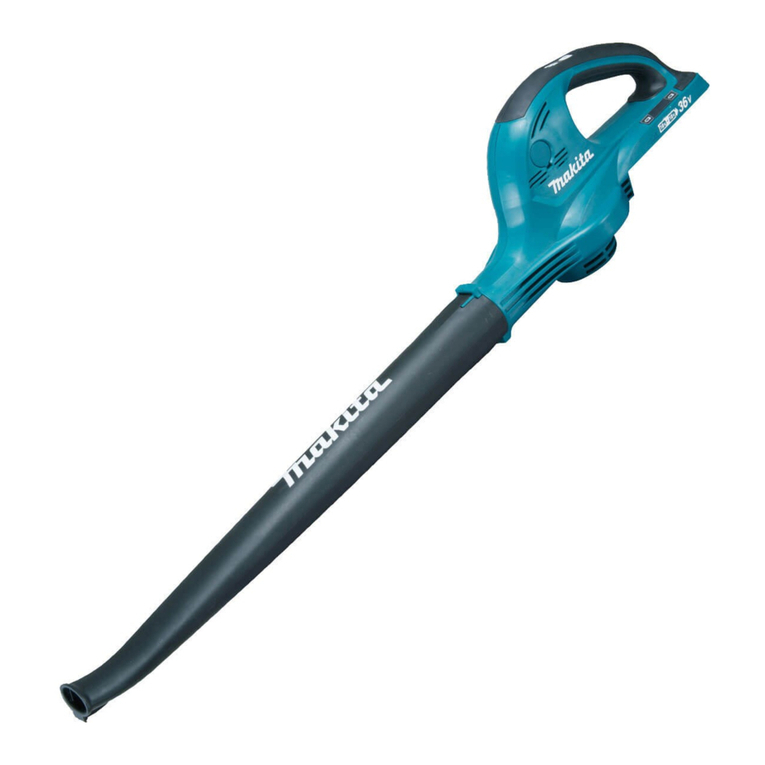
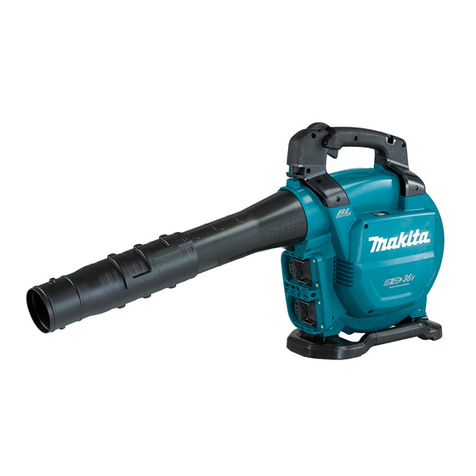
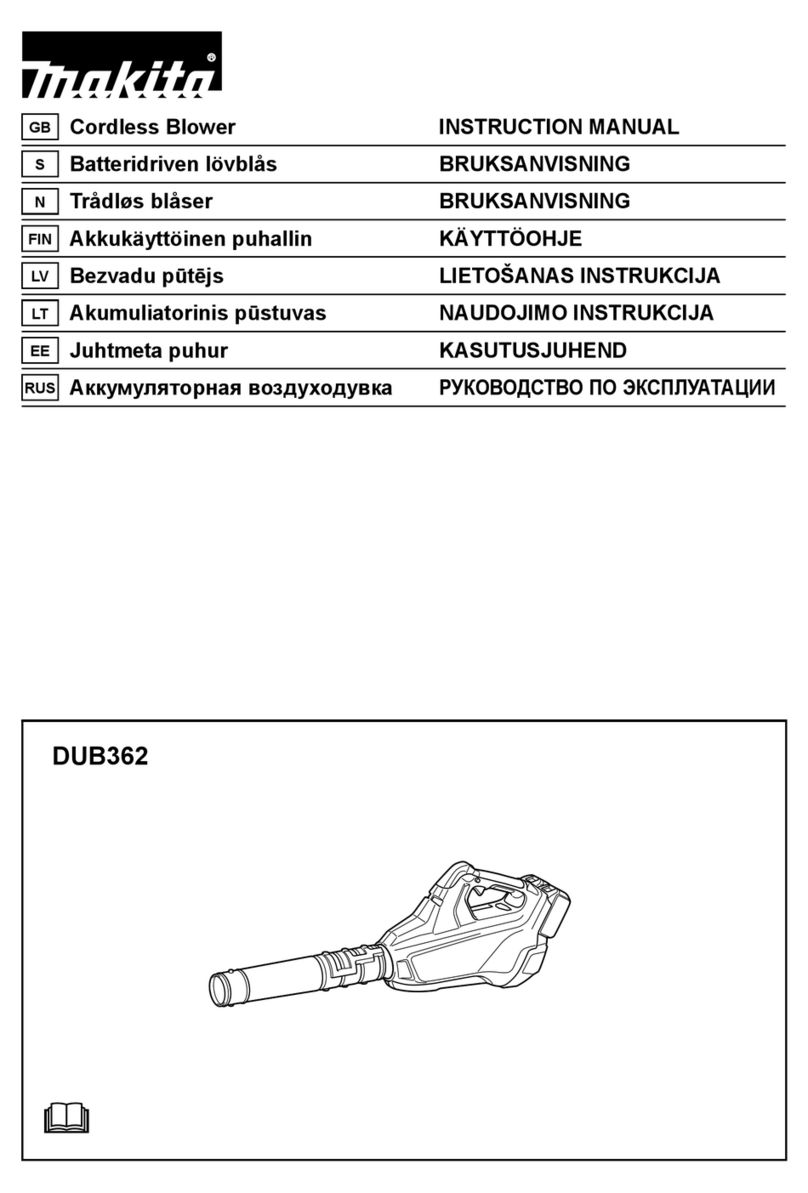
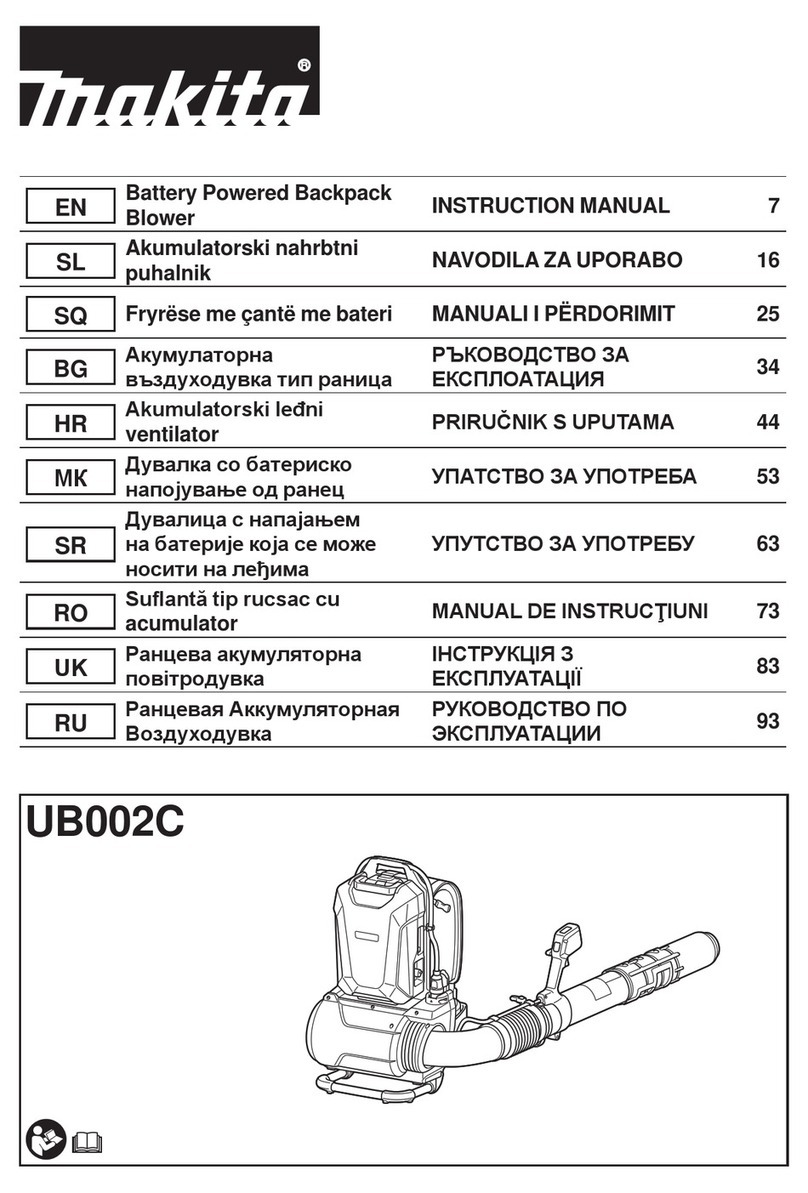
Makita DUB362 User manual

INSTRUCTION MANUAL
Cordless Blower
DUB362
ENGLISH: Original instructions
Read before use.

2ENGLISH
SPECIFICATIONS
Model DUB362
Capacities Air volume (max.) 13.4 m3/min
Air speed 54.0 m/s
Overall length (without long nozzle) 585 mm
(with long nozzle) 830, 880, 930 mm
Net weight 3.5 - 4.2 kg
Battery cartridge BL1815N, BL1820, BL1820B, BL1830, BL1840, BL1850,
BL1830B, BL1840B, BL1850B, BL1860B
Rated voltage D.C. 36 V
without notice.
-
Symbols
-
ment. Be sure that you understand their meaning before
use.
Read instruction manual.
Keep a hand away from rotating parts.
Keep bystanders away.
Wear eye and ear protection.
Do not expose to moisture.
Cd
Ni-MH
Li-ion
Only for EU countries
battery pack together with household
waste material! In observance of the
European Directives, on Waste Electric
and Accumulators and Waste Batteries and
Accumulators and their implementation
in accordance with national laws, electric
pack(s) that have reached the end of
their life must be collected separately and
returned to an environmentally compatible
recycling facility.
Intended use
Noise
-
ing to EN50636:
pA) : 79.1 dB (A)
Uncertainty (K) : 1.8 dB (A)
WA) : 93.5 dB (A)
Uncertainty (K) : 2.3 dB (A)
Wear ear protection
Vibration
-
mined according to EN50636:
Work mode : operation without load
Vibration emission (ah) : 2.5 m/s2or less
Uncertainty (K) : 1.5 m/s2
NOTE:
measured in accordance with the standard test method
and may be used for comparing one tool with another.
NOTE:
also be used in a preliminary assessment of exposure.
WARNING:
use of the power tool can differ from the declared
emission value depending on the ways in which the
tool is used.
WARNING: Be sure to identify safety measures
to protect the operator that are based on an estima-
tion of exposure in the actual conditions of use (taking
account of all parts of the operating cycle such as
the times when the tool is switched off and when it is
running idle in addition to the trigger time).
EC Declaration of Conformity
For European countries only
to this instruction manual.
CORDLESS BLOWER SAFETY
WARNINGS
Training
1. Read the instructions carefully. Be familiar with the
controls and the correct use of the blower.
2. Never allow children, persons with reduced
physical, sensory or mental capabilities or lack of
experience and knowledge or people unfamiliar
with these instructions to use the blower. Local
regulations may restrict the age of the operator.
3. Electric shock could occur if used on wet surfaces.

3ENGLISH
4. Keep in mind, that the operator or user is respon-
sible for accidents or hazards occurring to other
people or their property.
Preparation
5. Obtain ear protection and safety glasses. Wear
them at all times while operating the blower.
6. Always wear substantial footwear and long trou-
sers while operating the blower.
drawn into the air inlet. Keep long hair away from
the air inlets.
mask is recommended.
Operation
9. Operate the blower in a recommended position
10. Never point the nozzle at anyone in the vicinity
when using the blower.
11. Never block suction inlet and/or blower outlet.
clean up in dusty areas.
smaller than the original one, such as a new
nozzle obtained by attaching an extra diam-
eter-reduced hose or smaller hose to the
nozzle top end.
boat or the similar.
Increased motor revolution may cause dangerous
12. Do not overreach and keep proper balance and
footing at all times. Always be sure of the footing
on slopes and to walk, never run.
13. Do not operate the blower on a paved or gravel
14. Never operate the blower while people, especially
children, or pets are nearby.
15. Do not operate the blower near open window, etc.
16. Operating the blower only at reasonable hours is
recommended - not early in the morning or late at
night when people might be disturbed.
17. Using rakes and brooms to loosen debris before
blowing is recommended.
18. It is recommended to slightly dampen surfaces in
dusty conditions or use mister attachment avail-
able on the market.
19. It is recommended to use the long nozzle so the
air stream can work close to the ground.
20.
start making any unusual noise or vibration, imme-
diately switch off the blower to stop it. Remove the
battery cartridge from the blower and take the follow-
ing steps before restarting and operating the blower:
when the blower is damaged, have it repaired
-
tridge and make sure that all moving parts have
come to a complete stop
chute,
blower,
immediately check, or
blower for damage.
inlet or blower outlet.
23. Prevent unintentional starting. Ensure the switch
is in the off-position before inserting battery pack,
picking up or carrying the blower. Carrying the
-
gising the blower that has the switch on invites
accidents.
Maintenance and storage
24. When the blower is stopped for servicing, inspec-
tion, or storage, or to change an accessory, shut
off the power source, remove the battery cartridge
from the blower and make sure that all moving
parts come to a complete stop. Cool down the
-
ments, etc. Maintain the blower with care and
keep it clean.
children.
26. Always cool down the blower before storing.
27. Keep all nuts, bolts and screws tight to be sure the
blower is in safe working condition.
Battery tool use and care
manufacturer. A charger that is suitable for one
used with another battery pack.
battery packs. Use of any other battery packs may
SAVE THESE INSTRUCTIONS.
WARNING: DO NOT let comfort or famil-
iarity with product (gained from repeated
use) replace strict adherence to safety
rules for the subject product. MISUSE or
failure to follow the safety rules stated in
this instruction manual may cause serious
personal injury.
Important safety instructions for
battery cartridge
1. Before using battery cartridge, read all instruc-
tions and cautionary markings on (1) battery
charger, (2) battery, and (3) product using
battery.
2. Do not disassemble battery cartridge.
3. If operating time has become excessively
shorter, stop operating immediately. It may
result in a risk of overheating, possible burns
and even an explosion.
4. If electrolyte gets into your eyes, rinse them
out with clear water and seek medical atten-
tion right away. It may result in loss of your
eyesight.
4ENGLISH
5. Do not short the battery cartridge:
(1) Do not touch the terminals with any con-
ductive material.
(2) Avoid storing battery cartridge in a con-
tainer with other metal objects such as
nails, coins, etc.
(3) Do not expose battery cartridge to water
or rain.
A battery short can cause a large current
breakdown.
6. Do not store the tool and battery cartridge in
locations where the temperature may reach or
exceed 50 °C (122 °F).
7. Do not incinerate the battery cartridge even if
it is severely damaged or is completely worn
8. Be careful not to drop or strike battery.
9. Do not use a damaged battery.
10. The contained lithium-ion batteries are subject
to the Dangerous Goods Legislation require-
ments.
For commercial transports e.g. by third parties,
-
aging and labeling must be observed.
For preparation of the item being shipped, consult-
Please also observe possibly more detailed
national regulations.
battery in such a manner that it cannot move
around in the packaging.
11. Follow your local regulations relating to dis-
posal of battery.
SAVE THESE INSTRUCTIONS.
CAUTION: Only use genuine Makita batteries.
Use of non-genuine Makita batteries, or batteries that
have been altered, may result in the battery bursting
also void the Makita warranty for the Makita tool and
charger.
Tips for maintaining maximum
battery life
1. Charge the battery cartridge before completely
discharged. Always stop tool operation and
charge the battery cartridge when you notice
less tool power.
2. Never recharge a fully charged battery car-
tridge. Overcharging shortens the battery
service life.
3. Charge the battery cartridge with room tem-
perature at 10 °C - 40 °C (50 °F - 104 °F). Let
a hot battery cartridge cool down before
charging it.
4. Charge the battery cartridge if you do not use
it for a long period (more than six months).
FUNCTIONAL
DESCRIPTION
CAUTION:
-
ing or checking function on the tool.
Installing or removing battery cartridge
2
3
3
1
2
1. Red indicator 2. Button 3. Battery cartridge
CAUTION:
removing of the battery cartridge.
installing or removing battery cartridge. Failure to
them to slip off your hands and result in damage to the
while sliding the button on the front of the cartridge.
battery cartridge with the groove in the housing and slip
it into place. Insert it all the way until it locks in place
with a little click. If you can see the red indicator on the
upper side of the button, it is not locked completely.
CAUTION:
Always install the battery cartridge fully until the red
indicator cannot be seen. If not, it may accidentally fall out
cartridge does not slide in easily, it is not being
inserted correctly.
NOTE:
Tool / battery protection system
-
motor to extend tool and battery life.
tool or battery is placed under one of the following con-
ditions. In some conditions, the indicators light up.

5ENGLISH
Overload protection
When the tool is operated in a manner that causes it to
draw an abnormally high current, the tool automatically
stops without any indication. In this situation, turn the
tool off and stop the application that caused the tool to
Overheat protection for tool
On Blinking
When the tool is overheated, the tool stops automat-
ically, the battery indicator blink about 60 seconds. In
this situation, let the tool cool down before turning the
tool on again.
Overdischarge protection
When the battery capacity becomes low, the tool stops
automatically. If the product does not operate even
when the switches are operated, remove the batteries
from the tool and charge the batteries.
Indicating the remaining battery
capacity
Only for battery cartridges with the indicator
1
2
1. Indicator lamps 2. Check button
Press the check button on the battery cartridge to indi-
light up for few seconds.
Indicator lamps Remaining
capacity
Lighted Off Blinking
75% to 100%
50% to 75%
25% to 50%
0% to 25%
Charge the
battery.
Indicator lamps Remaining
capacity
Lighted Off Blinking
may have
malfunctioned.
NOTE: Depending on the conditions of use and the
ambient temperature, the indication may differ slightly
from the actual capacity.
Remaining battery capacity
indication
121
1. Battery indicator 2. CHECK button
Press the check button to make the battery indicators
indicators correspond to each battery.
Remaining battery capacity
indication
Battery indicator status
Remaining battery capacity
50% - 100%
20% - 50%
0% - 20%
Charge the battery
On Off Blinking

6ENGLISH
Switch action
CAUTION:
Before inserting the battery cartridge into the tool, always
check to see that the switch trigger actuates properly
and returns to the "OFF" position when released.
1
1.
speed is increased by increasing pressure on the switch
trigger. Release the switch trigger to stop.
1
1
1. Lock button
For continuous operation, pull the switch trigger, push in
the lock button and then release the switch trigger.
trigger fully, then release it.
Speed change
1
1.
(highest).
NOTICE:
as 6 and back to 1. Do not force it past 6 or 1, or
When working in a high temperature circum-
stance, the tool may be stopped because of the
overheat protection system. In that case let the
tool cool down. Avoid setting to speed 6 (highest)
in high temperature circumstances.
ASSEMBLY
CAUTION:
the battery cartridge is removed before carrying
out any work on the tool.
Installing the long nozzle
1
22
1. Long nozzle 2.
groove of the long nozzle.
the triangle markings on the long nozzle and the
housing meet each other.
the locking position.

7ENGLISH
nozzle (optional accessory)
the tip of the long nozzle in the same way as above.
Installing the shoulder strap
(optional accessory)
Hook the shoulder strap onto the hanger of the tool.
to work with it.
OPERATION
Blowing
CAUTION:
-
blowing operation by moving it around slowly.
When blowing around a building, a big stone or a vehi-
cle, direct the nozzle away from them.
When performing an operation in corner, start from the
corner and then move to wide area.
MAINTENANCE
CAUTION:
the battery cartridge is removed before attempt-
ing to perform inspection or maintenance.
or the like. Discoloration, deformation or cracks
may result.
Cleaning
From time to time, wipe off the outside of the tool using
a cloth dampened in soapy water.
-
using Makita replacement parts.
OPTIONAL
ACCESSORIES
CAUTION:
-
persons. Only use accessory or attachment for
its stated purpose.
If you need any assistance for more details regard-
Center.
NOTE:
may differ from country to country.

www.makita.com
Makita Europe N.V.
Makita Corporation
3-11-8, Sumiyoshi-cho,
Anjo, Aichi 446-8502 Japa
n
Jan-Baptist Vinkstraat 2,
3070 Kortenberg, Belgium
885401D227
EN
20161212
Other manuals for DUB362
17
Table of contents
Other Makita Blower manuals

Makita
Makita DUB362 User manual

Makita
Makita BHX2500 User manual

Makita
Makita BUB183 User manual

Makita
Makita XBU04 User manual

Makita
Makita DUB362 User manual

Makita
Makita UB001G User manual

Makita
Makita RBL250 User manual

Makita
Makita PM001G User manual

Makita
Makita BHX2501 User manual

Makita
Makita UB1103 User manual

Makita
Makita BHX2501 User manual

Makita
Makita maktec MT401 Manual

Makita
Makita DUB361 User manual

Makita
Makita DUB185 User manual

Makita
Makita UB0800X User guide

Makita
Makita UB1102 User manual

Makita
Makita UB002C User manual

Makita
Makita DUB143 User manual

Makita
Makita EB7660TH User manual

Makita
Makita PM001G User manual