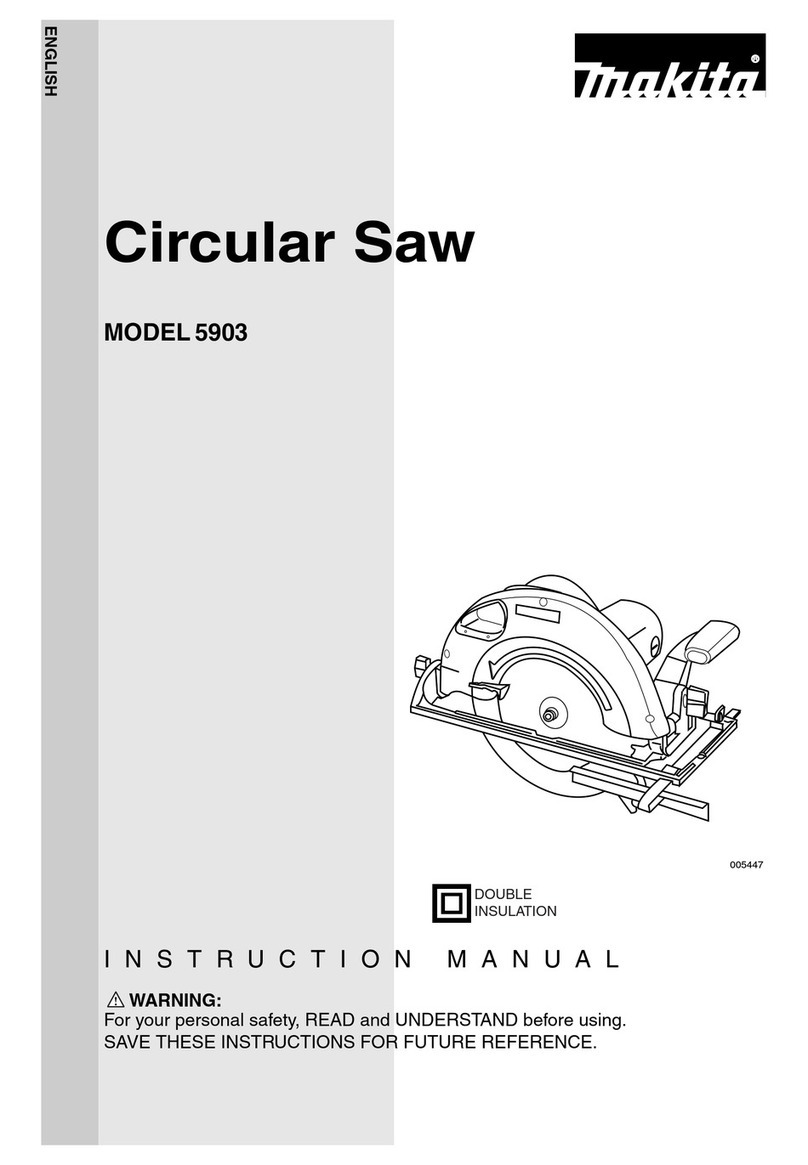
Makita 5026DWA User manual

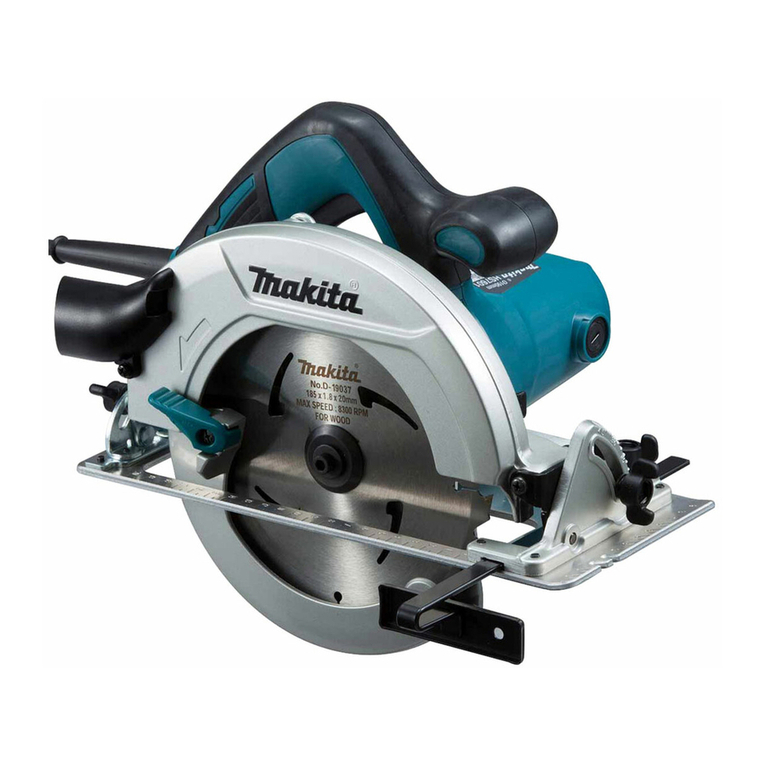
Cordless Circular Saw with Dust Collection
Battery Cartridge 1822
Voltage
18
V
Battery Cartridge 1833
Voltage
18
V
165
mm
(6-112") MODEL 5026DA, 5026DB
160
mm
(6-114") MODEL 5036DA, 5036DB
160
mm
(6-114") MODEL 5046DA. 5046DB
165
mm
(6-112") MODEL 5026DWA, 5026DWB
With High Capacity Battery Charger
160
mm
(6-114") MODEL 5036DWA, 5036DWB
With High Capacity Battery Charger
160
mm
(6-1/4") MODEL 5046DWA, S046DWB
With High Capacity Battery Charger
Model DC1801 High Capacity Battery Charger
Input output Charging time
A.C. only
50
-
60
Hr
O.C.
7.2
V
-
18
V
60
min.
Model DC1801 High Capacity Battery Charger
Input output Charging time
D.C.
7.2
V
~
18
V
A.C. only
50
-
60
Hz
65
min.
INSTRUCTION MANUAL
SPEC
IF1
CAW
ON
S
MODE7
Blade diameter
1
Cutting depth
1
No
I~~~~~ed
I
Overall length
I
Net weight
5026D
I
165
mm
16.112")
I
55
mm
12-3/16")
I
2,400
I
338
mm
113-5116',)
I
3.8
kg
(8.4
Ibs)
5036D
I
160
mm
16-114")
1
53
mm
(2-1/16"]
I
2,400
I
338
mm
(13-5116")
I
3.8
kg
18.4
Ibs)

GENERAL
SAFETY
RULES
(For
All
Battery Operated
Tools)
WARNING!
Read and understand all instructions. Failure
tofollow
all
instructions listed below, may result inelectric
shock,
fire and/or serious personal injury.
SAVE
THESE
INSTRUCTIONS
Work
Area
Keep your work area cleanand well
lit.
Cluttered benchesand dark areas invite
accidents.
Do notoperate power tools inexplosive atmospheres, such as
in
the presence
of flammable liquids, gases, or dust. Powertools create sparks which may ignite
the dust
or
fumes.
Keep bystanders, children, and visitors away while operating a power tool.
Distractions can cause you to lose control.
Electrical Safety
A
batteryoperated tool
with
integralbatteriesor a separate battery pack must
be recharged only with the specified charger for the battery.
A
charger that
may be suitablefor one type of battery may create
a
risk of fire when usedwith
another battery.
Use battery operated tool only
with
specificallydesignated battery pack.
Use
of any other batteries may create a risk of fire.
Personal Safety
*Stay alert, watch what you are doing, and use common sensewhen operating
a power tool.
Do
not usetoolwhile tired or under the influence of drugs, alcohol,
or medication.
A
moment
of
inattention while operating power tools may result
in serious personal injury.
Dress properly.
Do
not wear loose clothing or jewelry. Contain long hair. Keep
your hair, clothing, and gloves away from moving parts. Loose clothes, jewelry,
or long hair can be caught in moving parts.
*Avoid accidentalstarting. Be sure switchis
in
the locked or off position before
insertingbattery pack. Carrying tools with your finger onthe switchor inserting
the battery pack into a tool
with
the switch on invites accidents.
Remove adjusting keys or wrenches before turning the tool on.
A
wrench or
a key that is leftattachedto a rotatingpartof the tool may result inpersonal injury.
Do not overreach. Keep properfooting and balance at alltimes. Proper footing
and balance enable better control
of
the tool
in
unexpected situations.
Usesafety equipment. Always wear eye protection. Dust mask, non-skid safety
shoes, hard hat,
or
hearing protection must be used for appropriate conditions.
2

Tool
Use and Care
Use
clamps or other practical way to secure and support
the
workpiece to a
stable platform. Holdingthe work by hand or against your body is unstable and
may lead to
loss
of control.
Do
not force tool. Use the correct tool for your application. The correct tool
will
do the job better and safer at the rate for which
it
is designed.
.Do
not use tool if switch does not turn
it
on or off. A tool that cannot be
controlled with the switch is dangerous and must be repaired.
.Disconnect battery pack from tool or place the switch
in
the locked or off
position before making any adjustments, changing accessories,
or
storing the
tool. Such preventive safety measures reduce the risk of starting the tool
accidentally.
Store idle tools out of reachof children and other untrained persons.
Tools
are
dangerous in the hands of untrained users.
When battery pack is not in use, keep
it
away from other metal objects like:
paper clips, coins, keys, nails, screws, or other small metal objects that can
make a connectionfrom one terminal toanother. Shortingthe batteryterminals
together may cause sparks, burns, or a fire.
Maintaintools withcare. Keep cuttingtools sharpandclean. Properly maintained
tools with sharp cutting edge are less likely to bind and are easier to control.
Check for misalignment or bindingof moving parts, breakageof parts, and any
other condition that may affect the tool's operation.
If
damaged, have the tool
serviced before using. Many accidents are caused by poorly maintained tools.
Use only accessories that are recommended by the manufacturer for your
model. Accessories that may be suitable for one tool may create a risk of injury
when used on another tool.
Service
Tool
service must be performed only by qualified repair personnel. Service or
maintenance performed by unqualified personnel may result in a risk of injury.
When servicing a tool, useonly identical replacement parts. Follow instructions
inthe Maintenance section of this manual. Use of unauthorizedparts or failure
to follow Maintenance Instructions may create a risk of shock or injury.
3

Specific Safety
Rules
1.
DANGER! Keep handsaway from cutting area and blade. Keepyour second
hand on auxiliary handle, or motor housing. If both hands are holding the
saw, they cannot be cut by the blade.
Keep your body positioned to either side of the saw blade, but not
in
line
withthe saw blade. KICKBACK could cause the saw tojump backwards. (See
"Causes and Operator Prevention of Kickback")
Do not reach underneath the work. The guard can not protect you from the
blade below the work. Don't attempt to remove cut material when blade is
moving.
CAUTION: Blades coast after turn off.
2.
Check lower guard for proper closing before each use. Do not operate saw
if
lower guard does not move freely and close instantly. Never clamp or tie
the lower guard intothe open position. If saw is accidentally dropped, lower
guard may be bent. Raisethe lower guard with the Retracting Handleand make
sure
it
movesfreely and does nottouchthe bladeor any other part,
in
all
angles
and depths of cut.
3.
Check the operation and condition of the lower guard spring.
If
the guard
and the spring are not operating properly, they must be serviced beforeuse.
Lower guard may operate sluggishly due to damaged parts gummy deposits,
or
a
buildup of debris.
4.
Lower guard should be retracted manually only for special cuts such as
"Pocket Cuts" and "Compound Cuts." Raise lower guard by Retracting
Handle. As soon as blade enters the material, lower guard mustbe released.
For all other sawing, the lower guard should operate automatically.
5.
Always observe that the lower guard is covering the blade before placing
saw down on bench or floor. An unprotected, coasting blade
will
cause the
saw to walk backwards, cutting whatever is
in
its path. Be aware
of
the time
it
takes for the blade to stop after switch is released.
6.
NEVER hold piece being cut
in
your hands or across your leg.
It
is important
to support the work properly to minimize body exposure, blade binding, or
loss
of control.
7.
Holdtoolby insulatedgripping surfaces whenperforminganoperation where
the cutting tool may contact hidden wiring. Contact with
a
"live" wire
will
also make exposed metal parts of the tool "live" and shock the operator.
8.
When ripping always use a rip fence or straight edge guide. This improves
the accuracy of cut and reduces the chance for blade binding.
9.
Always use blades with correct size and shape (diamond vs. round) arbor
holes. Bladesthat do not match the mounting hardware of the saw
will
run
eccentrically, causing
loss
of control.
IO.
Never use damaged or incorrect blade washers or bolts. The blade washers
and bolt were specially designed for your saw, for optimum performance and
safety or operation.
4

11.
Causes and Operator Prevention
of
Kickback:
Kickback is a sudden reaction toa pinched, bound or misaligned saw blade,
causing an uncontrolled saw to lift up and out
of
the workpiece toward the
operator.
Whenthe blade is pinched or bound tightly by the kerf closingdown, the blade
stalls and the motor reaction drives the unit rapidly back toward the operator.
If the blade becomes twisted or misaligned in the cut, the teeth at the back
edge of the blade can dig into the top surface of the wood causing the blade
to climb out of the kerf and jump back toward the operator.
Kickback is the result of tool misuse and/or incorrect operating procedures
or conditions and canbe avoided by takingproper precautions as given below.
Maintain a firm grip on the saw and position your body and arm
in
a way
that allows you to resist
KICKBACK
forces. KICKBACK forces can be
controlled by the operator, if proper precautions are taken.
When blade is binding, or when interrupting a cut for any reason, release
the trigger andholdthe saw motionlessinthe materialuntilthe blade comes
toa complete stop. Never attempt toremove the saw from the work or pull
the saw backward while the blade is
in
motion or
KICKBACK
may occur.
Investigate and take corrective actionsto eliminate the cause of blade binding.
When restarting a saw
in
the workpiece, center the saw blade in the kerf
and check that teethare notengagedintothe material. If saw blade is binding,
it
may walk up or KICKBACK from the workpiece as the saw is restarted.
Support large panelstominimize the risk of blade pinchingand
KICKBACK.
Large panelstend to sag under their own weight. Supports must be placed
under the panel on both sides, near the line
of
cut and near the edge of the
panel as shown in Fig.
1.
To
minimizethe risk of blade pinching and kickback. When cutting operation
requires the resting of the saw on the workpiece, the saw shall be rested on
the larger portion and the smaller piece cut off.
I
I
To
avoid kickback do support board
or
panel near the
cut.
Fig.
Don't support board or panel away
from the cut.
Fig.
2
5

Do not use dull or damaged blade. Unsharpened or improperly set blades
produce narrow kerf causing excessive friction, blade binding and KICKBACK.
Blade depth and bevel adjusting locking levers must be
tight
and secure
beforemakingcut. If blade adjustment shifts while cutting,
it
may cause bind-
ing and KICKBACK.
Use extra caution when making a "Pocket Cut" intoexisting walls
or
other
blindareas. The protruding blade may cut objects that can cause KICKBACK.
NEVER place your hand or fingers
behind the saw. If kickback occurs,
the saw could easilyjump backwards
over your hand, possibly causing
severe injury.
1
Fig.
3
12.
Adjustments. Beforecutting be sure depth and bevel adjustments are tight.
13.
Avoid Cutting Nails. Inspect for and remove all nails from lumber before
cutting.
14.
Placethe wider portionof the saw baseonthat partof the workpiece which
issolidly supported, notonthe section that willfall off whenthe cut ismade.
As examples, Fig.
4
illustratesthe RIGHT way tocut off the end of a board,
and Fig.
5
theWRONG way.
If
the workpiece isshort or small, clamp
it
down.
DON'T TRY TO HOLD SHORT PLACES
BY
HAND!
Fig.
Fig.
5
6

15.
Never attempt to saw with the
circular saw held upside down in a
vise. This
is
extremely dangerous and
can lead to serious accidents.
Fig.
t
16.
Before setting the tool down after completing a cut, be sure that the lower
(telescoping)guard has closed and the blade has come to a complete stop.
7

SYMBOLS
The followings show the
symbols
used
for
tool.
v
.................................
volts
-
.................................
direct current
n,
.................................
no load speed
...
/min
................................
revolutions or reciprocation per minute
8

IMPORTANT SAFETY INSTRUCTIONS
FOR CHARGER
&
BATTERY CARTRIDGE
1.
SAVE
THESE
INSTRUCTIONS
-
This manual
Length of Cord (Feet)
AWG Size of Cord
contains important safety and operating instructions for battery charger.
2.
Before using battery charger, readall instructions and cautionary markings
on
(1)
battery charger,
(2)
battery, and
(3)
product using battery.
3.
CAUTION
-
To
reduce risk of injury, charge only MAKITA Battery Cartridge
7000, 7001, 7002, 7033, 7100, 7120,
9000,
9001,
9002,
9033,
9100,
9101,9102,9120,9122,9133,1200,1201,1202,1210,1211,1220,1222,
1233,
1422,
1433,
9101A. 9102A, 1201A. 1202A. 1822 or
1833.
Other
types of batteries may burst causing personal injury and damage.
4.
Do not expose charger to rain or snow.
5.
Use of an attachment not recommended or sold by the battery charger
manufacturermay result
in
a risk of fire, electric shock, or injurytopersons.
6.
To
reduce risk
of
damage toelectric plug and cord, pull by plug rather than
cord when disconnecting charger.
7. Make sure cord is located
so
that
it
will not be stepped on, tripped over, or
otherwise subjected to damage or stress.
8.
An extension cord should not be used unless absolutely necessary. Use
of
improper extension cord could result
in
a risk of fire and electric shock. If
extension cord must be used, make sure:
a. That pinsonplugof extension cordare the same number, size, and shape
b. That extensioncord is properlywiredand
in
good electrical condition; and
c. That wire size is at least as large as the one specified
in
the table below.
TABLE
1
RECOMMENDED MINIMUM AWG SIZE
FOR
EXTENSION CORDS
FOR
BATTERY CHARGERS
as those of plug on charger;
25
50
100
150
18
18
18
16
9.
Do
not
operate charger with damaged cord or
plug
-
replace
them
im-
mediately.
IO.
Donot operate charger
if
it
hasreceivedasharpblow, beendropped, or other-
wise damaged
in
any way; take
it
to a qualified serviceman.
11.
Do not disassemble charger or battery cartridge; take
it
to a qualified
serviceman when service or repair is required. Incorrect reassembly may
result
in
a risk
of
electric shock or fire.
12.
To reduce risk
of
electric shock, unplugcharger from outlet before attempt-
ingany maintenanceor cleaning. Turningoff controls
will
notreducethis risk.
9
ADDITIONAL SAFETY RULES
FOR CHARGER
&
BATTERY CARTRIDGE
1.
Do
not charge Battery Cartridge when temperature
is
BELOW
10°C
(5OOF)
or ABOVE 4OoC
(104OF).
2.
Do
not attempt touseastep-uptransformer, an enginegenerator or
DC
power
3.
Do
not allow anything to cover or clog the charger vents.
4.
Always cover the battery terminals with the battery cover when the battery
5.
A battery short can cause a large current flow, overheating, possible burns
receptacle.
cartridge is not used.
and even a breakdown.
(1)
Do
not touch the terminals with any conductive material.
(2)
Avoid storing batterycartridge ina container withother metalobjects such
(3)
Do
not expose battery cartridge to water or rain.
ture may reach or exceed 5OoC
(122OF).
completely worn out. The battery cartridge can explode in a fire.
as nails, coins, etc.
6.
Do
not store the tool and Battery Cartridge
in
locations where the tempera-
7.
Do
not incinerate the Battery Cartridge even if
it
is severely damaged or is
SAVE THESE INSTRUCTIONS.
10

FUNCTIONALDESCRlPTfON
Installing or removingbattery cartridge
*Always switch off the tool before inser-
tionor removal of the battery cartridge.
To
remove the battery cartridge,withdraw
it
from
the
tool while pressingthe buttons
on bothsides
of
the cartridge.
*To insert the battery cartridge, align the
tongue on the battery cartridge with the
groove in the housing and slip it into
place. Always insert it all the way until it
locks in place with
a
little click. If not, it
may accidentallyfall out of the tool, causing injury toyou or someone aroundyou.
easily, it is not being insertedcorrectly
Do not use force when inserting the battery cartridge. If the cartridge does not slide in
Charging
*Your newbattery cartridge is not charged.
You will needto charge
it
before use. Use
the high capacity battery charger Model
DC1801to chargethe battery cartridge.
Plug
the highcapacitybattery chargerinto
the properA.C. voltage source.The charg-
inglight will flash in green color.
*Insert the battery cartridge
so
that the
plus and minus terminals on the battery
cartridge are on the same sides as their
respective markings on the high capacity
battery charger. Insert the cartridge fully
into the port
so
that it restson the chargerportfloor.
When the batterycartridge is inserted, the charginglight color
will
change from green
to
redand chargingwill begin.The charginglight will remain lit steadily during charging.
When the charginglight color changesfrom redto green, the chargingcycle is complete
and the charger will switch into its "trickle charge (maintenance charge)" mode. The
chargingtime is approximatelyone hour.
After charging, unplug the chargerfrom the power source.
CAUTION:
The highcapacity battery charger Model DCI801 is for chargingMakita battery cartridge.
Never use
it
for other purposes or for other manufacturer's batteries.
When you charge
a
newbatterycartridge or
a
battery cartridgewhich has not been used
for
a
long period of time, it may not accept
a
full charge. This is
a
normal condition and
does not indicate
a
problem.You can recharge the battery cartridgefully after discharging
it
completely and recharging
a
couple of times.
11

If
you
charge abatterycartridge from
a
just-operatedtool or
a
batterycartridge which has
been left in
a
locationexposed to direct sunlightor heat for
a
long time, the charging light
may flash in redcolor. If this occurs, wait for
a
while. Chargingwill begin after the battery
cartridgecools. The battery cartridgewill cool faster
if
you removethe battery cartridge
from the highcapacity battery charger.
If the charging lightflashes alternately in green and redcolor,
a
problemexists and charg
ing is not possible. The terminals on the charger or battery cartridge are clogged with
dust or the batterycartridgeisworn out or damaged.
Trickle charge (Maintenancecharge)
If
you leave the battery cartridge in the charger to prevent spontaneous discharging after
full charge, the charger will switch into its “trickle charge (maintenancecharge)” mode and
keep the batterycartridgefresh and fully charged.
Tipsfor maintainingmaximum battery life
1. Charge the battery cartridgebefore completely discharged.
Always stop tool operationand charge the battery cartridgewhen you notice less tool
power
2.
Never recharge
a
fully charged batterycartridge.
Overcharging shortensthe battery service life.
3.
Charge the batterycartridgewith roomtemperatureat
10°C
-
40°C (50°F
-
104°F).
Let
a
hot batterycartridgecool down beforecharging it.
Hex
wrench
Hex wrench storage
When not in use, the hex wrench can be
convenientlystored.
CAUTION:
Always be sure that the tool is switched off and the batterycartridgeis removedbeforee
any adjustment
is
attempted.
12

Adjustingdepth
of
cut
Loosen the lever on the depth guide and
move the base up or down. At the desired
depth of cut, secure the base by tightening
the lever.
CAUTION
:
Use
a
shallow depth of cut when cutting thin workpiece for cleaner, safer cuts.
After adjusting the depth of cut, always tighten the lever securely.
Sighting
When cutting, align the left side of notch in
the front of the base with your cutting line
on the workpiece.
Dust collection
CAUTION:
Never cut workpieces covered/stainedwiththinner, gasoline, oil or the like. Ifthedust box
is stainedwiththem,
it
maycrack,causingan injury to operator.
This tool is equipped with the dust box to
collect dust and cut chips. For the best cut-
ting performance, empty the dust box each
time the battery cartridge is completely dis-
charged. Press the lever and open the dust
cap. Tip the rear of the tool down to empty
the dust box.
Cleaner cutting operations can be per-
formed by connecting this tool to Makita
vacuum cleaner. Remove the rubber cap
from the dust cap and connect the hose of
vacuum cleanerto the dust cap.
Dust
cap
13

Switch
action
CAUTION:
Before inserting the battery cartridge into the tool, always check to see that the switch
trigger actuates properlyand returnsto the
"OFF"
Dositionwhen released.
To
prevent the switch trigger from being
accidentally pulled,
a
lock-off button is prc-
vided.
To start the tool, depress the lock-off but-
ton and pullthe switch trigger. Release the
switch trigger to stop.
Guide
rule
The handy guide rule allows you to do
extra-accurate straight cuts. Simply slide
the guide rule up snugly against the side
of
the workpiece and secure it inpositionwith
the clamp screw on the front of the base. It
also makes repeatedcuts
of
uniformwidth
possible.
Switchtrigger
-
LOCk-off button
1
14

ASSEMBLY
Removing
or
installingthe saw blade
CAUTION:
Always be surethat the tool
is
switched off
and the batterycartridge is removedbefore
installing
or
removingthe blade.
To
removethe blade, first remove the hex
socket head bolt which secures the dust
box,then removethe dust box.
Thumb screw
-
After installing the blade, install the dust box and tighten the hex socket head bolt to
secure the dust box.
To remove the blade, press the shaft lock
so
that the blade cannot revolve and use
the hex wrench to loosen the bolt clock-
wise. Then remove the bolt, outer flange
and blade.
Then remove the hex socket head bolt.
outer flange and blade.
Hex wrench (Counterclockwise)
Outer flange
Hex socket headbolt
15

To installthe blade, follow the removal pro-
cedures in reverse. Installthe cup washer,
inner flange, saw blade, outer flange and
hex socket head bolt on the spindle in that
order. BE SURE TO TIGHTEN THE HEX
SOCKET HEAD BOLT SECURELY.
Outer flange
Hex socket head
bolt
CAUTION:
Be sure the blade is installedwithteeth pointing up
at
the front of the tool.
Useonly the Makita hex wrench to installor removethe blade.
After installthe blade, installthe dust box andtighten the hex sockethead bolt tosecure
the dust box.
16

OPERATION
Hold the tool firmly. Set the base plate on
the workpiece to be cut without the blade
making any contact. Then turn the tool on
and wait until the blade attains full speed.
Now simply move the tool forward over
the
workpiece surface, keeping it flat and
advancing smoothly until the sawing is
completed.
To
get clean cuts, keep your
sawing line straight and your speed of
advance uniform.
CAUTION:
.Always gently keeps the tool moving straight ahead when cutting. Forcing or twisting
the toolwill result in overheatingof the motor and dangerous kickback,possiblycausing
severe injury.
If
the tool
is
operated continuously until the battery cartridge has discharged,allow the
tool to rest for
15
minutesbefore proceeding withafresh battery.
Use a shallow depth of cut when cutting thin workpieces for cleaner, safer cuts. (For
5026DA, 5026DB, 5036DA and 5036DB only)
For
5046DA
and
5046DB only
When you cut angle materials or the like,
the lower guard (safety cover) may rest on
the angle.
If
so,
tilt
other rear
of
the tool to prevent
this.
Angle
Lower guard (safetycover) rests on angle
Tilt
rear
of
tool
17

When cutting thin sheet metals such as
corrugated metal, always cut them at
a
position more than
20
mm
(25/32”)
away
from the edge.
If
you cut them at
a
position
closer to the edge,
a
piececut
off
couldbe
sucked into the dust box, causing
a
severe
injury.
More
than
I
20
mm
(25132’)
CAUTIO
N
:
Never use
a
deformedor cracked blade. Always replace
it
with
a
new one.
When the battery charge runs low, the blade easily becomes stuck, and the blade tips
Do
not stack materialswhen cuttingthem.
Do
notcut hardenedsteel.
Do
nottouch the saw blade, workpieceor cuttingchips with your bare hand immediately
after cutting;they may be extremely hot and could burn your skin.
Do
not connectthe saw to
a
vacuum cleaner when cutting metals.
can break.Always rechargethe batterycartridgewhen the blade rpm slows down.
18

MAINTENANCE
CAUTION:
Always be sure that the
tool
is switched
off
and the battery cartridge
is
removed before
attempting to perform inspection or maintenance.
Replacingcarbon brushes
Remove and check the carbon brushes
regularly. Replace when they wear down
to
the limit mark. Keep the carbon brushes
clean and free to slip in the holders. Both
carbon brushes should be replaced
at
the same time. Use only identical carbon
brushes.
Use
a
screwdriver to remove the brush
holder caps. Take out the worn carbon
brushes, insert the new ones and secure
the brush holdercaps.
Limit
mark
Brush
holder
cap
To
maintainproduct SAFETY and RELIABILITY,repairs,maintenance or adjustment should
be performed by Makita Authorized or Factory Service Centers, always using Makita
replacement parts.
19

Recycling the Battery
A-90715
A-90700
A-90685
A-90691
The
only
way to dispose
of
a Makita battery is
to recycle it. The law prohibits any other
method
of
disposal.
165
mm
l6-1/2") 52
For wood
160
mm
(6-1/4") 46
For
metals
40
For siding board
15.88
mm
(5"')
56
For thinferrous
metals
I
Ni-Cd
To recycle the battery:
1.
Remove the battery from the tool.
2.
a). Take the battery to your nearest Makita Factory Service Center
or
b). Take the battery
to
your nearest Makita Authorized Service Center or
Distributor that has been designated as a Makita battery recycling location.
Call your nearest Makita Service Center or Distributor to determine the location
that provides Makita battery recycling. See your local Yellow Pages under
"Tools-Electric':
ACCESSORIES
CAUTION:
These accessories or attachments are recommendedfor use with your Makita tool specified in this
manual. The use
of
any other accessories or attachments might present a risk
of
injury to persons.
The accessories or attachmentsshould be used only inthe proper and intended manner.
Hex
wrench
Part No.783203-8
Carbide-tipped
saw
blade
*Rip fence (guiderule)
Part
No.
1640958
I
Part
No.
I
Blade diameter
I
Hole diameter
I
Number
of
teeth
I
ADDlICatiOn
I
20
This manual suits for next models
11
Table of contents
Other Makita Saw manuals

Makita
Makita LS004G User manual

Makita
Makita 5603R User manual

Makita
Makita 5007F User manual

Makita
Makita DJV142 User manual

Makita
Makita JR3000VT User manual

Makita
Makita 2704 User manual

Makita
Makita JR3051T User manual

Makita
Makita 2414DB User manual

Makita
Makita JR3060T User manual

Makita
Makita 7104L User manual

Makita
Makita JR3030 User manual

Makita
Makita SSP MSS703 User manual

Makita
Makita BLS820SFK Quick start guide

Makita
Makita 2106 User manual

Makita
Makita LS004GD201 User manual

Makita
Makita 5900B User manual

Makita
Makita N5900B User manual

Makita
Makita DLS110 User manual

Makita
Makita RS001G User manual

Makita
Makita 5007N User manual