manuals.online logo
Brands
  1. Home
  2. •
  3. Brands
  4. •
  5. Malouf
  6. •
  7. Indoor Furnishing
  8. •
  9. Malouf WATSON User manual

Malouf WATSON User manual

Foot Drawer Front Panels (Short)
Foot Drawer Back Panels (Short)
Side Drawer Front Panels (Long)
Side Drawer Back Panels (Long)
Drawer Side Panels (Le)
Drawer Side Panels (Right)
Foot Drawer Bottom Panels (Short)
Side Drawer Bottom Panels (Long)
Under Drawer Edge Support Braces
Under Drawer Middle Support Braces
Head Rail
Foot Rail
Corner Legs
Foot Rail Center Leg
Side Rails
Side Rail Support Legs
Center Rail
Support Legs
Slat Roll
mm Screws
mm Screws
mm Screws
Drawer Wheels
Long Bolts (Mxmm)
mm Allen Key
Short Bolts (Mxmm)
mm Allen Key
mm Wooden Dowels
mm Screws
Drawer Stoppers
Leg Adjusters
Medium Bolts (Mxmm)
pcs
pcs
pcs
pcs
pcs
pcs
pcs
pcs
pcs
pcs
pc
pc
pcs
pc
pcs
pcs
pc
pcs
pc
pcs
73 pcs
pcs
pcs
pcs
pc
pcs
pc
pcs
 pcs
8pcs
pcs
pcs
WATSON BED FRAME ASSEMBLY (FULL)
I
Flip the drawer upside down and
slide the bottom panel (G) into
the slots on the side panels (E,F).
BottomBackView
SideDrawers
C
A
E
F
G
J
D
H
3
2
To assemble the foot drawers, attach the
side panels (E, F) to the front and back
panels (A,B) with 50mm screws (1) and a
screwdriver.
ATTENTION: Before attaching the side panels,
make sure the middle hole is placed on the back
of the side panels, and the grooved slot is on the
bottom and facing inward.
ATTENTION: Pre-drilled holes should be
exposed before tightening 32mm screws (2).
Middle hole
Repeatstepsto assemble all
remaining drawers. To build the side
drawers, replace front, back, and bottom
panels (A,B,G) with the side drawer
front, back, and bottom panels (C, D, H).
Using a screwdriver, attach the edge and middle support braces
(I,J) to the bottom of the drawer with 32mm screws (2). Then
attach the drawer wheels (4) with 16mm screws (3) and a
screwdriver.
I
I
B
1
4
WATSON BED FRAME ASSEMBLY (FULL)
ATTENTION: Pre-drilled holes are on the back of
the side rail support legs (P).
Attach all four corner legs (M) to the head rail (K) and foot
rail (L) with long bolts (5) and the 100mm Allen key (6).
With the remaining long bolt (5), attach the foot rail center
leg (N) to the middle of the foot rail (L).
Place short bolts (7) in the holes on each side of the head rail (K) and
foot rail (L). Then loosely tighten each bolt with the 70mm Allen key (8)
until the bolts are partly visible.
Insert wooden dowels (9)
into the holes on the side
rails (O). Attach the side rail
support legs (P) by pushing
them onto the wooden
dowels (9). Then secure
them to the side rails
(O) with 25 mm screws (10)
and a screwdriver.
K
M5
K
8
7
L
P
10
9
o
6
6
L
5
N
WATSON BED FRAME ASSEMBLY (FULL)
ATTENTION: Keep leg adjusters 0.25”
from the floor.
Attach the side rails (O) to the head rail (K)
and foot rail (L). Then finish tightening the
short bolts (7) with the 70mm Allen key (8).
Slide all drawers into place then install
the drawer stoppers (11) on the back of
the drawer side panels (E,F).
Slide center support rail (Q) into the head rail
bracket (K) and foot rail bracket (L). Using a
screwdriver, secure the center support rail (Q)
with 25mm screws (10).
Attach leg adjusters (12) to the support legs
(R). Then secure the support legs (R) to the
center support rail (Q) with medium bolts (13)
and the 100mm Allen key (6).
L
K
o
6
13
Q
R
12
11
10
Q
Q
WATSON BED FRAME ASSEMBLY (FULL)
Using a screwdriver, secure the slat roll (S) to the side rails
(O) and center support rail (Q) with 32mm screws (2).
2
WATSON BED FRAME ASSEMBLY (FULL)
S
Q
I
Drawer Front Panels
Drawer Back Panels
Drawer Side Panels (Le)
Drawer Side Panels (Right)
Drawer Bottom Panels
Under Drawer Edge Support Braces
Under Drawer Middle Support Braces
Head Rail
Foot Rail
Corner Legs
Foot Rail Center Leg
Side Rails
Side Rail Support Legs
Center Rail
Support Legs
Slat Roll
mm Screws
mm Screws
mm Screws
Drawer Wheels
Long Bolts (Mxmm)
mm Allen Key
Short Bolts (Mxmm)
mm Allen Key
mm Wooden Dowels
mm Screws
Drawer Stoppers
Leg Adjusters
Medium Bolts (Mxmm)
pcs
 pcs
pcs
pcs
pcs
pc
pcs
pc
pcs
 pcs
pcs
pcs
pcs
pcs
pcs
pcs
pcs
pcs
pcs
pcs
pc
pc
pcs
pc
pcs
pcs
pc
pcs
pc
WATSON BED FRAME ASSEMBLY (QUEEN)
Flip the drawer upside down and
slide the bottom panel (E) into
the slots on the side panels (C,D).
BottomBackView
A
C
D
E
G
F
3
2
To assemble the drawers, attach the side
panels (C,D) to the front and back panels
(A,B) with 50mm screws (1) and a
screwdriver.
ATTENTION: Before attaching the side panels,
make sure the middle hole is placed on the back
of the side panels, and the grooved slot is on the
bottom and facing inward.
Repeatstepsto assemble all remaining drawers.
Using a screwdriver, attach the edge and middle support braces
(F,G) to the bottom of the drawer with 32mm screws (2). Then
attach the drawer wheels (4) with 16mm screws (3) and a
screwdriver.
F
B
1
4
Middle hole
ATTENTION: Pre-drilled holes should be
exposed before tightening 32mm screws (2).
WATSON BED FRAME ASSEMBLY (QUEEN)
G
ATTENTION: Pre-drilled holes are on the back of
the side rail support legs (M).
Attach all four corner legs (J) to the head rail (H) and foot
rail (I) with long bolts (5) and the 100mm Allen key (6).
With the remaining long bolt (5), attach the foot rail center
leg (K) to the middle of the foot rail (I).
Place short bolts (7) in the holes on each side of the head rail (H) and
foot rail (I). Then loosely tighten each bolt with the 70mm Allen key (8)
until the bolts are partly visible.
Insert wooden dowels (9)
into the holes on the side
rails (L). Attach the side rail
support legs (M) by pushing
them onto the wooden
dowels (9). Then secure
them to the side rails
(L) with 25mm screws (10)
and a screwdriver.
I
I
H
H
J5
8
7
M
10
9
L
6
6
5
K
WATSON BED FRAME ASSEMBLY (QUEEN)
ATTENTION: Pre-drilled holes are on the back of
the side rail support legs (P).
WATSON BED FRAME ASSEMBLY (QUEEN)
ATTENTION: Keep leg adjusters 0.25”
from the floor.
Attach the side rails (L) to the head rail (H)
and foot rail (I). Then finish tightening the
short bolts (7) with the 70mm Allen key (8).
Slide all drawers into place then install
the drawer stoppers (11) on the back of
the drawer side panels (C,D).
Slide center support rail (N) into the head rail
bracket (H) and foot rail bracket (I). Using a
screwdriver, secure the center support rail (N)
with 25mm screws (10).
Attach leg adjusters (12) to the support legs
(O). Then secure the support legs (O) to the
center support rail (N) with medium bolts (13)
and the 100mm Allen key (6).
I
H
L
11
6
13
N
o
12
10
N
N
ATTENTION: Keep leg adjusters 0.25”
from the floor.
Using a screwdriver, secure the slat roll (P) to the side rails
(L) and center support rail (N) with 32mm screws (2).
P
2
WATSON BED FRAME ASSEMBLY (QUEEN)
N
Foot Drawer Front Panels (Long)
Foot Drawer Back Panels (Long)
Side Drawer Front Panels (Short)
Side Drawer Back Panels (Short)
Drawer Side Panels (Le)
Drawer Side Panels (Right)
Foot Drawer Bottom Panels (Long)
Side Drawer Bottom Panels (Short)
Under Drawer Edge Support Braces
Under Drawer Middle Support Braces
Head Rail
Foot Rail
Corner Legs
Foot Rail Center Leg
Side Rails
Side Rail Support Legs
Center Rails
Support Legs
Slat Roll
mm Screws
mm Screws
mm Screws
Drawer Wheels
Long Bolts (Mxmm)
mm Allen Key
Short Bolts (Mxmm)
mm Allen Key
mm Wooden Dowels
mm Screws
Drawer Stoppers
Leg Adjusters
Medium Bolts (Mxmm)
pcs
pcs
pcs
pcs
pcs
pcs
pcs
pcs
pcs
pcs
pc
pc
pcs
pc
pcs
pcs
pcs
pcs
pc
pcs
 pcs
pcs
pcs
pcs
pc
pcs
pc
pcs
 pcs
8pcs
pcs
pcs
WATSON BED FRAME ASSEMBLY (CAL KING, KING)
I
Flip the drawer upside down and
slide the bottom panel (G) into
the slots on the side panels (E,F).
BottomBackView
SideDrawers
C
A
E
F
G
J
D
H
3
2
To assemble the foot drawers, attach the
side panels (E, F) to the front and back
panels (A,B) with 50mm screws (1) and a
screwdriver.
ATTENTION: Before attaching the side panels,
make sure the middle hole is placed on the back
of the side panels, and the grooved slot is on the
bottom and facing inward.
ATTENTION: Pre-drilled holes should be
exposed before tightening 32mm screws (2).
Middle hole
Repeatstepsto assemble all
remaining drawers. To build the side
drawers, replace front, back, and bottom
panels (A,B,G) with the side drawer
front, back, and bottom panels (C, D, H).
Using a screwdriver, attach the edge and middle support braces
(I,J) to the bottom of the drawer with 32mm screws (2). Then
attach the drawer wheels (4) with 16mm screws (3) and a
screwdriver.
I
I
B
1
4
WATSON BED FRAME ASSEMBLY (CAL KING, KING)
ATTENTION: Pre-drilled holes are on the back of
the side rail support legs (P).
ATTENTION: Pre-drilled holes are on the back of
the side rail support legs (P).
Attach all four corner legs (M) to the head rail (K) and foot
rail (L) with long bolts (5) and the 100mm Allen key (6).
With the remaining long bolt (5), attach the foot rail center
leg (N) to the middle of the foot rail (L).
Place short bolts (7) in the holes on each side of the head rail (K) and
foot rail (L). Then loosely tighten each bolt with the 70mm Allen key (8)
until the bolts are partly visible.
Insert wooden dowels (9)
into the holes on the side
rails (O). Attach the side rail
support legs (P) by pushing
them onto the wooden
dowels (9). Then secure
them to the side rails
(O) with 25 mm screws (10)
and a screwdriver.
K
M5
K
8
7
L
P
10
9
o
6
6
L
5
N
WATSON BED FRAME ASSEMBLY (CAL KING, KING)
ATTENTION: Keep leg adjusters 0.25”
from the floor.
Attach the side rails (O) to the head rail (K)
and foot rail (L). Then finish tightening the
short bolts (7) with the 70mm Allen key (8).
Slide all drawers into place then install
the drawer stoppers (11) on the back of
the drawer side panels (E,F).
Slide center support rails (Q) into the head rail
bracket (K) and foot rail bracket (L). Using a
screwdriver, secure the center support rails
(Q) with 25mm screws (10).
Attach leg adjusters (12) to the support legs
(R). Then secure the support legs (R) to the
center support rails (Q) with medium bolts
(13) and the 100mm Allen key (6).
L
K
o
6
13
Q
R
12
11
10
Q
Q
WATSON BED FRAME ASSEMBLY (CAL KING, KING)
Using a screwdriver, secure the slat roll (S) to the side rails
(O) and center support rails (Q) with 32mm screws (2).
2
WATSON BED FRAME ASSEMBLY (CAL KING, KING)
S
Q

Other Malouf Indoor Furnishing manuals
Malouf Structures M455 User manual

Malouf

Malouf Structures M455 User manual

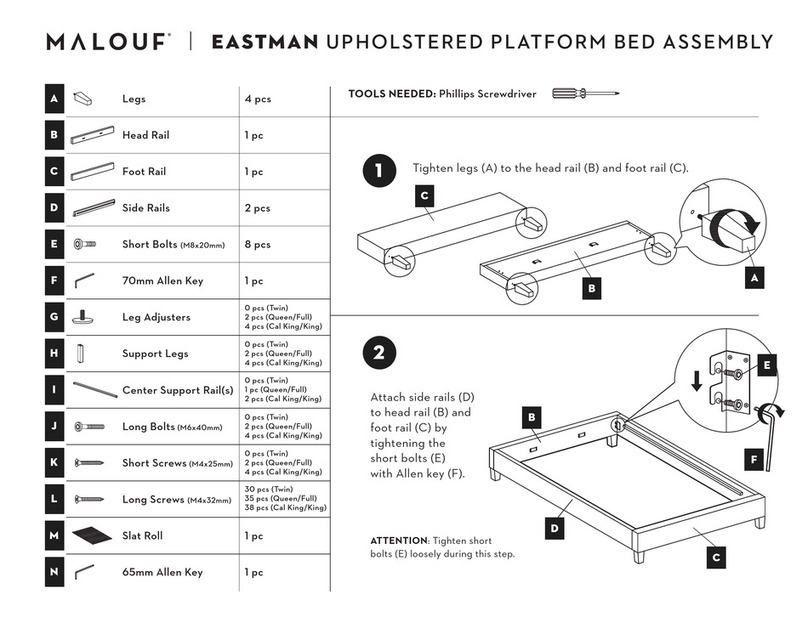
Malouf EASTMAN User manual

Malouf

Malouf EASTMAN User manual

Malouf Structures M455 User manual

Malouf

Malouf Structures M455 User manual

Malouf Structures E450 User manual

Malouf

Malouf Structures E450 User manual

Malouf STRUCTURES E300 User manual

Malouf

Malouf STRUCTURES E300 User manual

Malouf CLARKE User manual

Malouf

Malouf CLARKE User manual

Malouf Structures N150 User manual

Malouf

Malouf Structures N150 User manual

Malouf Structures S655 User manual

Malouf

Malouf Structures S655 User manual

Malouf Structures S755 User manual

Malouf

Malouf Structures S755 User manual

Malouf POWER-FLEX 3 User manual

Malouf

Malouf POWER-FLEX 3 User manual

Malouf SCORESBY User manual

Malouf

Malouf SCORESBY User manual

Malouf Carlisle User manual

Malouf

Malouf Carlisle User manual

Malouf Structures M550 User manual

Malouf

Malouf Structures M550 User manual

Malouf Structures S750 User manual

Malouf

Malouf Structures S750 User manual
Malouf BLACKWELL User manual

Malouf

Malouf BLACKWELL User manual

Malouf STRUCTURES M555 User manual

Malouf

Malouf STRUCTURES M555 User manual
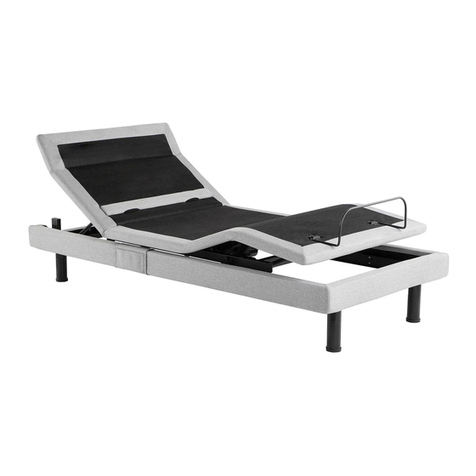
Malouf Structures S655 User manual

Malouf

Malouf Structures S655 User manual

Malouf STRUCTURES E255 User manual

Malouf

Malouf STRUCTURES E255 User manual
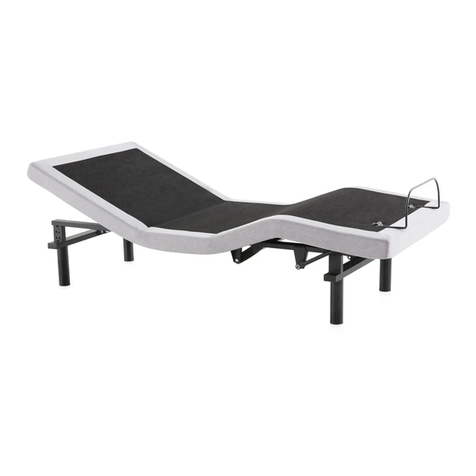
Malouf Structures POWER-FLEX 4 User manual
Malouf

Malouf Structures POWER-FLEX 4 User manual

Popular Indoor Furnishing manuals by other brands

RSA Lighting Galleria CGCVI Specifications

RSA Lighting

RSA Lighting Galleria CGCVI Specifications

Mayer 32U1 Instructions for installation and use

Mayer

Mayer 32U1 Instructions for installation and use

Kaboodle corner base cabinet quick start guide

Kaboodle

Kaboodle corner base cabinet quick start guide

Next ELLA 100160 Assembly instructions

Next

Next ELLA 100160 Assembly instructions

Next 537985 Assembly instructions

Next

Next 537985 Assembly instructions

Forte CR2K321R Assembling Instruction

Forte

Forte CR2K321R Assembling Instruction

Studymate DYSON TRESTLE DESK SMDYSONOB Assembly instructions

Studymate

Studymate DYSON TRESTLE DESK SMDYSONOB Assembly instructions

Argos Home Venice 403/7017 instructions

Argos Home

Argos Home Venice 403/7017 instructions

BLACK RED WHITE NIKA NKG-30/72 Assembly manual

BLACK RED WHITE

BLACK RED WHITE NIKA NKG-30/72 Assembly manual

hygena Strand 614/3026 Assembly instructions

hygena

hygena Strand 614/3026 Assembly instructions

Monarch I 3727 Assembly instructions

Monarch

Monarch I 3727 Assembly instructions

Whalen Bayside Furnishings CSC72BK-6 manual

Whalen

Whalen Bayside Furnishings CSC72BK-6 manual

Coaster 203500TB1 Assembly instructions

Coaster

Coaster 203500TB1 Assembly instructions

Ave Six MAIN STREET MST52 manual

Ave Six

Ave Six MAIN STREET MST52 manual

John Thomas T-4096XXB Assembly instructions

John Thomas

John Thomas T-4096XXB Assembly instructions

Sauder 401323 Assembly instructions

Sauder

Sauder 401323 Assembly instructions

Home Decorators Collection Theo HC24WSKJ Use and care guide

Home Decorators Collection

Home Decorators Collection Theo HC24WSKJ Use and care guide

LO LO Motion User handbook

LO

LO LO Motion User handbook

manuals.online logo
manuals.online logoBrands
  • About & Mission
  • Contact us
  • Privacy Policy
  • Terms and Conditions

Copyright 2025 Manuals.Online. All Rights Reserved.