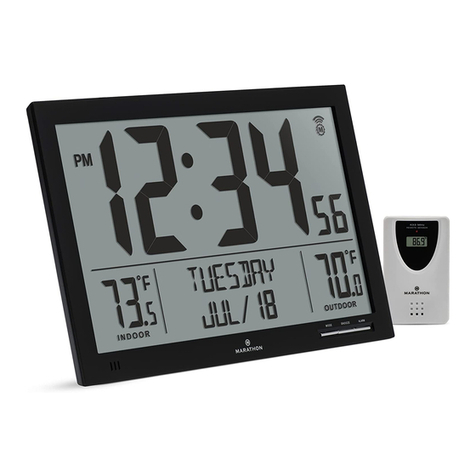
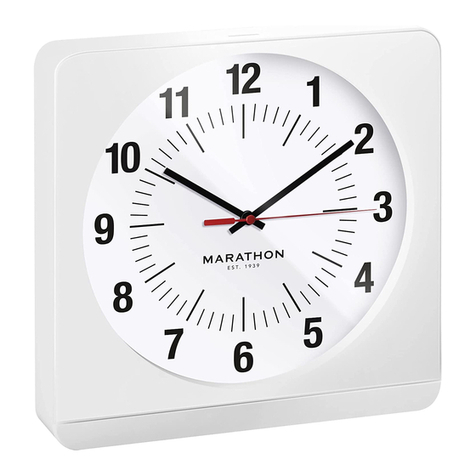
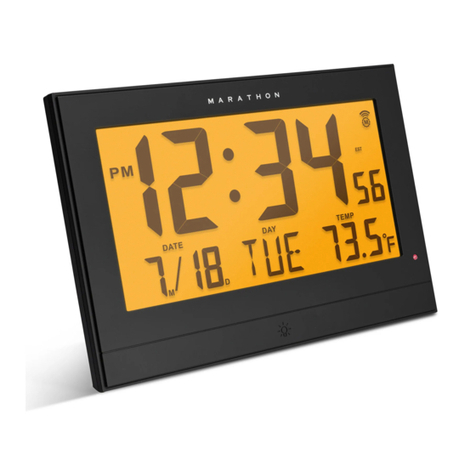
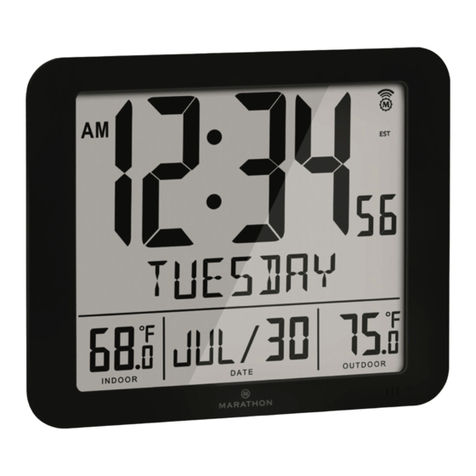
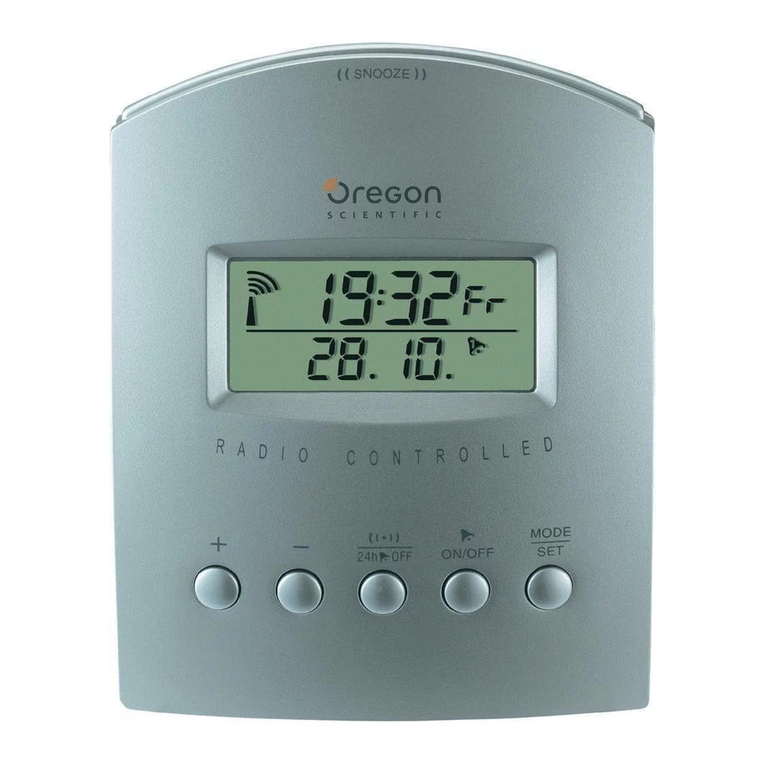
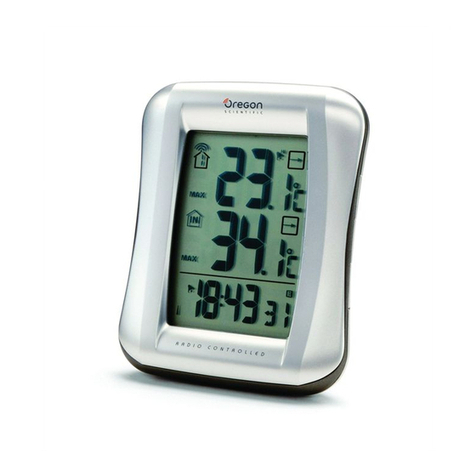
RadioControlledClock
WiththisRadioControlledClockisanextremelyaccuratetimepiece.Itcan3receivethetime signaltransmittedbytheNational
InstituteofStandardsandTechnology(NIST),whichisregulatedby3atomic clocksanddeviateslessthan1secondwithin3,000
years. TheNISTbroadcaststhetimesignal(WWVB,60kHz)continuouslyfromFortCollins,Colorado.Thissignalcanbe received
anywhereinthecontinentalUSAandCanadathatlongwave(AM)radioreceptionispossiblewithaportable radio.Itisexpected
thatthesignalcanreachadistanceofover2,000milesfromthetransmitter.Therefore,your clockwillreceivethesignalwithinthe
broadcastrangeanywhereanAMsignalcanbereceived;generally thesignalcannotbepickedupinmassivemetalandconcrete
structuresunlessnearawindow.Inaddition, someenvironmentaleffects(seebelow)mayaffectthetransmittingdistanceand
reception.
Formoreinformation,pleaserefertotheWWVBWEBpageofNISTat:
http://www.boulder.nist.gov/timefreq/
EnvironmentalReceptionEffects
TheRadioControlledClockobtainstheaccuratetimewithwirelesstechnology.Justaswithallwirelessdevices, thereceivingability
maybeaffectedby,butnotlimitedtothefollowingconditions:
•Longtransmittingdistance.
•Nearbymountainsandvalleys.
•Amongtallbuildings.
•Nearrailways,highvoltagecables,etc.
•Nearfreeways,airports,etc.
•Nearconstructionsites.
•Insideconcretebuildings.
•Nearelectricalappliances.
•Badweather.
•Insidemovingvehicles.
•Nearbymetalstructures.
A l’intérieur ou proche des bâtiments ou structures
en béton/acier, à moins que l’horloge soit proche
ou à côté d’une fenêtre (avec les rideaux ouverts)
A côté ou proche d’une centrale électrique A l’intérieur des véhicules (automobiles, trains,
avions, etc.), dont la transmission radio ou
électronique interféra avec la réception.
Trop proche des appareils électroniques ménagers
(Ordinateur, TV, vidéo, fax, haut-parleurs).
Proche des sites de construction, feux
de circulation, bord de route, éclairage
au néon, etc.
Proche ou dessus des surfaces/plaques
métalliques
SET/WAVE
RESET
6
Battery Installation
• Open the battery compartment cover of the unit
• Insert 2 “AA” batteries in polarity (+) and (-) as indicated inside the battery compartment
• Close the battery compartment cover
Warning: Do not mix old and new batteries. Do not mix alkaline, standard
(carbon-zinc) or rechargeable (nickel cadmium) batteries.
Do not touch any other button or setting on the unit. It will automatically receive the
remote temperature and time signal after batteries are inserted.
(See “Location Precautions” above).
Radio-Controlled Clock Reception
Your radio-controlled clock automatically receives the time signal everyday at midnight and
makes any required adjustments to the time setting. The WAVE OK indicator and the antenna
tower icon appear on the display when the time signal is successfully received or after manually
pressing the WAVE button.
Important: Do not perform any button or switch operation while a signal reception operation
is in progress. You can activate a reception operation manually at any time by pressing the
WAVE button.
Note: Frequent use of this feature may affect battery life.
Unsuccessful Signal Reception
If the automatic update is unsuccessful at midnight, the WAVE OK and the antenna tower icon
will disappear. The unit will attempt to receive the signal again every hour afterward for a
maximum of 4 hours.
After an unsuccessful signal reception, battery installation, or after reset, the unit will search for
10 minutes every 3 hours until the time signal reception is successful.
After successful reception of the time signal you may need to change the time zone or DST
setting. The default is Pacifi c Time zone and DST on. To change these defaults:
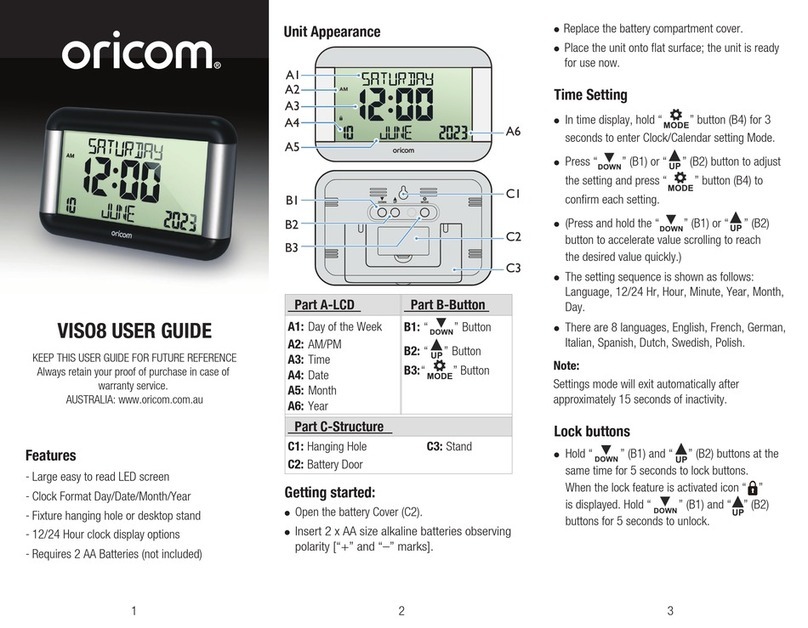
1. Press and hold the SET/WAVE button for DST for two seconds. The DST and time zone settings
will blink.
2. Press – key to set DST on or off.
3. Press + key to change the time zone until your desired time zone shows on the display.
P = Pacifi c Standard Time M = Mountain Standard Time
C = Central Stardard Time E = Eastern Standard Time
4. Press the set button to confi rm the time zone, DST set and go to calendar set. To exit the
setting mode press and release the set button until the display returns to normal time mode.
Manual Clock Setting
To Set the DST and TIME ZONE
1. Press and hold the SET/WAVE button for a couple of seconds and the unit will go to DST
and TIME ZONE set mode.
2. Press – key to toggle DST ON and DST OFF.
3. Press + key to change the time zone until your desired time zone is shown on the display.
3
Précaution d’emplacement
Cette horloge reçoit un signal radio tout comme une TV ou une radio.
Veuillez la placer près d’une fenêtre ou près des endroits ou la réception est bonne.
Evitez les emplacements suivants, qui peuvent interférer avec la bonne réception :
Caractéristiques
• Reçoit un signal 60kHz WWVB
• Ajustement automatique de l’heure après la réception du signal
• Calendrier avec affi chage du jour de la semaine
• Affi chage des heures, minutes et secondes
• Format 12 ou 24 heures
• Fréquence de l’oscillateur à cristal : 32.768kHz.
• Précision de l’heure (horloge radio-contrôlée) : mieux que 1 seconde en 3000 ans.
• Précision de l’heure (Exécution libre): +/-60 secondes par mois
• Fonctionnement de la température de 0°C à 50°C (32°F à 122°F)
• Gamme de mesure de température de 9.9°C à 50°C (14.2°F à 122°F)
• Résolution de la température 0.1°C (0.2°F)
Pour commencer
Décollez le plastique de protection sur l’écran LCD sur le dessus de l’horloge. Insérez les 2 piles
AA incluses. Aussi longtemps que les piles fournissent la puissance dans l’unité, l’horloge reçoit
le signal horaire et ajuste l’heure automatiquement. Aucun ajustement manuel n’est requis après
l’allumage. L’ajustement exact de l’horloge basé sur le signal horaire est supporté sur le
continent Américain et le Canada.
Nous vous recommandons de laisser l’horloge pendant la nuit pour chercher le signal horaire du
fait que la nuit permet une meilleure transmission du signal horaire.


