Mark MMC 2000 User manual

v. 1.0
User Manual / Instrucciones de Usuario
MMC 2000

TABLE OF CONTENTS
1.WARNING SAFETY INSTRUCTIONS............................................................
1.1 DESCRIPTION...............................................................................................
2.VIRTUAL DJ LE...............................................................................................
2.1 Installing the software.................................................................................
2.2 Instaltion under windows............................................................................
2.3 Instaltion under Mac...................................................................................
2.4 Activating the software...............................................................................
2.5 Upgrade and support.................................................................................
2.6 Using the controller with other applications..................................................
3.CONNECTING THE CONTROLLER.................................................................
3.0 Connecting audio units.............................................................................
3.1 Connecting a computer.............................................................................
3.2 Configuration of the controller....................................................................
4.OPERATION..................................................................................................
4.0 Loading titles from the computer’s database...............................................
4.1 Playing a title...........................................................................................
4.2 Basic adustment of the mixer.....................................................................
4.3 Crossfading between the decks.................................................................
4.4 Announcements via the DJ channels..........................................................
4.5 Prefader listening to the channels..............................................................
4.6 Fast forward and reverse...........................................................................
4.7 Return to the starting point of the title or to a defined spot(cueing).................
4.8 Pitch adjustment.......................................................................................
4.9 Activating the master tempo function..........................................................
4.10 Matching the beat between deck A and deck B...........................................
4.11 Playing a continuous loop synchronized with the beat................................
5.EFFECT FUNCTIONS....................................................................................
APPENDIX A (MIDI CHART)....................................................................................
5.0 Switching on effects..................................................................................
5.1 Playing samples.......................................................................................
5.2 Scratch effects.........................................................................................
5.3 Droning effects.........................................................................................
5.4 Stutter effects..........................................................................................
3
8
9
9
10
11
12
12
13
13
14
14
15
15
16
16
17
17
17
17
18
18
18
19
19
20
21
20
20
20
20
20
2
- 1 - User Manual/Manual de Instrucciones MMC 2000
EN

WARNING SAFETY INSTRUCTIONS
To reduce the risk of fire or electric shock,do not expose this apparatus
to rain or moisture. Apparatus shall not be exposed to dripping or splashing and no
object filled with liquids,such as vases,shall be placed on the apparatus.
WARNING:
1. Read these instructions.
2. Keep these instructions.
3. Heed all warnings.
4. Follow all instructions.
5. Do not use this apparatus near water.
6. Clean only with a dry cloth.
7. Do not block any ventilation openings.install in accordance with manufacturer’s
instructions.
8. Do not install near any heat sources such as radiators,registers,stoves,or other
apparatus (including amplifiers)that produce heat.
9. Only use attachments and accessories specified by the manufacturer.
10.Use only with the cart, stand,tripod,bracket,or table specified by the manufact-
urer,or sold with the apparatus.when a cart is used,use caution when moving
the cart/apparatus combination to avoid injury from tip-over.
11.Unplug this apparatus during lightning storms or when unused for long periods
of time.
12.Refer all servicing to qualified service personnel.Servicing is required when
the apparatus has been spilled or objects have fallen into the apparatus,the
apparatus has been exposed to rain or moisture,does not operate normally,or
has been dropped.
- 2 - User Manual/Manual de Instrucciones MMC 2000
EN

The functions of the control elements described below apply when using the MMC 2000
with the supplied DJ software Virtual DJ LE which is designed to integrate seamlessly
with the controller.We strongly advice to read the software's user manual which you will
receive with the installation.
The MMC 2000 uses the MIDI date control and can therefore also be used for other MIDI
controlled audio software.If you would like to use the controller with another DJ program,
refer to that software's user manual to learn how to map the control elements to various
functions within the application.
Below is a description of the functions of the controls.
1.button effect selector
For selecting an effect.
2.Button effect on
Switches the selected effect on and off.
With the effect activated,the LED will
light up.
3.Button sync
To synchronize the beats per minute to
the other deck.
4.Button sampler play
To restart the sample selected last.
- 3 - User Manual/Manual de Instrucciones MMC 2000
EN

5.Button load A
To load the title selected in the browser
section into Deck A.
6.Button folder select
To activate the browser section and to
jump back to the main directory.
7.Track encoder
Turn the control to browse the drives and
folders of the computers.Press the control
to select subdirectories.
8.Control gain
Adjusts the input amplification.
9.Treble tone equalizer
Adjust the treble tone of the music of the
deck.
10.Middle tone equalizer
Adjust the middle tone of the music of the
deck.
11.Bass tone equalizer
Adjust the bass tone of the music of the
deck.
12.Loop shift button(shorten)
Half the loop length-the minimum length
of a loop is one computer beat grid(CBG).
13.“Loop in” button
Mark the start point of a loop.
14.“Loop out” button
Mark the end point of a loop and start
looping.Press it again to quit the loop.
15.Loop shift button(lengthen)
Double the loop length-the maximum
length of a loop is 32 CBG.
16.Pitch button
The pitch button allows you to change
the adjustable pitch range from ±6% to
±100%.
17.Button master tempo
For constant pitch when the speed has
been changed with the pitch slide control.
18.Pitch slide control
Sets the speed(if the button MASTER
TEMPO lights up,the tonal pitch will not
be changed).Slide the control up to dec-
rease the pitch,slide it down to increase
it.The pitch percentage is indicated in
the display.
19.Buttons hot cue 1-3
To store and to call up to three cue
points per title.
20.Buttons pitch “bend +”and “bend -”
The function pitch bend creates a temp-
orary change of speed.As long as the
buttons are pressed,the pressed,the
title is played slower or faster.
21.PC/LINE toggle
Toggles between the LINE input or PC
signal for playback and control.
22.Play Button
To start playback and for stutter effects.
23.Touch jog wheel
The touch jog wheel is used for scratch-
ing or searching.
24.Pause Button
To switch to pause and to jump to cue
points.
25.CUE Button
For return to the begining of the title or a
cue point defined before(the unit is in
pause mode).
When keeping the button pressed in pa-
use mode,the title is momentarily played.
As soon as you release the button the
unit instantly returns to the cue point.
26.Channel fader
Adjusts the channel level.
27.Power indicator
Lights up when the DJ controller is on.
28.Crossfader
For crossfading between Deck A and
Deck B.In midposition both decks can
be heard at the same volume.
- 4 - User Manual/Manual de Instrucciones MMC 2000
EN

Overview
Front panel
29.Control booth volume
level control for the output booth.
30.Effect parameter 1 adjustment knob
Adjust the firts parameter(if any)of the
selected effect.
31.Effect parameter 2 adjustment knob
Adjust the second parameter(if any)of
the selected effect.
32.Control sample selector
For selecting and playing samples.
33.Control sampler level
For adjusting sample level.
34.LED level meter L/R
6-digit LED meter of the stereo master
signal within the range of -13 dB to +3 dB.
35.Search button
Press to turn on/off the searching funct-
ion of the touch jog wheel.With the se-
arch function,you can go to a specific
point in the music on the deck easily by
turning the touch jog wheel.
36.Scratch button
Press to turn on/off the scratch function
of the touch jog wheel.Noted that the
touch jog wheel cannot be used for scrat-
ching and searching at the same time.
37.Touch jog wheel sensor LED
Lights when the touch jog wheel is
touched.
38.BPM Button
Sets the number of beats per minute
(BPM) of a title manually.For this press
the button several times to the beat of the
music.
39.Headphones inputs
6.3 mm and 3.5 mm jacks headphone 1
and 2 for connecting stereo headphones
(impedance≥8Ω).
40.Control cue level
Level control for headphones connected
to the jacks headphone 1 and 2.
41.Control CUE
For selecting and crossfading the monit-
oring signal for the headphones depend-
ing on the cue mode selector switch:
mode cue:The prefader level of Deck A
and Deck B is monitored.
mode split:The prefader level and the
master signal is monitored.
- 5 - User Manual/Manual de Instrucciones MMC 2000
EN

42.Control x-fader curve
Adjusts the characteristic of the crossfa-
der:
left position:smooth crossfading(gradu-
al transition)e.g. for lone mixes
right position:sharp crossfading(abrupt
transition) e.g. for scratching and cutting.
43.Control mic level
Level control for DJ microphones conne-
cted to the jacks MIDI MIC.
44. Microphone inputs midi mic
Input jacks for connecting DJ microphones
via XLR or a 6.3 mm plugs.
Overview
Rear panel
45.Grounding screw
If you intend to use a turntable,you will
need to ground the RCA cable(s) by car-
ewing in the grounding fork(s) to the gro-
unding screw located on the rear panel
of the mixer.
46.Convertible line/phono RCA input
The unit has a convertible line/phono
RCA input that accepts a standard dual
L&R RCA connection.
47.Phono/Line switch
This small switch allow you to connect the
RCA input connection between a phono
(turntable) input or a Line Level(MP3,CD,
cassette deck,etc...)input.The unit has a
convertible Line/phono RCA.
48.Recording output REC
Stereo output(RCA) for connecting a rec-
ording unit.The recording level is indepe-
ndent of the output controls master cont-
rol,master level and booth volume.
49.Master output,unbalanced
Unbalanced stereo output(RCA) for con-
necting an amplifier or other units with
line level inputs.The output supplies an
audio signal coming from the computer
or the signal of an extermal source at the
line input-depending on the position of
the selector switch PC/Line.
50.Output booth
Stereo output(RCA) for connecting a futh-
er amplifier,e.g. for the monitoring system
or PA application in a secondary roo.The
output supplies an audio signal coming
from the computer or the signal of an ext-
ernal source at the line input-depending
on the position of the selector switch
PC/Line.
51.Power input
For connecting the included power unit
alternatively to power supply via the usb
connection.
- 6 - User Manual/Manual de Instrucciones MMC 2000
EN

52.Power selector switch
Position adaptor:power supply is via the
included power unit position off:controller
is power off position usb:power supply is
via the usb connection
53. USB input
For connecting to a PC via USB
cable for supply and data interchange
54.Master output,balanced
Independently adjustable balanced ster-
eo output(XLR) of the master signal for
connecting an amplifier or other units with
line level inputs.The output supplies an
audio signal coming from the computer or
the signal of an external source at the line
input-depending on the position of the s-
elector switch PC/Line.
- 7 - User Manual/Manual de Instrucciones MMC 2000
EN

3
2
1
456
78
2.0
- 8 - User Manual/Manual de Instrucciones MMC 2000
EN

- 9 - User Manual/Manual de Instrucciones MMC 2000
EN
- 10 - User Manual/Manual de Instrucciones MMC 2000
EN

- 11 - User Manual/Manual de Instrucciones MMC 2000
EN
MMC 2000
MMC 2000
MMC 2000. MMC 2000
- 12 - User Manual/Manual de Instrucciones MMC 2000
EN
BOOTH VOLUME
PC 1/LINE 1 PC 2/LINE 2
- 13 - User Manual/Manual de Instrucciones MMC 2000
EN

MMC 2000
Outputs
- 14 - User Manual/Manual de Instrucciones MMC 2000
EN

- 15 - User Manual/Manual de Instrucciones MMC 2000
EN
MMC 2000
MMC 2000
- 16 - User Manual/Manual de Instrucciones MMC 2000
EN
5
- 17 - User Manual/Manual de Instrucciones MMC 2000
EN

- 18 - User Manual/Manual de Instrucciones MMC 2000
EN

- 19 - User Manual/Manual de Instrucciones MMC 2000
EN
Table of contents
Other Mark Dj Equipment manuals

Mark
Mark DecoPAR DPR36 User manual

Mark
Mark THEATRE 650 User manual

Mark
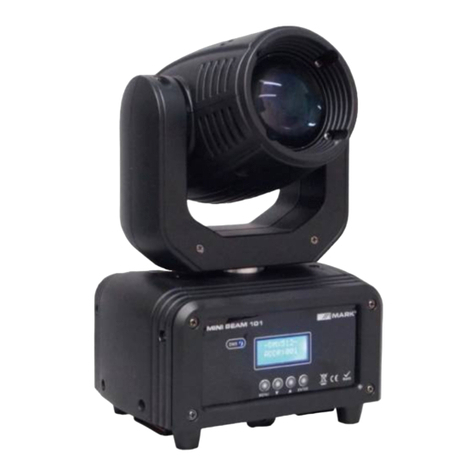
Mark MINI BEAM 101 User manual

Mark
Mark MOVILIGHT BEAM 150 User manual

Mark
Mark BEAM LED 150 User manual

Mark
Mark MOVILED 183 W User manual

Mark
Mark DecoPAR DPR30 User manual

Mark
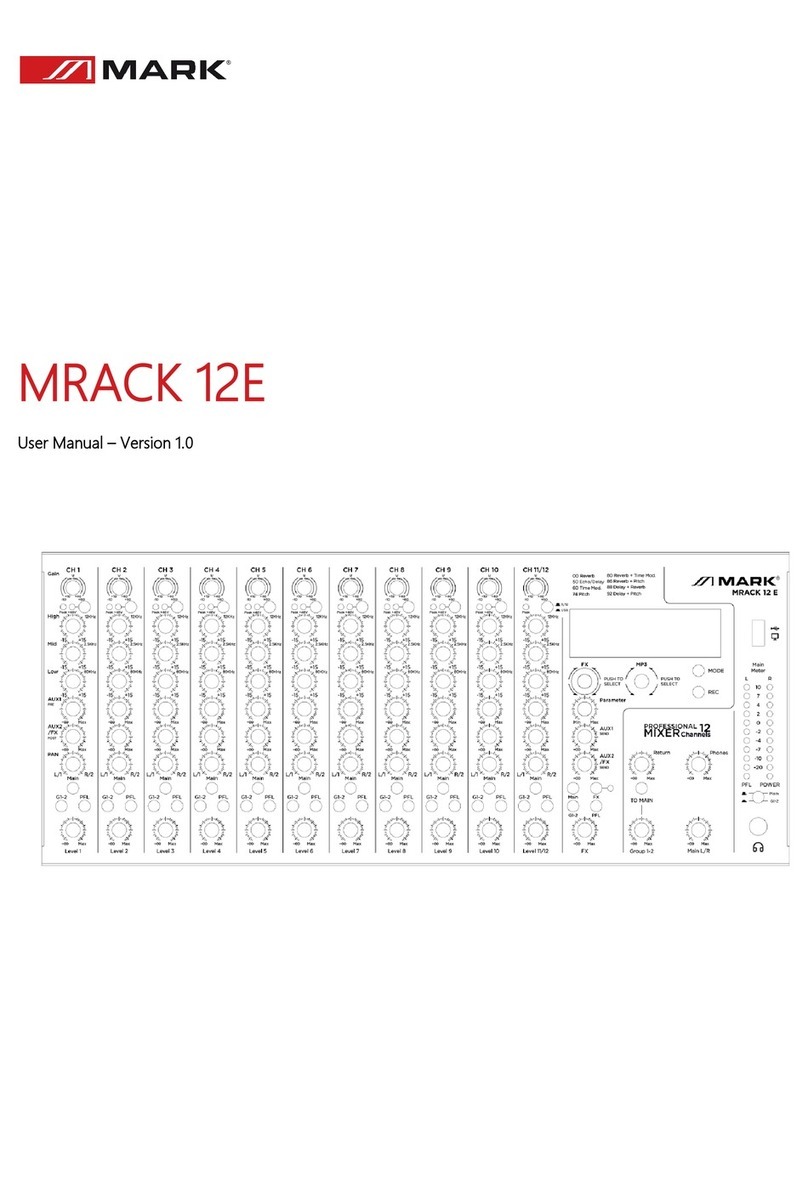
Mark MRACK 12E User manual

Mark
Mark DecoPAR DPRC35E User manual

Mark
Mark Superparled 355 IP User manual