Matador TITAN 4 User manual
Other Matador Grill manuals

Matador
Matador LEGEND 4 User manual

Matador
Matador EDGE GB0103 User manual
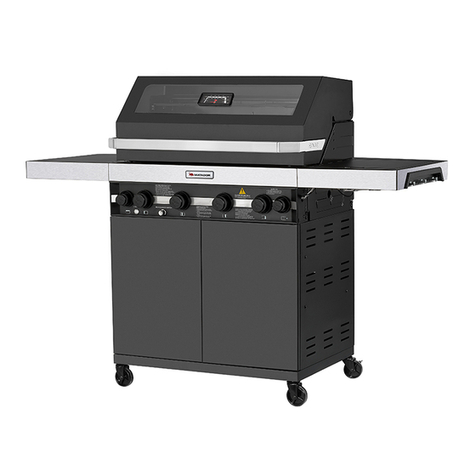
Matador
Matador Edge 3 BNR User manual

Matador
Matador Outdoor Entertainer HS-KC003A User manual

Matador
Matador BOSS 6 User manual

Matador
Matador Radiant Pro User manual

Matador
Matador Supernova 4 User manual

Matador
Matador PALLADIUM 6 BURNER BBQ User manual

Matador
Matador ARTISTE 2 User manual

Matador
Matador Radiant User manual

Matador
Matador RADIANT GO User manual

Matador
Matador HS-18MAK600 User manual

Matador
Matador supremo 5 User manual

Matador
Matador MAVERICK User manual

Matador
Matador Retro User manual

Matador
Matador SUPENOVA 6 User manual

Matador
Matador BOSS 4 Owner's manual

Matador
Matador MAVERICK User manual
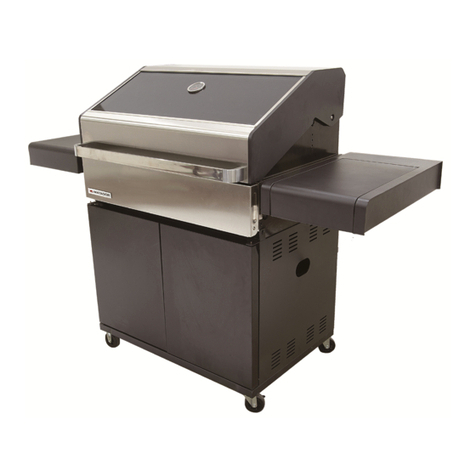
Matador
Matador PALLADIUM 4 BURNER User manual
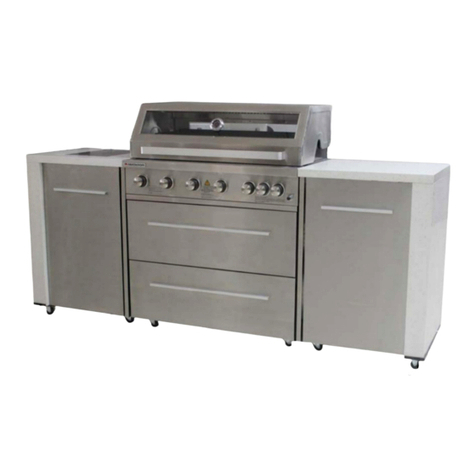
Matador
Matador Supernova 6 User manual
Popular Grill manuals by other brands

Landmann
Landmann Avalon PTS Plus 5.1 Plus 12122 Assembly and operating manual

Kenyon
Kenyon B70200 owner's manual

Better Homes and Gardens
Better Homes and Gardens GBC1486W owner's manual

Orbegozo
Orbegozo GR 2300 instruction manual

bora
bora PT11 Operating and installation instructions

Klarstein
Klarstein 10031664 manual

Garland
Garland MWE3W Installation and operation manual

Char-Broil
Char-Broil 463722714 Product guide

MPM
MPM MOP-03 user manual

Kenmore
Kenmore 415.16123800 Use and care guide

Tucker Barbecues
Tucker Barbecues GTR Series Assembly, installation and operating instructions

Monogram
Monogram ZGG540NCP1SS owner's manual


