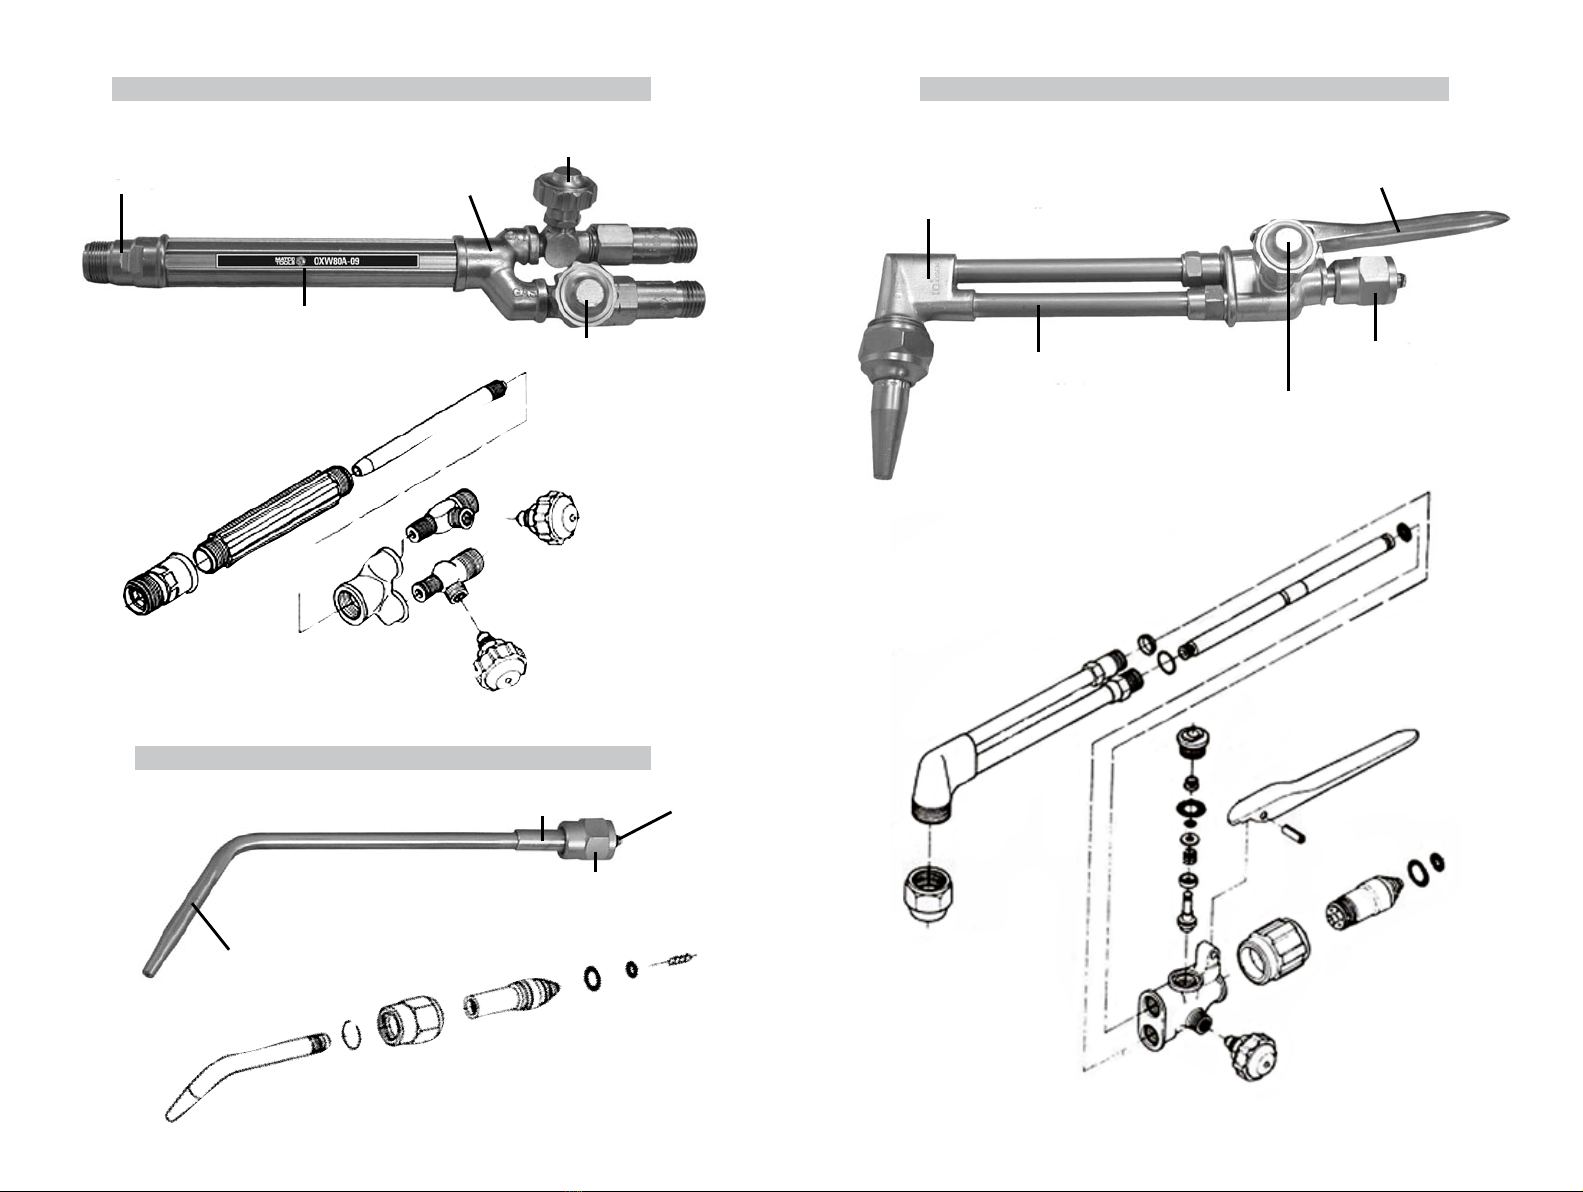
There must
be 2 O-rings
on the cone end. The absence of
either O-ring can lead to ashback
within the torch handle or cutting
attachment.
For cutting attachment, inspect the
tampered seating surfaces on tip
and in torch head. Have a qualied
technician resurface the seat area if it
has dents, burrs or is burned. A poor
seating surface may result in backre
of ashback.
The following
instructions are
for acetylene gas use only. Contact
your gas supplier for instructions on
the use of other fuel gases.
17
WARNING
NOTICE
WARNING
16
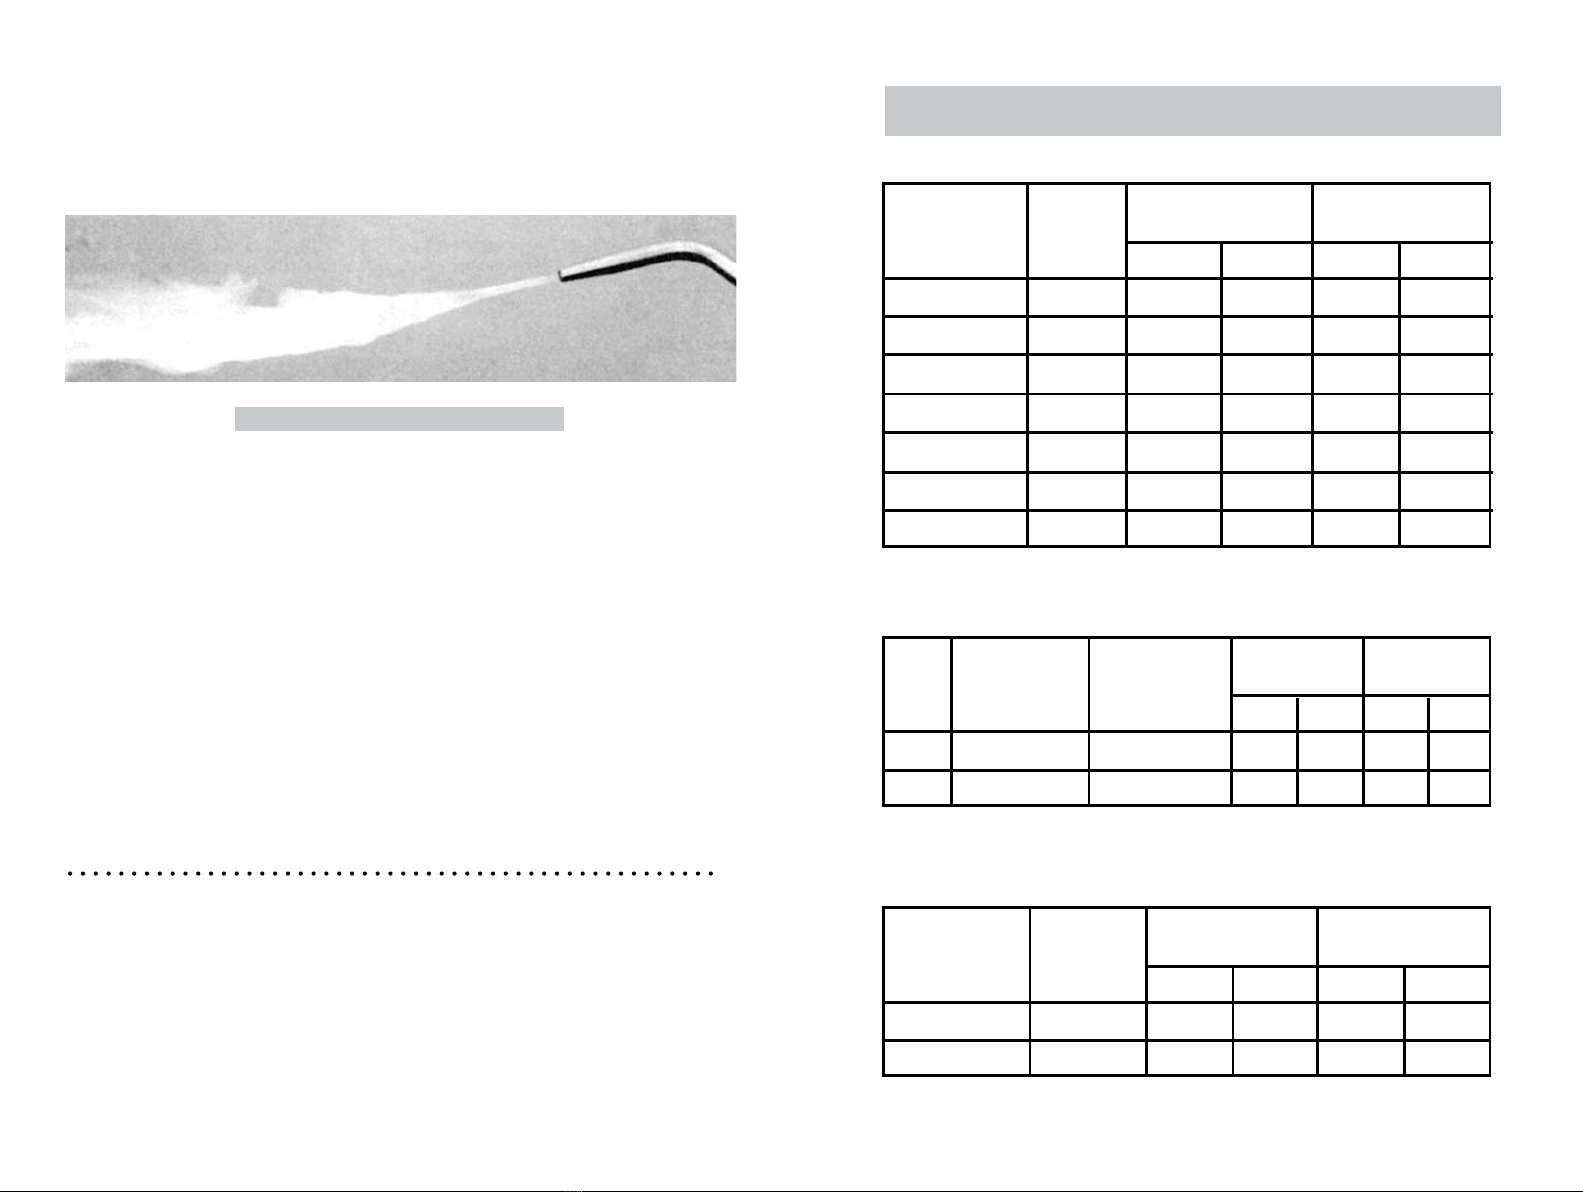
Safety Guidelines BACKFIRE AND FLASHBACK
When the ame goes out with a loud
pop, it is called a backre. Backre
can be caused by
(1) Operating the torch at lower
pressures than required for
the tip used,
(2) Touching the tip against the work,
(3) Overheating tip or,
(4) An obstruction in the tip.
If backre occurs, shut off the
torch handle valves (oxygen
rst) and after remedying the
cause relight the torch.
A ashback is a condition that
results when the ame ashes back
into the torch and burns inside with
a shrill hissing or squealing noise.
If ashback occurs, turn off the
torch handle valves (oxygen rst)
IMMEDIATELY. Flashback generally
indicates a problem that should
be xed. A clogged tip, improper
functioning of the valves, or incorrect
acetylene / oxygen pressure could
lead to ashback. Be certain to nd
the cause before relighting the torch.
WARNING
DANGER
CAUTION
NOTICE
WARNING
WARNING
Flying sparks and
hot metal can cause
injury. Take necessary
precautions to reduce
the possibility of injury from ying
sparks and hot metal.
WARNING
WARNING
Oxy-fuel perations
cause sparks
and heat metal to
temperatures that
can cause severe
burns! Use protective gloves and
clothing when performing any metal
working operation. Take necessary
precautions to reduce the possibility
of skin and clothing burns.
• Keep all clothing and protective
equipment free of oil and
grease.These substances can
ignite and will burn violently in
the presence of pure oxygen.
Always keep an
approved re
extinguisher
accessible while
performing oxy-fuel operations.
Danger means a
hazard that will
cause death or serious injury if the
warning is ignored.
Warning means a
hazard that could
cause death or serious injury if the
warning is ignored.
Caution means a
hazard that may
cause minor or moderate injury if the
warning is ignored. It may also mean
a hazard that will only cause damage
to property.
Notice means
any additional
information pertaining to the product
or its proper usage.
Oxy-fuel
operations
produce intense light and heat and
ultraviolet (UV) rays. The intense
light and UV rays can cause injury
to eyes and skin. Take all
precautions described in the
manual to reduce the possibility of
injury to eyes and skin.
• All person operating this equipment
or in the area while equipment is in
use must wear protective welding
gear including: welding goggles
with a minimum shade 5, ame
resistant clothing, leather welding
gloves, and full foot protection.
• Make sure that all persons in the
welding area are protected from
heat, sparks, and ultraviolet rays.
Use ame resistant barriers
as needed.
• Never touch work pieces until
completely cooled.
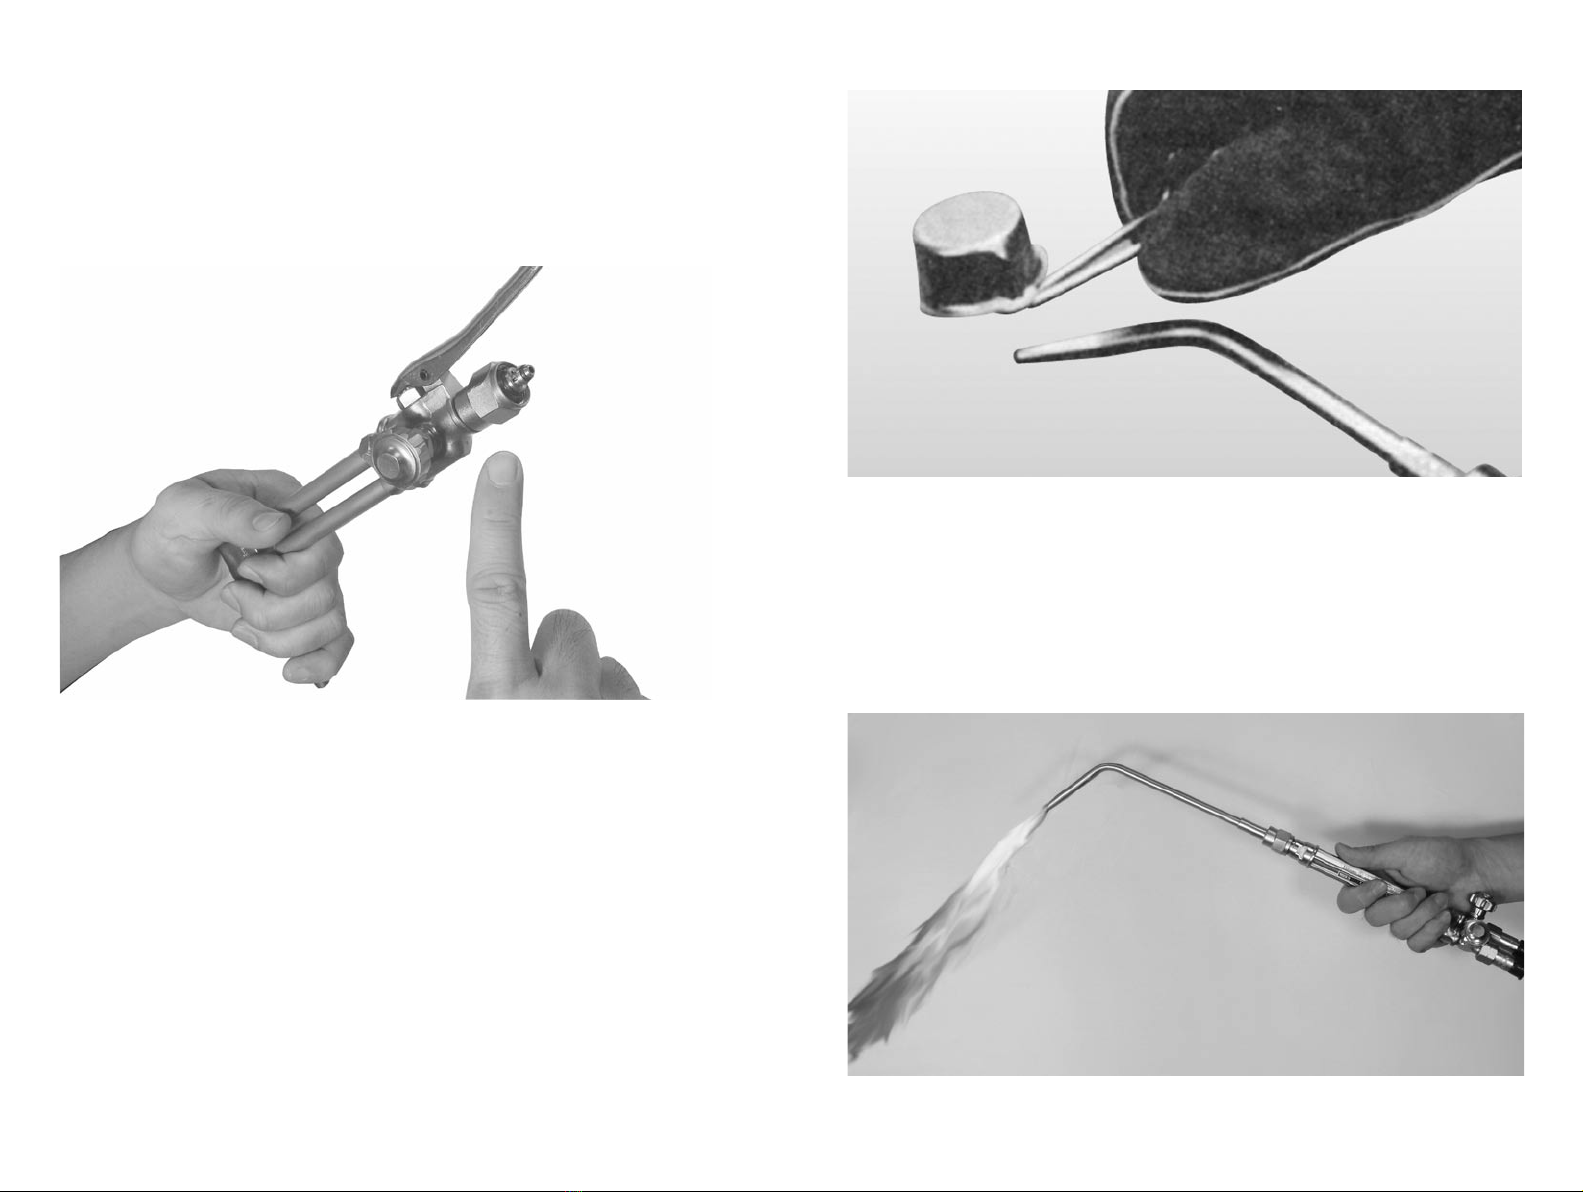
Lighting Torch
Before lighting
the torch, follow
all personal and equipment safety
regulation. Wear ltered protective
eyewear (shade 5 minimum) to
protect the eyes from heat, sparks
and hazardous rays of light produced
by the ame. Keep work area well
ventilated.
• Wear ANSI approved face shield
or safety glasses with side shield
protection when chipping
or grinding metal parts.
• Wear ear plugs when welding
overhead to prevent spatter or
slag from falling into ears.
General Safety Operation