manuals.online logo
Brands
  1. Home
  2. •
  3. Brands
  4. •
  5. Maxon
  6. •
  7. Indoor Furnishing
  8. •
  9. Maxon Nesting Table Service manual

Maxon Nesting Table Service manual

HUDDLE TABLES®
TABLES HUDDLE®
MESAS HUDDLE®
Failure to assemble product as instructed could result in property damage or serious bodily injury. Read all instructions
and review all illustrations before installing. Moving table while loaded may cause property damage or serious bodily
injury. Unload table before moving.
L’assemblage incorrect de ce produit peut entraîner des blessures graves ou des dégâts matériels. Lire toutes les
instructions et étudier toutes les illustrations avant l’installation. Le déplacement d’une table chargée peut entraîner des
dégâts matériels ou des blessures graves. Enlever ce qui se trouve sur la table avant de la déplacer.
Si el producto no se arma como se instruye, se puede causar daños a la propiedad o lesiones corporales graves. Lea
todas las instrucciones y examine todas las ilustraciones antes de instalar. Si se mueve la mesa cuando está cargada
puede causar daños a la propiedad o lesiones corporales graves. Descargue la mesa antes de moverla.
NOTE: Locking casters must be installed along front edge of table.
REMARQUE : Les roulettes blocables doivent être installées le long du bord avant de la table.
NOTA: Las ruedas orientables con freno deben instalarse a lo largo del borde delantero de la mesa.
Tools required for assembly:
Outils requis pour l’assemblage:
Herramientas requeridas para el armado:
#3 Phillips
IMPORTANT
18" T-leg base can only be used with an 18"worksurface.
24"T-leg base can be used with either the 24"or 30" worksurface.
IMPORTANT
Le pied en T de 18 po (45,7 cm) ne peut être utilisé qu’avec une surface
de travail de 18 po (45,7 cm).
Le pied en T de 24 po (61 cm) peut être utilisé avec la surface de travail de
24 po (61 cm) ou de 30 po (76,2 cm).
IMPORTANTE
La base de pata en T de 18 pulg (45,7 cm) sólo puede usarse con una
 superciedetrabajode18pulg(45,7cm).
 LabasedepataenTde24pulg(61cm)puedeusarseconunasupercie
de trabajo de 24 pulg (61 cm) o de 30 pulg (76,2).
IMPORTANT: To protect nish during assembly, place worksurface on cardboard or a carpeted surface.
IMPORTANT: Pour protéger le ni durant l’assemblage, placer la surface de travail sur du carton ou une moquette.
IMPORTANTE: Para proteger el acabado durante el armado, coloque la supercie de trabajo sobre un pedazo de
cartón o un piso con alfombra.
M4 Hex Wrench
Page 1
©2016 The HON Company | HON is a registered trademark of HNI Technologies, under license to the HON Company.
WARNING
ADVERTISSMENT
ADVERTENCIA
6640200000K
www.hon.com
1/2016
Table Top Base
M-PPHR3248E1
M-PPHR3060E1
M-PP2448RE
M-PP2460RE
M-PP2472RE
M-PP3048RE M-PPFLIP30S
M-PP3060RE
M-PP3072RE
Table Top to Base Compatibility Chart:
M-PPFLIP24S
M-PPFLIP24L
M-PPFLIP30L
Tools required for assembly:
IMPORTANT: To protect nish during assembly, place worksurface on cardboard or a carpeted surface.
Follow pilot hole pattern illustrated below.
Guidelines:
Prepare Nesting Tables Installation Packet
Failure to install product as instructed, use of hardware other than that which is provided, or failure to comply
with instructions can result in product failure, personal injury, or property damage.
WARNING
343-4085
(03/17)
Pages 1 of 3
SCALE 0.500
SCALE 0.500
SCALE 0.500
IMPORTANT: Friction bushings must be positioned with
at sides oriented as shown in the illustration below.
NOTE: Over-tightening screws may cause screws to strip.
Do not over-tighten screws.
Step 2 - Slide Hinge Bushing over Hinge Tube.Step 1 -Use Connector Bolts to attach
the Base Support Assembly
to the Column Leg
Step 3 - Place Hinge Bracket over boss on Hinge Bushing.
Line up the Hinge Bracket with the pilot holes
outlined with ovals on page one
and attach with wood screws.
Step 4 - Line up the Latch Assembly with the pilot holes
outlined with triangles on page one and attach
with wood screws.
Step 5 - Pull back on the
Latch Assembly
to expose two
holes and attach
with wood
screws.
Illustration 1.
Prepare Nesting Tables Installation Packet
343-4085
(03/17)
Page 2 of 3
Step 6 - Use Connector Bolts to attach
the Feet to the Column Leg.
Step 7 - Install Casters.
Locking casters must be installed
along front edge of table.
Step 7 - Use two people to lift and upright the table.
Prepare Nesting Tables Installation Packet
343-4085
(03/17)
Page 3 of 3

Other Maxon Indoor Furnishing manuals

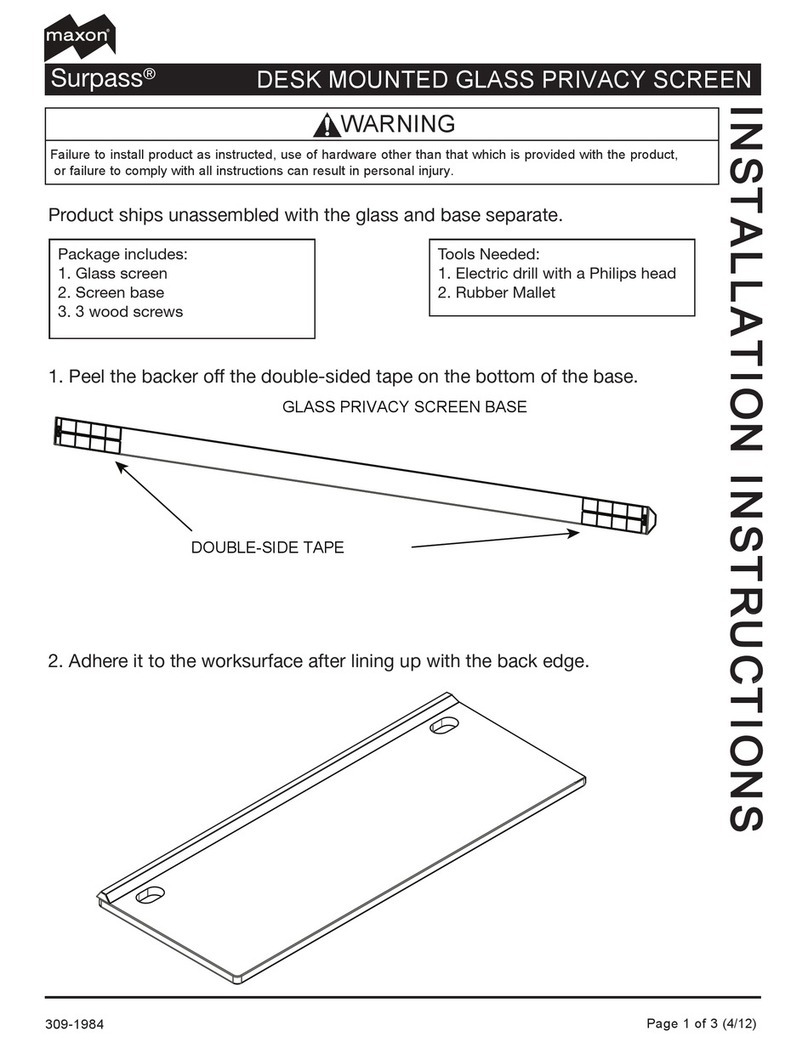
Maxon Surpass User manual

Maxon

Maxon Surpass User manual

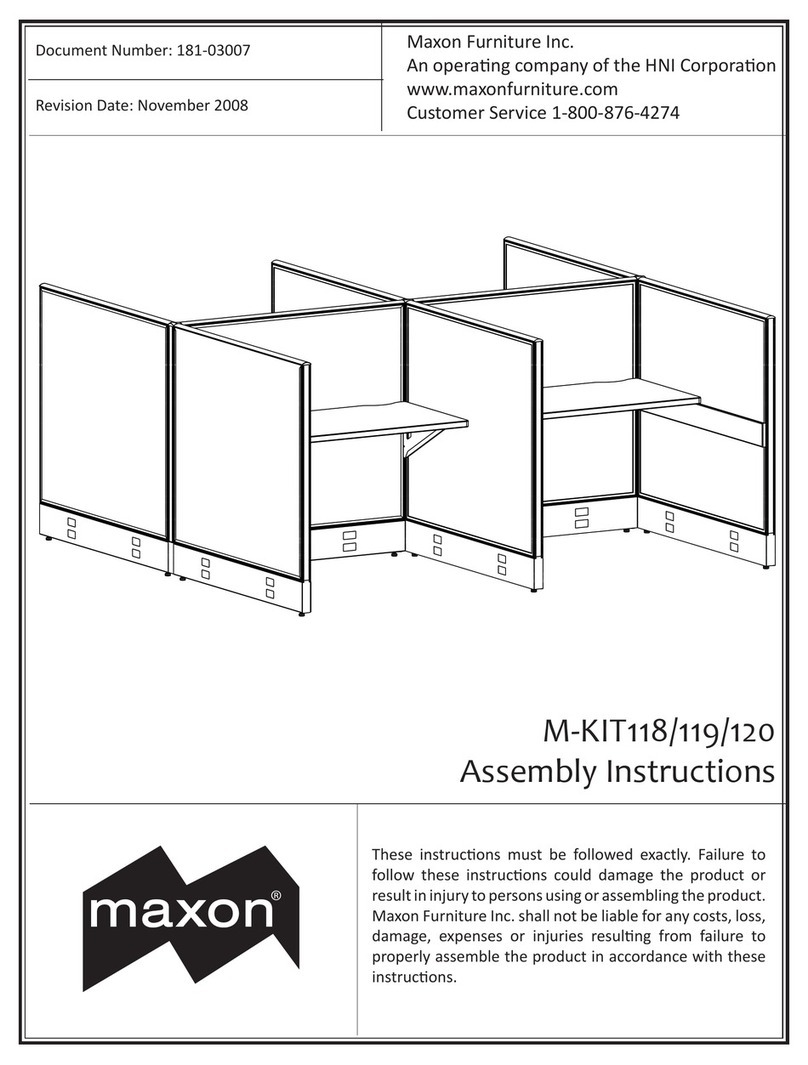
Maxon M-KIT118 User manual

Maxon

Maxon M-KIT118 User manual

Maxon Surpass User manual

Maxon

Maxon Surpass User manual

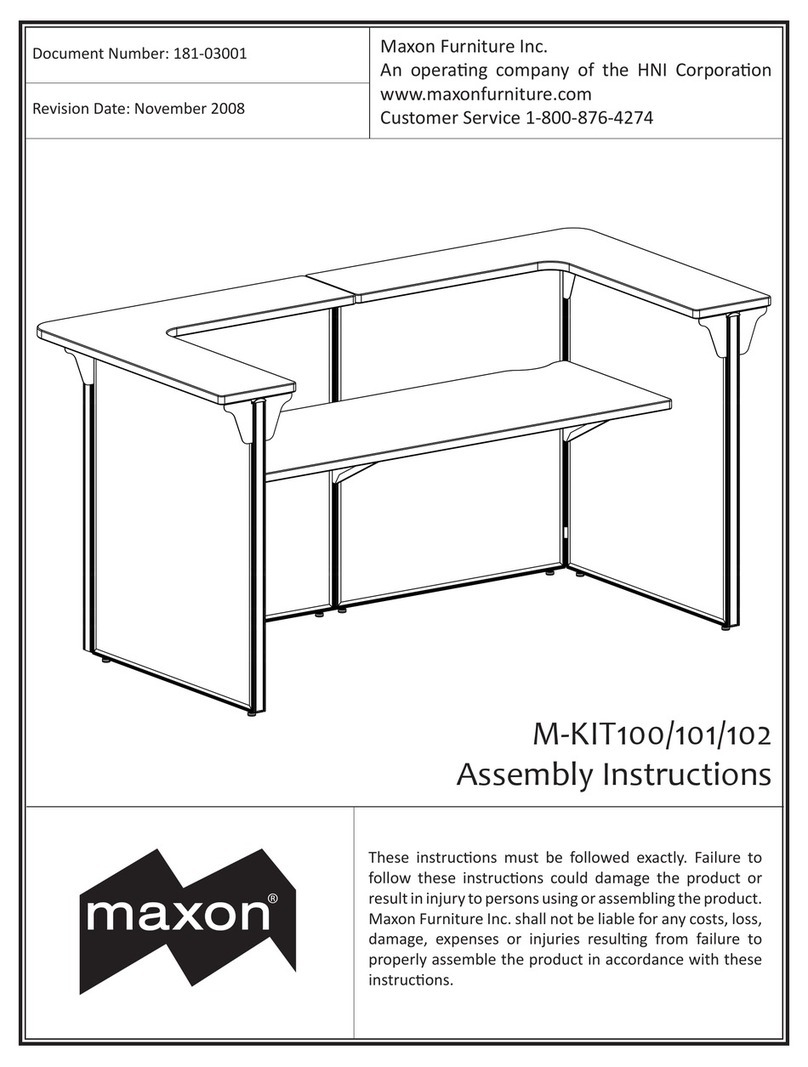
Maxon M-KIT100 User manual

Maxon

Maxon M-KIT100 User manual

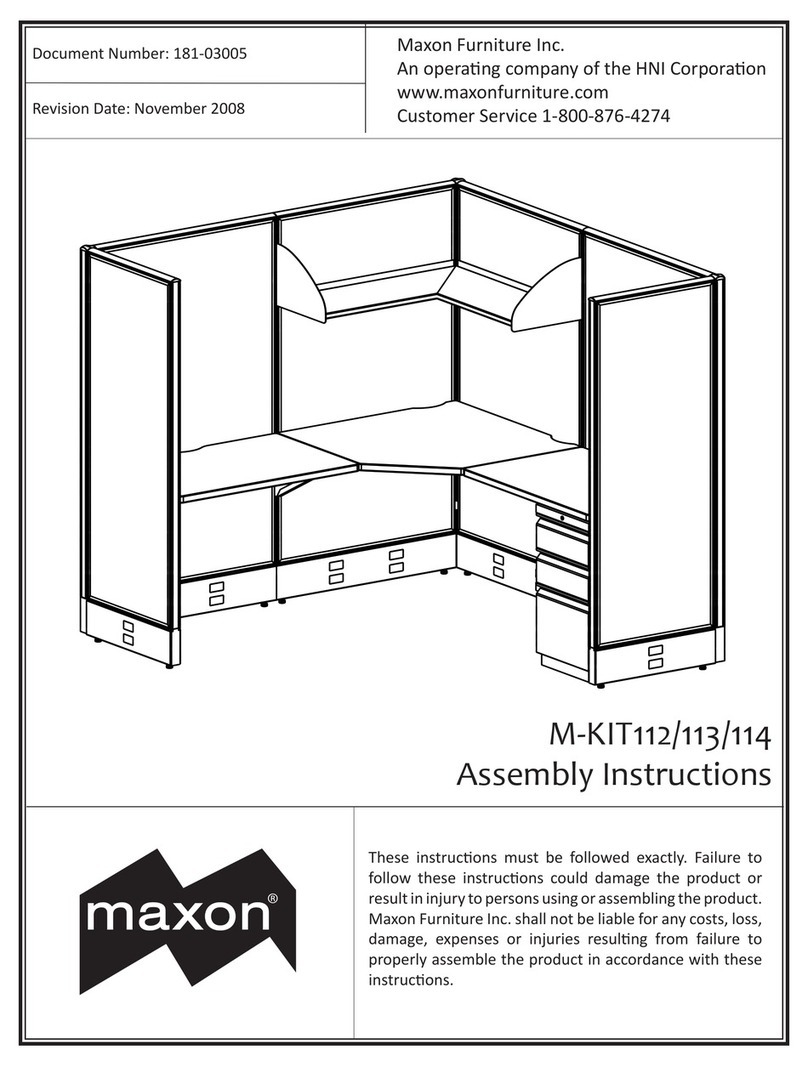
Maxon M-KIT112 User manual

Maxon

Maxon M-KIT112 User manual

Popular Indoor Furnishing manuals by other brands

Core Products MANHATTAN MN902 Instruction leaflet

Core Products

Core Products MANHATTAN MN902 Instruction leaflet

RiverRidge Ashland 06-088 Assembly instructions

RiverRidge

RiverRidge Ashland 06-088 Assembly instructions

Epoch Design 5401 AM-QU-PB-BA manual

Epoch Design

Epoch Design 5401 AM-QU-PB-BA manual

Komfort & Wohnen 4284 Assembly instructions

Komfort & Wohnen

Komfort & Wohnen 4284 Assembly instructions

Amisco 50696 quick start guide

Amisco

Amisco 50696 quick start guide

threeposts ZH1825 Product instructions

threeposts

threeposts ZH1825 Product instructions

Triarch 31532 Assembly instructions

Triarch

Triarch 31532 Assembly instructions

SOHL FURNITURE 52371 Assembly instructions

SOHL FURNITURE

SOHL FURNITURE 52371 Assembly instructions

Habitat Petale 821792 manual

Habitat

Habitat Petale 821792 manual

ipdesign ALLROUNDER operating instructions

ipdesign

ipdesign ALLROUNDER operating instructions

Alaterre Furniture TWIN TWIN AURORA Assembly instructions

Alaterre Furniture

Alaterre Furniture TWIN TWIN AURORA Assembly instructions

Kvik O841T Assembly instructions

Kvik

Kvik O841T Assembly instructions

Ticaa Theo H1000012017 Instructions for use

Ticaa

Ticaa Theo H1000012017 Instructions for use

Bell'O AVSC2151 Assembly instructions

Bell'O

Bell'O AVSC2151 Assembly instructions

Walker Edison BS68NORCR Assembly instructions

Walker Edison

Walker Edison BS68NORCR Assembly instructions

hawa Frontslide 60/matic Planning and installation instructions

hawa

hawa Frontslide 60/matic Planning and installation instructions

Costway HW68257 user manual

Costway

Costway HW68257 user manual

Duo Collection Game-Rocker GT-20 Original instructions

Duo Collection

Duo Collection Game-Rocker GT-20 Original instructions

manuals.online logo
manuals.online logoBrands
  • About & Mission
  • Contact us
  • Privacy Policy
  • Terms and Conditions

Copyright 2025 Manuals.Online. All Rights Reserved.