manuals.online logo
Brands
  1. Home
  2. •
  3. Brands
  4. •
  5. Maxouttech
  6. •
  7. Security Sensor
  8. •
  9. Maxouttech RF-ARPIR-319-NN User manual

Maxouttech RF-ARPIR-319-NN User manual

WIRELESS PIR MOTION DETECTOR 319 MHz Installation Instructions
RF-ARPIR-319-NN
Introduction
A motion sensor (passive-infrared or PIR) detects movement
within a specific area by sensing the infrared energy emitted
from a body as it moves across the sensor’s field of view. When
this motion is detected, the sensor transmits an alarm signal to
the control panel.
Use a motion sensor to protect locations where door/window
sensors are impractical or not needed. For example, use a
motion sensor to protect large areas or open floor plans. Motion
sensors also provide backup protection for door/window
sensors.
Alarm Processing:
The RF-ARPIR-319-NN utilizes advanced signal processing,
and a top-quality infrared detector. Next, a patented modern
DSP ASIC directly converts the infrared detector signal into
digital form, for best reliability and stability.
Pet Immunity:
The RF-ARPIR-319-NN is designed to allow the presence of
pets (up to 22 lbs.) without signaling an alarm. It includes a
special micro-element lens array that produces much stronger
optical signals for humans than for pets 22 lbs. or lighter.
NOTE: Pets come in many varieties. Some pets (especially
larger ones with very short hair), even if lighter than 22 lbs. may
produce enough infrared radiation to cause alarms. RF-ARPIR-
319-NN users are strongly advised to test the sensor with their
own pets, in order to verify that the detector will not signal an
alarm when their pets are moving within its fields of view.
Installation
If you have a pet, this PIR was designed for indoor use in the
presence of pets having a combined weight of up to 22 pounds.
The following installation guidelines must be met to provide this
false alarm immunity.
• The sensor must be incline-mounted on a wall surface or
incline mounted in a corner at a mounting height of 7.5 feet (2.3
m)
• The sensitivity switch must be set to Standard.
• The pet must not be allowed to climb on objects such as
furniture, boxes, etc. within the field of coverage.
• Room temperature must be kept between 60º and 120° F (16º
and 49º C).
• Do not aim the sensor at windows, fireplaces, air conditioners,
area heaters, forced air heating vents, or place it in direct
sunlight.
• Windows should be closed in any area which has an armed
motion sensor.
• Position the sensor to protect an area where an intruder would
be most likely to walk across the detection pattern.
• Mount the motion sensor on a rigid surface which is free from
vibrations.
• Mount the sensor permanently on a flat wall or in a corner. Do
not set it on a shelf.
• Mount the motion sensor on an insulated, outside wall facing
in.
• Position the sensor so it faces a solid reference point, like a
wall. If possible, locate sensors within 100 feet (30.5 m) ofthe
panel. While a transmitter may have a range of 500 feet (152
m) or more out in the open, the environment at the installation
site can have a significant effect on transmitter range.
Sometimes a change in sensor location can help overcome
adverse wireless conditions.
• Do not mount the sensor near duct work or other large
metallic surfaces which may affect the RF signals (see “Walk
Testing” on page 2). Actual acceptable transmitter range should
be verified for each installation.
Mounting Location
A. Wall mounting:
1. Sensor base fastened flat on vertical wall (± 2 degrees).
B. All mounting:
1. Height = 2.3 m or 3m above floor of monitored area.
2. Clear line-of-sight from sensor to monitored area
Note: glass will block sensor’s view.
3. Wall temperature similar to walls/floor of monitored area.
4. Sensor aimed away from windows and reflected sunlight.
RF-ARPIR-319-NN Rev 3 2162021 1
5. Sensor aimed away from heaters or heater/cooler outlets.
6. Sensor aimed so that likely intruder paths cross three views.
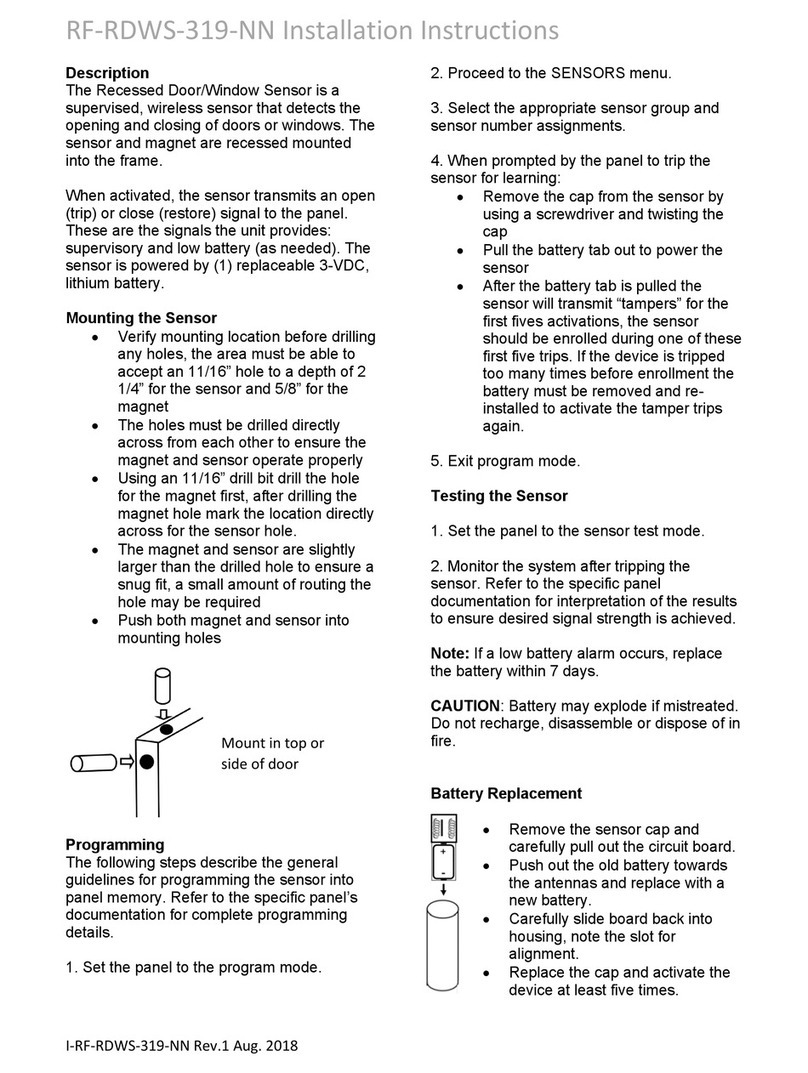
Top view of lens coverage (measured in feet)
30
20
10
0
10
20
30
0 40
Sensor Disassembly
Use screwdriver to push inward the latch at the bottom of the
detector (1.) On cover latch. (2.) Remove cover.
Detector Base Mounting
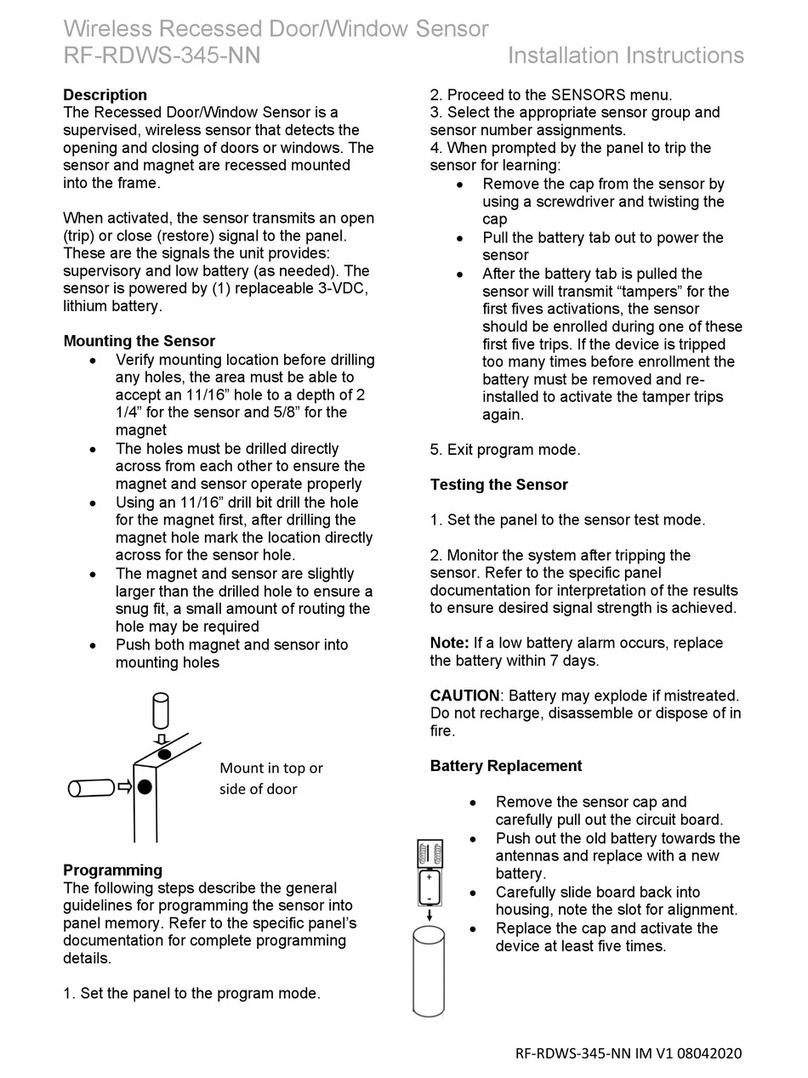
Identify necessary holes;
1.
For wall mounting knock out hole covers.
2.
For corner or 45 degree wall mounting, use drill to
open at least two holes at base side depressions.
Wall mounting
Use screws to mount on wall or in corner.
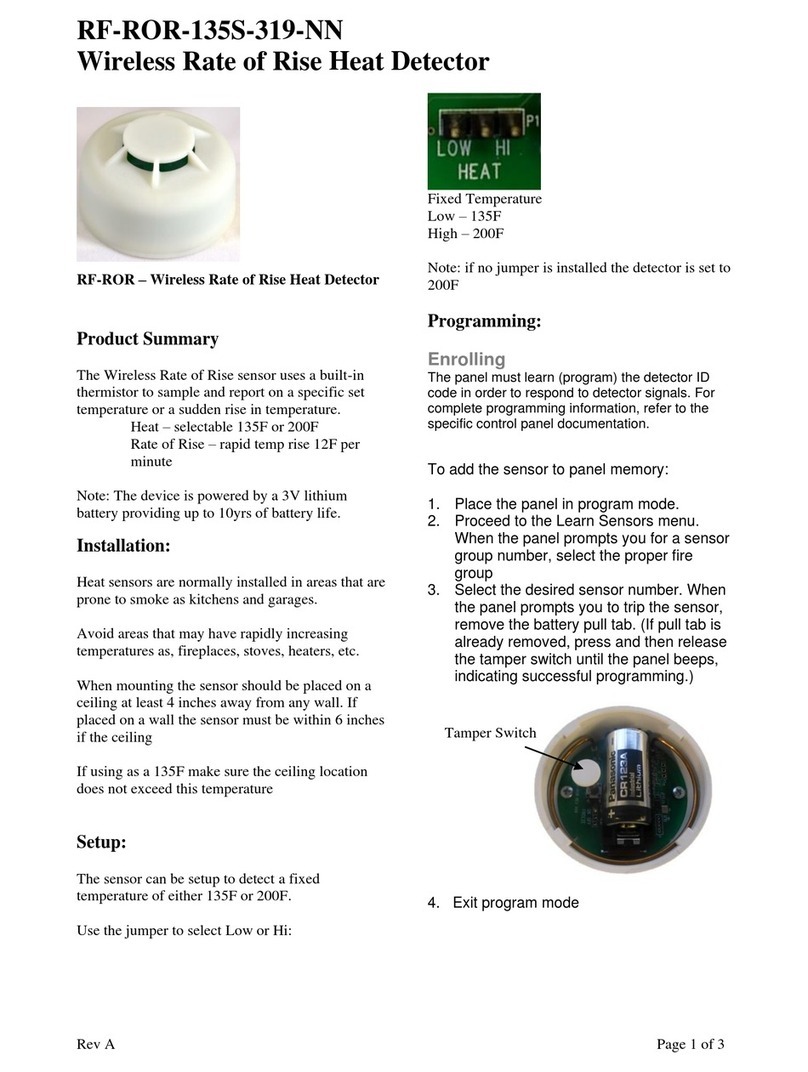
Battery Installation:
Place a CR123 battery in the battery holder. Be sure that the
(+) is in the correct position.
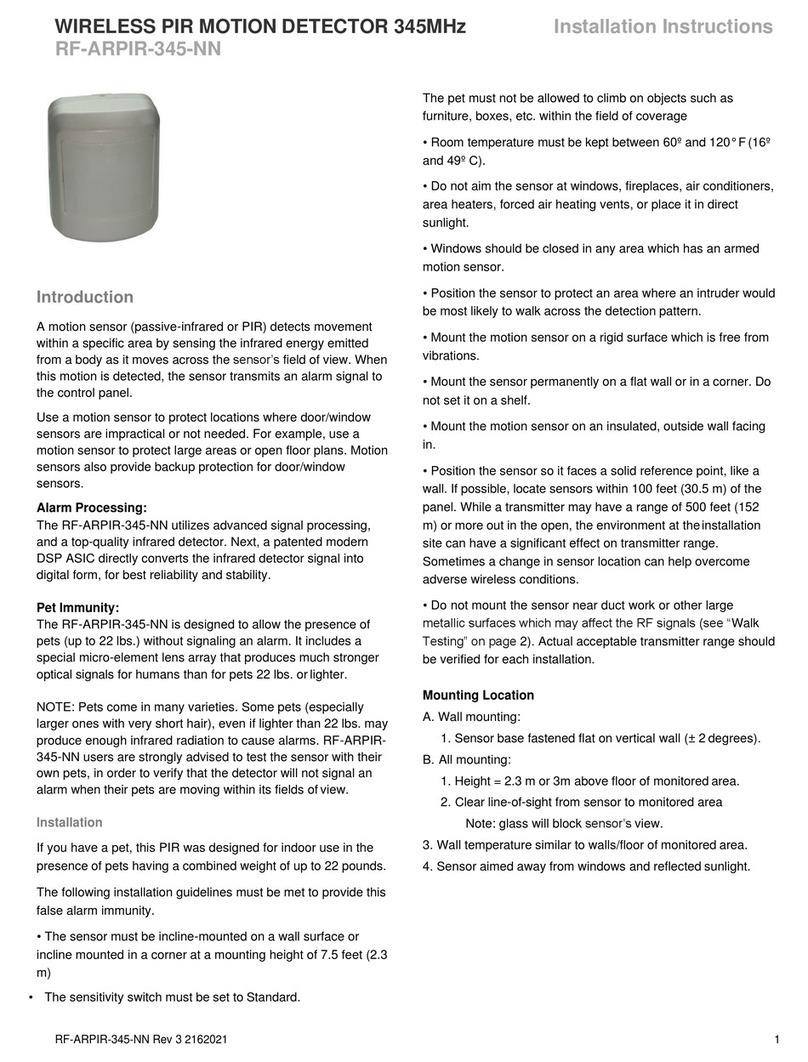
Sensitivity setting:
With standard sensitivity, detection occurs in 3 to 5 steps. With
high sensitivity, detection occurs in 2 to 4 steps.
Programming
For complete programming information, refer to the specific
control panel documentation.
To add the sensor to panel memory:
1. Place the panel in program mode.
2. Proceed to the section in programming for enrolling wireless
sensors.
3. When the panel prompts enter the senor ID# or trip the
sensors tamper, to trip the tamper remove the motions cover.
4. Exit Program Mode.
Testing
Walk testing:
Enable the LED (J1 in its "LED" position). Walk across the
monitored area (within the sensor's optical fields-of-view). The
LED should turn ON (for Alarm) after about two to four normal
steps. Each time the LED turns ON, wait for it to turn OFF.
Then, wait 12 seconds before continuing the walk-test. When
there is no motion in the monitored area, the LED should
remain OFF.
Walk testing should be done to determine the sensor’s actual
coverage area. The edge of the coverage pattern is determined
by the LED. This may change slightly depending upon the
sensitivity setting. Walk test the unit from both directions to
determine the pattern boundaries.
Caution: Excessive use of the walk test mode may reduce
battery life. Use only for initial setup and maintenance testing.
Operation
3-minute lockout – to conserve battery life the detector has a
3-minute lockout between motion detections
Unless the jumper is installed the red LED will not light during
motion detection.
Note: Leaving the LED jumper installed will greatly reduce the
detectors’ battery life.
2 RF-ARPIR-319-NN Rev 3 2162021
For Normal Sensitivity: Place jumper on 1-3 (3-5 steps)
For High Sensitivity: Place jumper on 1-2 (2-4 steps)
Replacing the Battery
Battery life depends on how often the detector transmits
signals, but is more dependent on the temperature of the
installation environment. When the battery voltage gets low, the
detector transmits a low battery signal to the panel. The panel
then activates trouble beeps to notify the customer that the
detector battery must be replaced. Pressing the status button
identifies the sensor with the low battery.
Replace the battery immediately when this condition occurs,
using the following battery: Panasonic CR123A 3V
Battery Disposal
The batteries used in this sensor are lithium batteries and are
not reusable. Be sure to properly dispose of used lithium
batteries according to your local hazardous waste disposal
laws.
Specifications
Compatibility: UTC®, Interlogix®, GE®,ITI®, or Qolsys®
Power source: 1 CR123A 3V Battery
Tamper switch: Sealed dome-contact
Sensitivity selectable: 2 or 3 events
Typical battery life: 4-6 years at 68°F
Transmitter frequency: 319 MHz
Operating temperature: 32°- 120°F (0°-49° C)
Storage temperature range: -30°-140° F (-34°- 60°C)
Maximum humidity: 90% Relative Humidity non-condensing
Dimensions: 3.19 x 2.4 x 1.7 inches (H x W x D)
Housing: High impact ABS
FCC / IC Statement
This equipment has been tested and found to comply with the
limits for a Class B digital device, pursuant to Part 15 of the
FCC Rules. These limits are designed to provide reasonable
protection against harmful interference in a residential
installation.
This equipment generates, uses and can radiate radio
frequency energy and, if not installed and used in accordance
with the instructions, may cause harmful interference to radio
communications. However, there is no guarantee that
interference will not occur in a particular installation.
If this equipment does cause harmful interference to radio or
television reception, which can be determined by turning the
equipment off and on, the user is encouraged to try to correct
the interference by one or more of the following measures:
• Reorient or relocate the receiving antenna.
• Increase the separation between the equipment and
receiver.
• Connect the equipment into an outlet on a circuit different
from that to which the receiver is connected.
• Consult the dealer or an experienced radio/TV technician for
help.
This device complies with Industry Canada license-exempt RSS
standard(s). Operation is subject to the following two
cond319ons: (1) this device may not cause interference, and (2)
this device must accept any interference, including interference
that may cause undesired operation of the device.
Cet appareil est conforme avec Industrie Canada exempts de
licence standard RSS (s). Son fonctionnement est soumis aux
deux cond319ons suivantes: (1) cet appareil ne doit pas
provoquer d'interférences et (2) cet appareil doit accepter toute
interférence, y compris celles pouvant causer un mauvais
fonctionnement de l'appareil.
In accordance with FCC requirements of human exposure to
radio frequency fields, the radiating element shall be installed
such that a minimum separation distance of 20 cm is maintained
from the general population.
FCC: 2ABBZ-RF-ARPIR-319
IC: 11817A-RFARPIR319
This device complies with Part 15 of the FCC Rules. Operation is
subject to the following two conditions: (1) This device may not
cause harmful interference, and (2) this device must accept any
interference received, including interference that may cause
undesired operation. Changes or modifications not expressly
approved by the party responsible for compliance could void the
user's authority to operate the equipment.
This Class B digital apparatus complies with Canadian ICES-3B.
Cet appareil numérique de la classe B est conforme à la norme
NMB-003 du Canada.
MANUFACTURER HEREBY DISCLAIMS ALL WARRANTIES
AND REPRESENTATIONS, WHETHER EXPRESS, IMPLIED,
STATUTORY OR OTHERWISE INCLUDING (BUT NOT
LIMITED TO) ANY WARRANTIES OF MERCHANTABILITY OR
FITNESS FOR A PARTICULAR PURPOSE WITH RESPECT
TO THESE PRODUCTS AND ANY RELATED SOFTWARE.
MANUFACTURER FURTHER DISCLAIMS ANY OTHER
IMPLIED WARRANTY UNDER THE UNIFORM COMPUTER
INFORMATION TRANSACTIONS ACT OR SIMILAR LAW AS
ENACTED BY ANY STATE.
(USA only) SOME STATES DO NOT ALLOW THE EXCLUSION
OF IMPLIED WARRANTIES, SO THE ABOVE EXCLUSION
MAY NOT APPLY TO YOU. THIS WARRANTY GIVES YOU
SPECIFIC LEGAL RIGHTS AND YOU MAY ALSO HAVE
OTHER LEGAL RIGHTS THAT VARY FROM STATE TO
STATE.
MANUFACTURER MAKES NO REPRESENTATION,
WARRANTY, COVENANT OR PROMISE THAT ITS ALARM
PRODUCTS AND/OR RELATED SOFTWARE (I) WILL NOT
BE HACKED, COMPROMISED AND/OR CIRCUMVENTED;
(II) WILL PREVENT, OR PROVIDE ADEQUATE WARNING
OR PROTECTION FROM, BREAK-INS, BURGLARY,
ROBBERY, FIRE; OR (III) WILL WORK PROPERLY IN ALL
ENVIRONMENTS AND APPLICATIONS.
RF-ARPIR-319-NN Rev 3 2162021 3
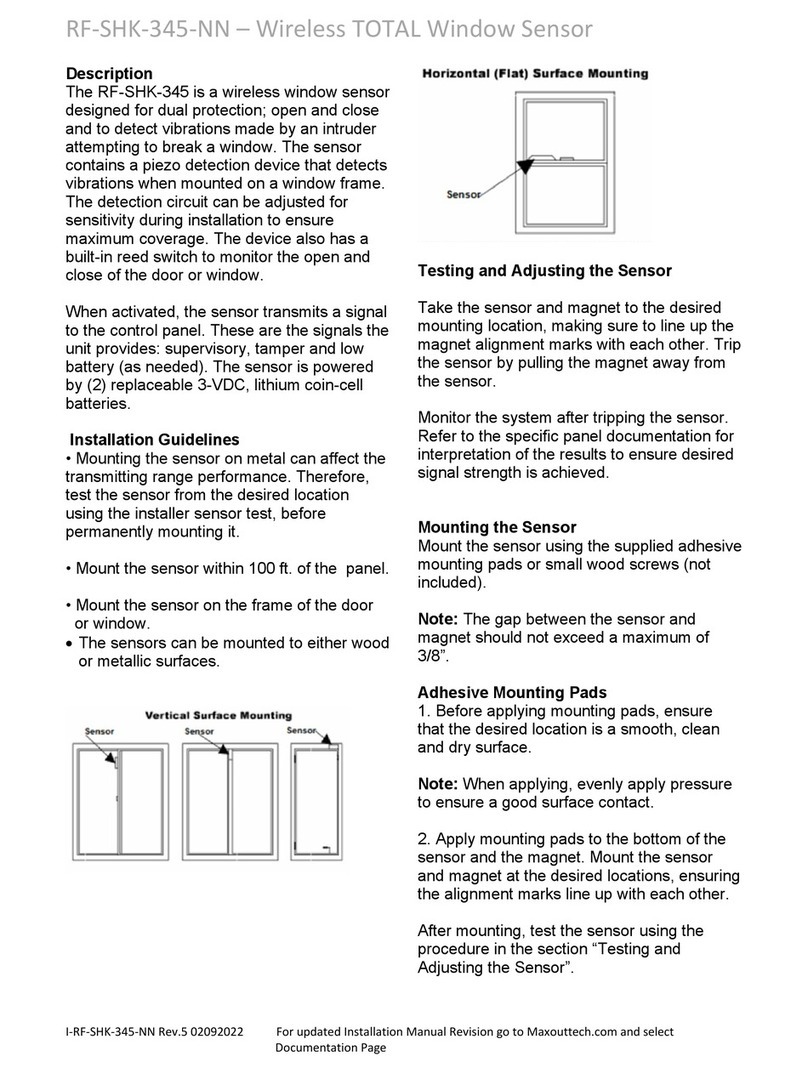
Other Maxouttech Security Sensor manuals

Maxouttech RF-ARPIR-345-NN User manual

Maxouttech

Maxouttech RF-ARPIR-345-NN User manual

Maxouttech RF-SHK-319-NN User manual

Maxouttech

Maxouttech RF-SHK-319-NN User manual

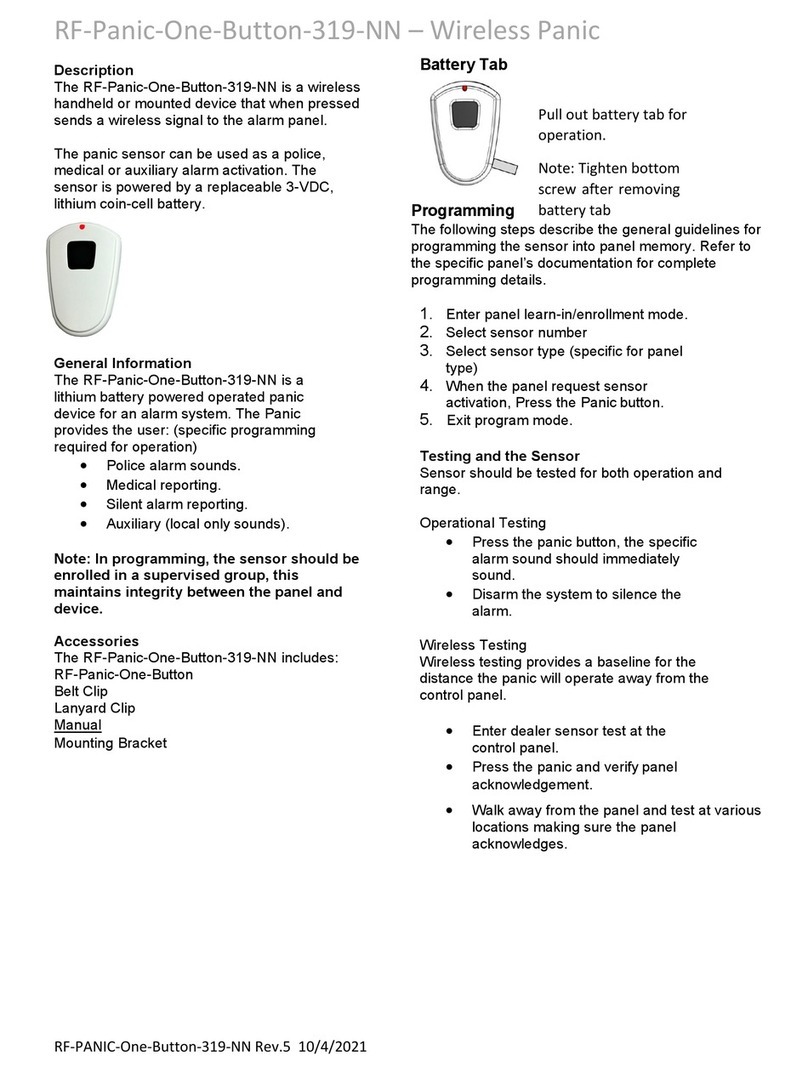
Maxouttech RF-Panic-One-Button-319-NN User manual

Maxouttech

Maxouttech RF-Panic-One-Button-319-NN User manual

Maxouttech RF-SHK-319-NN User manual

Maxouttech

Maxouttech RF-SHK-319-NN User manual

Maxouttech RF-CMDWS-OD-345-NN User manual

Maxouttech

Maxouttech RF-CMDWS-OD-345-NN User manual

Maxouttech RF-RDWS-345-NN User manual

Maxouttech

Maxouttech RF-RDWS-345-NN User manual

Maxouttech RF-ROR-135S-345-NN User manual

Maxouttech

Maxouttech RF-ROR-135S-345-NN User manual

Maxouttech RF-SHK-345-NN User manual

Maxouttech

Maxouttech RF-SHK-345-NN User manual

Maxouttech RF-RDWS-319-NN User manual

Maxouttech

Maxouttech RF-RDWS-319-NN User manual

Maxouttech RF-ROR-135S-319-NN User manual

Maxouttech

Maxouttech RF-ROR-135S-319-NN User manual

Maxouttech RF-CPIR-319-NN User manual

Maxouttech

Maxouttech RF-CPIR-319-NN User manual

Popular Security Sensor manuals by other brands

netvox R313FC user manual

netvox

netvox R313FC user manual

Qazqa Rana WL PIR LUX LED Solar instruction manual

Qazqa

Qazqa Rana WL PIR LUX LED Solar instruction manual

Wenglor OPT2139 operating instructions

Wenglor

Wenglor OPT2139 operating instructions

SPY 780 operating instructions

SPY

SPY 780 operating instructions

New Cosmos Electric KS-7D instruction manual

New Cosmos Electric

New Cosmos Electric KS-7D instruction manual

ensto PXA55 Installation instruction

ensto

ensto PXA55 Installation instruction

Intermatic IOS-CMP-DT-U Installation and configuration instructions

Intermatic

Intermatic IOS-CMP-DT-U Installation and configuration instructions

Reer JANUS Installation, use and maintenance

Reer

Reer JANUS Installation, use and maintenance

REV Ritter JDT-08 user manual

REV Ritter

REV Ritter JDT-08 user manual

schmersal SLC440COM Series operating instructions

schmersal

schmersal SLC440COM Series operating instructions

Popp POPE004407 quick start

Popp

Popp POPE004407 quick start

Aritech VE1120 Series Installation sheet

Aritech

Aritech VE1120 Series Installation sheet

NAPCO IQ PROFILER - brochure

NAPCO

NAPCO IQ PROFILER - brochure

Easy wave RTS40 Series quick start guide

Easy wave

Easy wave RTS40 Series quick start guide

Satel SPL-TO quick start guide

Satel

Satel SPL-TO quick start guide

Agilent Technologies 1100 Series user manual

Agilent Technologies

Agilent Technologies 1100 Series user manual

Baso L62GB installation instructions

Baso

Baso L62GB installation instructions

Pyronix KX15DTAM manual

Pyronix

Pyronix KX15DTAM manual

manuals.online logo
manuals.online logoBrands
  • About & Mission
  • Contact us
  • Privacy Policy
  • Terms and Conditions

Copyright 2025 Manuals.Online. All Rights Reserved.