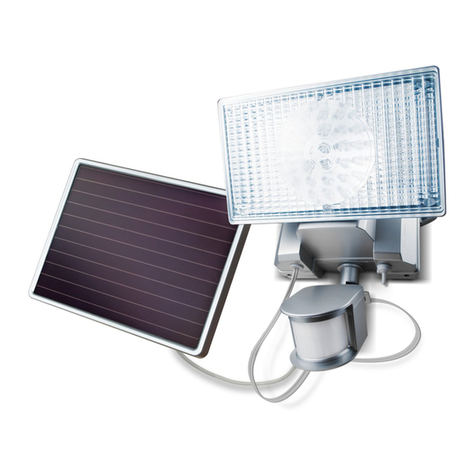
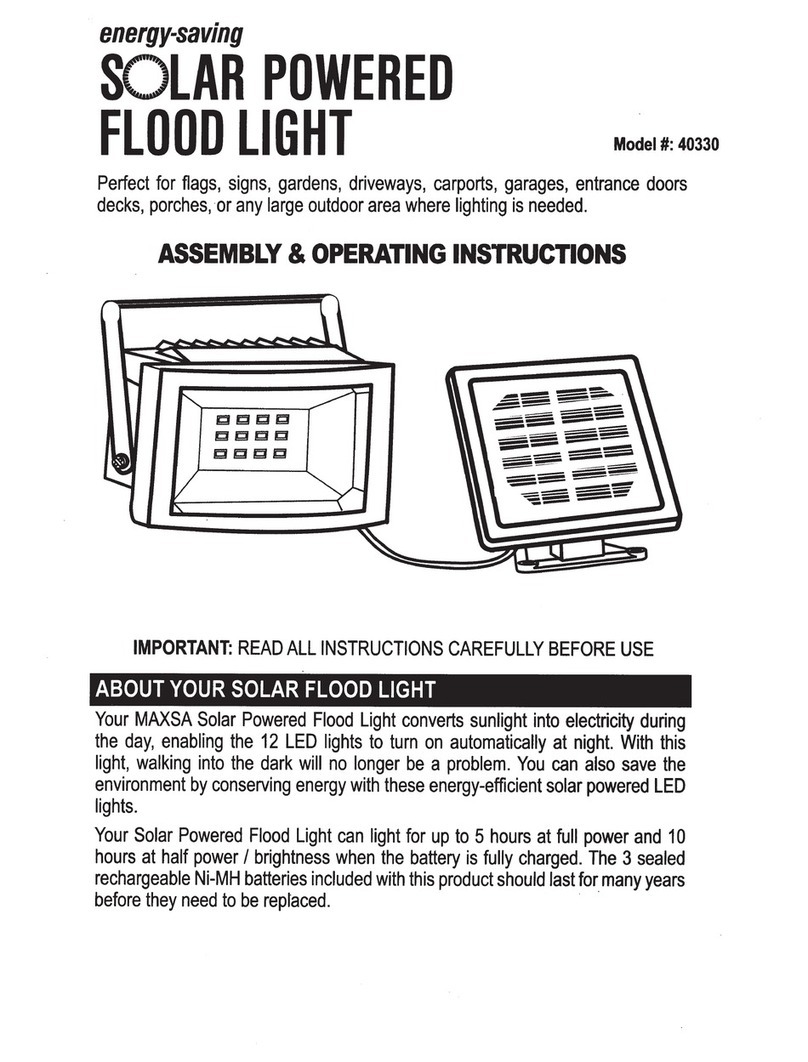
MAXSA 40330 Quick reference guide

Model #: 40330
Perfect for ags, signs, gardens, driveways, carports, garages, entrance doors decks,
porches, or any large outdoor area where lighting is needed.
ASSEMBLY & OPERATING INSTRUCTIONS
IMPORTANT: READ ALL INSTRUCTIONS CAREFULLY BEFORE USE
ABOUT YOUR SOLAR FLOOD LIGHT
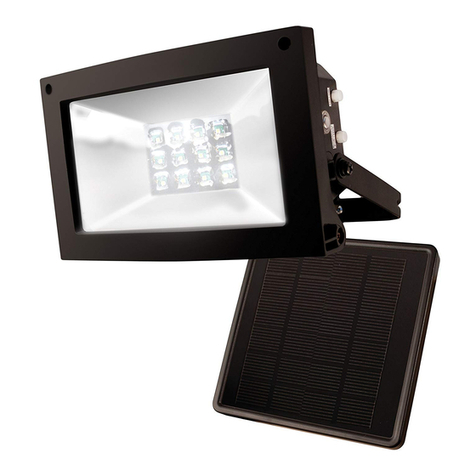
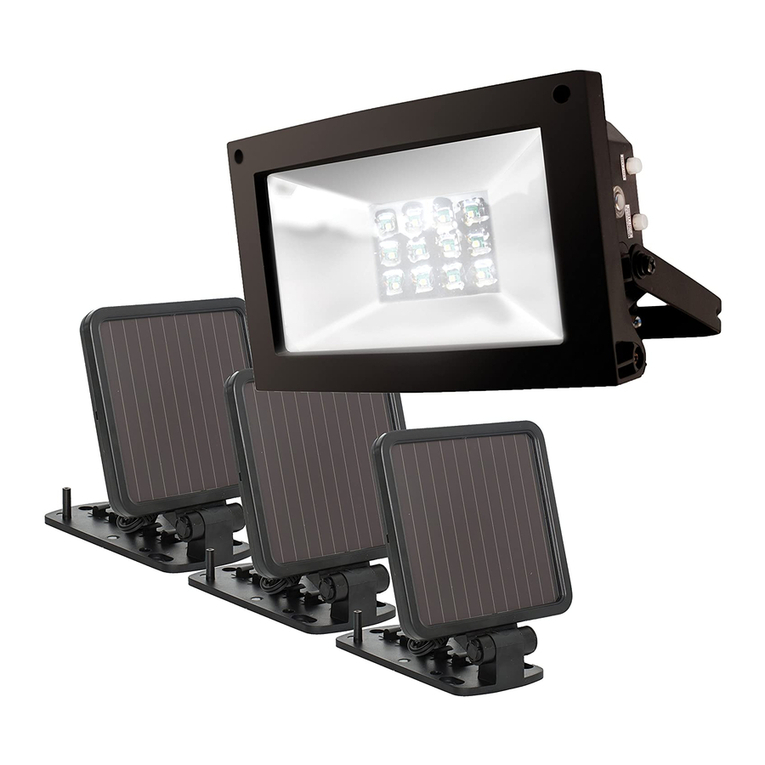
Your MAXSA Solar Powered Flood Light converts sunlight into electricity during the day,
enabling the 12 LED lights to turn on automatically at night. With this light, walking into the
dark will no longer be a problem. You can also save the environment by conserving energy
with these energy-efcient solar powered LED lights.
Your Solar Powered Flood Light can light for up to 5 hours at full power and 10 hours at
half power / brightness when the battery is fully charged. The 3 sealed rechargeable AA
Ni-MH batteries included with this product should last for 3-5 years before they need to be
replaced..

2
Carefully remove and identify all the parts from their protective packaging and lay them out in front
of you.
INCLUDED PARTS:
Mounting bracket
Brightness
control switch
On/Off Switch
Photosensor
10 foot power cable
Solar panel
Pole Mounting
Straps and
Bracket
4 screws and 4 anchors for
mounting the solar panel
Solar panel angle pivot
Solar panel
mounting bracket
Main battery unit
HOW TO INSTALL YOUR SOLAR FLOOD LIGHT
MOUNTING TO A WALL, ROOF OR SIGN
1. Remove the mounting bracket from your Solar Powered Flood Light by taking out the
two screws on the left and right sides of the main body
2. Take the other two screws supplied with this product and install the mounting bracket
onto a solid surface. Put the mounting bracket and the main body back together by
using the two screws taken out in Step 1.

3
MOUNTING TO A FLAGPOLE
To mount on a agpole, position the agpole mounting
bracket supplied against the agpole and run the two
supplied metal bands through the bracket as shown.
*CAUTION: Do not tighten the metal bands until your Solar
Flood Light is where you want it as they cannot be re-
opened* Put the bracket up to the pole and close the metal
bands around the pole, making sure the bands are pulled
tight so the light is rmly secured.
TO MOUNT THE SOLAR PANEL TO A WALL OR ROOF
The solar panel can be mounted to a wall or roof, set on the ground, or attached directly
to the light.
Use the four (4) wood/sheet metal screws supplied to mount the solar panel onto a solid
surface. You can adjust the angle of the solar panel by gently rotating it to a different
locking position. Remember to mount the panel facing South, which will maximize the
direct sunlight exposure.
TO MOUNT THE SOLAR PANEL TO THE LIGHT
You will nd two bolts protruding from the body of the light. Line up these bolts with the two
mounting holes on the bottom side of the trapezoid that makes up the mounting base of the
solar panel. Push the solar panel base onto these bolts until it is against the surface of the
light. Use the included lock-washers and nuts to tighten the solar panel in place.
Once you have identied all parts, connect the solar
panel to your Solar Powered Flood Light by plugging
the 9 foot cord into the cord attached to the bottom of
the Solar Flood Light. Firmly turn and twist the cords
while pressing together for a tight connection.

4
BEFORE THE FIRST TIME USE OF YOUR SOLAR FLOOD LIGHT
1. Charge the batteries without activating the unit. Turn the power button on the main
body of your Solar Flood Light to the OFF position.
2. Leave the button in this position for 3 days while the solar panel is in direct sunlight.
This will ensure that the batteries in your Solar Powered Flood Light have a full charge
prior to normal operation.
3. After the initial 3 day charge of your Solar Flood Light, press the button on the main
body to the ON position to make the light turn on automatically after sundown. Set
the button to the OFF position to turn on the light manually. Your Solar Flood Light is
now ready for use. Depending on how long you prefer the light to last, you can double
the light duration and reduce the brightness by pushing the brightness control switch.
NOTE: When you rst turn the light ON, it should activate immediately regardless of
lighting conditions. This is a test activation to show there is power owing from the battery
to the light. It should last roughly 5 seconds. After this test activation, the light will function
normally.
MAINTENANCE TIPS
The LED lights in your Solar Flood Light will last up to 30,000 hours and should never need
replacement.
To keep your Solar Flood Light looking new, keep the lens free of dust and deposits by
wiping occasionally with a dry cloth or with warm soapy water if necessary. A dirty solar
panel will not allow the batteries to fully charge and this will shorten the life of the batteries
and may cause the light to malfunction.
STORAGE
If you wish to store your light indoors for more than two or three days, press the power
button to the OFF position to prevent damaging the batteries. Battery capacity may be
reduced during prolonged storage. For optimal performance, we recommend that you do
not store your Solar Flood Light for prolonged periods of time.
CHOOSING A LOCATION FOR YOUR SOLAR FLOOD LIGHT
The Solar Flood Light is ideal for signs, ags, gardens, backyards,driveways, carports,
garages,entrance doors, decks, porches, sheds, or any large outdoor area where you
need extra light!
Your Solar Powered Flood Light comes complete with a solar panel and a 10-foot power
cord. For optimum sun exposure and longer light output, place the solar panel (attached to
the main body) where it will receive 6-8 hours of direct sunlight per day. Placing the panel
in a shaded location or behind a glass window will not allow the batteries to charge fully,
reducing the number of hours the light will operate per evening.
The Solar Powered Flood Light is equipped with a light-sensitive trigger to automatically
turn the light on at dusk. For best performance, ensure that the Flood Light is not placed
near night time light sources such as porch lighting and street lighting.
5
TROUBLESHOOTING
PROBLEM POSSIBLE SOLUTIONS
Light will not
switch on.
• Ensure that the power button on the main body has
been turned to the ON position.
• Ensure that the batteries have been fully charged in
direct sunlight for 3 sunny days-refer to the “Before
First Use of Your Solar Security Light” section on
page 3. Articial light will not charge the battery. It
must charge in sunlight.
• Check to see that the solar panel is facing South
and that it receives 6-8 hours of sunlight per day,
enabling the batteries to fully charge.
• Check to see that the ood light is not near night
time light sources such as street lights
Light quickly
ashes on and off.
• Battery charge may be low. Turn the power switch to
the OFF position and charge the batteries for three
(3) sunny days, ensuring the solar panels have been
placed in direct sunlight.
Light is not as
bright as normal
• Battery charge may be low. Turn the power button to
the OFF position and charge the batteries for three
(3) sunny days, ensuring the solar panels have been
placed in direct sunlight.
• The brightness control switch might be set to HALF
mode, which is designed to use less power, but
keep the light illuminated for a longer time period.
• Check to make sure solar panel is facing South, and
that it receives 6-8 hours of sunlight per day.

MADE IN CHINA
MAXSA Innovations
8412 Cathedral Forest Drive
Fairfax Station, Va 22039
Tel: 703-495-0661
www.maxsainnovations.com
6
v14-2
©2014 MAXSA Innovations, LLC
Please save these instructions for future reference.
ONE YEAR LIMITED WARRANTY
1 YEAR LIMITED WARRANTY: MAXSA Innovations, LLC warrants to the original
consumer/purchaser that this product shall be free of defects in material and workmanship
under normal use and circumstances for a period of one (1) year from the date of original
purchase for use. When the original consumer/purchaser returns the product pre-paid
(consumer pays return shipping) to MAXSA Innovations, LLC, 8412 Cathedral Forest Dr;
Fairfax Station, VA 22039; USA within the warranty period, and if the product is defective,
MAXSA Innovations, LLC will at its option repair or replace such. This warranty shall
constitute the sole liability of MAXSA Innovations, LLC concerning the product. MAXSA
Innovations, LLC expressly disclaims all other warranties INCLUDING, WITHOUT
LIMITATION, THE WARRANTIES OF MERCHANT ABILITY AND FITNESS FOR A
PARTICULAR PURPOSE. NO PERSON, FIRM, OR COPORATION IS AUTHORIZED
TO ASSUME FOR MAXSA Innovations, LLC ANY OTHER LIABILITY IN CONNECTION
WITH THE SALE AND USE OF THE PRODUCT. MAXSA Innovations, LLC and agents
and distributors will bear no liability whatsoever for incidental or consequential damages
or charges of any kind. Some states do not allow the reclusion or limitation of incidental
or consequential damages, so the above disclaimer regarding incidental or consequential
damages may not apply to you. This warranty is void if the product has been damaged
or tampered with or if the product or any such parts have been opened. In all cases of
damage during shipment, a claim must be led with the shipping carrier and not with
MAXSA Innovations, LLC. This warranty gives you specic legal rights; you may also have
other rights which vary from state to state.
EXTENSION CORDS:
A 15-foot extension cord is available for this product for $14.95, which covers shipping and
handling costs as well. This extension cord allows the solar panel to be placed higher or
further away from the security light to ensure maximum direct sunlight exposure. For more
information, please call 703-495-0661 and ask for extension cord model EXT Black.
Other manuals for 40330
4
Table of contents
Other MAXSA Floodlight manuals

MAXSA
MAXSA 43030 Quick reference guide

MAXSA
MAXSA 40331 Quick reference guide

MAXSA
MAXSA 40330 User manual

MAXSA
MAXSA 40330 User manual

MAXSA
MAXSA 44216 Quick reference guide

MAXSA
MAXSA 40227 Quick reference guide

MAXSA
MAXSA 44150-SL Quick reference guide

MAXSA
MAXSA 40227 Quick reference guide

MAXSA
MAXSA 40330 Quick reference guide

MAXSA
MAXSA 40330 Quick reference guide