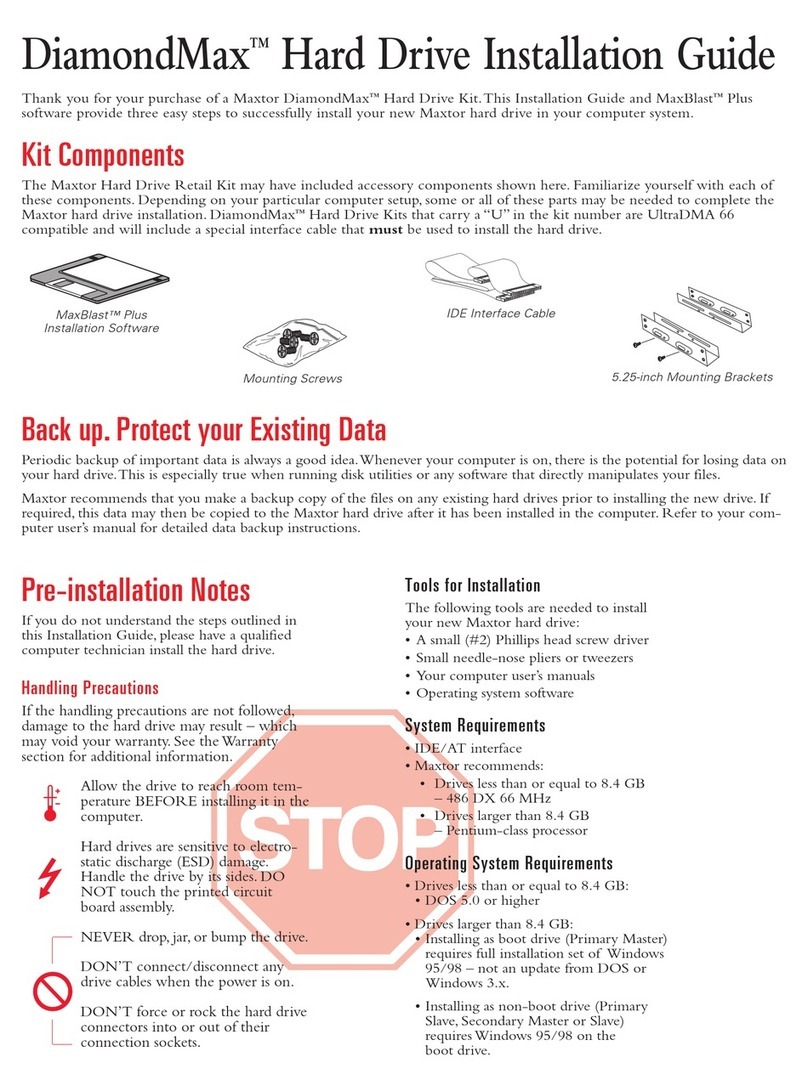
Handling Precautions
Allow the drive to reach
room temperature before
installing it in the computer.
Do not open the ES D bag until
youÕ re ready to install the
drive. Handle the drive by its
sides. Do not touch the circuit
board (electronics ).
Do not connect/disconnect
any drive cables while your
computer is turned on.
Do not drop, jar, or bump
the drive.
1Pre
Installation
T hank you for selecting a Maxtor
hard drive storage product.
Maxtor's goal is to provide you with
the most up-to-date product possible,
and we are constantly enhancing our
software and documentation to better
meet your needs. Please visit our web-
site at
www.maxtor.com
to view the
latest that Maxtor has to offer!
System/OS Requirements
¥ A full version of your operating
system (OS ) is required for a
new hard drive installation
(see kit package for details)
Tools for Installation
The following tools are needed to
install your new M axtor hard drive:
¥ Small Phillips head screw driver
¥ S mall pair of pliers or tw eezers
¥ Your computer user manual
¥ Operating sys tem softw are
Backup Your Data
M axtor highly recommends that you
make a backup copy of your files
before
installing the new M axtor hard drive.
Please refer to your computer us er
manual for more information.
2
D riveJumper
Setup
Configure the Drive Jumpers
If specific jumper options are needed
for your system configuration, refer to
the illustrations and definitions provided
in this section.
SCSI ID J umper Settings
M axtor S CS I drives typically s hip from
the factory with jumpers s et to SCS I
ID 6, and termination power jumped.
SCS I ID 7 is usually res erved for the
SCS I hos t adapter.
3
D rive
Install
Installing Drive Inside
of Y our Computer System
M ake sure your computer
is pow ered dow n before
installing the drive.
The following illustrations are
of typical computer s ystems and
hard drive mounting styles.
Your computer may have a different
mounting style. Pleas e refer to your
computer us er manual for more
information.
Be s ure to secure the drive to the
device bay w ith all four s crews.
The drive should be oriented
with its printed circuit board
facing down.
Installing 5.25-inch Mounting Brackets
If the hard drive w ill be installed in a 5.25-
inch device bay, attach mounting brackets
(available separately) to the hard drive as
shown in the figure below.
SC SI H ard D rive Installation G uide
Note: M axtor LVD S CS I drives do not
s upport on-board termination. M axtor
recommends the us e of Active LVD
terminators and 68-pin twisted pair
cabling.
SCS I hos t adapter manufacturers
usually supply proper cabling and
termination w ith the purchase of an
LVD SCS I hos t adapter.
Attention: The R ear J umper Option
Connector is an OE M s pecific con-
nector. M os t ins tallations w ill never
use the jumper options on this
connector. Always configure the
drive using the jumpers at the Front
J umper Option Connector.
Other Jumper Settings
TP - Term ination Pow er (12 Pin Option Connector)
Pins 11-12 T ermination pow er ensures that there is a s ufficient
power level along the entire S CS I bus . It is recommended
that the final device on the SCS I bus have the Termination
Power jumper installed. All devices in betw een the host and
final device typically have no jumper on Termination Power.
Note that Termination Pow er is not the same as on-board
termination, which this drive does not support.
S S - S tagger S pin
Pins 13-14 For mos t configurations this option is not utilized.
M os t current S CS I hos t adapters offer a S tart Unit command
enable or disable, w hich supersedes the functionality of the
SS jumper s etting. W hen the Delay Spin (DS ) jumper is
enabled on the drive, the S tart Unit command from the S CSI
host adapter will send S tart Unit commands to all devices on
the bus at pre-determined intervals. This can help prevent
power s upply overload when running s everal devices on the
SCS I bus.
W P - W r ite Protectio n
Pins 11-12 B y factory default, the drive is s hipped with no
jumper on these pins, and the drive can be written to unles s
protected by application s oftware. W ith the pins jumped, the
drive can be used as a read-only device. This feature prevents
accidental overw rites and is useful for frequently acces s ed
archives and reference files .
Force S E ÐForce S ingle Ended Operation
Pins 17-18 B y factory default, the drive is shipped with no
jumper on thes e pins. W ith mos t s ys tem configurations , it is
not necess ary to use this jumper. LVD drives are multi-mode
capable. They will automatically detect the pres ence of a sin-
gle-ended bus and revert to s ingle-ended mode.
DS - Delay S pin
Dis able Dela y S pin: No jumper acros s pins 15-16 (factory
default). Dis abling Delay S pin allows the drive to spin up
when the s ystem is pow ered up.
E nable Delay S pin: J umper across pins 15-16 This setting
will prevent the drive from spinning up until it receives a Start
Unit command from a S CS I hos t adapter. M ost S CSI hos t
adapters have the S tart Unit command enabled by default in
the hos t adapter BIOS. E nabling Delay S pin is only necess ary
when you are starting multiple devices at power on.
S CS I ID
Pin numbers 1-8 are typically referred to in pairs as A0 (pins 1
and 2), A1 (3,4), A2 (5,6), A3 (7,8). The jumper pairs will allow
configuration of SC S I ID's 0 to 15. All S CS I devices must have
an individual ID on the S CSI bus (there is no M aster/Slave s et-
ting). SC S I ID 7 is us ually reserved for the S CS I hos t adapter.
Fault LE D and B us y O ut J umpers
Typical installations do not require the use of the Fault LE D
and B usy Out jumpers . The B usy Out signal is usually s upplied
through the PCI bus to the PC motherboard's Busy indicator
LE D. If connecting the B usy Out jumper for a drive installed in
an external case, pleas e refer to the wiring documentation s up-
plied by the manufacturer of the cas e. Connection of the Fault
LE D is not recommended in internal or external ins tallations .
Computer with available
3.5-inch device bay Computer with available
5.25-inch device bay
DIevirDOtiBDI1tiBDI2tiBD tiBDI
0DIFFOFFOFF FO
1DINOFFOFF FO
2DIFFONOFF FO
3DINONOFF FO
4DIFFOFFONFO
5DINOFFONFO
6DIFFONONFO
7DITSOHISCSROFDEVRESER
8DIFFOFFOFFONO
9DINOFFOFFONO
01DIFFONOFFONO
11DINONOFFONO
21DIFFOFFONONO
31DINOFFONONO
41DIFFONONONO
51DINONONONO
Pin 2
Pin 1
Pin 17 Pin 18
SCSI ID 3
SCSI ID 2
SCSI ID 1
SCSI ID 0
BUSY LED -/+
WRT PROTECT
STAGGER SPIN
DELAY SPIN
SINGLE ENDED
FAULT LED
GROUND
GROUND
BUSY LED
GROUND
TERM POWER
SCSI ID 3
SCSI ID 2
SCSI ID 1
SCSI ID 0
NOT USED
+5 V
Pin 1 Pin 2
Pin 11 Pin 12
4 Pin Power
Connector
12 Pin Option
Connector
68 Pin SCSI
Connector
