User Manual
2
Contents
1
11
1.
..
.APPE
APPEAPPE
APPEA
AA
ARANCE AND KEYPAD OPE
RANCE AND KEYPAD OPERANCE AND KEYPAD OPE
RANCE AND KEYPAD OPERATIONS
RATIONSRATIONS
RATIONS............................
........................................................
............................ 3
33
3
2
22
2.
..
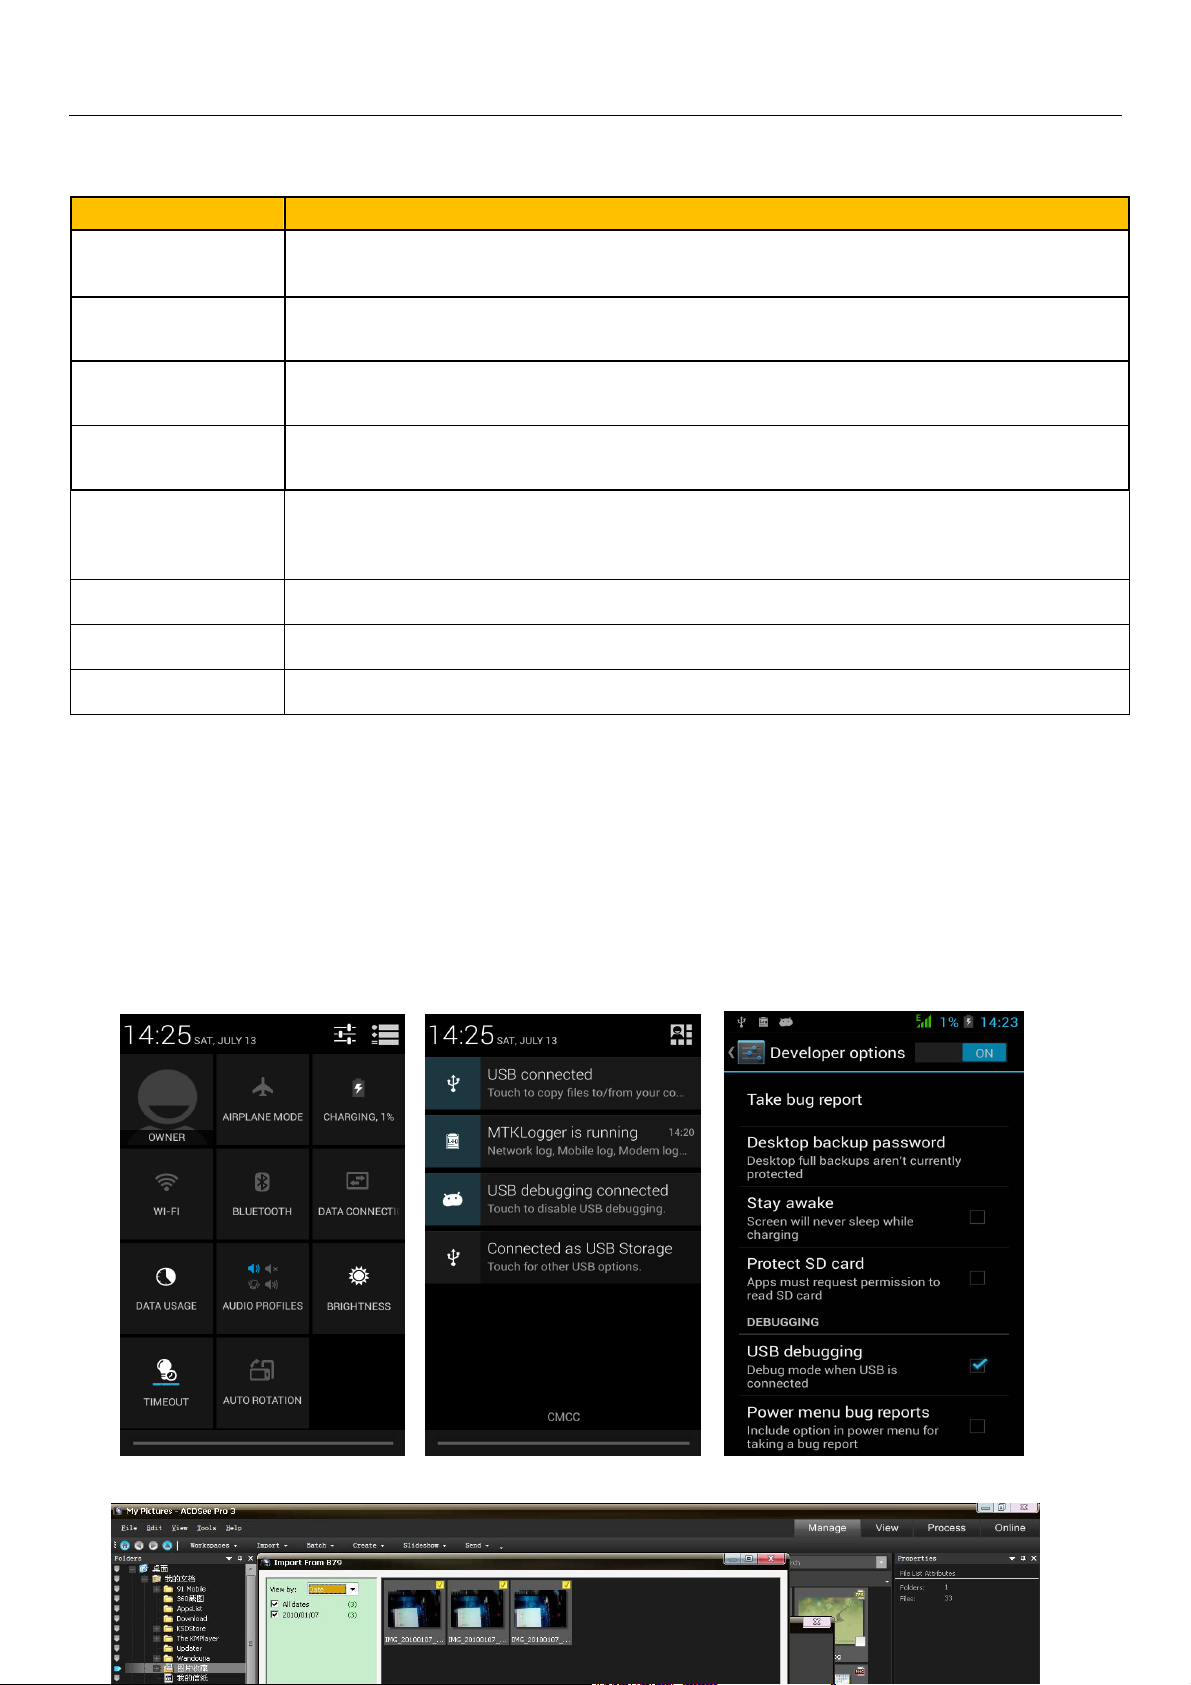
.USING MEMORY CARD AS
USING MEMORY CARD ASUSING MEMORY CARD AS
USING MEMORY CARD AS U DISK
U DISK U DISK
U DISK.............................
..........................................................
............................. 4
44
4/5
/5/5
/5/6
/6/6
/6
3
33
3.
..
.W
WW
WIFI
IFIIFI
IFI ................................
................................................................
.......................................................
..............................................
....................... 7
77
7
4
44
4.
..
.BLUETOOTH
BLUETOOTHBLUETOOTH
BLUETOOTH ................................
................................................................
..................................................
....................................
.................. 8
88
8
5
55
5.
..
.MAIL
MAILMAIL
MAIL ................................
................................................................
.......................................................
..............................................
....................... 9
99
9
5.1
G
MAIL
...................................................................................................................... 9
5.2
E
MAIL
.......................................................................................................................... 10
6
66
6.
..
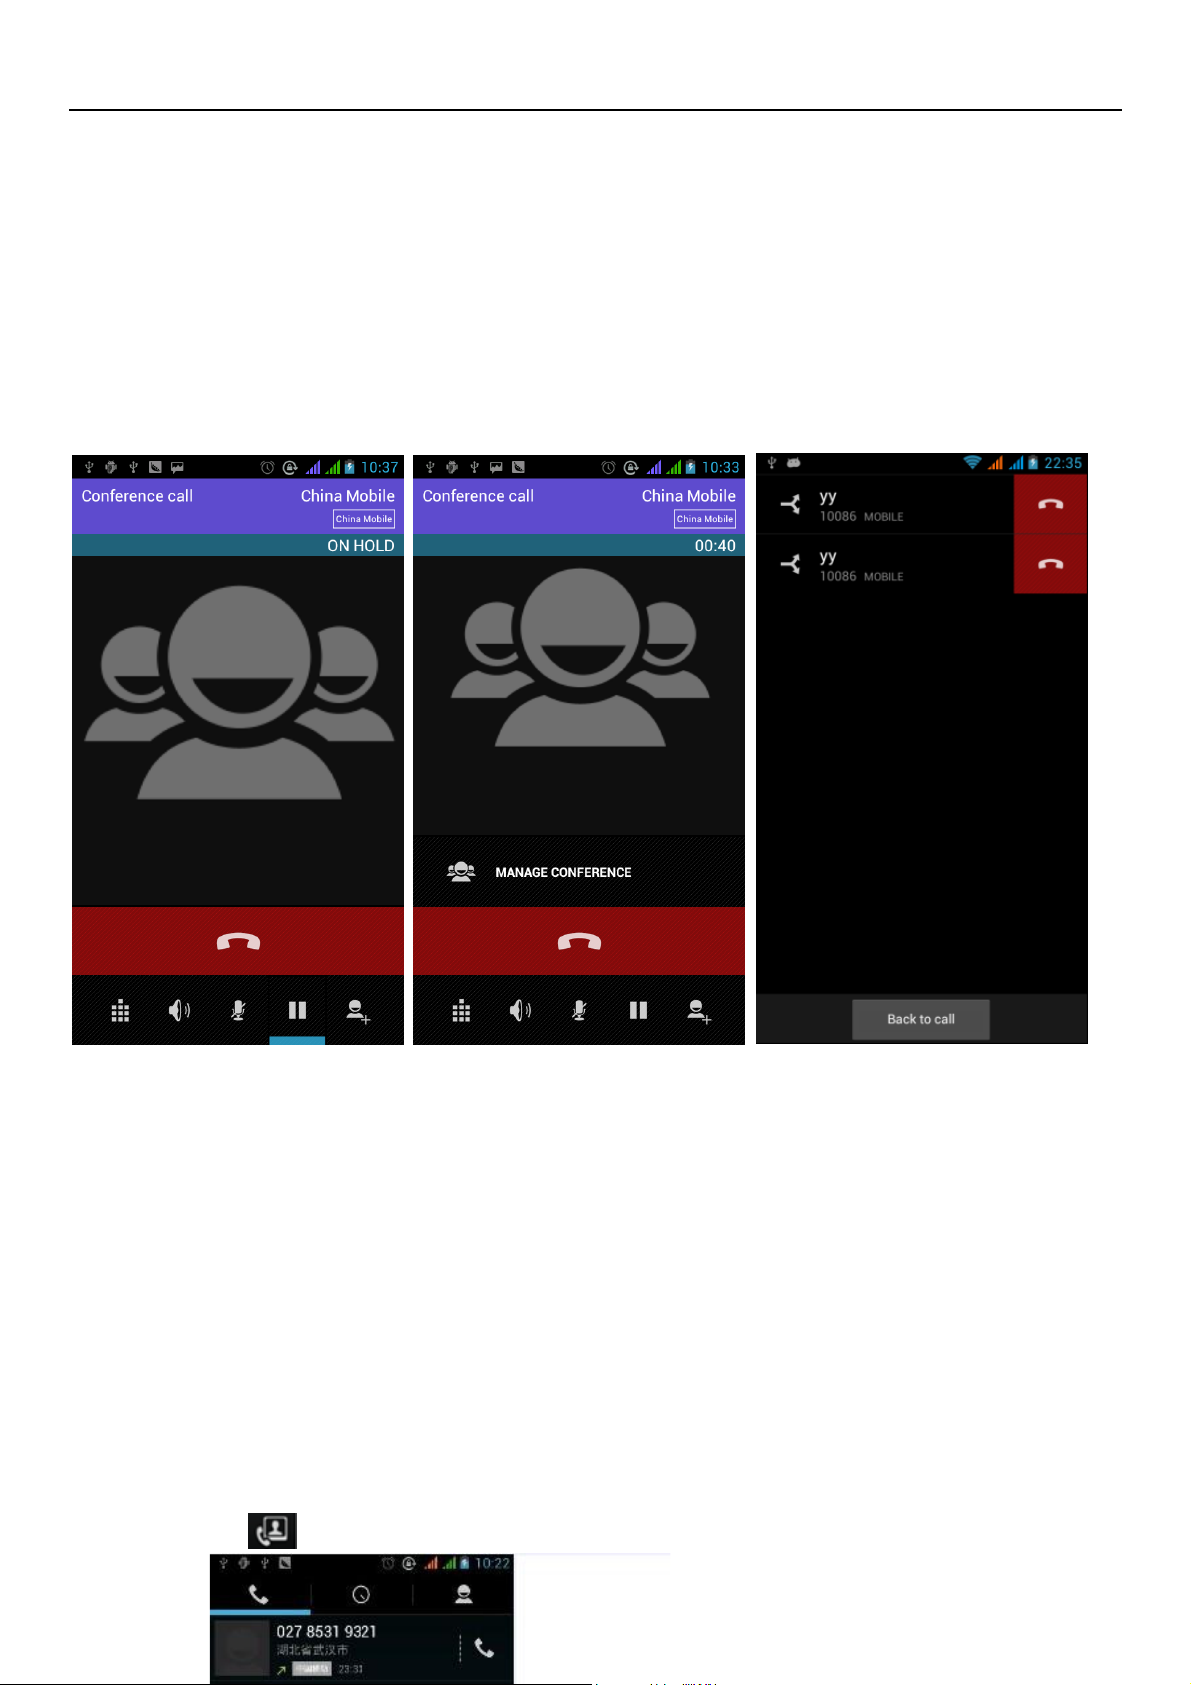
.DIALLING
DIALLINGDIALLING
DIALLING ................................
................................................................
..........................................
....................
.......... 1
11
11
11
1/1
/1/1
/12
22
2/1
/1/1
/13
33
3/14
/14/14
/14
7
77
7.
..
.MESS
MESSMESS
MESSA
AA
AGIN
GINGIN
GING
GG
G ................................
................................................................
...........................................
......................
........... 1
11
15
55
5/1
/1/1
/16
66
6/1
/1/1
/17
77
7
8
88
8.
. .
. CONTACTS
CONTACTSCONTACTS
CONTACTS ................................
................................................................
............................................
........................
............ 1
11
18
88
8/1
/1/1
/19/20
9/209/20
9/20
9.
9. 9.
9. INTENET EXPLOR
INTENET EXPLORINTENET EXPLOR
INTENET EXPLOR ................................
................................................................
............................................
........................
............ 2
22
21
11
1
10
1010
10.
..
.RECORDER
RECORDERRECORDER
RECORDER ................................
................................................................
.................................................
..................................
................. 2
22
22
22
2
11
1111
11.
..
.CLOCK
CLOCKCLOCK
CLOCK ................................
................................................................
....................................................
........................................
.................... 2
22
23
33
3
12
1212
12.
..
.
CACULATOR
CACULATORCACULATOR
CACULATOR ................................
................................................................
................................................
................................
................ 2
22
24
44
4
1
11
13
33
3.
..
.CAMERA
CAMERACAMERA
CAMERA ................................
................................................................
................................................
................................
................ 2
22
25
55
5/
//
/2
22
26
66
6
13.1
IMAGE MODE
.................................................................................................................. 25
13.2
VIDEO MODE
................................................................................................................. 26
1
11
14
44
4.
..
.IMAGE
IMAGEIMAGE
IMAGES
SS
S ................................
................................................................
.............................................
..........................
............. 2
22
27
77
7/2
/2/2
/28
88
8/29
/29/29
/29
1
11
15
55
5.
..
.MUSIC
MUSICMUSIC
MUSIC ................................
................................................................
.................................................
..................................
................. 30
3030
30/3
/3/3
/31
11
1
1
11
16
66
6.
..
.
CALENDER
CALENDERCALENDER
CALENDER ................................
................................................................
.................................................
..................................
................. 3
33
32
22
2
1
11
17
77
7.
..
.
FM
FM FM
FM RADIO
RADIORADIO
RADIO ................................
................................................................
.................................................
..................................
................. 3
33
33
33
3
18
1818
18.
. .
. SETTINGS
SETTINGSSETTINGS
SETTINGS ................................
................................................................
........................................
................
........ 34
3434
34/
//
/3
33
35/36
5/365/36
5/36/37
/37/37
/37
19
1919
19.
. .
. NOTICE
NOTICENOTICE
NOTICES
SS
S FOR THE USE OF PHON
FOR THE USE OF PHON FOR THE USE OF PHON
FOR THE USE OF PHONE
EE
E..............................
............................................................
.............................. 3
33
38
88
8