Safety Instructions
Before you use the massage chair, please make sure you are familiar with the contents of the entire Operating
Manual, in particular the safety instructions, maintenance & cleaning instructions and the training information.
Please also make sure that everyone who uses this massage chair is also familiar with all this information and
observes it.
Be sure to follow carefully the maintenance and safety instructions contained in this manual.
This massage chair may only be used for its intended purpose. Misappropriate use may pose a risk for possi-
ble accidents, damage to health or damage to the massage chair for which no liability will be accepted by the
distributor.
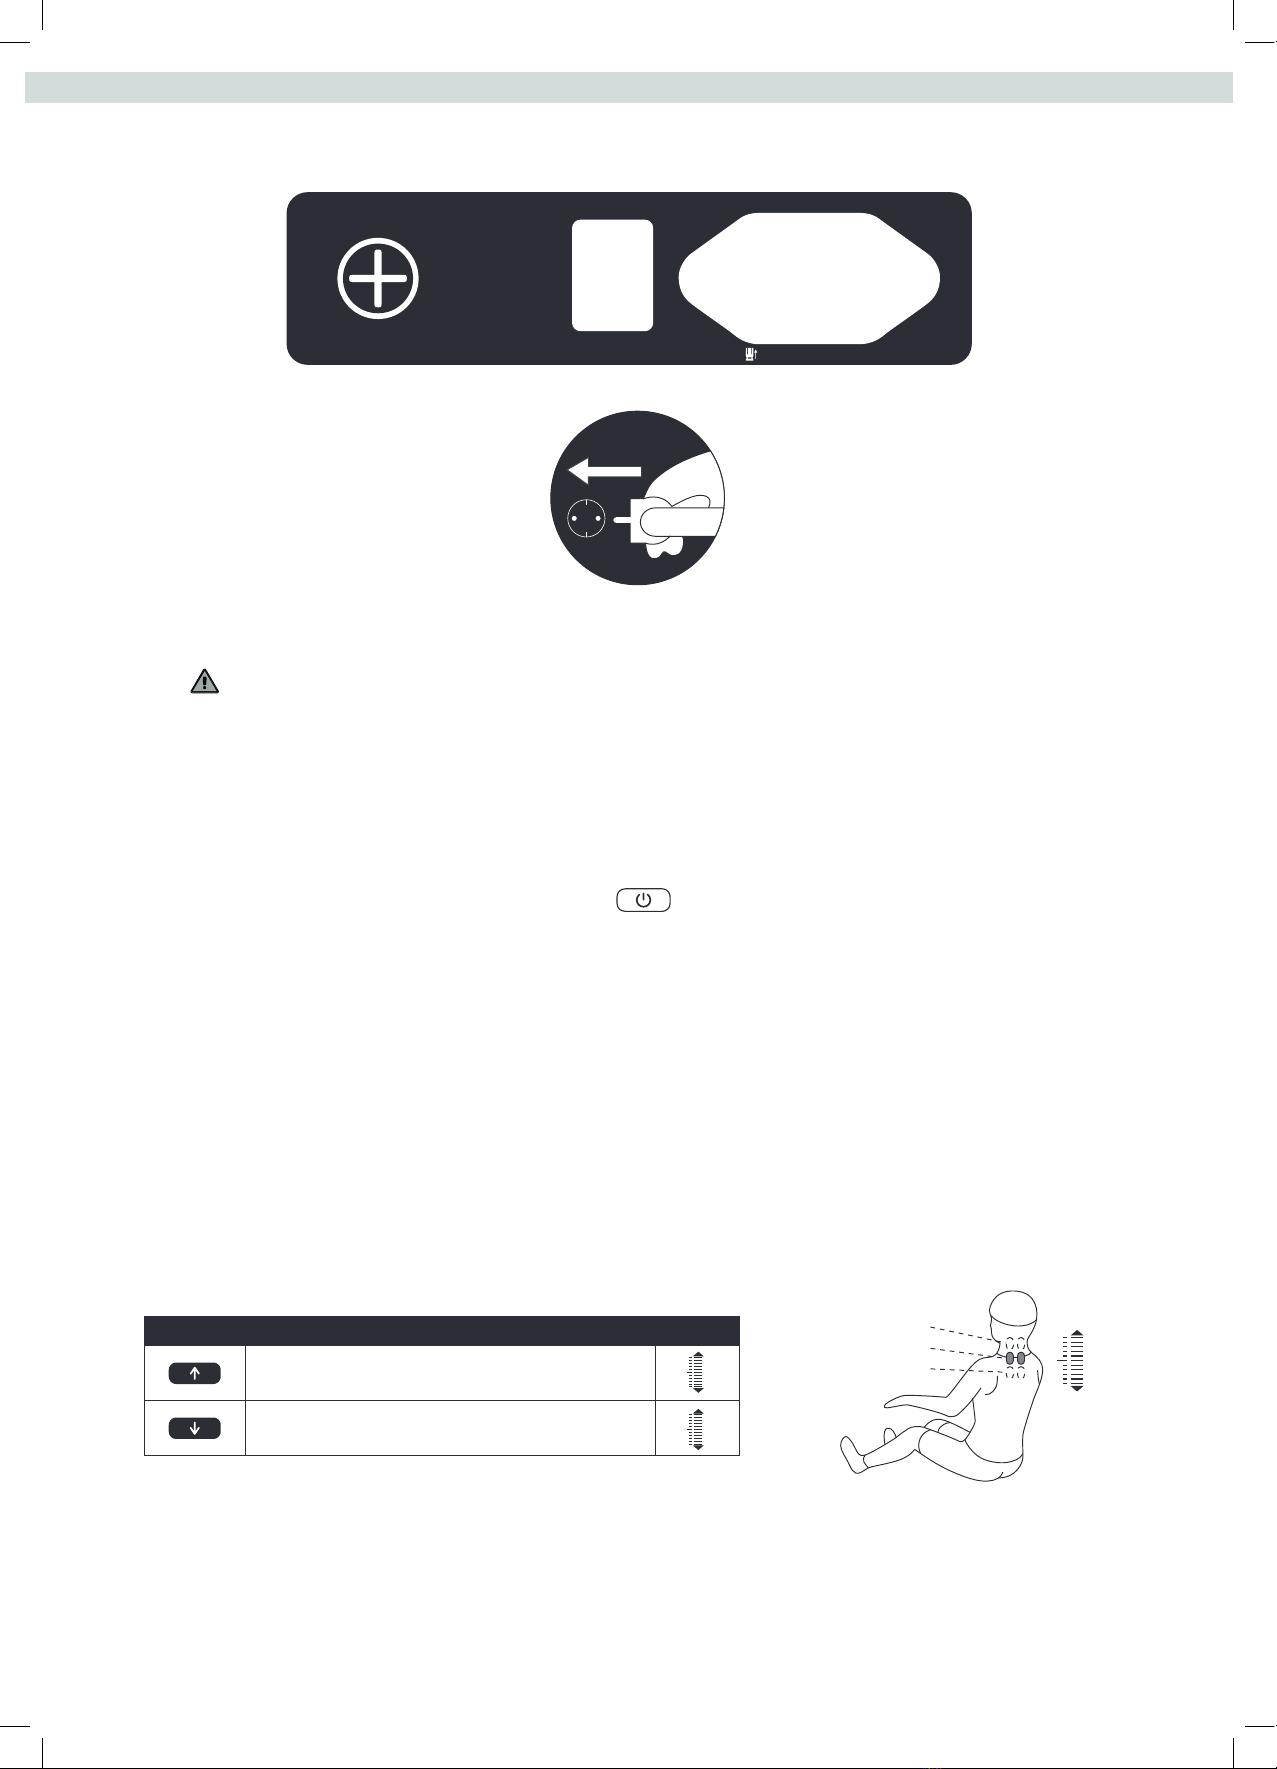
Mains Connection
−A mains voltage of 220-230V is required for the operation of the device.
−The massage chair may only be connected by the mains cable included in delivery to a grounded 16A
individually fused socket which has been installed by a professional.
−Always remember to rst remove the mains plug rom the socket iyou want to change the location othe
massage chair.
−Always remove the mains plug from the socket before starting any cleaning, maintenance or other works to
the massage chair.
−Do not connect the mains adapter plug to a socket strip or to a cable drum.
−If using an extension lead make sure that it conforms to VDE guidelines and regulations or the equivalent
in your country.
−Always lay the power cable in such a way that it cannot be damaged or cause a tripping hazard.
−Electrical appliances, such as smartphones, PC, TV (LCD, plasma, tube, etc.), game consoles, etc. trans-
mit electromagnetic radiation during operation and in stand-by mode. Keep these all these devices away
from this massage chair as they may cause malfunction or interferences.
−For safety reasons, always remove the mains cable plug from the electrical socket when the massage chair
is not in use.
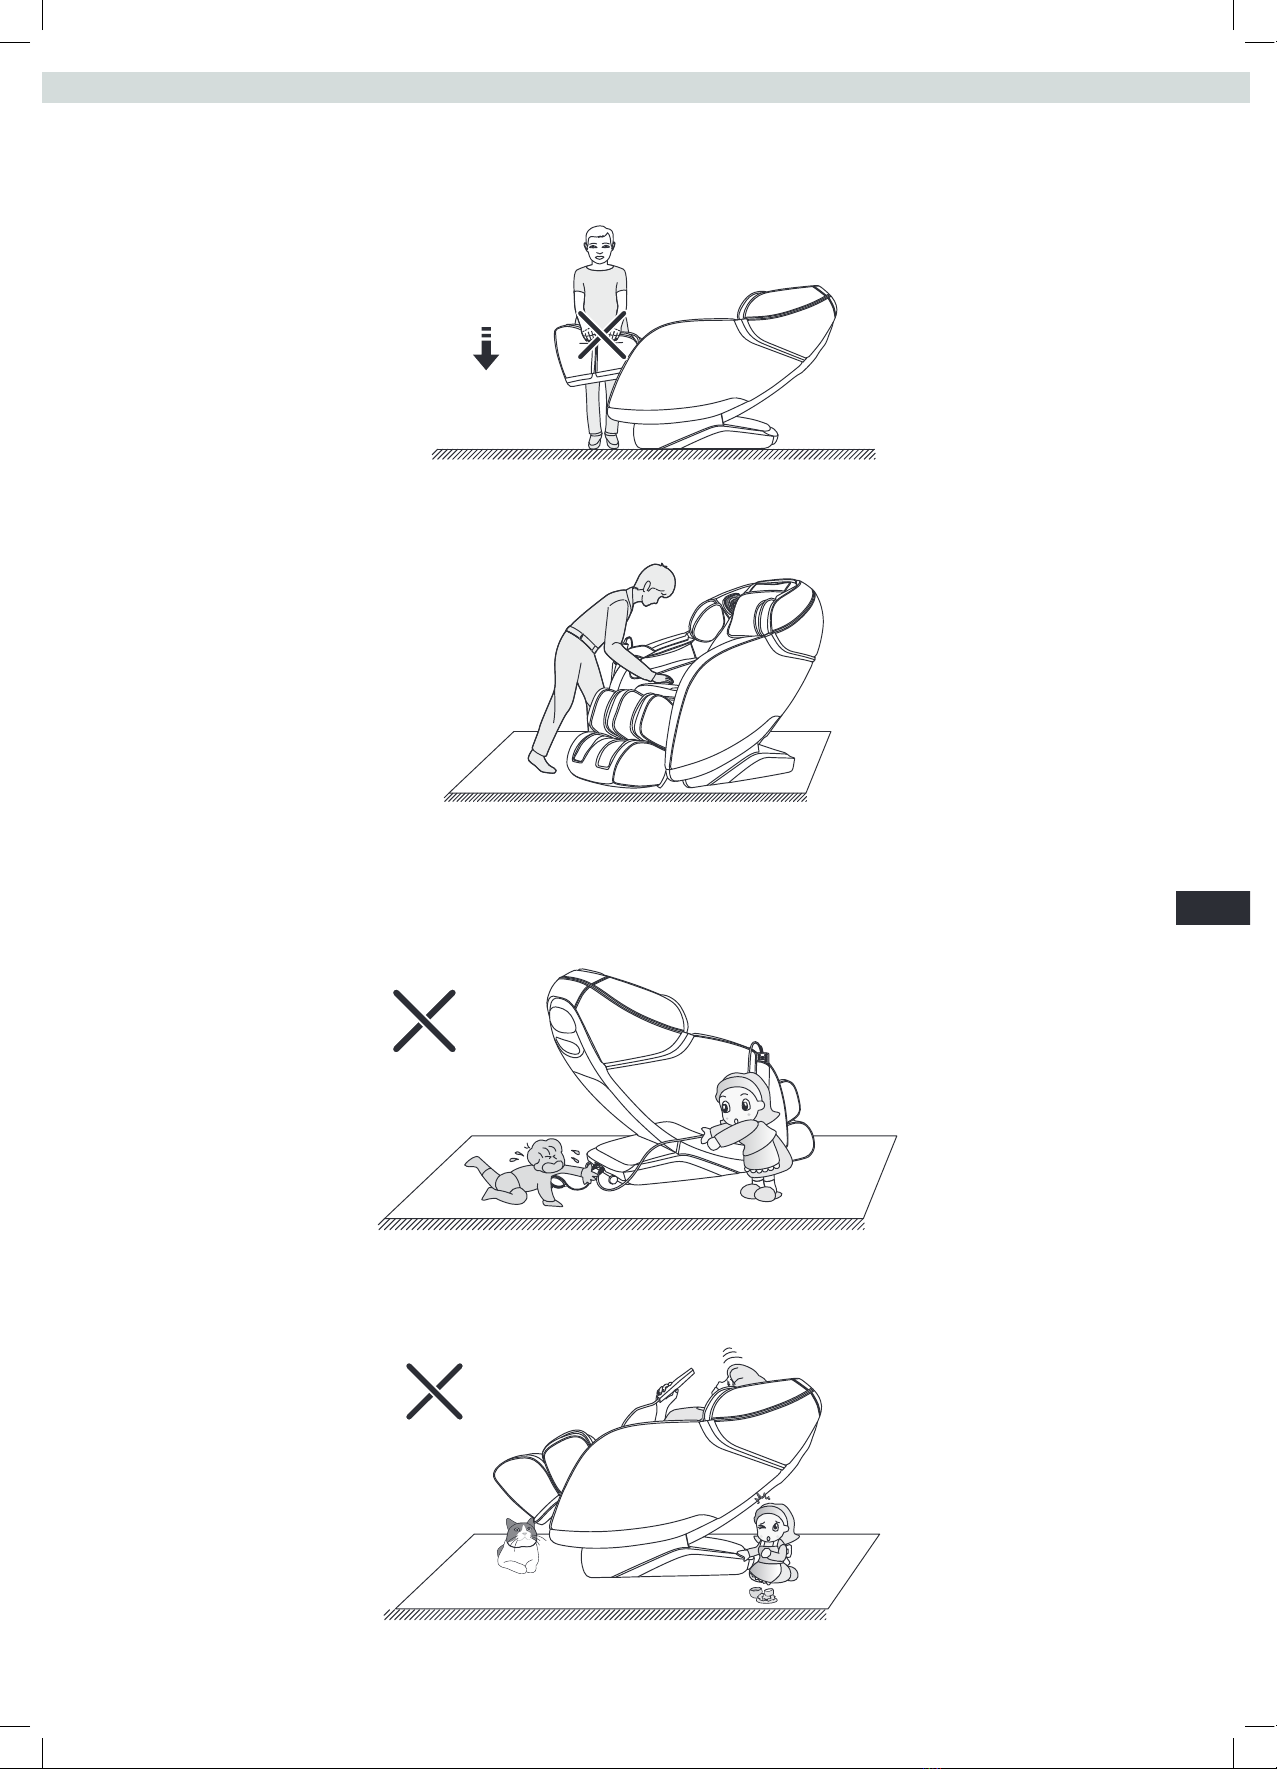
Training Environment
−Choose an area or your massage chair that is level, clean and easily accessible. The area should oer the
largest free space and maximum safety possible.
−Ensure that the area is well ventilated during use and that you avoid drafts.
−The massage chair is not suitable for outdoor use and so it should only be stored and used in a tempered,
dry and clean room.
−The ambient temperature range for the operation and storage of the massage chair should be between at
least 10° to a maximum of 30°Celsius
−Do not operate or store the massage chair in wet areas such as in swimming pools, saunas or bathrooms
etc.
−Make sure that when in operation or when idle that the massage chair is kept on rm, level ground and that
any unevenness in the oor surace is removed or levelled out.
−To protect delicate oors, such as wood, laminates, tiles, etc. rom damage such as scratches it is advisa-
ble to place a MAXXUS® oor protection mat permanently under the device.
−Make sure that the mat is secured against slipping.
−Do not place the massage chair directly on pale coloured or white carpets as the feet on the device can
cause staining.
−Make sure that the massage chair including the mains cable do not come into contact with hot objects and
that the massage chair is kept at sufcient distance away rom all sources oheat such as heating radia-
tors, open and res, ovens and stoves.