manuals.online logo
Brands
  1. Home
  2. •
  3. Brands
  4. •
  5. MDB Family
  6. •
  7. Indoor Furnishing
  8. •
  9. MDB Family 5155 Installation and operating instructions

MDB Family 5155 Installation and operating instructions

Dresser (5155) - Assembly and Operation Manual
Congratulations on purchasing an MDB Family product. This dresser will provide many years of service if you adhere
to the following guidelines for assembly, maintenance, and operation. This dresser is for residential use only.
Any institutional use is strictly prohibited.
Please be sure to follow the instructions for proper assembly. Use a Phillips head screwdriver for assembling the
dresser. Do not use power screwdrivers. All of our dressers are made from natural woods. Please understand that
natural woods have color variations which are the result of nature and are not defects in workmanship.
DO NOT SUBSTITUTE PARTS. ALL MODELS HAVE THE SAME QUANTITY OF PARTS AND HARDWARE.
YOUR MODEL MAY LOOK DIFFERENT FROM THE ONE ILLUSTRATED DUE TO STYLISTIC VARIATIONS.
REVISED INSTRUCTIONS- USE THESE INSTRUCTIONS FOR
ASSEMBLY, DISCARD THE INSTRUCTIONS PRINTED ON WHITE PAPER.
page 1
revised 17APR2015
F. Left Panel
Tools Needed
(not included)
Phillips
screwdriver
E. Right Panel
B. Base
H. Drawer Front (4)
L. Drawer Bottom (4)
M. Right Panel glide (4)
N. Left Panel glide (4)
O. Right drawer glide (4)
P. Left drawer glide (4)
G. Back Panel
HARDWARE
PARTS
C. Top & Bottom Cross Bar
Front Painted (2)
Back Unpainted (2)
D. Front Cross Bar (3)
J. RT & LT Drawer Sides (8)
K. Drawer Back (4)
A. Dresser Top
page 2
H7. 1/2” Phillips
Head Screw (48)
H1. 1 1/4” Phillips
Head Screw (8)
H2. Drawer Knob (8) H3. L Bracket (14) H4. 2 1/4” Phillips Head Screw (8)
H6. 1 1/8” Phillips
Head Screw (32)
H5. 1/2” Phillips
Head Screw (20)
H8. 3/4” Phillips
Head Screw (42)
STEP 3.
STEP 2.
STEP 1.
D
C
H8
H3
H8
H8
Use Phillips head screw (H8) to fasten the L brackets
(H3) to the cross bars (C) and (D).
Use three Phillips head screws (H7) to fasten each of the
four right panel glides (M) to the right panel (E). Then use
three Phillips head screws (H7) to fasten each of the four
left panel glides (N) to the left panel (F).
Using Phillips Head screws (H8) to attach the front and
rear cross bars to the left and right panels (E and F) . Be
sure that the unpainted top and bottom cross bars are
placed to the rear.
H8
H8
H3
H8
H3
H3
page 3
F. Left PanelE. Right Panel
M. Right Panel
glide
N. Left Panel
glide
F. Left
Panel
E. Right
Panel
D
C
D
D
C
C
C
M or N
H7
H7
H7
A
STEP 4.
Place the cabinet assembly onto the base (B) and
secure it with four Phillips head screws (H4).
STEP 5.
Place the top (A) on the case assembly and
secure it with four Phillips head screws (H4).
B
H4
H4
PASO 4.
page 4
H4
H4
H4
B. Base
A. Dresser Top
H4
H4
H4
STEP 7.
STEP 6.
Attach the back panel (G) using the
Phillips head screws (H5).
H5
page 5
Assemble drawers
All drawers are assembled in the same way.
7a.)
H6
H6
H6
H6
H. Drawer Front
J. LT Drawer
Side
J. RT Drawer
Side
G. Back
Panel
Attach the RT & LT drawer sides (J)
to the drawer fronts (H) using the
Phillips head screws (H6).
page 6
L. Drawer
Bottom
7b.) 7c.)
H6
H6
H6
H6
K. Drawer Back
7d.) 7e.)
Slide the drawer bottoms (L) into the
grooves in the front (H) and sides (J).
Place the drawer backs on and fasten them
with four Phillips head screws (H6).
Attach the left (P) and right (O) drawer
glides using Phillips head screws (H7).
Use three screws for each glide. Be sure
the glide wheel is towards the back of the
drawer.
Attach the knobs (H2) to the drawer fronts (H)
using the Phillips head screw (H1).
STEP 8.
Insert drawers to the dresser.
H7
H7
H7
H7
P. Left
drawer
glide
O. Right
drawer
glide
H7
H7
H2
H1
H2
H1
page 7
STEP 9.
Serious or fatal crushing can occur when furniture tips over on children. To help prevent tip-over, follow the
steps below to install this anti-tipping strap.
Tools Needed (not included)
Phillips
screwdriver
Pencil
Stubby
Screwdriver
X 2X 1
X 2X 1
X 1
X 1
WARNING
Use of tip-over restraints may only reduce,
but not eliminate, the risk of tip-over.
This is permanent label. Do not attempt to remove!
Serious or fatal crushing injuries can occur
from furniture tip-over. To help prevent
tip-over:
Place heaviest item in the lowest drawers.
Never allow children to climb or hang on
drawers, doors, or shelves.
Never open more than one drawer at a time.
(OR)
Do not defeat or remove the drawer interlock
system.
do not set TVs or other heavy objects on
top of this product.
Unless specifically designed to accommodate,
Install tipover restraint provided.
9A
Short
screw
9B 9C
3/16”
2”
9C.1
9C.2
FURNITURE ANTI-TIPPING KIT INSTALLATION
9D 9E
Long screw
KEEP THIS MANUAL IN A SAFE
PLACE FOR FUTURE REFERENCE.
READ ALL INSTRUCTIONS BEFORE
USING THE PRODUCT. KEEP THE
INSTRUCTIONS FOR FUTURE USE.
Finish
page 8

Other MDB Family Indoor Furnishing manuals

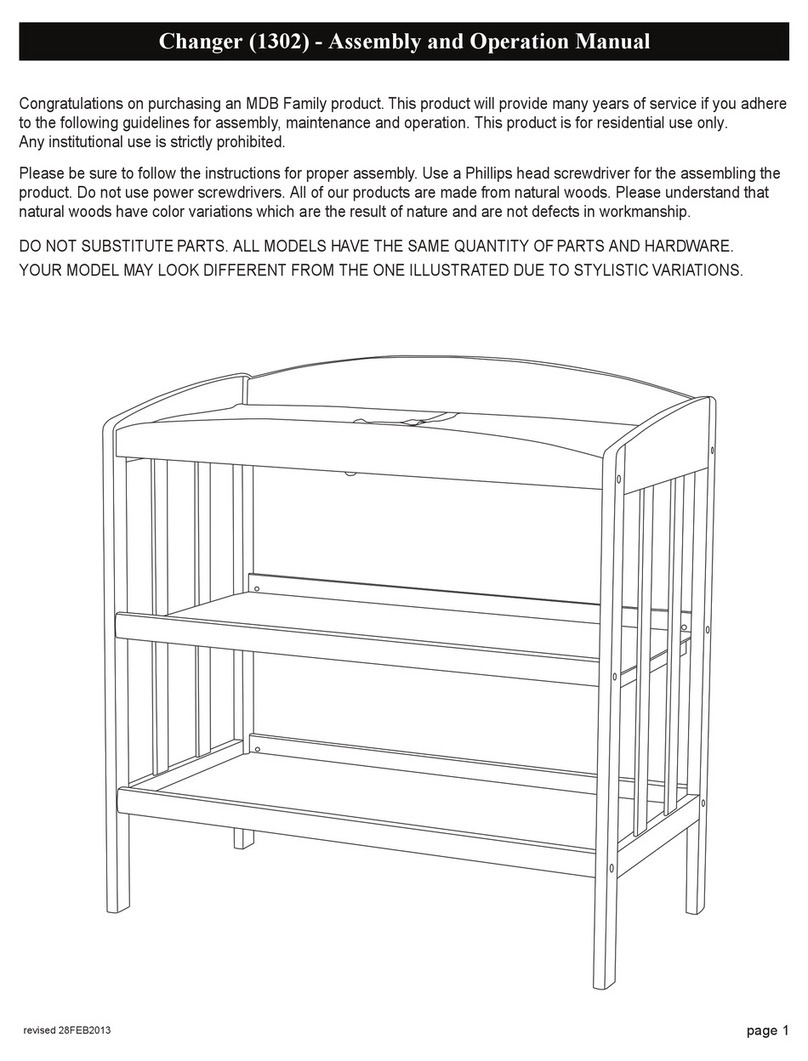
MDB Family 1302 Installation and operating instructions
MDB Family

MDB Family 1302 Installation and operating instructions

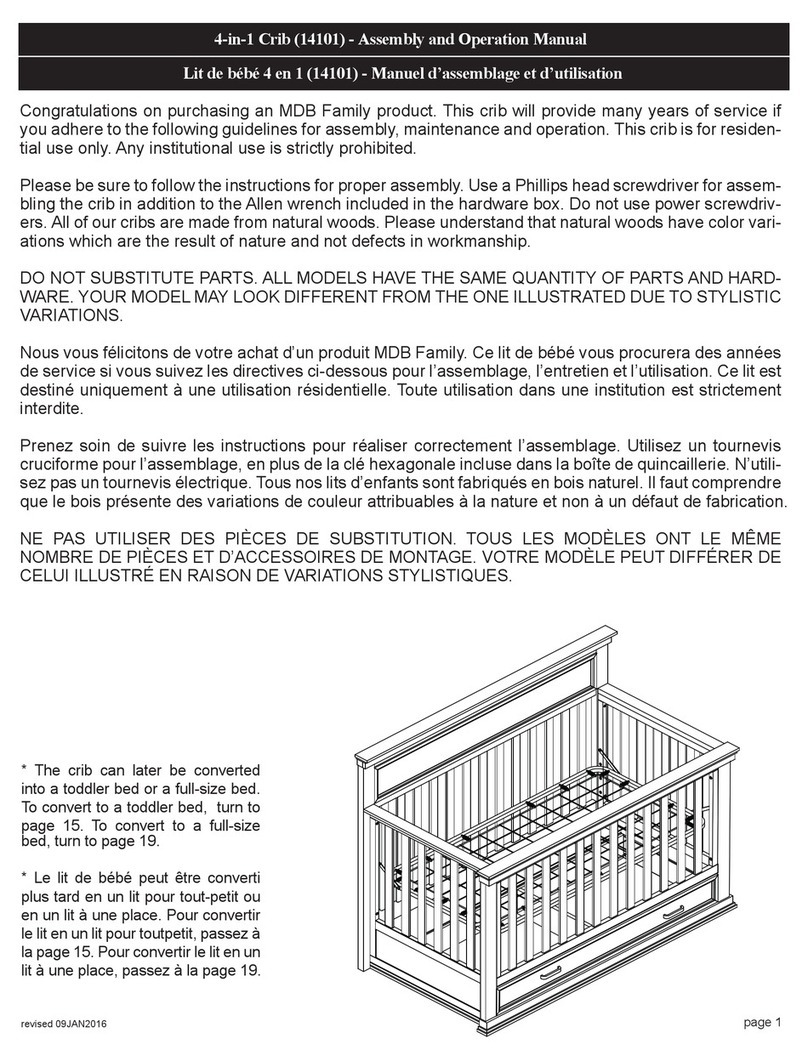
MDB Family 6831 Installation and operating instructions

MDB Family

MDB Family 6831 Installation and operating instructions

MDB Family 15814 Installation and operating instructions

MDB Family

MDB Family 15814 Installation and operating instructions

MDB Family 14101 Installation and operating instructions

MDB Family

MDB Family 14101 Installation and operating instructions
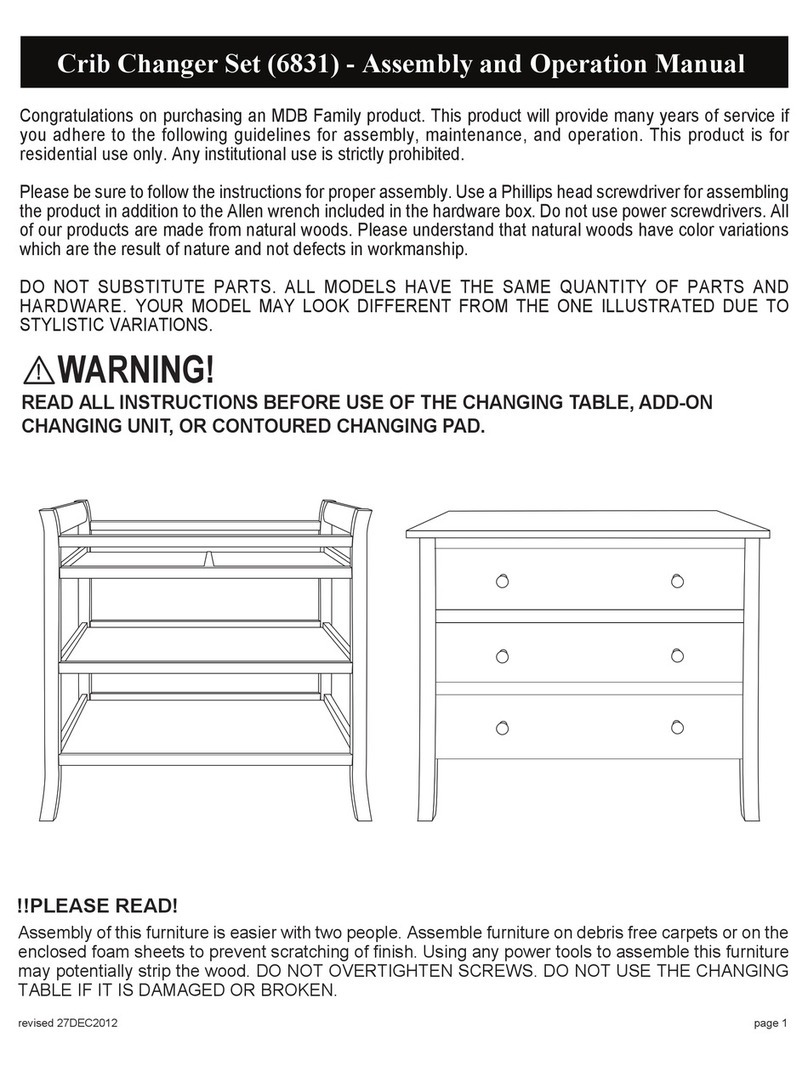
MDB Family Combo Dresser Installation and operating instructions
MDB Family

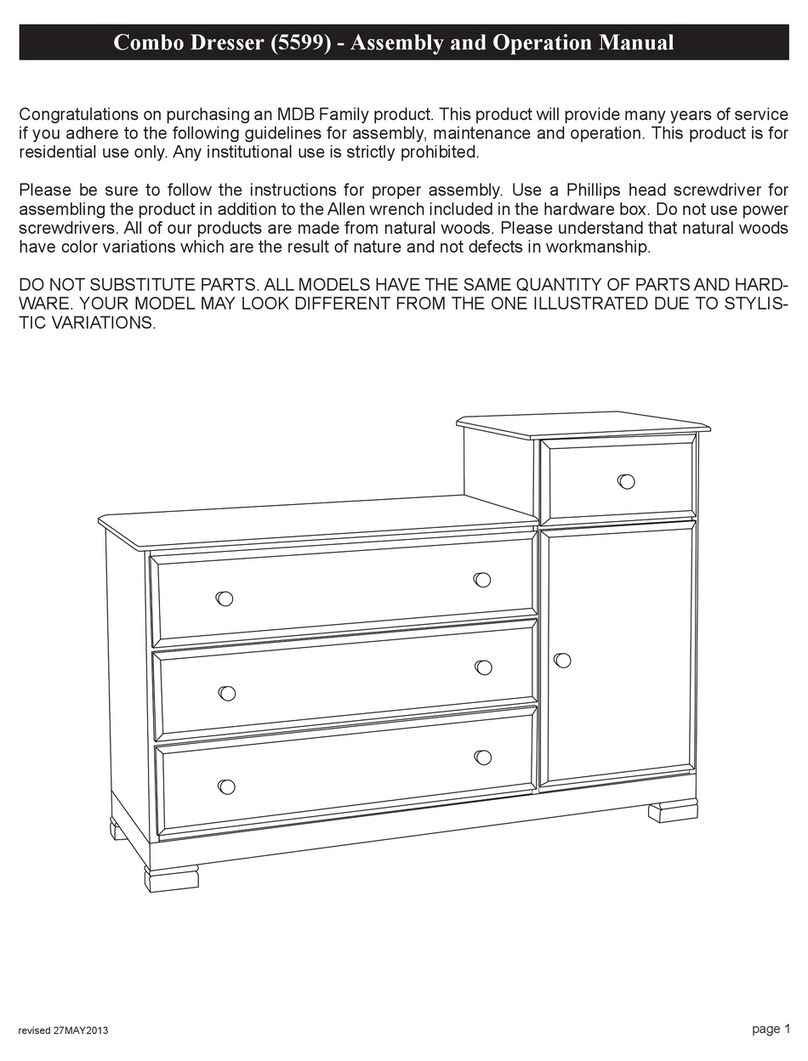
MDB Family Combo Dresser Installation and operating instructions
MDB Family 14101 Installation and operating instructions

MDB Family

MDB Family 14101 Installation and operating instructions

MDB Family 3 Drawer Changer 5555 Installation and operating instructions

MDB Family

MDB Family 3 Drawer Changer 5555 Installation and operating instructions

MDB Family 5928 Installation and operating instructions

MDB Family

MDB Family 5928 Installation and operating instructions

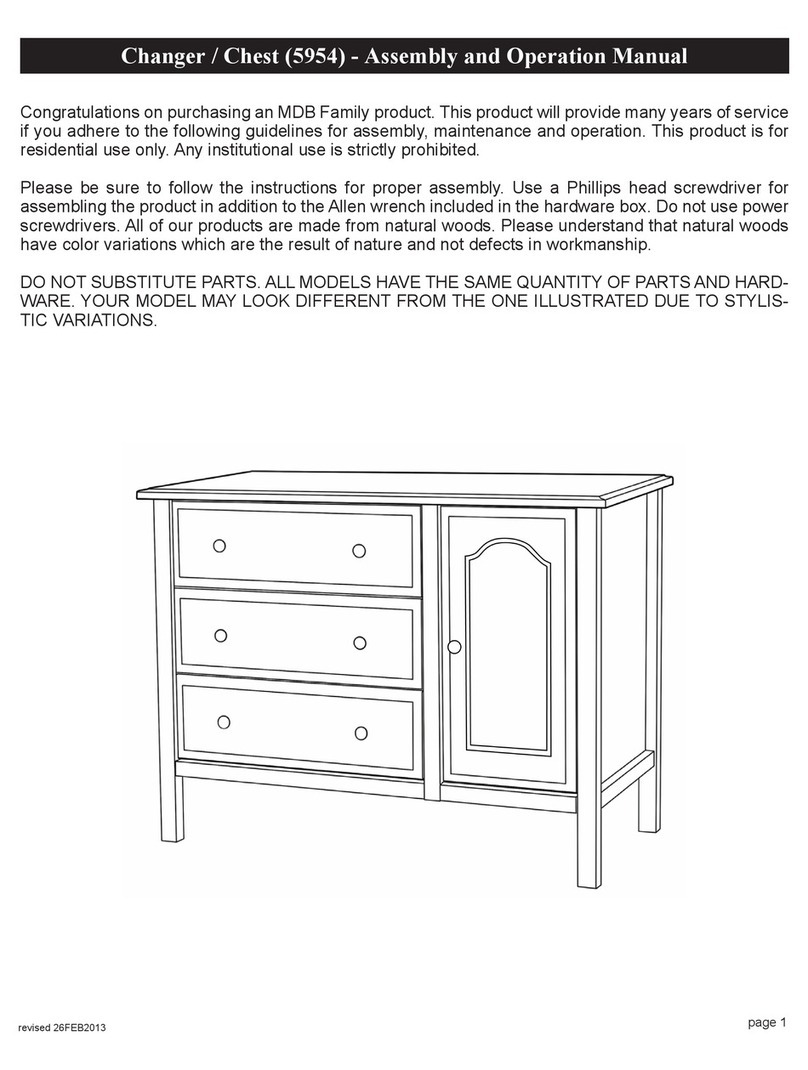
MDB Family 5954 Installation and operating instructions

MDB Family

MDB Family 5954 Installation and operating instructions
Popular Indoor Furnishing manuals by other brands

Dedeman BURGUNDY UP 01310 Assembling Instruction

Dedeman

Dedeman BURGUNDY UP 01310 Assembling Instruction

Outdoor Revolution ORBK0064 INSTRUCTIONS & PRODUCT CARE

Outdoor Revolution

Outdoor Revolution ORBK0064 INSTRUCTIONS & PRODUCT CARE

Moebelix OTIS 867 quick start guide

Moebelix

Moebelix OTIS 867 quick start guide

SMITH SYSTEM 58020 Assembly instructions

SMITH SYSTEM

SMITH SYSTEM 58020 Assembly instructions

Kvik T530,060 Assembly instruction

Kvik

Kvik T530,060 Assembly instruction

Whalen ATD60H-13AX Instruction booklet

Whalen

Whalen ATD60H-13AX Instruction booklet

MAVAULAR moveis Premium RM3940 manual

MAVAULAR moveis

MAVAULAR moveis Premium RM3940 manual

Coaster 105352 Assembly instructions

Coaster

Coaster 105352 Assembly instructions

VECELO EU-KHD-YT-D08 installation manual

VECELO

VECELO EU-KHD-YT-D08 installation manual

Rauch M2611 Assembly instructions

Rauch

Rauch M2611 Assembly instructions

Furniture of America FGI-1799C5 Assembly instructions

Furniture of America

Furniture of America FGI-1799C5 Assembly instructions

Furniture of America CM7751Q Assembly instructions

Furniture of America

Furniture of America CM7751Q Assembly instructions

pakoworld APOLLON 119-001092 manual

pakoworld

pakoworld APOLLON 119-001092 manual

IMPACT ACOUSTIC Chatpod 1200 Assembly instructions

IMPACT ACOUSTIC

IMPACT ACOUSTIC Chatpod 1200 Assembly instructions

OVE CARSON 42 installation manual

OVE

OVE CARSON 42 installation manual

Dj MOVEIS 10.089 Assembly instructions

Dj MOVEIS

Dj MOVEIS 10.089 Assembly instructions

aspenhome I430-412 Assembly instructions

aspenhome

aspenhome I430-412 Assembly instructions

DEMARTA VIRGINIO 01.11.Z2-VME manual

DEMARTA VIRGINIO

DEMARTA VIRGINIO 01.11.Z2-VME manual

manuals.online logo
manuals.online logoBrands
  • About & Mission
  • Contact us
  • Privacy Policy
  • Terms and Conditions

Copyright 2025 Manuals.Online. All Rights Reserved.