manuals.online logo
Brands
  1. Home
  2. •
  3. Brands
  4. •
  5. Meanwell
  6. •
  7. Power Supply
  8. •
  9. Meanwell KNX-20E-640 User manual

Meanwell KNX-20E-640 User manual

http://www.meanwell.com
KNX-20E-640 Installation Manual
Introduction
The KNX Power Supply KNX-20E-640 is a 640mA power supply with high efficiency and a small footprint of only 3SU (52.5mm). The
device has a KNX bus choke output and an additional output for ancillary power. The -5℃~ +50℃wide temperature operating range
can meet all kinds of applications. LED indicators are used in case of normal operation, overload conditions and RESET operation. It is
perfectly suitable to power up any products labeled with the KNX trademark.
Features
•EIB/ KNX power supply with integrated choke
•Compact size with 3US (52.5mm) width
•Safety extra low voltage (SELV)
•180 ~ 264Vac input
•No load power consumption < 0.5W
•200ms mains failure back-up time
•Cooling by free air convection
•Isolation classⅠ
•LED indicator for normal operation, bus reset and bus overload
•Installed on DIN TS-35/7.5 or 15
•3 years warranty
•Protections: Short circuit/ Overload (short-circuit-proof)/ Over voltage
Display
The device is equipped with a reset push button, three LEDs and terminal blocks for the AC, KNX bus line and ancillary output.
1
KNX bus terminal (Red : BUS +V, Black : BUS -V)
2
Ancillary power terminal
3
RESET button
4
Power ON (Green)
5
Reset (Red)
6
Ⅰ> Ⅰmax (Red)
7
AC terminal (L,N, )
http://www.meanwell.com
Installation
1. Wiring
•Use wires with an adequate cross-section
•Use suitable mounting tools to do the wiring and mounting
•The maximum number of bus devices connected is 64
•The maximum length of a line segment is 350 m, measured along the line between the power supply and the furthest bus device
•The maximum distance between two bus devices cannot exceed 700 m
•The maximum length of a bus line is 1000 m, keeping into account all segments
Type
AC and ancillary power terminals
(L, N, , +V, -V)
KNX bus terminal
(BUS +V, BUS -V)
Solid wire
0.5 ~ 4.0mm
0.6 ~ 0.8Φ
Stranded wire
0.5 ~ 2.5mm2
------
American wire gauge
12 ~ 26AWG
20 ~ 22AWG
Wire stripping length
6.5mm (0.255")
5mm (0.196”)
Screwdriver
3mm Slotted
-----
Recommended tightening torque
8 kgf-cm (7 lb-in)
-----
2. Mounting and Connection
a. Insert the power supply onto the DIN rail (TS35/7.5 or TS35/15).
b. Connect the KNX, the connection to the KNX bus line is made with the terminal block (red: BUS +V/ black: BUS -V )
located on the left upper part of the front.
c. Connect the mains voltage, the connection to the AC is made with the terminal (L, N, ) located on the bottom.
Click
http://www.meanwell.com
3. MCB
Use a MCB (miniature circuit breaker) with an adequate current rating to protect the KNK device.
Model
B10
B16
C10
C16
KNX-20E-640
1
2
2
4
Note: These calculated values are based on MCB S201 series manufactured by ABB.
Function and Operation
The device does not require any configuration with ETS® (Engineering Tool Software) tool. Once the wiring is proper done, the “Power on”
LED will light up and the rest of the LEDs remain off to indicate that the unit is in operation condition.
Reset:To carry out a reset, press the RESET button for at least 20 seconds to reset the KNX power supply.
Fault:If the red LED (I > Imax) lights up with applied mains voltage, a fault is present. This means that the KNX output is overloaded or
shot-circuited. The problem can be solved by removing the cause of the short circuit or by reducing the number of KNX devices
connected to the line. Once the fault has been rectified, carry out a reset by pressing the RESET button for approx. 20 seconds.
Meaning of the LEDs
Power ON (GREEN)
Reset (RED)
I > Imax (RED)
Status
ON
OFF
OFF
Ready for operation or
working normally
OFF
ON
OFF
Resetting
ON
OFF
ON
Output current too high
OFF
OFF
ON
Short-circuit or bus
reverse polarity
OFF
OFF
OFF
No mains voltage
Environmental Limitations
•Maximum ambient temperature must not exceed 50℃
•Always allow adequate ventilation clearances, 5mm left and right, 40mm above and 20mm below, around the unit in use to prevent it
from overheating
•Only install the unit in indoor environments
Cautions
•This unit must be installed by a qualified electrician
•It should be ensured that the supply can be isolated when connecting the unit.

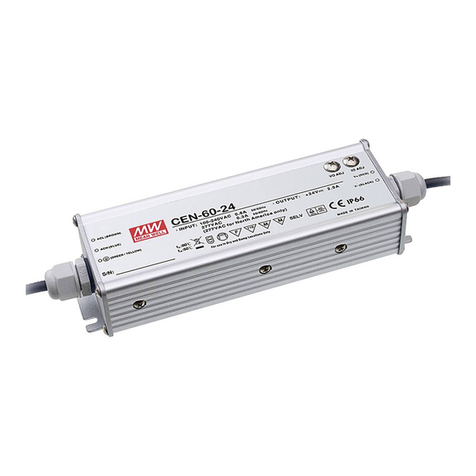
Other Meanwell Power Supply manuals

Meanwell NDR-75-12 User manual

Meanwell

Meanwell NDR-75-12 User manual

Meanwell HEP-2300 Series User manual

Meanwell

Meanwell HEP-2300 Series User manual

Meanwell NDR-240 Series User manual

Meanwell

Meanwell NDR-240 Series User manual

Meanwell RSP-1000 Series User manual

Meanwell

Meanwell RSP-1000 Series User manual

Meanwell RKP-CMU1 User manual

Meanwell

Meanwell RKP-CMU1 User manual

Meanwell RST-7K5-HV Series User manual

Meanwell

Meanwell RST-7K5-HV Series User manual

Meanwell DR Series User manual

Meanwell

Meanwell DR Series User manual

Meanwell DR-15-5 User manual

Meanwell

Meanwell DR-15-5 User manual

Meanwell RCB-1600 Series User manual

Meanwell

Meanwell RCB-1600 Series User manual

Meanwell RKP-1U-CMU1 User manual

Meanwell

Meanwell RKP-1U-CMU1 User manual

Meanwell NMP650 User manual

Meanwell

Meanwell NMP650 User manual
Meanwell DRH-120-24 User manual

Meanwell

Meanwell DRH-120-24 User manual

Meanwell TDR-960 Series User manual

Meanwell

Meanwell TDR-960 Series User manual

Meanwell SDR Series User manual

Meanwell

Meanwell SDR Series User manual

Meanwell RCP-1600 Series User manual

Meanwell

Meanwell RCP-1600 Series User manual

Meanwell DDR-480B-12 User manual

Meanwell

Meanwell DDR-480B-12 User manual

Meanwell PWR-40-24 User manual

Meanwell

Meanwell PWR-40-24 User manual

Meanwell HEP-1000 User manual

Meanwell

Meanwell HEP-1000 User manual

Meanwell PWR24048 User manual

Meanwell

Meanwell PWR24048 User manual

Meanwell DDR-15G-3.3 User manual

Meanwell

Meanwell DDR-15G-3.3 User manual

Meanwell EDR-75-12 User manual

Meanwell

Meanwell EDR-75-12 User manual

Meanwell WDR Series User manual

Meanwell

Meanwell WDR Series User manual

Meanwell LAD Series User manual

Meanwell

Meanwell LAD Series User manual
Meanwell RHP-1U Series User manual

Meanwell

Meanwell RHP-1U Series User manual

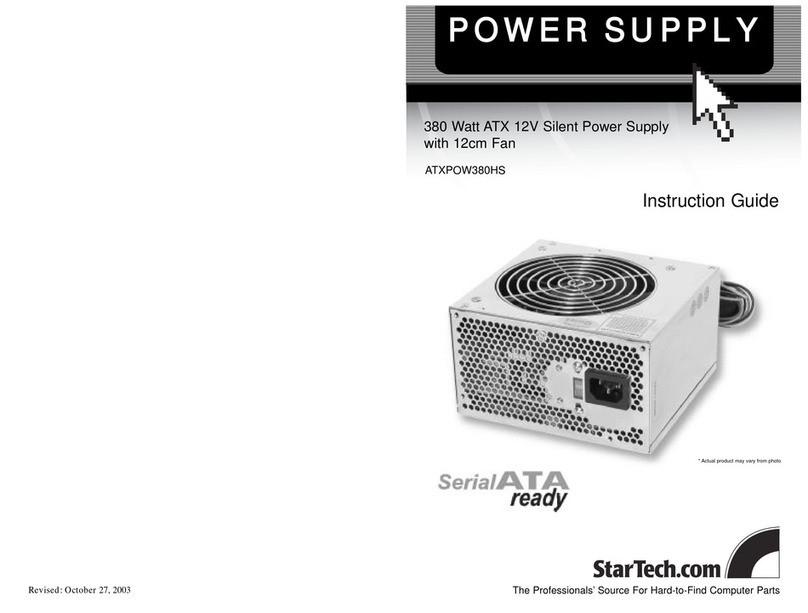
Popular Power Supply manuals by other brands

Clayton Power LPS II Series Manual and safety instructions

Clayton Power

Clayton Power LPS II Series Manual and safety instructions

MG Mini-M M2DYS instruction manual

MG

MG Mini-M M2DYS instruction manual

Pulsar PSBS5012C manual

Pulsar

Pulsar PSBS5012C manual

GlobTek GTM96300-3036-6.0-R2 Operating lnstructions

GlobTek

GlobTek GTM96300-3036-6.0-R2 Operating lnstructions

Ezviz PS600 user manual

Ezviz

Ezviz PS600 user manual

Keba BG3 Operation manual

Keba

Keba BG3 Operation manual

BCP PUOOSV How to install

BCP

BCP PUOOSV How to install

Schaudt Electroblock EBL 211 operating instructions

Schaudt

Schaudt Electroblock EBL 211 operating instructions

Rosslare PS-14 installation instructions

Rosslare

Rosslare PS-14 installation instructions

Newcastle Systems PowerPack Ultra 2.6 series owner's manual

Newcastle Systems

Newcastle Systems PowerPack Ultra 2.6 series owner's manual

Spellman MCP4 Installation and user guide

Spellman

Spellman MCP4 Installation and user guide

Satel APS-30 manual

Satel

Satel APS-30 manual

eFUEL SK-200015 instruction manual

eFUEL

eFUEL SK-200015 instruction manual

Sony IPELA SNTA-RP1 installation manual

Sony

Sony IPELA SNTA-RP1 installation manual

LevelOne FVT-5000 user manual

LevelOne

LevelOne FVT-5000 user manual

DUNIWAY Stockroom Terranova 752A instruction manual

DUNIWAY Stockroom

DUNIWAY Stockroom Terranova 752A instruction manual

Regulus PG 1000 Installation and operation manual

Regulus

Regulus PG 1000 Installation and operation manual

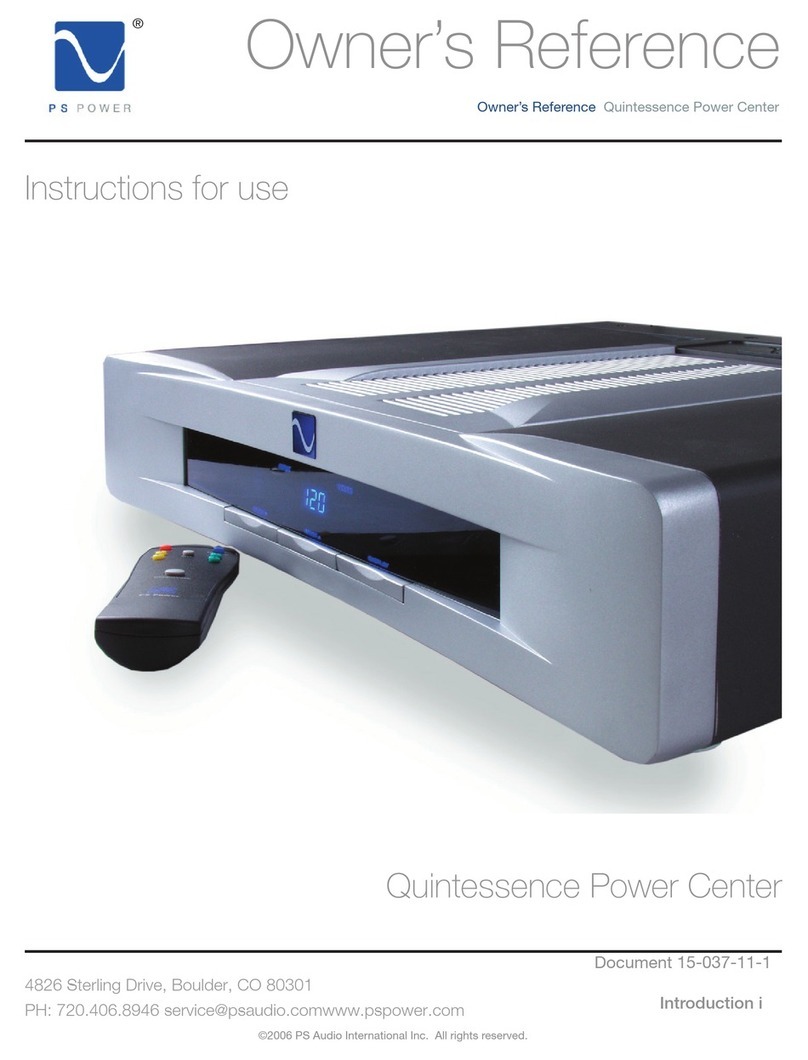
PS Audio Power Plant Premier Owner's reference

PS Audio

PS Audio Power Plant Premier Owner's reference

manuals.online logo
manuals.online logoBrands
  • About & Mission
  • Contact us
  • Privacy Policy
  • Terms and Conditions

Copyright 2025 Manuals.Online. All Rights Reserved.