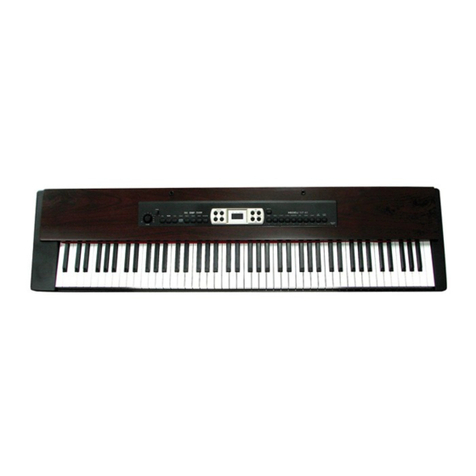
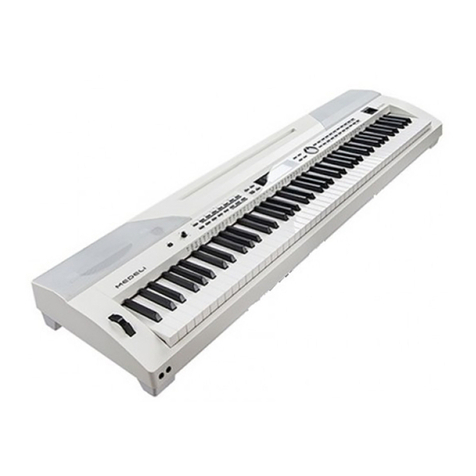
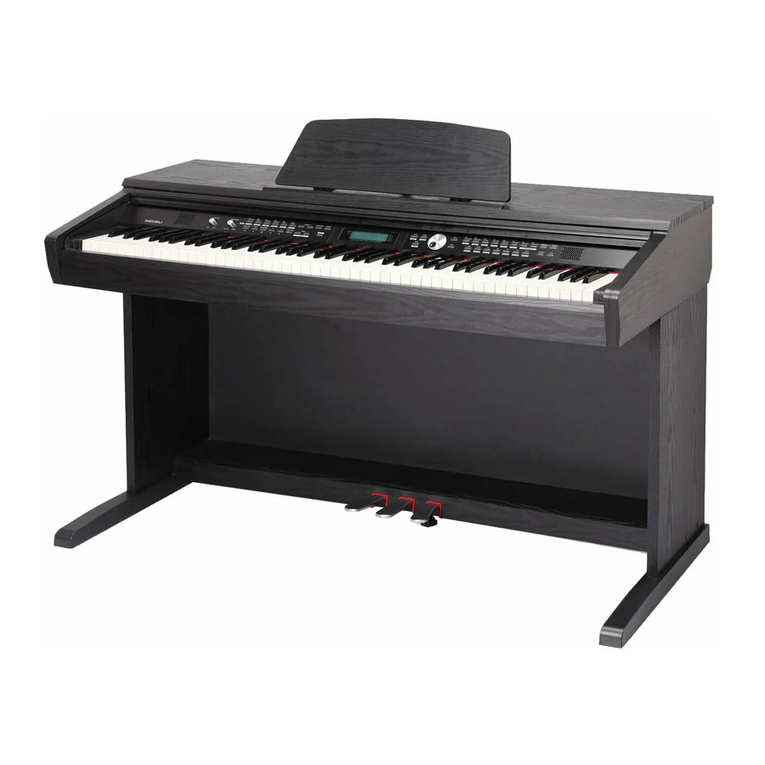
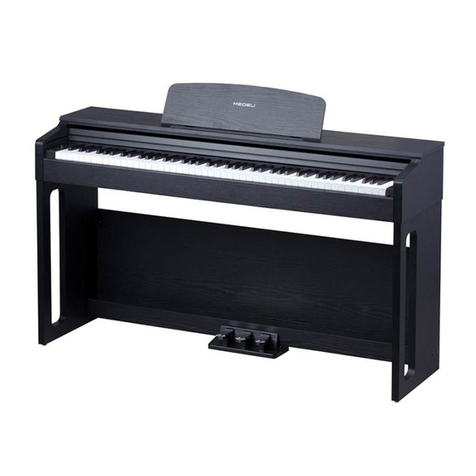
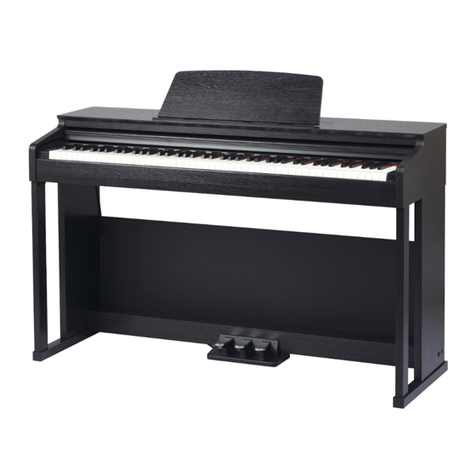
Medeli DP 100 User manual


2
Important Notes
Your piano will give you years of playing
pleasure if you follow the simple rules given
below:
Location
Do not expose the unit to the following
conditions to avoid deformation,
discoloration, or more serious damage.
Direct sunlight.
High temperature (near a heat source,
or inside a car under long exposure of
Sunlight.
Excessive humidity
Excessive dust
Strong vibration
Power Supply
Make sure to use the suitable AC adaptor,
and the AC outlet voltage at your country
matches the input voltage specified on
the AC adaptor s label.
Avoid plugging the AC adaptor into the
same AC outlets as appliances with high
power consumption, such as electric
heaters or ovens. Also avoid using multi-
plug adaptors since this could reduce
sound quality, causes operation errors
and damages.
Turn the power switch OFF when the
instrument is not in use.
An AC adaptor should be unplugged from
the AC outlet if the instrument is not
going to be used for an extended period
of time.
Unplug the AC adaptor during electric
storms.
'
's
Turn Power OFF When Making
Connections
To avoid damages, turn off the power
switches before you connect the unit to
the related devices or disconnect the
related devices from the unit.
Handling and Transporting
Never apply excessive force to the
controls, connectors or other parts of the
instrument.
Always unplug cables by gripping the
plug firmly, but not pulling the cables.
Disconnect all cables before moving the
instrument.
Physical shocks caused by dropping,
bumping, or placing heavy objects on the
instrument could result in scratches or
even severe damages.
Cleaning
Clean the unit with a soft dry cloth.
A slightly damp cloth may remove
stubborn grime and dirt.
Never use cleaners such as alcohol or
thinner.
Avoid placing vinyl object on top of the
unit (vinyl might discolor and stick to the
surface).
Electrical Interference
This instrument contains electric circuitry
and may cause interference if it is placed
too close to radio or television receivers.
If this occurs, move the instrument
further away from the receivers.
Summarize
Main Features
This piano is a easy-to-use digital piano with expert design to match the rich sounds and premium play.
This piano features an 88-note hammer-action keyboard and USB MIDI. 9 voices and the most useful
piano functions, not too much, it just gives you what you need.
You are recommended to study this manual carefully before using the unit.
3
NOTE:
Pressing and buttons together when turning on the piano, will put all values back to default setting
and erase the record data.
[+] [-]
KEYBOARD:
VOICE:
TRANSPOSE:
REVERB:
TUNE:
METRONOME:
VOICE DEMO:
RECORDER:
PEDALS:
USB Port (MIDI IN/OUT):
IO CONNECTIONS:
88-note hammer action keyboard, 3 touch levels.
9 outstanding voices.
Easy for entry level users to shift the key.
32 levels REVERB effect for users' performance.
Fine tune for all voices.
Selectable 0~6 beat metronome with the tempo range of 30 ~ 280.
Demonstration for each of the panel voice.
Real-time recorder.
Sustain pedal, soft pedal and sostenuto pedal.
USB audio device interface.
Headphone, AUX out, USB MIDI.

4
Conent
Set-up Guide
General Guide
The Connectors
Operation
Specifications
Voice List
MIDI Implementation Chart
- Using power jack
- Using headphones jacks
- Using the AUX.OUT Jacks
- Using the foot pedals
- Using the USB port (MIDI IN/OUT)
- Power on & Master Volume
- Voices and Effects
- Metronome
- Tempo
- Record
5-7
8-9
10-11
12-17
18
18
19
10
10
11
11
11
12
12-15
16
16
17

Open the package, and check whether the following parts are available:
1. Piano body
2. Big Rear Panel
4. Right Side Panel
5. Left Side Panel
3. Pedal Box
5
6. Hand screws(4pcs)
7. Screws 6x30 (4pcs)
8. Screws 4x15(8pcs)
9. Screw caps (4pcs)
Set-up Guide
354
6789

4x15 8PCS
6
Set-up Guide
Side Panel and Pedal Box Assembly
Rear Panel Assembly
Screw caps 4PCS
Screws 6x30 4PCS
Screws 4x15 8PCS
Place the pedal box on the two side panels and then use screws to fasten the side panels.
NOTE:
Please use the screws that be supplied, do not use the other screws.
Fit the rear panel into the side panel brackets and fasten with the screws.

7
Set-up Guide
Attach The Piano Cabinet
Fix the cable
Hand Screws 4PCS
Pedal cable
Pedal Height Adjustment Screw
Place the piano cabinet on the stand, fix it using four hand screws.
Insert the DIN plug of pedal cable into the
proper socket of cabinet.
Locate the unit to the desired place and rotate
the height adjustment screw until supports the
pedal box, preventing the pedal box from ben-
ding when you press the pedals.

Top View
Rear View
Front View
56
9
7
10
8
12
11
13
Control Panel
USB Port (MIDI IN/OUT)
Music Stand
Piano Keyboard
Headphones Jack
Aux Out Right
Aux Out Left
1
2
3
4
5
6
7
Power Jack
Soft Pedal
Sostenuto Pedal
Sustain Pedal
Pedal Jack
Pedal Height
Adjustment Screw
8
9
11
10
12
13
8
General Guide
AUX.OUTAUX.OUT
USB
USB
R L
15V
15V

1
2
3
4
5
6
7
8
9
10
11
12
13
14
POWER SWITCH
MASTER VOLUME
TRANSPOSE
TUNE
REVERB
TOUCH
TEMPO
RECORD
METRONOME
PLAY
LED DISPLAY
+ / -
VOICE DIRECT SELECT BUTTONS
VOICE DEMO
9
11
12
13
14 10
9
Control Panel
General Guide

10
The Connectors
There are two headphones jacks on the left underneath
the piano body.
When an optional set of stereo headphones is connected
with the headphones jack 2, the sound from speakers will
switch off automatically resulting in only the sound from
headphone to be heard.
When jack 1 is connected with the stereo headphones,
the sound can be heard from both headphones and
speakers of the piano.
Connect two pairs of headphones to jack1 and jack2,it
helps the user play with the teacher or friend in a quiet
surrounding.
Headphones
Jack 1
Headphones
Jack 2
1
1
2
2
3
3
4
Using headphones jacks
Using power jack
To AC power outlet
This piano can be powered by current from a standard
household wall outlet by using the specified AC adaptor.
The power jack is located on the rear panel of the piano
body.
Make sure that only the AC adaptor specified for this
piano is used.
The adaptor shall be 15V DC output, and center positive
type.
Make sure to turn off the piano before you connect the
adaptor into the AC wall outlet and the cord into the unit.
Never use the headphone with high volume, as it may
hurt your sense of hearing.
To prevent the damage of the speakers, ensure that
the volume is set to the minimum level before conne-
cting the power and other devices.
Cautions
Cautions
Use of another type of adaptor creates a danger of
fire and electrical shock.
For safety sake, make sure to unplug the AC adaptor
from the wall outlet whenever leaving the piano unatt-
ended for a long time or during a thunderstorm.
AUX.OUTAUX.OUT
USB
USB
R L
15V
15V

11
The connector
Using the USB port (MIDI IN/OU)
1
2
Connect PC or other USB host devices that support
USB audio.
For devices with USB cable, you can simply connect
the MIDI/USB converter to your USB connector on the
devices and plug the USB cables into the piano, after
the driver is installed and initialization is finished, you
can choose USB Audio Device in the device menu of
the software to transfer midi data.
AUX.OUTAUX.OUT
USBUSB
R L
15V15V
AUX.OUTAUX.OUT
USBUSB
R L
15V15V
Connect the rear-panel AUX.OUT jack to amplified
speakers, amplifiers or domestic hi-fi-units for external
amplification.
NOTE:
Connect both left(L) and right(R) channels for the
stereo effect.
If you only connect either one of the channels, the
connected channel will only take effect.
NOTE:
Do not select USB audio device in both of input and
output setting together, otherwise the sound overlaps.
Using the AUX.OUT jacks
Connect the plug of the foot pedal unit to the pedal
jack on the rear panel.
You will experience the sustain/soft/sostenuto effect.
Using the foot pedals
NOTE:
Step on the sustain pedal ,all notes played on the
keyboard have a longer sustain.
Step on the sostenuto pedal, the notes played before
you step on have a sustain effect.
Step on the soft pedal , all notes played on the
keyboard have a soft effect.
Soft pedal Sostenuto
pedal
Sustain
pedal

Turn the switch to on. The LED display
lightens up.
[POWER]
Push the sliding bar rightwards, the whole volume
becomes increase, push it leftwards, the whole volume
becomes decrease.
Press the and the button synchronously, and then
power on the piano, it can reset all the setting to the
default value and erase the record data.
[+] [-]
12
Operation
Power on & Master Volume
Turn the power switch on
The level decreases The level increases
NOTE:
If the LED display has not lightened up after you
power on the piano, please check the power supply.
If the piano is silent, the volume may be adjusted to
its minimum level.
Although Mains switch is in OFF position, the piano is
not disconnected from the power supply completely!
Press together
1
2
3
Turn the power switch on
2
Voices and Effects
There are 5 voice Direct Select buttons to select 9 voices.
The button only select GRAND PIANO.
The other four Direct Select buttons can be used to choose
2 different voices, press the first time to select upper layer
voice, press the second time to select the lower layer voice.
When it is power on, LED displays the 001 voice number.
Press the voice Direct Select button, or use the [+] and
[-] button to select your favorite voice.
Voice Select
There are 9voices in total (See Appendix 1), Use
Direct Select buttons to select.
[GRAND PIANO]
Select the GRAND PIANO voice
Select your favorite voice.
Press the first time to
select BRIGHT PIANO
1
Press the second time
to select HARPSIC

Operation
VOICE DEMO
You can press button, the Demonstration
of the current voice will play.
When playing the VOICE DEMO, press
again to exit the demo mode.
If you change the voice , and it will exit the demo mode.
There are 9 Demonstrations for each of the panel
voice.
[VOICE DEMO]
[VOICE DEMO]
Change a voice and exit the demo.
Press it again to exit the demo.
Press it to play the demo.
2
3
1
13
TRANSPOSE
You can change the pitch of the entire keyboard by
semitone steps with TRANSPOSE function.
[TRANSPOSE]
[+] [-]
[+] [-]
Press the button , LED displays current
transpose value temporarily.
Press to increase the value and Press to decrease
the value, the maximal range to be adjusted is from
-12 to +12 semitones, the default value is 0.
In TRANSPOSE setting , press the and button
simultaneously to set the value to default.
If you don't press any button for 3 seconds in transpose
setting mode, it will quit this mode automatically.
NOTE:
2
3
1
Press it to increase the value
Press together

Operation
14
Press it to increase the value
Press together
Press together
TUNE
Press the button, LED displays current tune
value temporarily.
Press to increase the value and Press to decrease
the value, the maximal range to be adjusted is from -50 to
+50 semitones, the default value is 0.
In TUNE setting , press the and button simulta-
neously to set the value to default.
You can change the TUNE of the entire keyboard
with TUNE function.
[TUNE]
[+] [-]
[+] [-]
NOTE:
If you don't press any button for 3 seconds in tune
setting mode, it will quit this mode automatically.
2
3
1
2
3
1
TOUCH
Press the button , LED displays current touch
value temporarily. There are 4 touch response types.
Press the and the button to select, the default is
002.
If the type is set as off, it means no touch response to
keyboard, the TOUCH indicator goes OFF.
This function allows you to turn on the dynamic level
when playing the keyboard.
[TOUCH]
[+] [-]
NOTE:
If you don't press any button for 3 seconds in touch
response type select mode, it will quit this mode
automatically.

Operation
PEDAL VOICE
1
SUSTAIN Pedal
When you step on the sustain pedal, all notes
played on the keyboard have a lingering effect.
3
SOFT Pedal
when you step on the soft pedal, all notes played
on the keyboard have a soft effect. The volume is
reduced slightly
2
SOSTENUTO Pedal
When you step on the pedal, the first note you play
has a sustain effect, but all subsequent notes will
not sustain. Soft
Pedal
Sostenuto
Pedal
Sustain
Pedal
15
REVERB
Press the button , LED displays current
reverb value temporarily.
Press the or button to change the reverb level, it
changes from 0 to 31.
In REVERB setting, press the and button simulta-
neously to set the value to default.
REVERB effect will make the keyboard sound much
more fully and widely.
[REVERB]
[+] [-]
[+] [-]
NOTE:
If you don't press any button for 3 seconds in reverb
select mode, it will quit this mode automatically.
Press it to increase the value
Press together
2
3
1

Metronome
Tempo
Operation
2
2
3
4
3
1
1
16
Press the button to turn on the metron-
ome. Press the button again to turn off the metronome.
Hold and press the button for 2 second
to enter into BEAT SELECT status, LED displays current
beat value temporarily.
Press the / button to change the beat value, it
changes from 0, 2 to 6.
P
[METRONOME]
[METRONOME]
[+] [-]
ress the and button simultaneously to set the
value to default, the default value is 004.
[+] [-]
NOTE:
If you don't press any button for 3 seconds in metro-
nome select mode, it will quit this mode automatically.
Press and hold for 2 second to
enter into BEAT SELECT status
[TEMPO]
[+] [-]
[+] [-]
Press the button , LED displays current tempo
value temporarily.
Press the or button to change the tempo level, it
changes from 30 to 280.
In TEMPO setting , press the and button simulta-
neously to set the value to default.
NOTE:
If you don't press any button for 3 seconds in tempo
select mode, it will quit this mode automatically.
Press together
Press together

Record
Operation
There is one track real-time record.
Waiting for recording:
[RECORD]
Start recording:
Stop recording:
[RECORD]
Playback
[RECORD] [METRONOME]
NOTE:
[+] [-]
The recorded data will not be lost when you turn off the
power.
Hold on the and button together and power on
the piano, it will erase all the recorded data.
Press the button for the first time to enter
the record mode. The dot of LED is flashing, it indicates
waiting for recording.
When the dots flash on LED, you can play the keyboard
directly to start recording.
Press the button again to stop recording.
If the capacity is full while recording, the recording will
be stopped automatically with the FUL display on LED.
Press the and the button
together for the first time to playback the record data.
Press them for the second time to stop playback.
NOTE:
NOTE:
NOTE:
When entering waiting for recording mode, the metr
onome is turned on automatically.
When entering record mode, the old data will lost.
If there is no record data when you press the
and the button together,
LED will display empty temporarily.
[RECORD] [METRONOME]
Enter the record mode,
Press it again to stop recording.
The 3 dot are flashing, it
indicates waiting for recording.
Play the keyboard to start recording.
2
3
4
1
17
Press together to playback the record data.

Specifications
Keyboard
Voice
Display
Switch and Buttons
Transpose
Pedals
Connectors
Speaker
Dimension
Weight
88 keys, 3 kinds of touch level.
9 voices, d
LED display.
POWER SWITCH, VOLUME SWITCH, TRANSPOSE, TEMPO
TUNE, REVERB, TOUCH, RECORD, PLAY, METRONOME,
+, -, VOICES DIRECT SELECT.
12 semi tones
Soft, Sostenuto, Sustain
AC POWER, HEADPHONES, AUX.OUT, USB, PEDALS
8ohm 25w x 2
1356 x 437 x 840mm
42kg
emonstration for each of the panel voice.
18
+
No Name of Voice Name of Voice on Panel
Voice List
Acoustic Grand Piano
Bright Acoustic Piano
Harpsichord
Electric piano1
Electric piano2
Vibes
Drawbar
Strings1
Folk Sax
001
002
003
004
005
006
007
008
009
GRAND PNO
BRIGHT PNO
HARPSIC.
E.PIANO1
E.PIANO2
VIBES
DRAWBAR
STRINGS 1
FOLK SAX

MIDI Implementation Chart
19
Function Transmitted Recognized Remarks
Basic Default
Channel Changed
1ch
1ch
1-16ch
1-16ch
Default
Mode Messages
Altered ***********
3
Note
Number : True voice
9-120
***********
0-127
0-127
Velocity : Note on
Note off
9nH,V=1-127
9nH,V= 0
9nH,V=1-127-
(9nH,V=0; 8nH,V=0-127)
After Key s
Touch Ch s
Pitch Bend
Control
Change
0Bank Select
1Modulation
5Portamento Time
6Data Entry
7Volume
10 Pan
11 Expression
64 Sustain Pedal
65 Portamento ON/OFF
66 Sostenuto Pedal
67 Soft Pedal
80 Reverb Program
81 Chorus Program
91 Reverb Level
93 Chorus Level
120 All Sound Off
121 Reset All Controllers
123 All Notes Off
Program
Change : true # *********** 0-127
System Exclusive
System Song Position
Common Song Select
Tune
System Clock
Real Time Commands
Aux LOCAL ON/OFF
All Notes Off
Messages Active sense
Reset

Version: G03
Table of contents
Other Medeli Musical Instrument manuals

Medeli
Medeli DP760K User manual

Medeli
Medeli Grand 510 User manual

Medeli
Medeli Grand 1000 User manual

Medeli
Medeli DP269 User manual

Medeli
Medeli CDP5200-BK User manual

Medeli
Medeli CDP5000 User manual

Medeli
Medeli Cdp5000w User manual

Medeli
Medeli DP740K User manual

Medeli
Medeli SP4200/WH User manual

Medeli
Medeli SP5500 User manual

Medeli
Medeli GRAND1000 User manual

Medeli
Medeli DP250 User manual

Medeli
Medeli DP268 User manual

Medeli
Medeli CDP5200B User manual

Medeli
Medeli SP-40 Series User manual

Medeli
Medeli DP70EU User manual

Medeli
Medeli KURTZMAN K700 User manual

Medeli
Medeli St430 User manual

Medeli
Medeli SP4200 User manual

Medeli
Medeli DP263 Operating instructions