Operating manual MELAseal®101
Page 3
3. Accessories
3.1. Work platform _____________________________________________________________
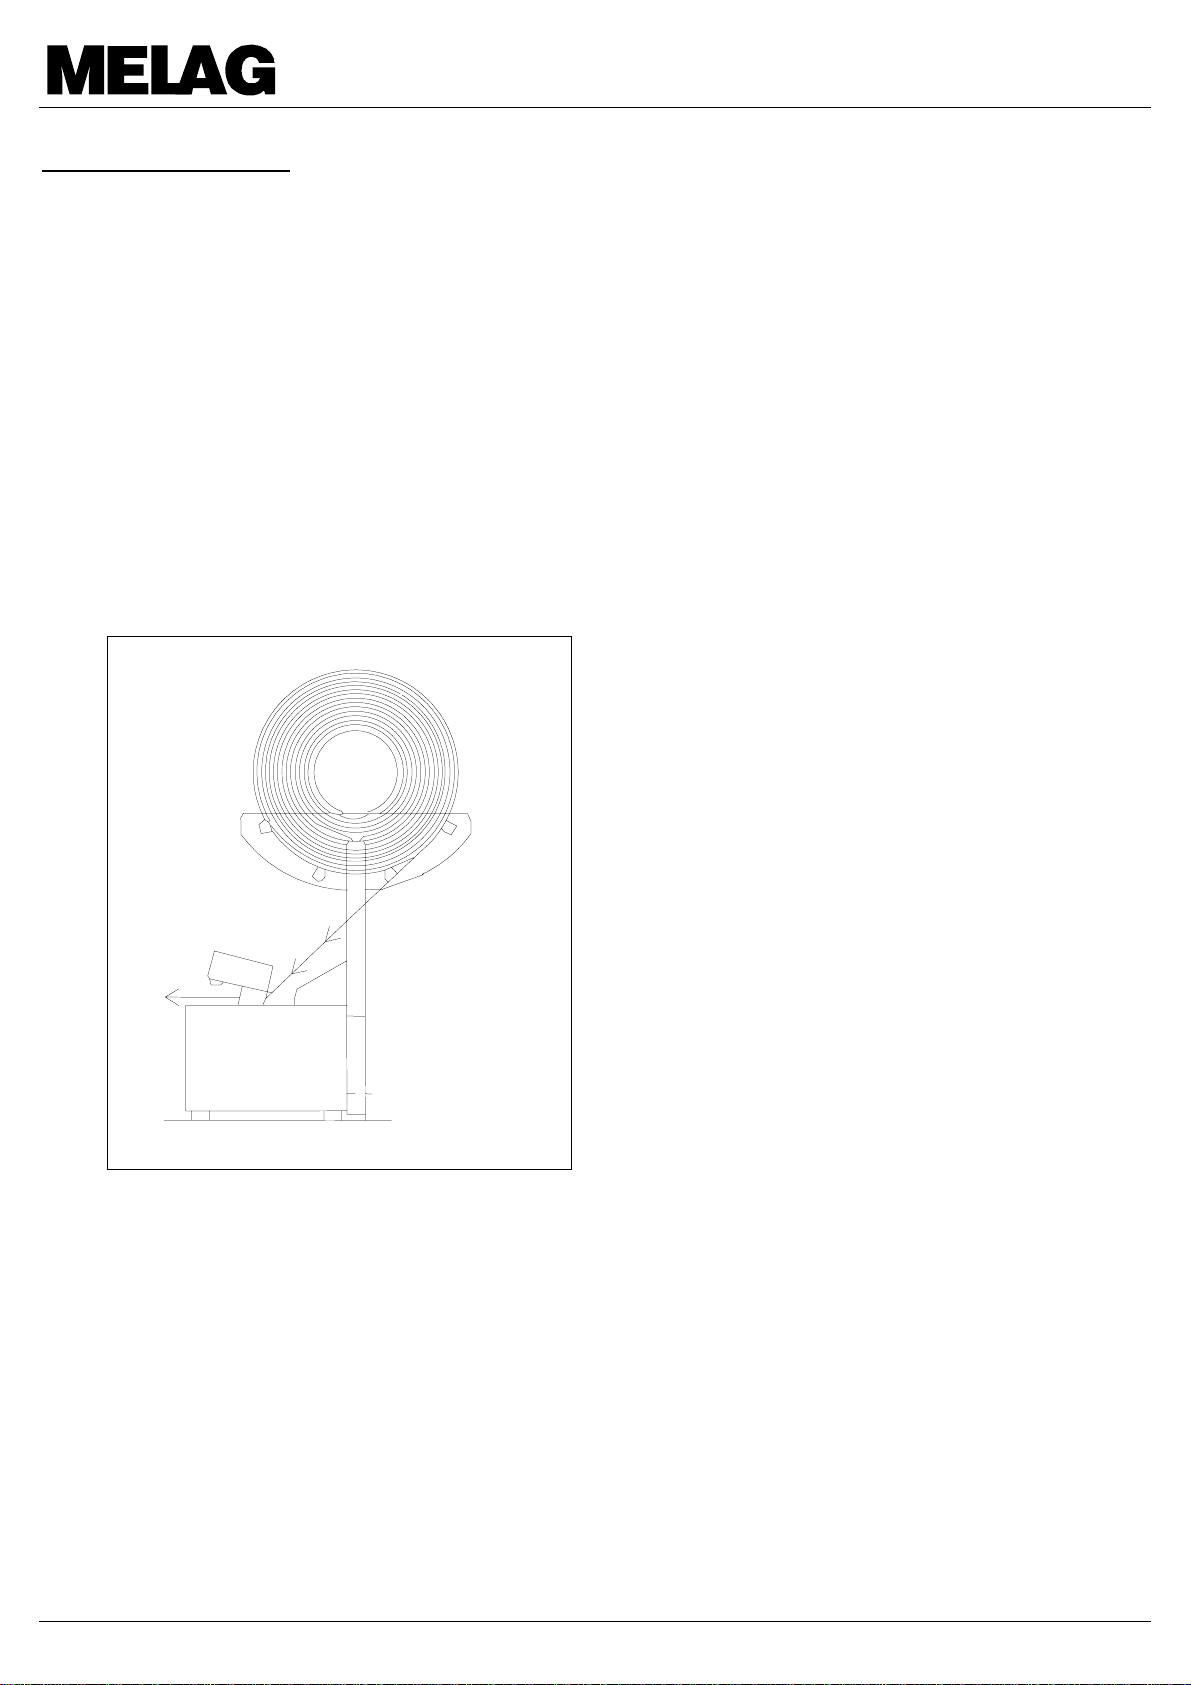
The sealing rail is 250 mm wide, so that it is possible
to seal several narrow packages next to one another
in one sealing operation. The work platform, which
can be attached at the two mounting points (5) at
the front of the MELAseal® Package Sealing Device,
makes it easier to seal packages, especially if these
contain heavy instruments.
MELAG Art. No. 104
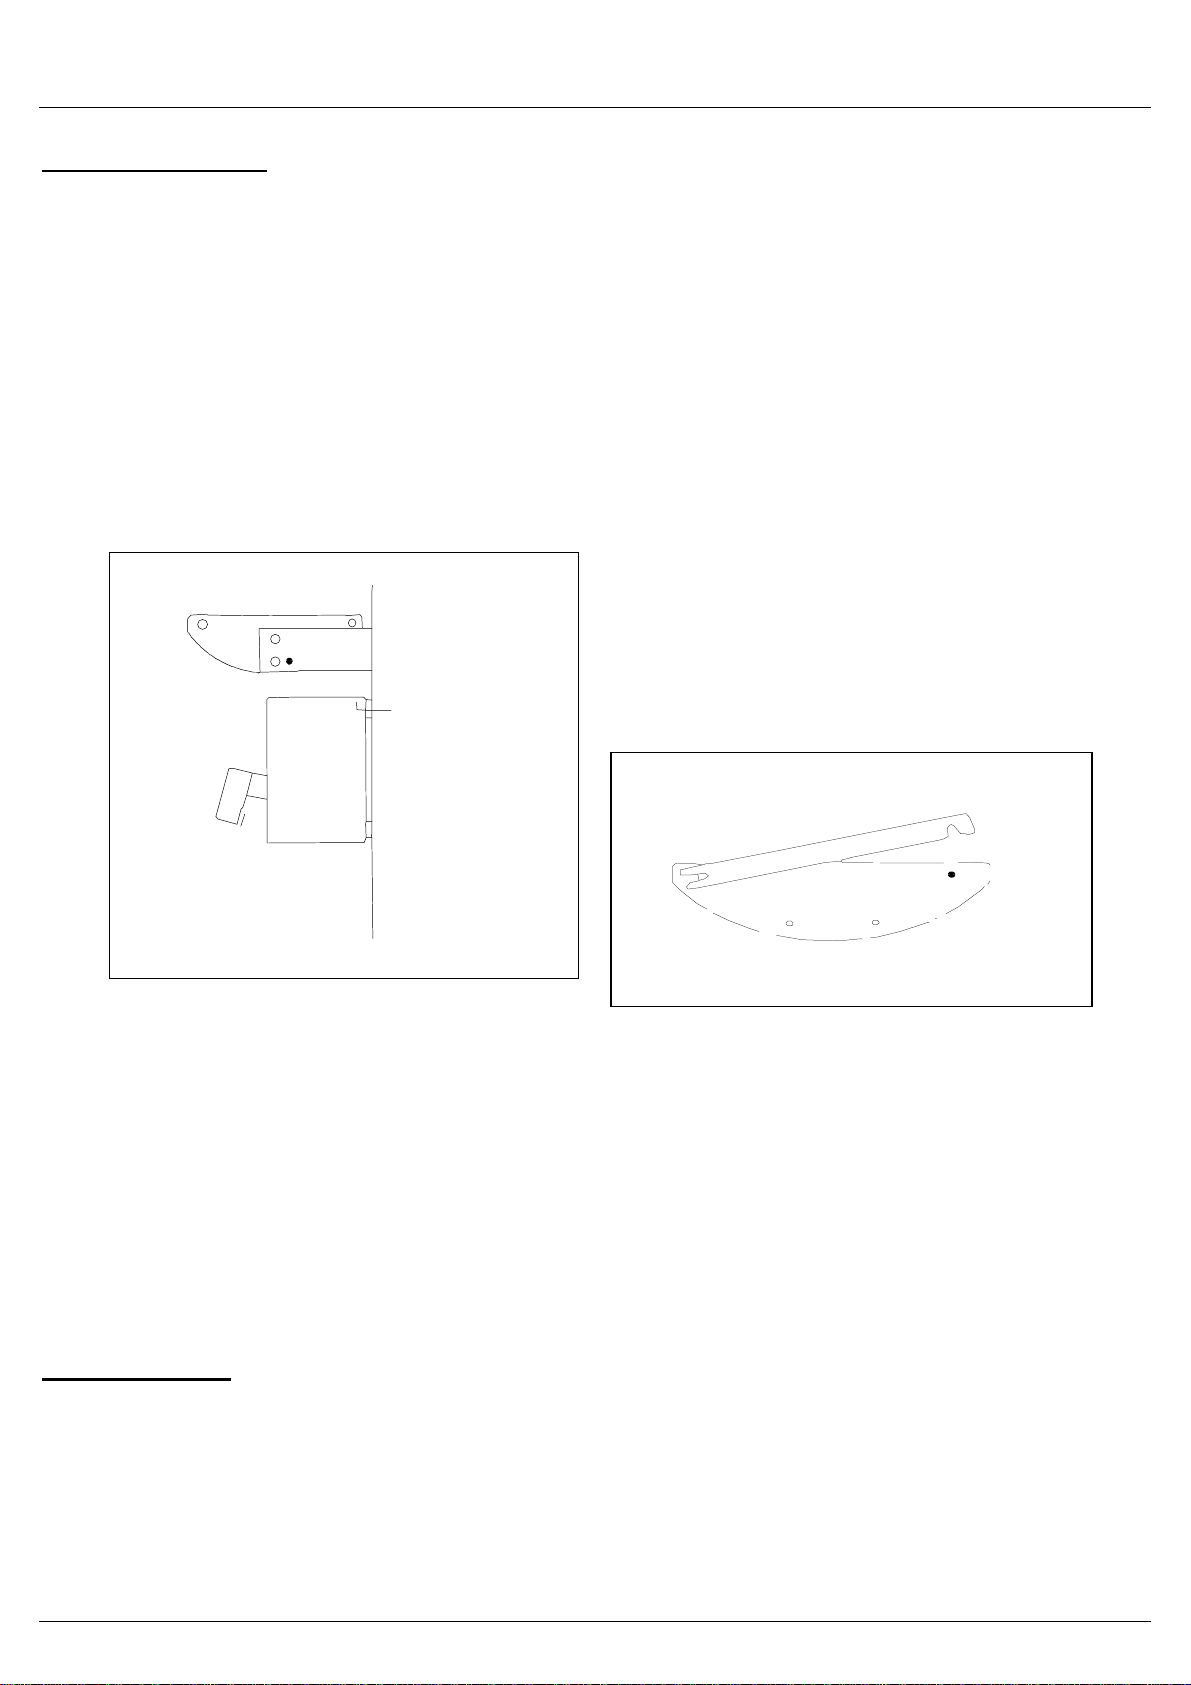
3.2. Unit-mounted roll holder "Comfort" ___________________________________________
The "Comfort" unit-mounted roll-holder can be used
to save space by mounting the rolls of sterilisation
pack directly onto the MELAseal® Package Sealing
Device. Bolts are supplied to attach it to the rear
side of the Sealing Device.
MELAG Art. No. 105
3.3. Wall-mounted roll holder ____________________________________________________
If the MELAseal®Package Sealing Device is placed
against the wall, or if it is mounted directly on the
wall, then it is best to have a wall-mounted roll
holder positioned directly above it. The wall-
mounted roll-holder can also be installed in a wall
cupboard above the package sealing device, and
the packaging foil fed through a slit in the base of
the cupboard.
Three different positions can be selected, depending
on the width of the roll used, in order to ensure that
the packaging foil is fed properly to the package
sealing device.
MELAG Art. No. 106
3.4. Acrylic hood _______________________________________________________________
The acrylic hood fits over either the "Comfort" roll
holder or the wall-mounted roll holder, to protect the
packaging roll from dust, soiling, etc.
MELAG Art. No. 107
3.5. "Standard" roll holder _______________________________________________________
The "Standard" roll holder can be used to hold the
packaging role directly on the MELAseal® Package
Sealing Device. This roll holder is fixed on the two
mounting points on the rear side of the package
sealer.
MELAG Art. No. 109
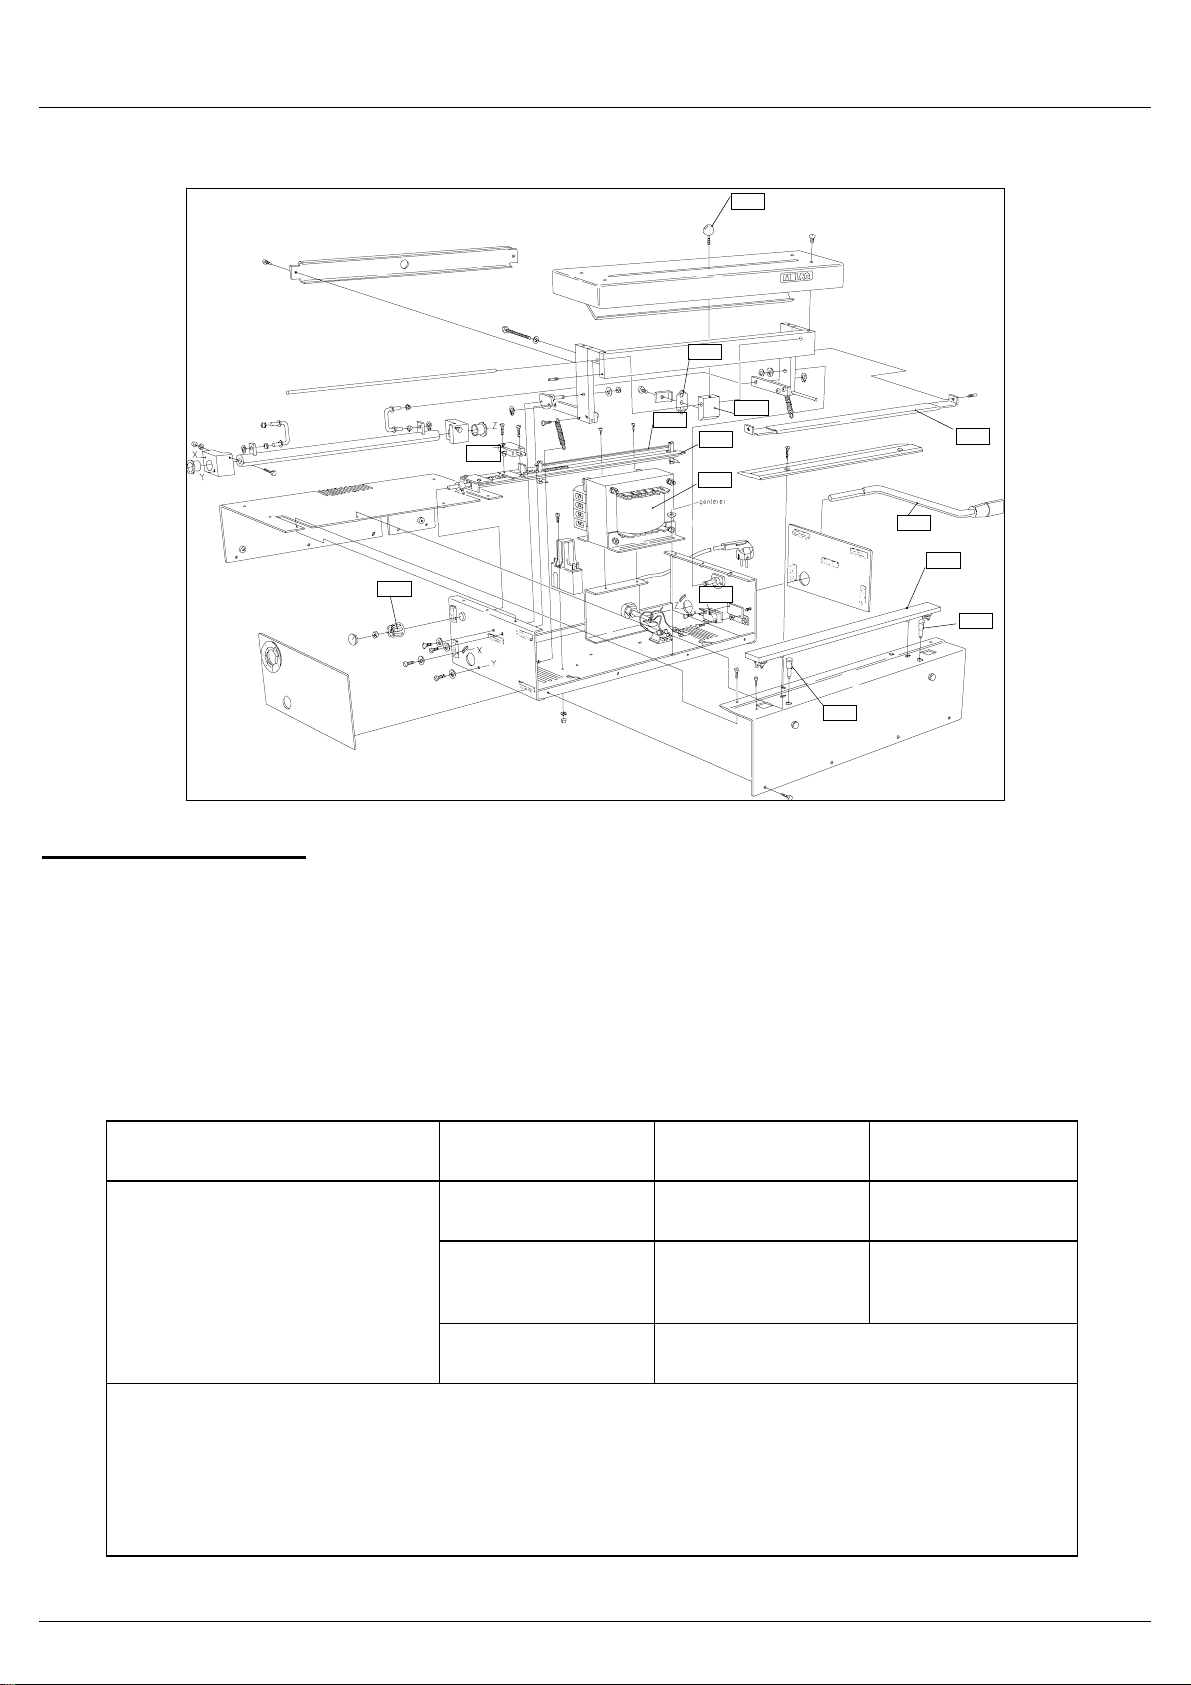
4. Servicing
4.1. Exchanging the sealing rail __________________________________________________
First, always disconnect the MELAseal®Package
Sealing Device from the mains power supply. This is
important for all repairs, maintenance and servicing
work. The sealing rail (3) is supplied as a complete
unit by your dealer. Remove the screw to the left of
the defective sealing rail, then push the rail to the
left, and pull it up and forward to remove it.
Disconnect the electrical leads, and attach the
connections to the new sealing rail. Position the
replacement sealing rail on the package sealing
device and then push it to the right until it sits tightly,
Wall