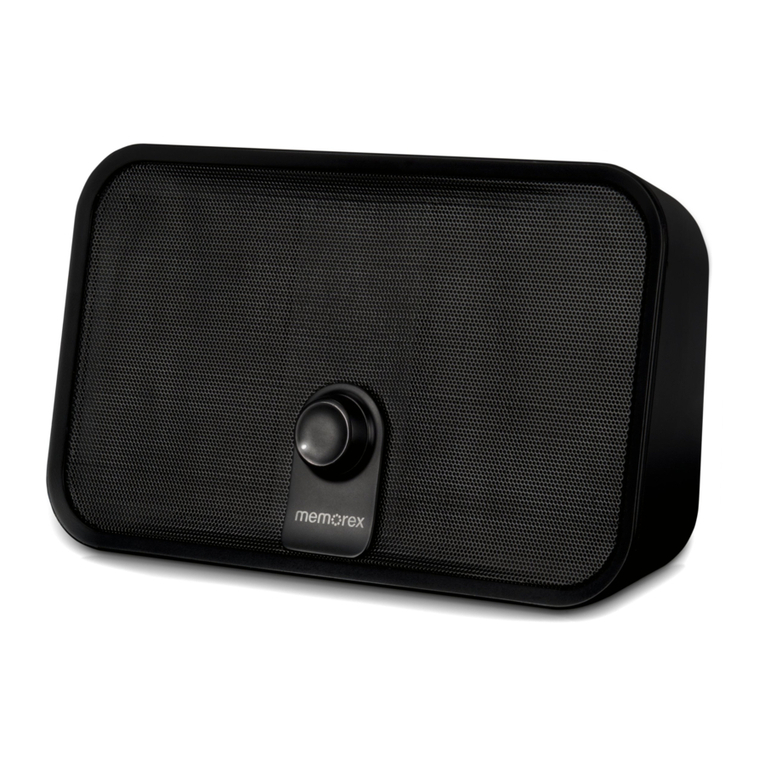
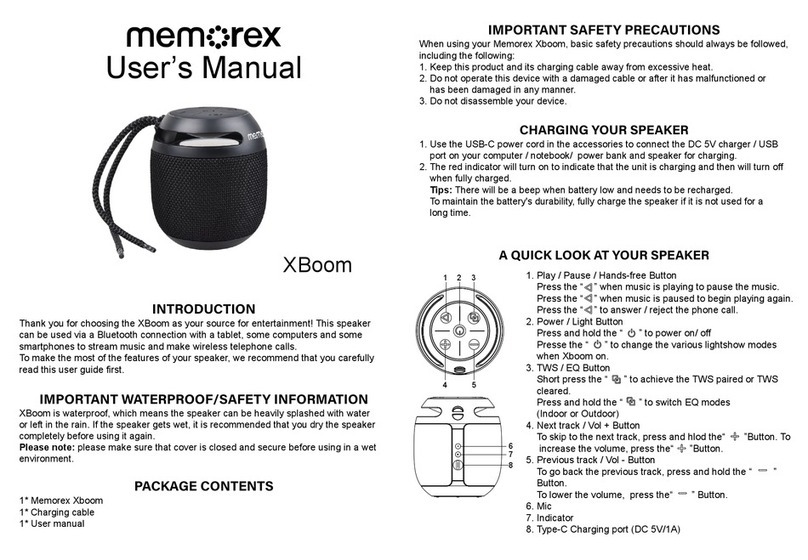
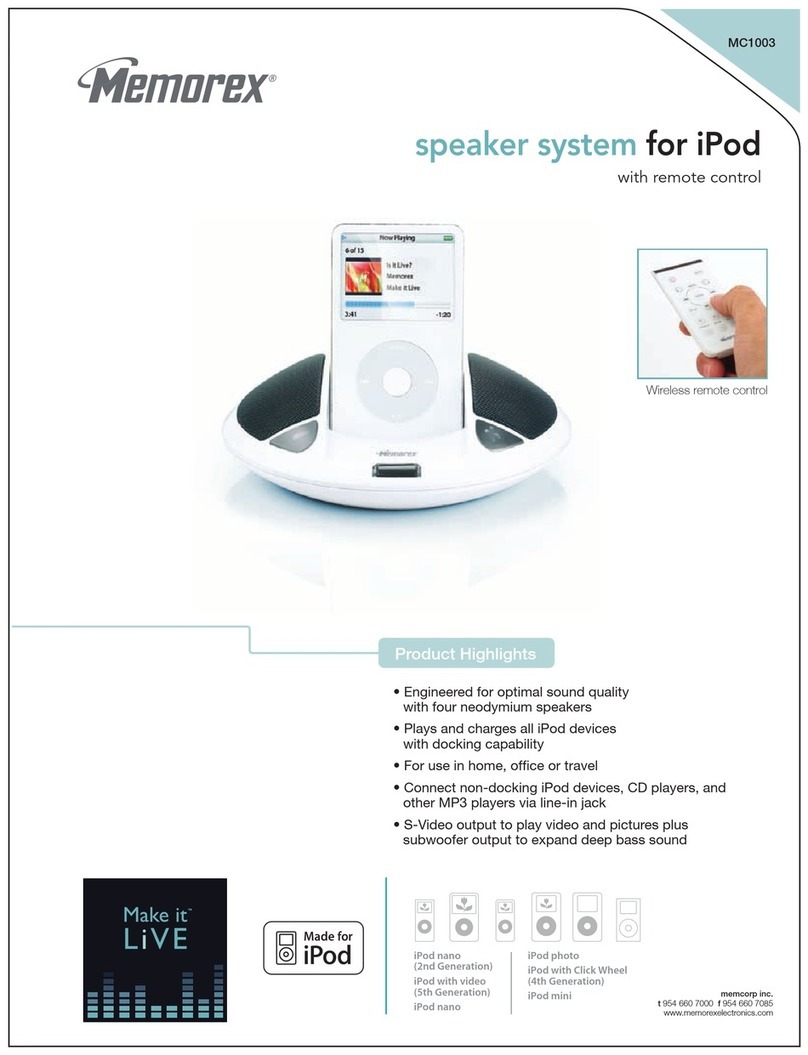
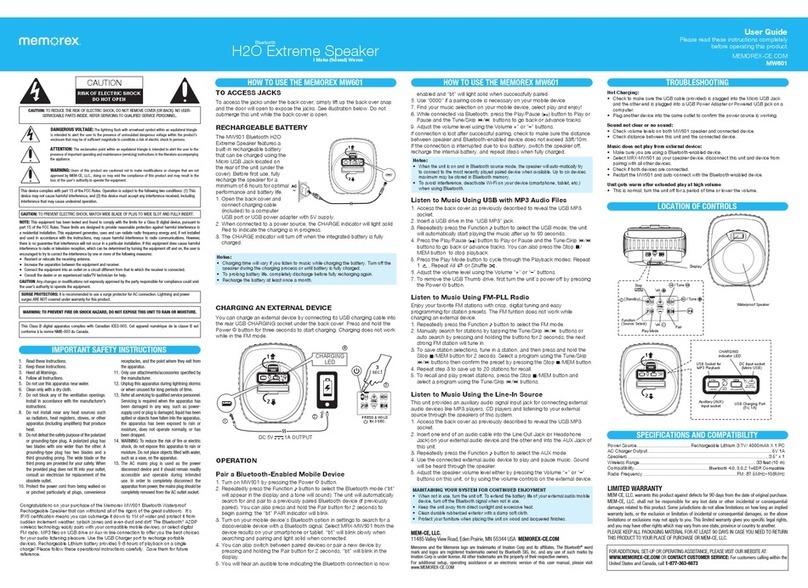
Memorex Mi2290WHT - Travel Speaker With iPod Dock User manual

User Guide
Guía del usario
Please read these instructions completely,
before operating this product.
Por favor lea toda las instruciones
antes de tratar de usar este producto.
memorex.com
Mi2290
Travel Speaker
Foldable
I’ll Play Your Tunes

1
SAFETY PRECAUTIONS
CAUTION: TO REDUCE THE RISK OF ELECTRIC SHOCK,
DO NOT REMOVE COVER (OR BACK). NO USER-
SERVICEABLE PARTS INSIDE. REFER SERVICING TO
QUALIFIED SERVICE PERSONNEL.
CAUTION
RISK OF ELECTRIC SHOCK
DO NOT OPEN
DANGEROUS VOLTAGE:
The lightning ash with arrowhead symbol within an
equilateral triangle is intended to alert the user to the
presence of uninsulated dangerous voltage within the
product’s enclosure that may be of sufcient magnitude to
constitute a risk of electric shock to persons.
ATTENTION:
The exclamation point within an equilateral triangle is
intended to alert the user to the presence of important
operating and maintenance (servicing) instructions in the
literature accompanying the appliance.
iPod is a trademark of Apple Computer, Inc., registered in the U.S.
and other countries.

INFORMATION
• The apparatus and AC adapter shall not be exposed to dripping or splashing
and that no objects lled with liquids, such as vases, shall be placed on the
apparatus.
• To completely disconnect the apparatus from the power input, the mains plug of
the AC adapter shall be disconnected from the mains outlet.
• The mains plug of the AC adapter should not be obstructed OR should be easily
accessed during intended use.
• Excessively high sound pressure could harm or damage hearing.
• Battery shall not be exposed to excessive heat such as sunshine, re or the like.
• Minimum distances of 10cm around the apparatus and AC adapter shall be
available for sufcient ventilations.
• The ventilation should not be impeded by covering the ventilation openings with
items such as newspapers, tablecloths, curtains, etc.
• No naked ame sources such as lighted candles should be placed on the
apparatus and AC adapter.
• Attention should be drawn to the environmental aspects of battery disposal.
• The apparatus and AC adapter should be used in moderate climates.
2
SAFETY PRECAUTIONS
WARNING: TO PREVENT FIRE OR SHOCK
HAZARD, DO NOT EXPOSE THIS UNIT TO
RAIN OR MOISTURE.
SURGE PROTECTORS:
It is recommended to use a surge protector for AC connection.
Lightning and power surges ARE NOT covered under warranty
for this product.
This Class B digital apparatus complies with European Union CE – EMC
Directive (89/336/EEC) and European Union CE – Low Voltage Directive
(73/23/EEC)
3
LOCATION OF CONTROLS
1
9
8 10 11
2 63 4 5 7
1. Skip/Search Backward m
Button
2. Left Speaker
3. Volume Down (–) Button
4. iPod Compartment with
Connector (for use with
Universal Docks)
5. Volume Up (+) Button
6. Right Speaker
7. Skip/Search Forward l
Button
8. Power On/Off Switch
9. TIME SET Button
10. Display
11. Play/Pause (®p) Button

4
LOCATION OF CONTROLS (CONTINUED)
1 32
1. LINE IN Jack
2. Battery Compartment
(on bottom of unit)
3. DC IN Jack
REAR
AC CONNECTION
Insert the small end of the AC adapter into the DC IN jack (located on the
side of the stand). Connect the other end to a wall outlet having 230V AC,
50 Hz. AC Adapter, DC 5V Z
NOTES:
• Remove both the DC plug and the AC-IN plug to disconnect the AC
adapter when not in use.
• Only use the supplied AC adapter which has the following specs:
DC 5V Z
POWER SOURCES

One CR2025 battery is used to save the
time and four (4) “AA” size batteries can
also be used to power this unit as follows:
1. Open the Battery Compartment door
by pressing in on the tab and then
lifting it off.
2. Insert four “AA” batteries into the
Battery Compartment as shown. Be
sure to observe the polarity markings
which are engraved inside the battery
compartment. Alkaline batteries are
recommended for the longest playing time.
3. Open the CR2025 Battery Compartment door by pressing in on the
tab and then lifting it off.
4. Insert the CR2025 battery, paying attention to the polarity diagram in
the compartment (positive side up).
5. After inserting the CR2025 battery, replace the main Battery
Compartment door.
NOTE: The AC adapter must be disconnected from the DC IN jack (located
on the side of the stand) in order for the unit to operate on battery power.
5
BATTERY INSTALLATION
CR2025
POWER SOURCES (CONTINUED)
BATTERY PRECAUTIONS
Follow these precautions when using batteries in this device:
1. Warning–Danger of explosion if battery is incorrectly replaced. Replace only
with the same or equivalent type.
2. Use only the size and type of batteries specied.
3. Be sure to follow the correct polarity when installing the batteries as indicated
in the Battery Compartment. A reversed battery may cause damage to the
device.
4. Do not mix different types of batteries together (e.g. Alkaline, Rechargeable
and Carbon-zinc) or old batteries with fresh ones.
5. If the device is not to be used for a long period of time, remove the batteries
to prevent damage or injury from possible battery leakage.
6. Do not try to recharge a battery not intended to be recharged; it can overheat
and rupture. (Follow battery manufacturer’s directions.)

6
OPTIONAL CONNECTION
LINE IN JACK (BACK OF UNIT)
Insert one end of the audio cable (not included) into the LINE OUT jack
on your external audio unit and the other end into the LINE IN jack on
the side of this unit’s stand. To listen to the external audio unit, turn this
unit on using the Power button, and turn on the external unit as well. The
LINE IN jack will automatically be selected and “AUX” will appear in the
display. The external audio unit’s output sound will be heard through this
unit’s speakers.
Hold down the stand and lift the speakers up and forward (as shown)
to adjust the angle of this unit until the speakers are secure.
ADJUSTING THE ANGLE

7
INSERTING AN iPod
Insert the Universal Dock
included with your iPod (A) into
the iPod compartment (B) (as
shown), making sure the tabs
are facing front, and slip the
tabs into place. Press the rear
side of the Universal Dock until
it is positioned inside the iPod
compartment.
(A)
(B)
1
The iPod will charge as long as
this unit is connected with the AC
adapter.
Please see the next page for
instructions on using an iPod with
this unit.
3
Slide the iPod (A) into the
Universal Dock (B) (as shown).
Gently push down so the
connector on the iPod slides onto
the connector on this unit.
(A) (B)
2
NOTES:
• When the iPod is connected to
this unit, it will be in the Pause
mode.
• To remove the Universal Dock,
insert your nger (or other
object) into the gap in the
Universal Dock, then gently
pull the Universal Dock out to
remove it.
• CHARGING: When the iPod is
inserted into the dock, whether
this unit is on or off, the iPod’s
battery will charge until it is full.

8
OPERATION
Slide the Power switch to the
On position and connect an iPod
(see previous page).
1
You can operate the iPod using
its own controls, as per its
owner’s manual, or you can use
the controls on this unit to operate
the iPod.
2
USING AN iPod WITH THIS UNIT
Press the Play/Pause (®p) button
1 to start playback on your iPod.
Press again to pause playback
and press yet again to resume
playback.
To adjust the main volume:
Press the Volume Up (+) 2 or
Down (–) 3 button to increase or
decrease the volume.
23 1
3
To skip forward or backward on
the iPod: Press the Skip/Search
m 1 or l 2 button to skip to the
beginning of the current track/
previous or next track.
To search forward or backward
on the iPod: Press and hold the
Skip/Search m 1 or l 2 button to
search within the currently-playing
track.
2
1
4
NOTES:
• After you have adjusted the volume setting, if you turn the unit off and
then on again, the volume level will be set to the level you selected prior
to turning the unit off.
• TO TURN THE UNIT OFF, slide the Power switch to the Off
position.

9
OPERATION (CONTINUED)
Set the current hour by pressing
the Skip/Search m 1 or l 2
button. Then, press the TIME SET
button 3; the minutes will blink.
Make sure to select the correct
AM or PM setting.
2
31
3
With the power off, press and hold
the TIME SET button; 12 hour
or 24 hour mode will blink in the
display.
1
Select 12 hour or 24 hour mode by
pressing the Skip/Search m 1 or
l 2 button. Then, press the TIME
SET button 3; the hour will blink.
2
31
2
TO SET OR RESET THE TIME
Set the current minute by pressing
the Skip/Search m 1 or l 2
button. Then, press the TIME SET
button 3 to nish. The minutes
will stop blinking and the clock
will be set.
2
31
4

10
TROUBLESHOOTING GUIDE
If you experience a problem with this unit, check the chart below before
calling for service.
SYMPTOM CAUSE SOLUTION
No sound from iPod. Volume is set to
minimum.
Increase volume as
shown on page 8.
Incorrectly connected. Check the connection
(see page 7).
LINE IN cable is
connected.
Unplug the LINE IN cable.
Time is incorrect. Time is not set. Set the time (see page 9).

11
SPECIFICATIONS
GENERAL:
Power Source ................ DC 5V Adapter (Center Positive)
Battery. ............................................. 4 x “AA” size batteries
..............................................1 x CR2025 (Battery Back-up)
Speaker. ............................................................ 2 x 4 ohms
Output Power ......................................................... 2 x 2 W
Weight ..................................................................... 0.59 Kg
Dimensions......................... 228 (L) x 162 (W) x 35 (H) mm
Specications are subject to change without notice.
FOR ADDITIONAL SET-UP OR OPERATING ASSISTANCE, PLEASE VISIT
OUR WEBSITE AT: WWW.MEMOREX.EU, WHERE YOU WILL FIND FAQS
TO ASSIST YOU. IF FURTHER ASSISTANCE IS REQUIRED PLEASE
PLEASE KEEP ALL PACKAGING MATERIAL FOR AT LEAST 90 DAYS IN
CASE YOU NEED TO RETURN THIS PRODUCT TO YOU YOUR PLACE
OF PURCHASE OR IMATION EUROPE BV.

1
SICHERHEITSHINWEISE
VORSICHT: UM STROMSCHLÄGE ZU VERHINDERN,
DÜRFEN SIE DIE ABDECKUNG (ODER RÜCKSEITE) NICHT
ENTFERNEN. IM GERÄT GIBT ES KEINE TEILE, DIE SIE
SELBST REPARIEREN KÖNNEN. REPARATUREN DÜRFEN
NUR VON QUALIFIZIERTEN SERVICE-TECHNIKERN DURCH-
GEFÜHRT WERDEN.
VORSICHT
STROMSCHLAG-GEFAHR
NICHT ÖFFNEN
GEFÄHRLICHE SPANNUNG:
Der Blitz mit Pfeil in einem gleichseitigen Dreieck soll
den Benutzer auf nicht isolierte, gefährliche Spannung
im Gehäuse des Produkts hinweisen, die hinreichend
hoch ist, dass sie eine Stromschlag-Gefahr für Personen
darstellt.
ACHTUNG:
Das Ausrufezeichen in einem gleichseitigen Dreieck
soll den Benutzer auf wichtige Bedienungs- und
Wartungsanweisungen in den dem Gerät beiliegenden
Unterlagen aufmerksam machen.
iPod ist eine in den USA und anderen Ländern eingetragene Marke
von Apple Inc.

INFORMATIONEN
• AufdasGerätunddenNetzadapterdürfenkeineTropfenoderSpritzergelangen.
Auch mit Flüssigkeit gefüllte Objekte wie Vasen dürfen nicht auf dem Gerät
abgestellt werden.
• UmdasGerätvollkommenvomStromnetzzutrennen,mussderNetzsteckerdes
Netzadapters aus der Steckdose gezogen werden.
• DerNetzsteckerdesNetzadapterssolltegenerellODERzumindestwährenddes
vorgesehenen Einsatzes leicht zugänglich sein.
• SehrhoheLautstärkekanndasGehörschädigen.
• BatteriensolltenkeinerübermäßigenHitze,wiez.B.Sonneneinstrahlung,Feuer
o. ä. ausgesetzt werden.
• Füreineausreichende Belüftungmussum dasGerätund denNetzadapterein
Abstand von 10 cm eingehalten werden.
• Die Belüftungsöffnungen dürfen nicht von Zeitungen, Tischdecken, Vorhängen
usw. verdeckt werden.
• Auf das Gerät und den Netzadapter dürfen keine offenen Feuerquellen wie
angezündete Kerzen gestellt werden.
• BeiderEntsorgungvonBatteriensindUmweltaspektezubeachten.
• DasGerätundderNetzadaptersolltennurbeigemäßigtenUmgebungstempera-
turen verwendet werden.
2
SICHERHEITSHINWEISE
WARNUNG: UM BRANDGEFAHR ODER
STROMSCHLÄGE ZU VERHINDERN,
MUSS DAS GERÄT VOR REGEN ODER
FEUCHTIGKEIT GESCHÜTZT WERDEN.
ÜBERSPANNUNGSSCHUTZ:
Die Verwendung eines Überspannungsschutzes für Wechsel-
strom wird empfohlen. Blitzschläge und Überspannungen
WERDEN NICHT von der Garantie für dieses Produkt abgedeckt.
Dieses digitale Gerät der Klasse B erfüllt die CE – EMC-Richtlinie
(89/336/EEC) sowie die CE-Richtlinie für Niederspannung (73/23/EEC)
der Europäischen Union.

3
BEDIENELEMENTE
1
9
8 10 11
2 63 4 5 7
1. ÜBERSPRINGEN/
RÜCKLAUF m
2. Linker Lautsprecher
3. LEISER (–)
4. iPod-Fach mit Anschluss
(für Universal Docks)
5. LAUTER (+)
6. Rechter Lautsprecher
7. ÜBERSPRINGEN/
VORLAUF l
8. EIN/AUS
9. UHRZEIT
10. Anzeige
11. WIEDERGABE/PAUSE
(®p)

4
BEDIENELEMENTE (FORTSETZUNG)
1 32
1. LINE IN-Buchse
2. Batteriefach (unten am Gerät)
3. Stromanschluss (Gleichstrom)
RÜCKSEITE
NETZANSCHLUSS (WECHSELSTROM)
Stecken Sie das kleine Ende des Netzadapters in den Stromanschluss
(anderSeitedesStandfußes).VerbindenSiedasandereEndemiteiner
Steckdose mit 230 V Wechselstrom, 50 Hz. Netzadapter (Wechselstrom),
Gleichstrom 5 V Z
HINWEISE:
• Wird der Netzadapter nicht benötigt, ziehen Sie den Stecker (Gleich-
strom) vom Gerät und den Netzstecker (Wechselstrom) des Adapters ab.
• VerwendenSienurdenmitgeliefertenNetzadaptermitderSpezikation
5 V Gleichstrom Z
STROMVERSORGUNG

Zum Speichern der Uhrzeit wird eine
CR2025-Batterie verwendet. Außerdem
kann das Gerät mit vier (4) AA-Batterien
wie folgt betrieben werden:
1. Öffnen Sie das Batteriefach mit leich-
tem Druck auf den Rand, und entfernen
Sie die Abdeckung.
2. Legen Sie vier Batterien vom Typ AA
wie abgebildet in das Batteriefach
ein. Achten Sie darauf, dass der
Plus- und Minuspol der Batterien wie
im Batteriefach gezeigt ausgerichtet ist. Empfohlen werden Alkaline-
Batterien, weil sie die längste Spielzeit bieten.
3. Öffnen Sie die Batterieabdeckung für die CR2025-Batterie mit leichtem
Druck auf den Rand, und entfernen Sie die Abdeckung.
4. Legen Sie eine CR2025-Batterie in das Batteriefach ein, und achten Sie
dabei auf die Zeichnung in Inneren des Fachs (Plus-Pol nach oben).
5. SchließenSienachdemEinlegenderCR2025-BatteriedasHauptbat-
teriefach.
HINWEIS: Der Netzadapter muss vom Stromanschluss (an der Seite des
Standfußes)abgezogenwerden,damitdieBatterieversorgungfunktioniert.
5
EINLEGEN DER BATTERIEN
CR2025
STROMVERSORGUNG (FORTSETZUNG)
BATTERIEHINWEISE
Wenn Sie das Gerät mit Batterien betreiben, beachten Sie folgende Sicherheitshinweise:
1. Warnung – Batterien können explodieren, wenn sie falsch eingesetzt wurden.
Ersetzen Sie Batterien nur mit Batterien vom gleichen oder entsprechenden Typ.
2. Verwenden Sie nur die hier angegebene Batterieart.
3. AchtenSiedarauf,dassderPlus-undMinuspolderBatterienwieimBatteriefach
gezeigt ausgerichtet ist. Eine falsch herum eingesetzte Batterie kann
das Gerät beschädigen.
4. Verwenden Sie nicht verschiedene Batterietypen (z. B. Alkali-Batterien, Akkus
und Kohle-Zink-Batterien) oder alte und neue Batterien gemeinsam.
5. Wird das Gerät längere Zeit nicht verwendet, nehmen Sie die Batterien
heraus,umSchädenoderVerletzungendurchmöglicherweiseauslaufende
Batterien zu vermeiden.
6. Versuchen Sie nie, normale Einweg-Batterien aufzuladen. Die Batterie
kann überhitzen und aufbrechen. (Befolgen Sie die Angaben des
Batterieherstellers.)

6
OPTIONALE VERBINDUNG
LINE IN-BUCHSE (HINTEN AM GERÄT)
VerbindenSiedieLINEOUT-BuchseIhresexternenAudiogerätsüberein
Audiokabel (nicht im Lieferumfang enthalten) mit der LINE IN-Buchse an
derSeitedesStandfußes.FürdieWiedergabevomexternenAudiogerät
schalten Sie das Gerät mithilfe des Ein-/Ausschalters und das externe
Audiogerät ein. Die LINE IN-Buchse wird automatisch ausgewählt, und
auf der Anzeige wird „AUX“ angezeigt. Die Wiedergabe des externen
Audiogeräts erfolgt über die Lautsprecher des Geräts.
Halten Sie den Standfuß fest, und kippen Sie die Lautsprecher nach
oben und nach vorn (wie abgebildet), um den Standwinkel des Geräts
sicher anzupassen.
ANPASSEN DES STANDWINKELS

7
EINSETZEN EINES iPod
Setzen Sie das Universal Dock (A),
das im Lieferumfang Ihres iPods
enthalten ist, in das iPod-Fach (B)
(wie abgebildet) ein. Achten Sie
darauf, dass der Rand nach vorn
zeigt, und schieben Sie den Rand
in die richtige Position. Drücken Sie
gegen die Rückseite des Universal
Docks, bis es im iPod-Fach sitzt.
(A)
(B)
1
Der iPod wird aufgeladen, wenn der
Netzadapter am Gerät angeschlossen
ist.
Auf der nächsten Seite wird beschrie-
ben, wie Sie einen iPod mit diesem
Gerät verwenden.
3
Setzen Sie den iPod (A) in das
Universal Dock (B) (wie abgebildet)
ein. Drücken Sie den iPod vorsichtig
nach unten, so dass er auf den
Geräteanschluss geschoben wird.
(A) (B)
2
HINWEISE:
• Wenn der iPod mit dem Gerät
verbunden ist, bendet es sich
im Modus „Pause“.
• Um das Universal Dock zu ent-
fernen, schieben Sie einen Finger
(oder ein anderes Objekt) in die
Lücke zwischen dem Universal
Dock und ziehen es langsam ab.
• AUFLADEN: Sobald der ein-
oder ausgeschaltete iPod am
Dock angeschlossen ist, wird
der Akku des iPods aufgeladen.

8
BETRIEB
Schieben Sie die Ein-/Austaste
aufEIN,undschließenSieeinen
iPod an (siehe vorherige Seite).
1
Sie können den iPod jetzt mit
dessen Steuerung (siehe Bedie-
nungsanleitung) oder mit den Bedie-
nelementen dieses Geräts bedienen.
2
VERWENDEN EINES iPod AN DIESEM GERÄT
Drücken Sie die Taste WIEDER-
GABE/PAUSE (®p) 1, um die
WiedergabeanIhremiPodzustarten.
Drücken Sie die Taste erneut, um
die Wiedergabe anzuhalten. Wenn
Sie die Taste erneut drücken, wird
die Wiedergabe fortgesetzt.
Einstellen der Hauptlautstärke:
Drücken Sie die Taste LAUTER
(+) 2oder LEISER (–) 3, um die
Lautstärke zu erhöhen oder zu
vermindern.
23 1
3
Zum nächsten oder vorherigen Titel
auf dem iPod wechseln: Drücken
Sie die Taste ÜBERSPRINGEN/
RÜCKLAUF m 1 oder ÜBERSPRIN-
GEN/VORLAUF l 2, um zum
Anfang des laufenden Titels, zum
vorherigen Titel oder zum nächsten
Titel zu springen.
Vor oder zurück auf dem iPod:
Halten Sie die Taste ÜBERSPRIN-
GEN/RÜCKLAUF m 1 oder ÜBER-
SPRINGEN/VORLAUF l 2 gedrückt,
um zu einer Stelle im laufenden Titel
zu gelangen.
2
1
4
HINWEISE:
• Wenn Sie die Lautstärke bereits eingestellt haben und dann das Gerät
aus- und wieder einschalten, bleibt die vor dem Ausschalten gewählte
Lautstärke erhalten.
• ZUM ABSCHALTEN DES GERÄTS schieben Sie den Ein-/
Ausschalter auf AUS.
This manual suits for next models
1
Table of contents
Languages:
Other Memorex Speakers manuals

Memorex
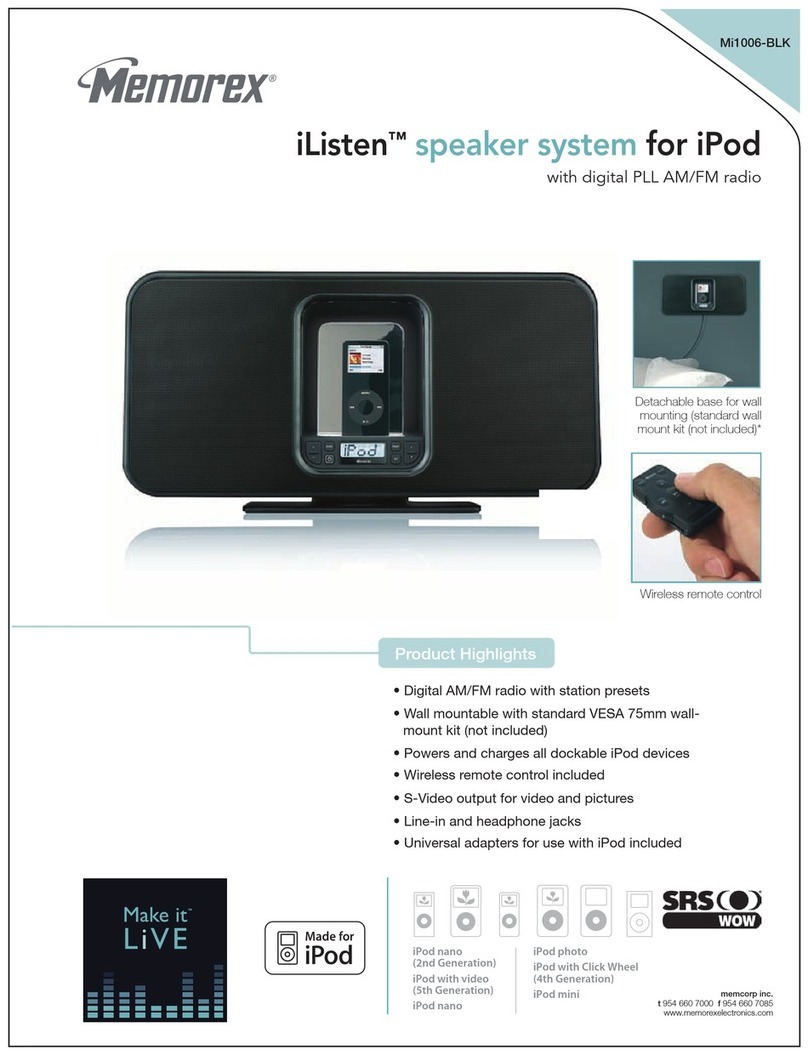
Memorex Mi1006-BLK User manual

Memorex
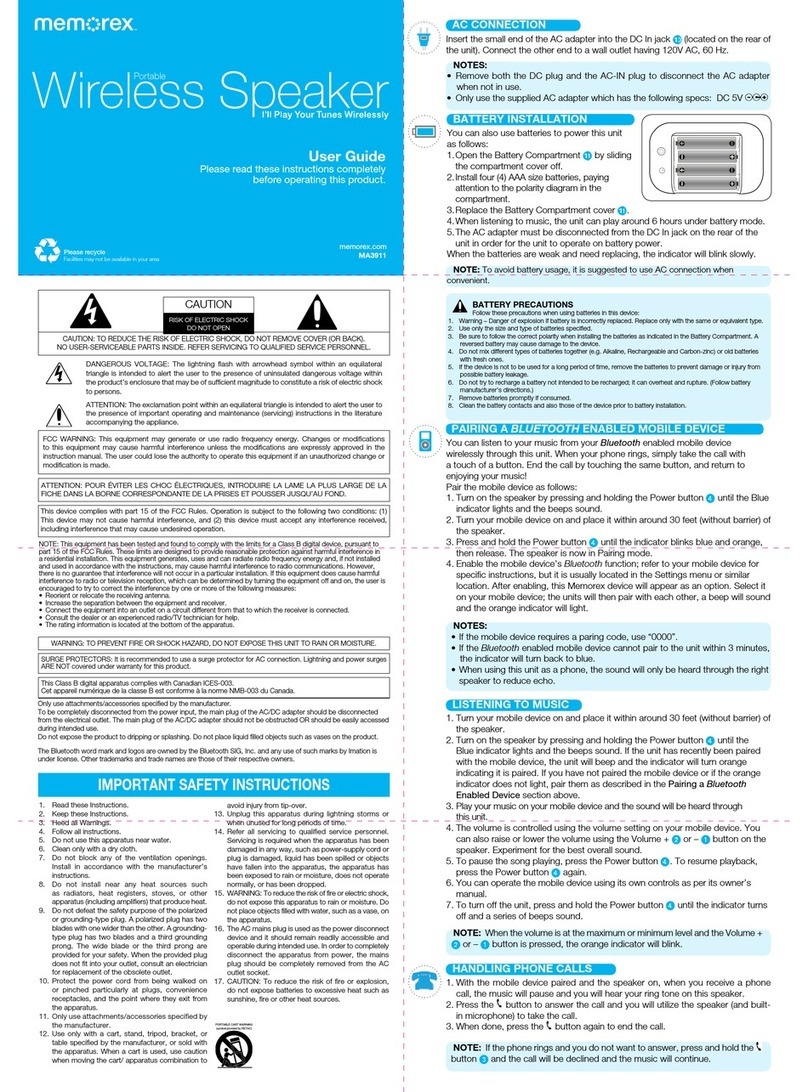
Memorex MW234R User manual

Memorex
Memorex MW212 User manual

Memorex
Memorex MET1297 User manual

Memorex
Memorex XBoom User manual

Memorex
Memorex MSB380 User manual

Memorex
Memorex MW550 User manual

Memorex
Memorex MSBW101 User manual

Memorex
Memorex Mi1003 User manual

Memorex
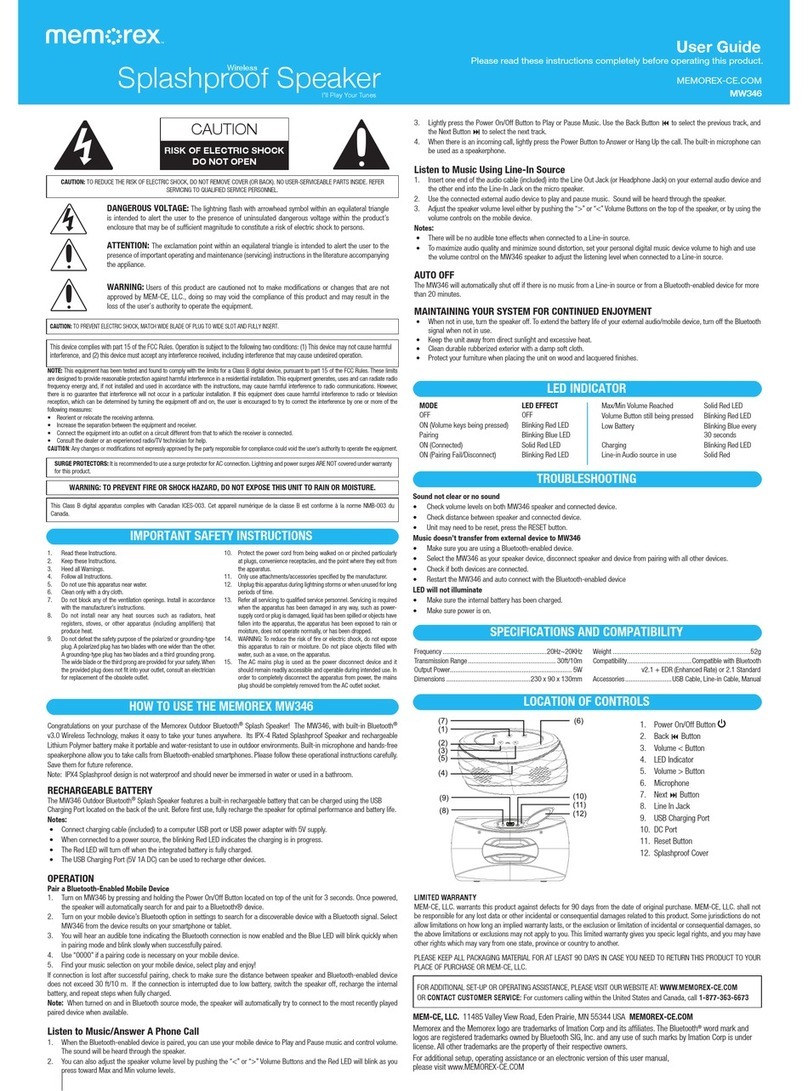
Memorex MW346 User manual
Popular Speakers manuals by other brands

ARCHITETTURA SONORA
ARCHITETTURA SONORA ICARUS WALL quick start guide

Turbosound
Turbosound TCS-1061 Quickstart and rigging user guide

Altec Lansing
Altec Lansing ALT-T1500-PK Thunder user manual

TIME2TECHNOLOGY
TIME2TECHNOLOGY TIME 2 user manual

Harbinger
Harbinger MUV SERIES owner's manual

Sony
Sony SRS-XB402M Help guide