6
SP100 & SP200 –V1 01/16 MJ - MCE
Installation
Unpacking
Unpack the mixer immediately after receipt. Please inspect the mixer to ensure no damage and all parts
i.e. Bowl, Beater, Whisk & Dough Hook have been provided. If the machine is found to be damaged,
keep all the packaging material and contact us immediately or contact your source of the equipment.
You should receive with your mixer:
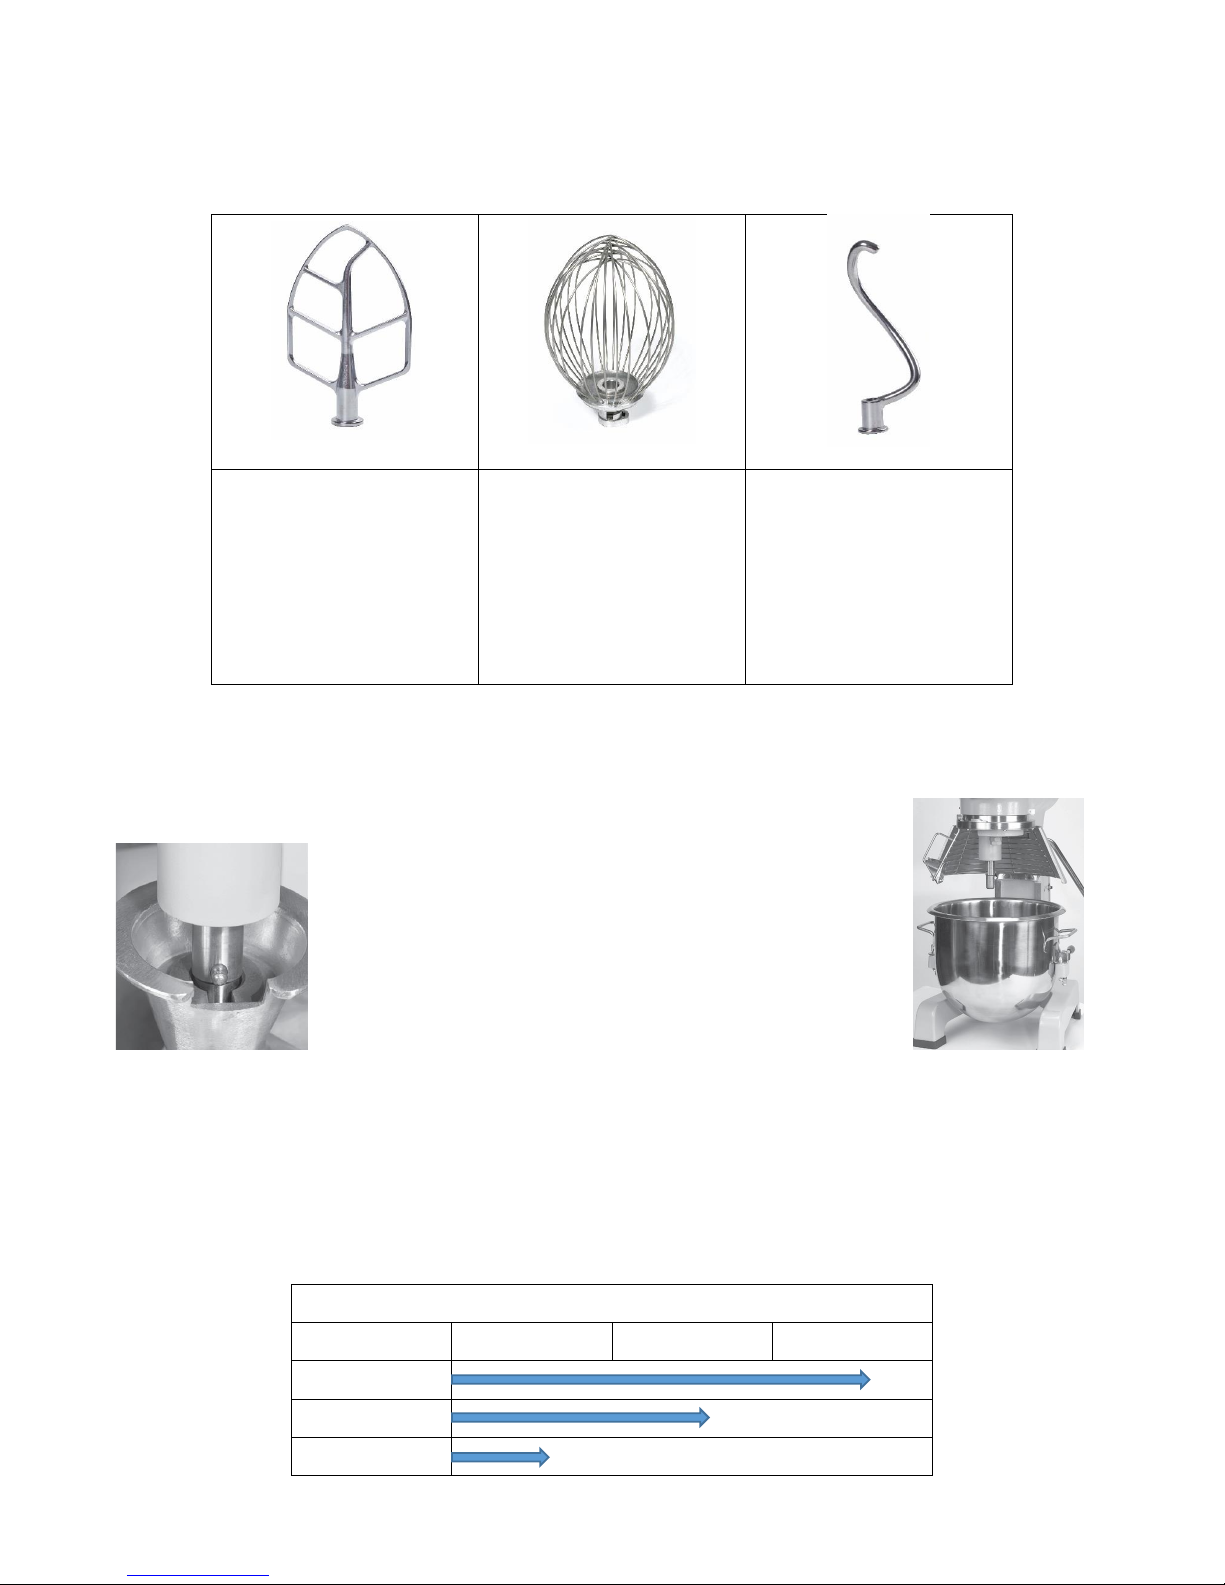
-1 x Stainless Steel Bowl -1 x Beater, Whisk & Dough Hook
If any of the above items were not received with your slicer, please refer to page 14 for contact details
and inform us immediately for replacements.
Please ensure that you complete the product information section on page 13.
Installation
1. Before using the mixer please read this manual thoroughly. DO NOT proceed with any
installation nor operation if you have any questions or do not understand anything within this
manual. Please see contact details for telephone number for assistance.
2. Carefully unbolt the mixer from the pallet using a 3/8”wrench socket.
PLEASE NOTE: If the unit was supplied with Stand or Trolley, DO NOT dispose of the bolts as
these will be required to secure the unit to either the Stand or Trolley.
Select a location for the mixer keeping these key points in mind:
Floor or counter must be level
Work surface or bench must be able to support a load of 70Kg
Easy access for maintenance and servicing
Clearance for operating controls, installing and removing attachments or bowl.
Sufficient space for adding ingredients during mixing periods
Rear ventilation outlet of mixer MUST NOT be blocked.
3. For safety, reason the mixer should be bolted down into position using all four holes located in
the legs.
4. Please read the electrical information found on the data plate located at the rear of the machine.
The incoming power should match the rating on the data plate.
Fitting the Bowl
NOTE: Install the bowl BEFORE attaching the agitators.
1. Lower the bowl by pulling the bowl lift lever forward and down to its
resting position.
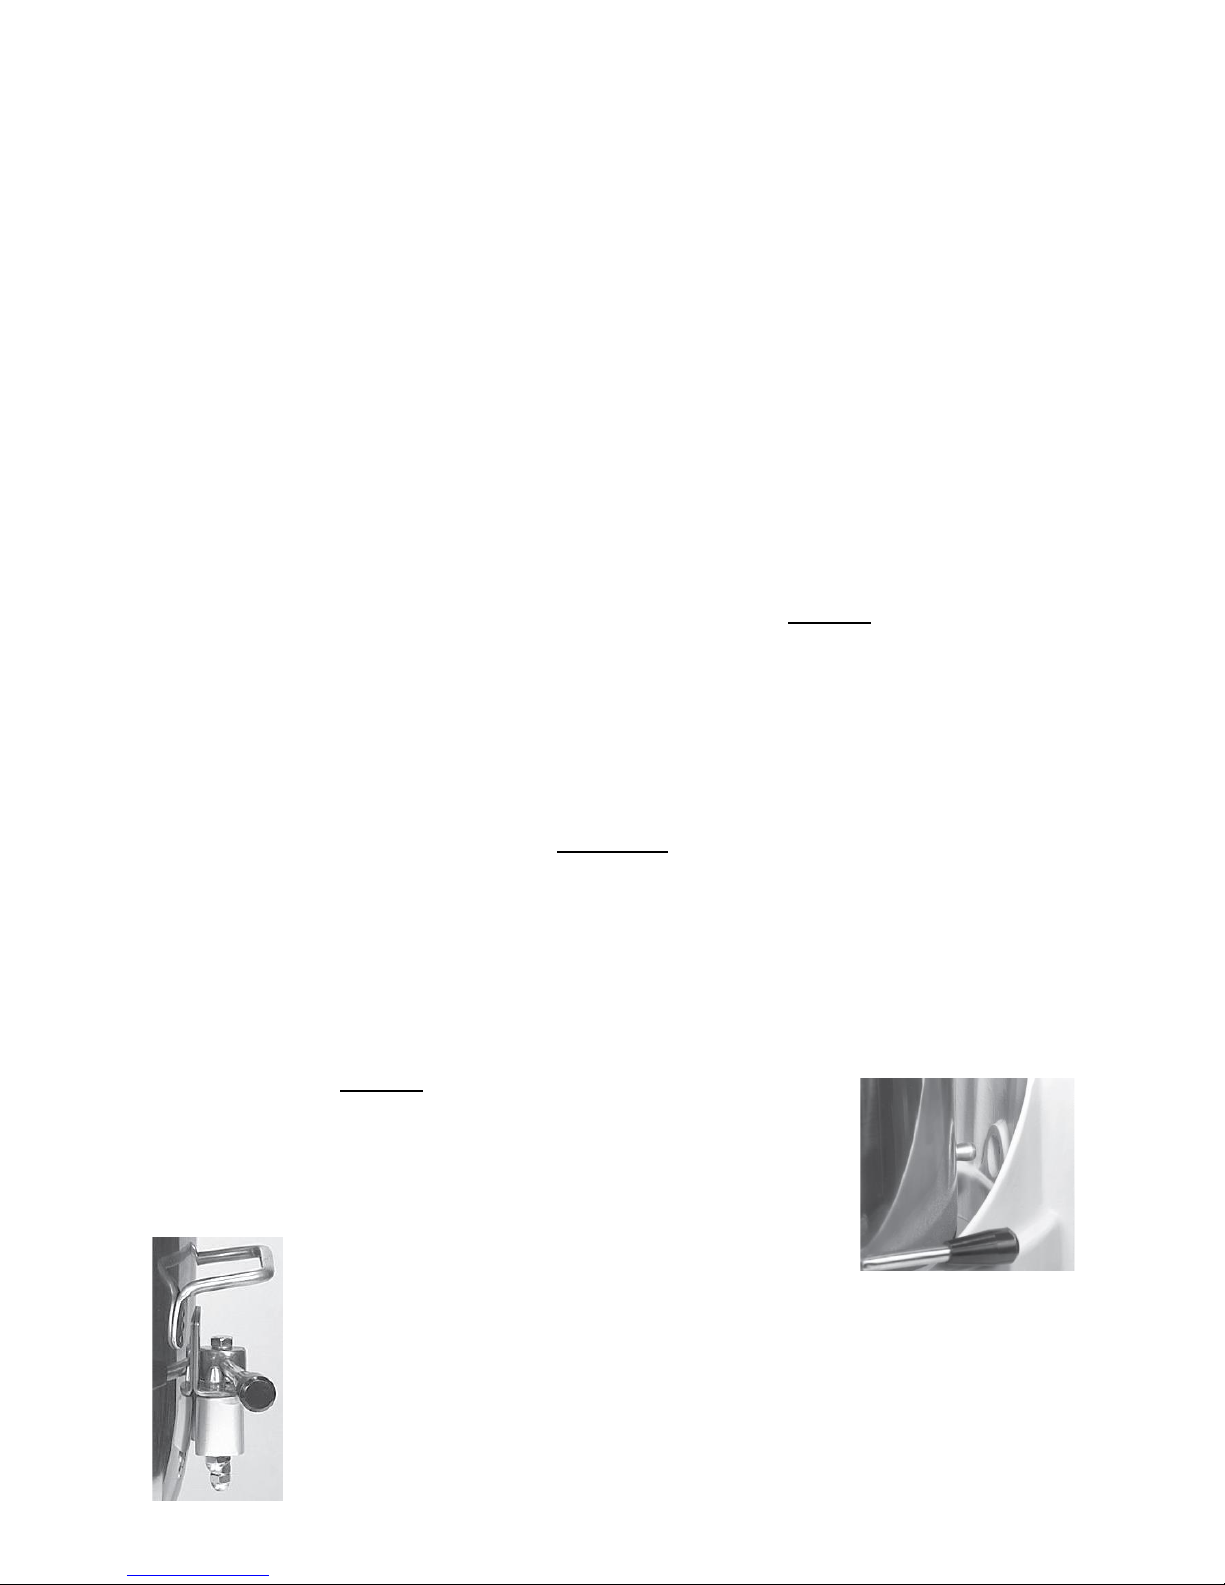
2. Lift the bowl by the bowl handles and
a) Slowly position the locking pin (located on the rear of
the bowl) into the hole in the middle rear of the cradle
(see fig A).
b) Lower the bowl onto the pins located on either side of the bowl cradle
(Fig. A)
3. Once the bowl is positioned on the cradle, secure the bowl by pulling each bowl
clamp forward until the bowl is locked tight (see fig B).
(Fig. B)