manuals.online logo
Brands
  1. Home
  2. •
  3. Brands
  4. •
  5. Metra Electronics
  6. •
  7. TV Mount
  8. •
  9. Metra Electronics 99-3022B User manual

Metra Electronics 99-3022B User manual

CAUTION!
All accessories, switches, climate
controls panels, and especially air bag indicator
lights must be connected before cycling the
ignition. Also, do not remove the factory radio
with the key in the on position, or while the
vehicle is running.
Metra. The World’s Best Kits.®MetraOnline.com © COPYRIGHT 2018 METRA ELECTRONICS CORPORATION REV. 1/17/18 INST99-3022B
INSTALLATION INSTRUCTIONS
99-3022B
KIT FEATURES
• ISO DIN radio provision with pocket
• Painted matte black
KIT COMPONENTS
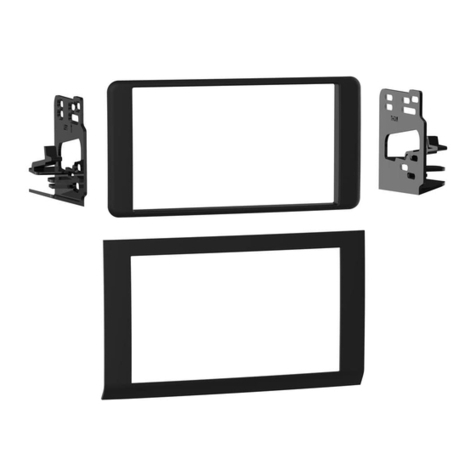
• A) Front radio housing • B) Rear radio housing • C) Radio brackets • D) Pocket • E) (10) #8 x 3/8” Phillips screws
TOOLS REQUIRED
• Panel removal tool • Phillips screwdriver
• 9/32” socket wrench
TABLE OF CONTENTS
Dash Disassembly ..................................................2
Kit Assembly
–ISO DIN radio provision with pocket ..................3
WIRING & ANTENNA CONNECTIONS
(sold separately)
Wiring Harness: • GMOS-LAN-10 (IOB radio)
• GMOS-LAN-09 (IO5 radio)
Antenna Adapter: 40-EU55
A B C D E
Chevrolet Equinox 2018-up*
*Visit MetraOnline.com for up-to-date vehicle specific applications.
1.800.221.0932
|
MetraOnline.com
2
1. Unclip the top of the steering column,
then unclip and remove the instrument
cluster trim. (Figure A)
2. Remove (1) 9/32” screw securing the
dash trim by the instrument cluster,
then unclip and remove the trim.
(Figure B)
3.
Remove (4) 9/32” screws from the climate
control panel, then unclip, unplug, and
remove the panel. (Figure C)
4. Inside a small cavity located behind the
climate control panel, remove (2) 9/32”
screws facing up that are securing the
radio assembly to the dash. (Figure D)
5. Unclip, unplug and remove the radio
assembly.
Note:
The (3) top clips securing the
assembly to the vehicle will be reused in
Kit Assembly.
6. For models equipped with OnStar:
Remove the (2) 9/32” screws securing
the OnStar backup battery, then relocate
the module elsewhere in the dash away
from the radio cavity. (Figure E)
7. Remove the module above the OnStar
backup battery location, then relocate
the module elsewhere in the dash away
from the radio cavity. (Figure E)
8. Cut the shaded area in the sub-dash to
allow room for the aftermarket radio.
(Figure F)
Continue to Kit Assembly
(Figure A) (Figure D)
(Figure B) (Figure E)
(Figure C) (Figure F)
DASH DISASSEMBLY
REV. 1/17/2018 INST99-3022B 3
ISO DIN radio provision with pocket
1. Secure the
pocket
to the
radio brackets
using the (4) #8 x 3/8” Phillips screws
provided. (Figure A)
2. Remove the metal DIN sleeve and trim
ring from the aftermarket radio.
3.
Slide the radio into the bracket/pocket
assembly, and then secure it using the
screws supplied with the radio. (Figure B)
4. Insert the completed assembly between
the
front radio housing
, and the
rear
radio housing
,
then secure the entire
assembly together with the (6) #8 x 3/8”
Phillips screws provided. Then attach the (3)
factory clips removed in Dash Disassembly
onto the assembly. (Figure C)
5.
Locate the factory wiring harness and
antenna connector in the dash and
complete all necessary connections to the
radio. Metra recommends using the proper
mating adapter from Metra and/or Axxess.
Test the radio for proper operation
.
6. Reassemble the dash in reverse order of
disassembly.
KIT ASSEMBLY
(Figure B)
(Figure C)
(Figure A)
KNOWLEDGE IS POWER
Enhance your installation and fabrication skills by
enrolling in the most recognized and respected
mobile electronics school in our industry.
Log onto www.installerinstitute.com or call
800-354-6782 for more information and take steps
toward a better tomorrow.
®
Metra recommends MECP
certified technicians
IMPORTANT
If you are having difficulties with the installation of this product,
please call our Tech Support line at 1-800-253-TECH. Before
doing so, look over the instructions a second time, and make
sure the installation was performed exactly as the instructions
are stated. Please have the vehicle apart and ready to perform
troubleshooting steps before calling.
Metra. The World’s Best Kits.®MetraOnline.com © COPYRIGHT 2018 METRA ELECTRONICS CORPORATION REV. 1/17/18 INST99-3022B
INSTALLATION INSTRUCTIONS
99-3022B

Other Metra Electronics TV Mount manuals
Metra Electronics 108-FD9B User manual

Metra Electronics

Metra Electronics 108-FD9B User manual

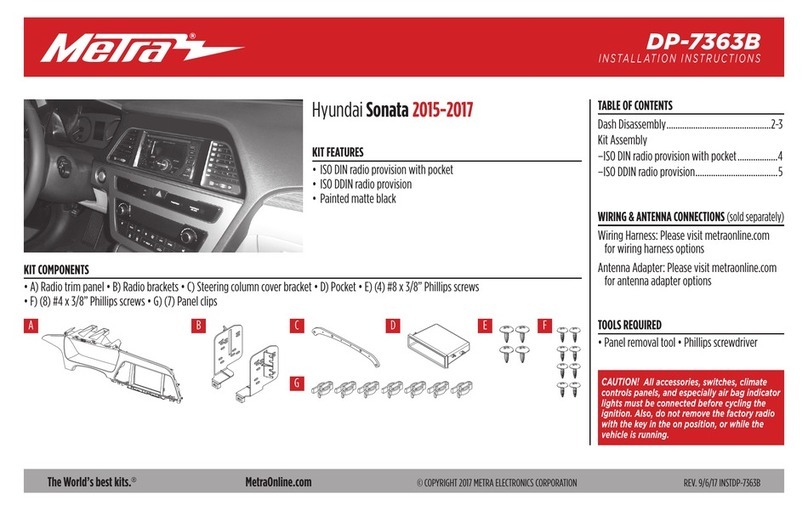
Metra Electronics DP-7363B User manual

Metra Electronics

Metra Electronics DP-7363B User manual

Metra Electronics 99-5600 User manual

Metra Electronics

Metra Electronics 99-5600 User manual

Metra Electronics 95-7815B Instructions for use
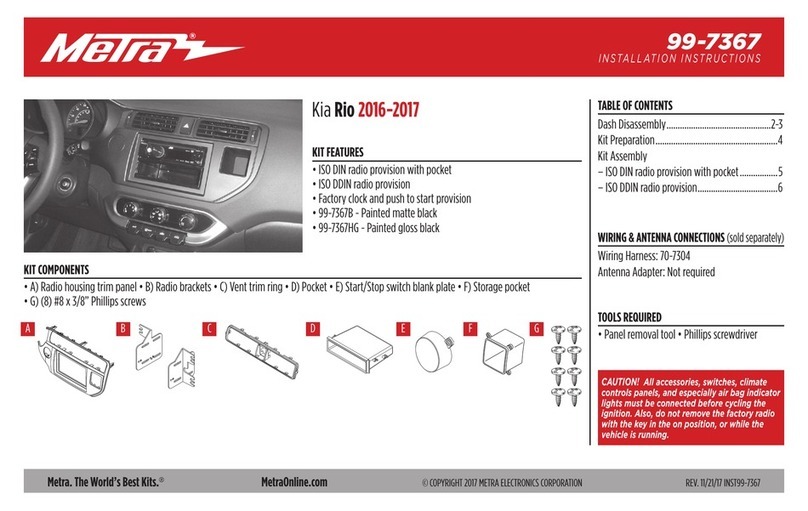
Metra Electronics

Metra Electronics 95-7815B Instructions for use

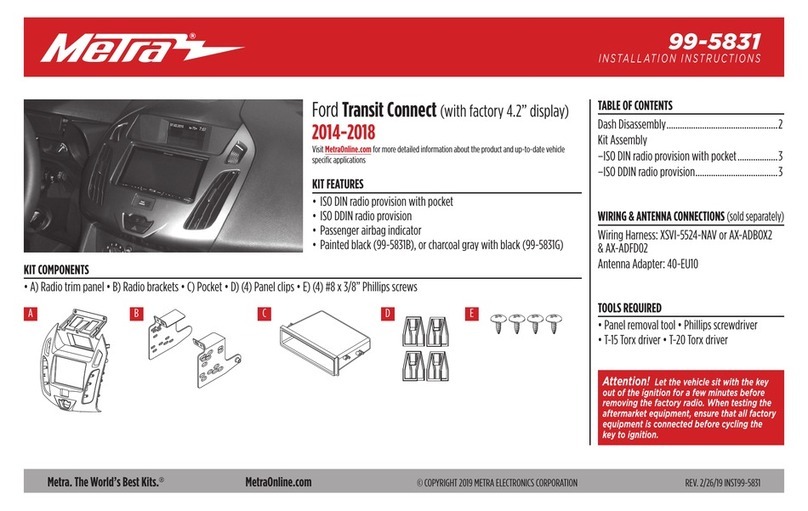
Metra Electronics 99-5831 User manual

Metra Electronics

Metra Electronics 99-5831 User manual

Metra Electronics 99-5832G User manual

Metra Electronics

Metra Electronics 99-5832G User manual

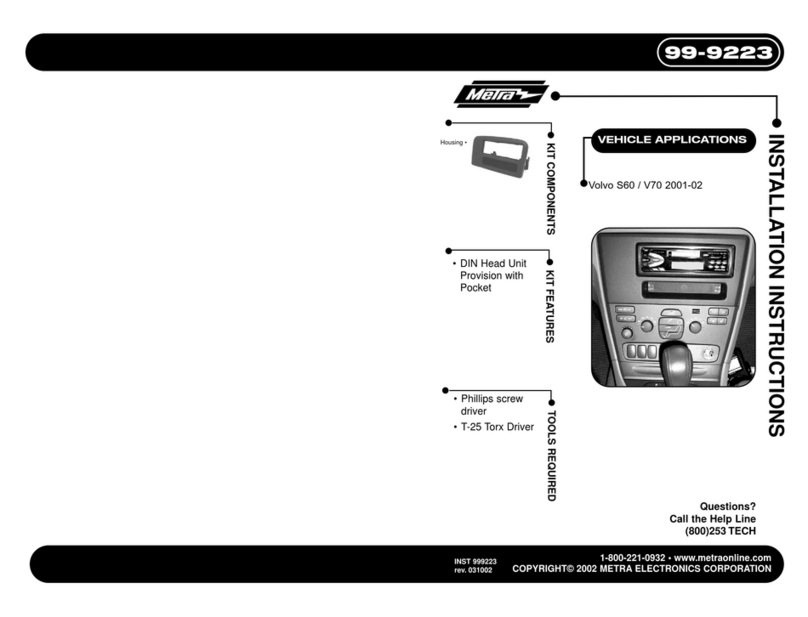
Metra Electronics 99-9223 User manual

Metra Electronics

Metra Electronics 99-9223 User manual

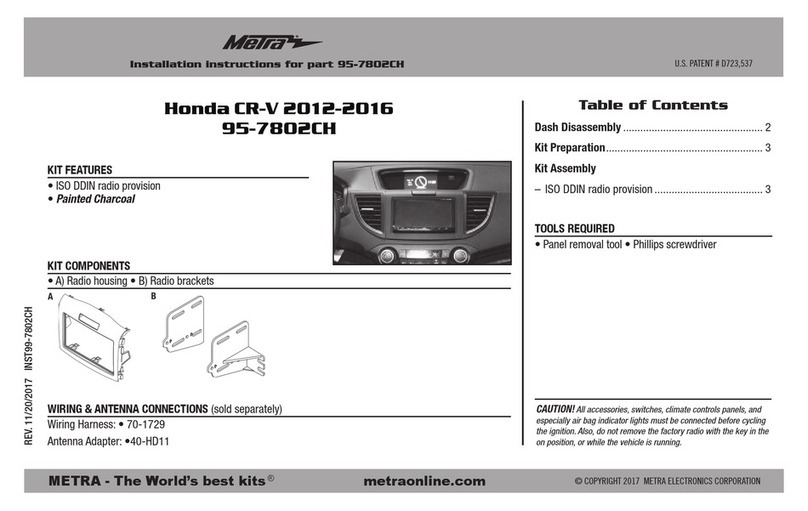
Metra Electronics 95-7802CH User manual

Metra Electronics

Metra Electronics 95-7802CH User manual

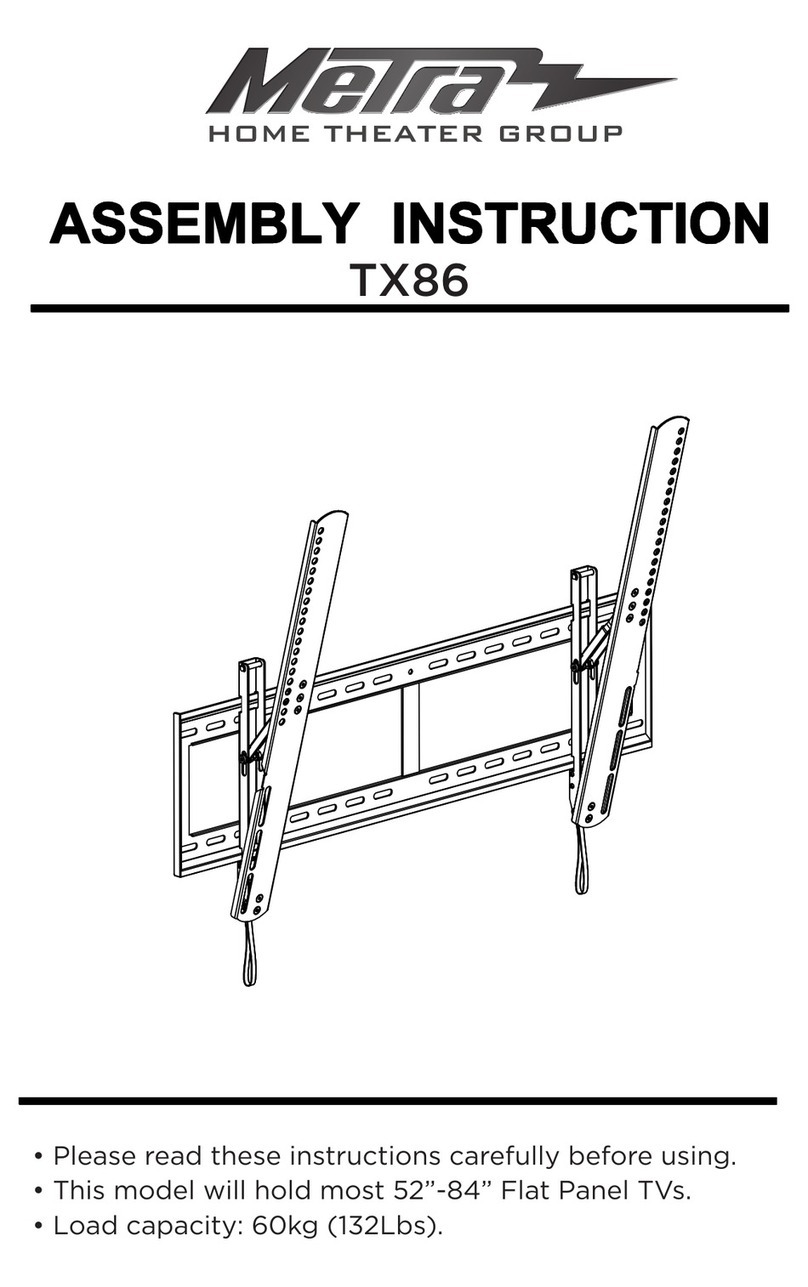
Metra Electronics TX86 User manual

Metra Electronics

Metra Electronics TX86 User manual

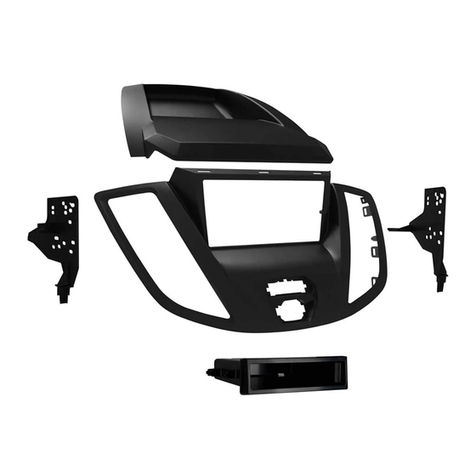
Metra Electronics 99-7367 User manual

Metra Electronics

Metra Electronics 99-7367 User manual
Metra Electronics 95-3005 User manual

Metra Electronics

Metra Electronics 95-3005 User manual

Metra Electronics 107-GM3B User manual

Metra Electronics

Metra Electronics 107-GM3B User manual

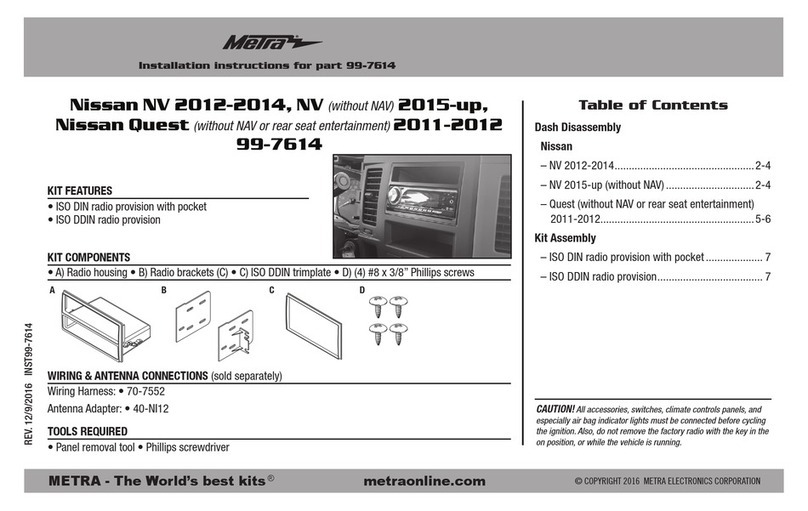
Metra Electronics 99-7614 User manual

Metra Electronics

Metra Electronics 99-7614 User manual

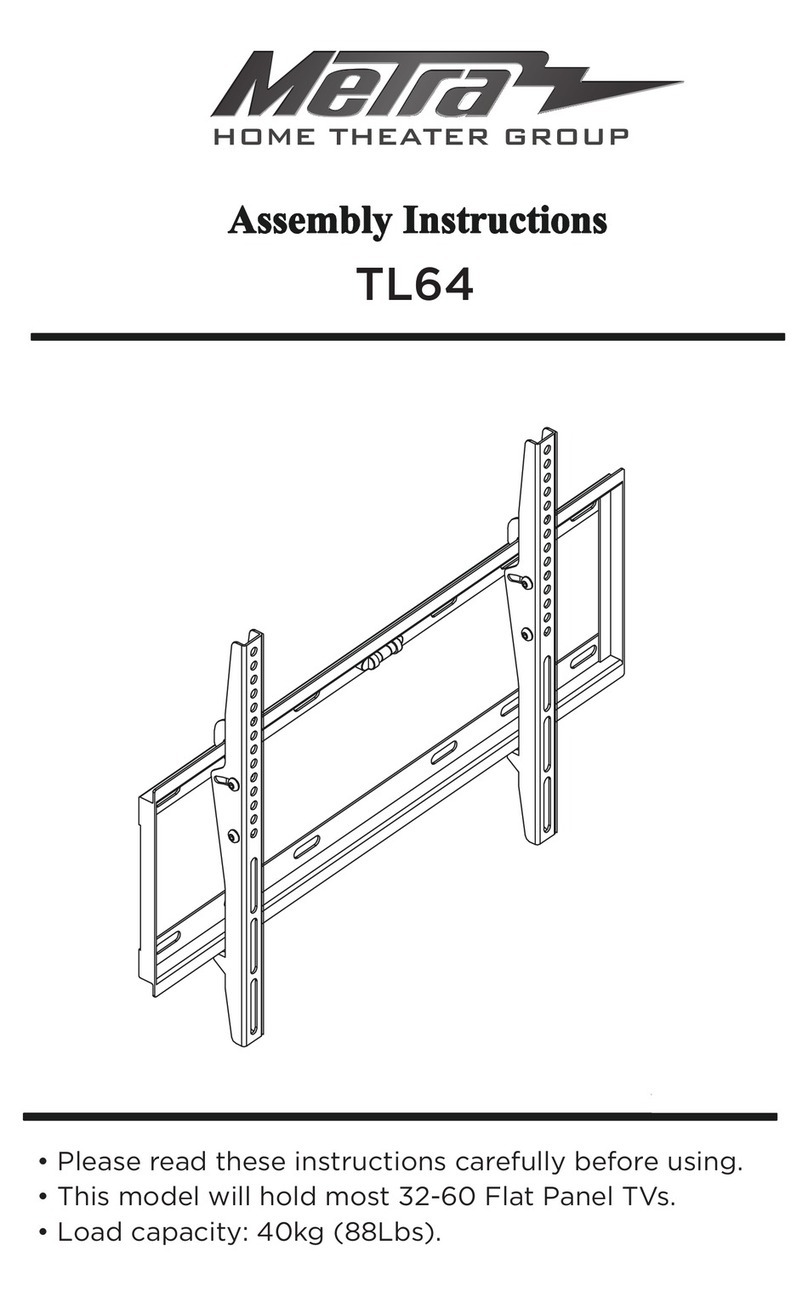
Metra Electronics TL64 User manual

Metra Electronics

Metra Electronics TL64 User manual

Metra Electronics 95-8734 User manual

Metra Electronics

Metra Electronics 95-8734 User manual

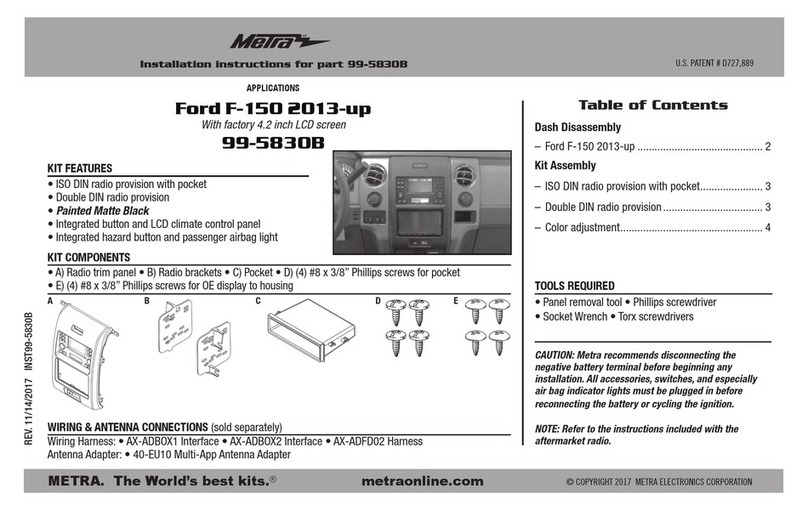
Metra Electronics 99-5830B User manual
Metra Electronics

Metra Electronics 99-5830B User manual

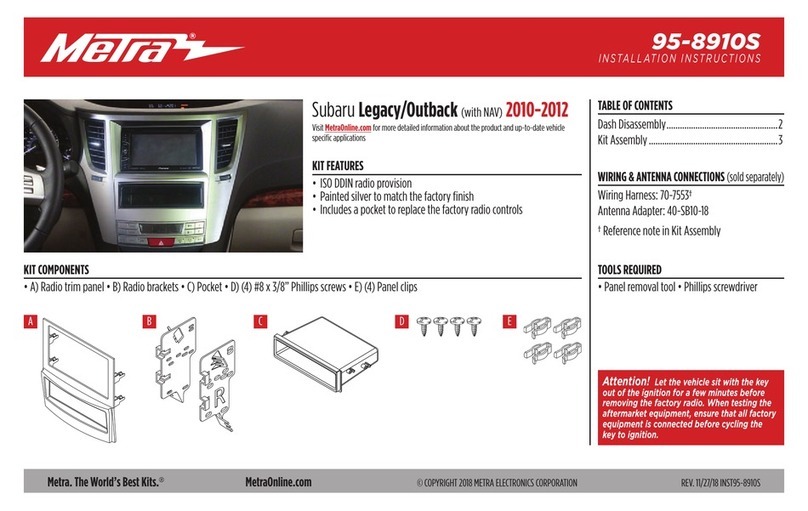
Metra Electronics 95-8910S User manual
Metra Electronics

Metra Electronics 95-8910S User manual

Popular TV Mount manuals by other brands

New Star PLASMA-W040 instruction manual

New Star

New Star PLASMA-W040 instruction manual

VOGELS EFW 8345 Mounting instructions

VOGELS

VOGELS EFW 8345 Mounting instructions

Rocket Fish RF-TVMLPT03 Quick setup guide

Rocket Fish

Rocket Fish RF-TVMLPT03 Quick setup guide

One Forall ULTRA SLIM WM6629 Quick installation guide

One Forall

One Forall ULTRA SLIM WM6629 Quick installation guide

Tripp Lite DMPDS3255CF owner's manual

Tripp Lite

Tripp Lite DMPDS3255CF owner's manual

B-Tech BT7004 installation guide

B-Tech

B-Tech BT7004 installation guide

VOGELS EFA6895 instruction manual

VOGELS

VOGELS EFA6895 instruction manual

New Star NeoMounts LED-W400BLACK instruction manual

New Star

New Star NeoMounts LED-W400BLACK instruction manual

Omnimount OM1100275 instruction manual

Omnimount

Omnimount OM1100275 instruction manual

Omnimount 100-CL instruction manual

Omnimount

Omnimount 100-CL instruction manual

Delta ARM-0260 user manual

Delta

Delta ARM-0260 user manual

PMV Mounts PMVMOUNT2036EX Mounting instructions

PMV Mounts

PMV Mounts PMVMOUNT2036EX Mounting instructions

Tripp Lite DWT2647XE Specifications

Tripp Lite

Tripp Lite DWT2647XE Specifications

VOGELS COMFORT TVM 3460 Series Full Installation Guide

VOGELS

VOGELS COMFORT TVM 3460 Series Full Installation Guide

TW Audio SBM15 Assembly instructions

TW Audio

TW Audio SBM15 Assembly instructions

Rack Solutions 2UKIT-101 installation instructions

Rack Solutions

Rack Solutions 2UKIT-101 installation instructions

TW Audio QBT20 Assembly instructions

TW Audio

TW Audio QBT20 Assembly instructions

Forging Mount HY9189 installation instructions

Forging Mount

Forging Mount HY9189 installation instructions

manuals.online logo
manuals.online logoBrands
  • About & Mission
  • Contact us
  • Privacy Policy
  • Terms and Conditions

Copyright 2025 Manuals.Online. All Rights Reserved.