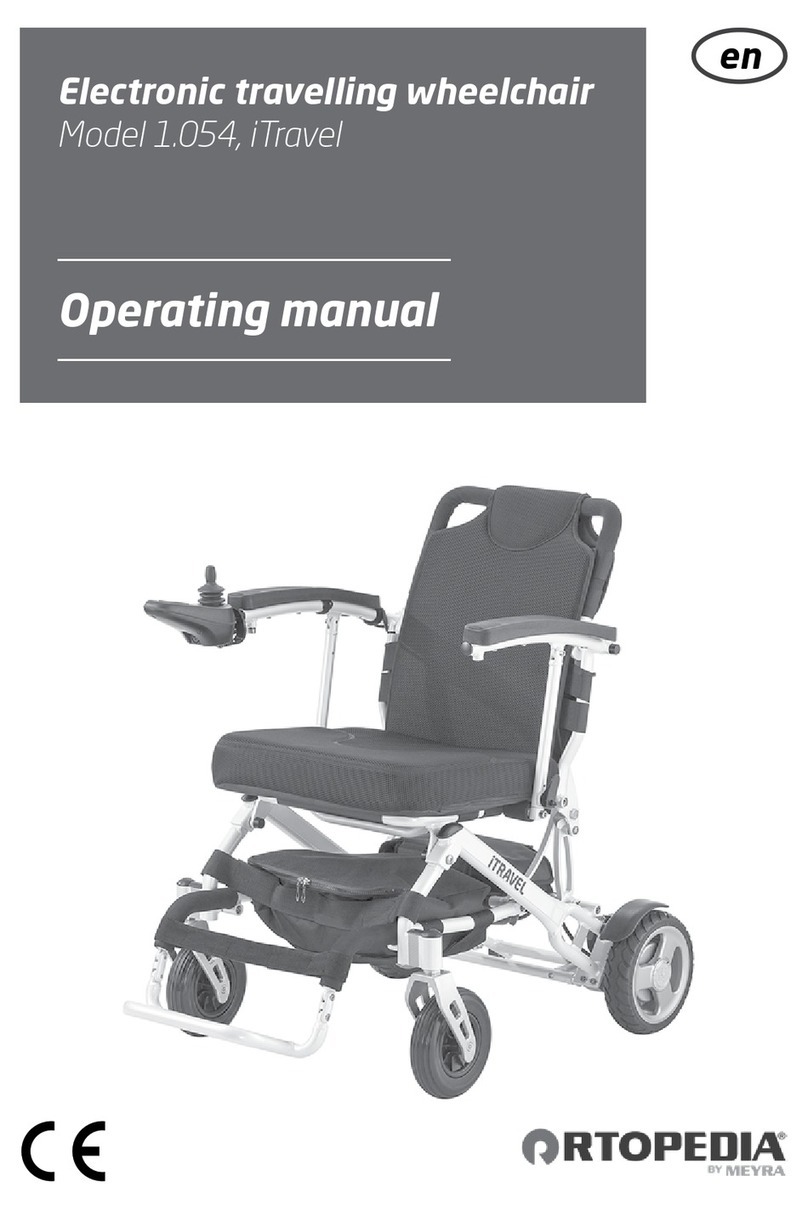
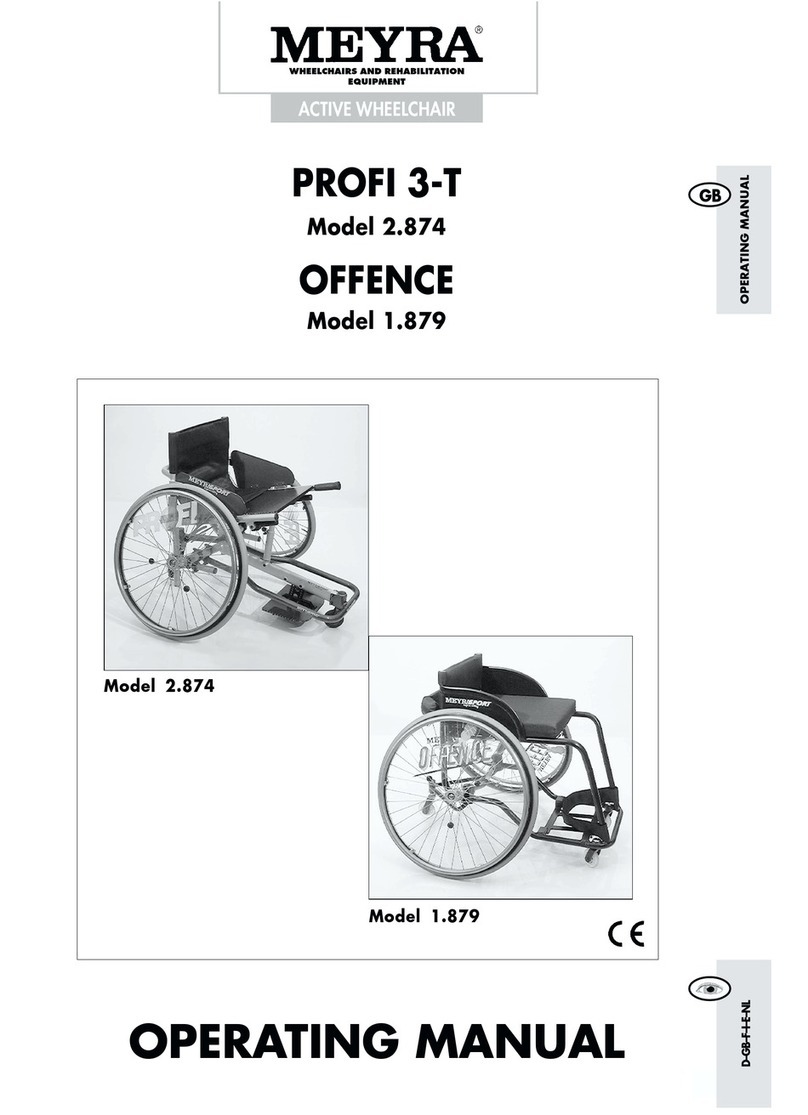
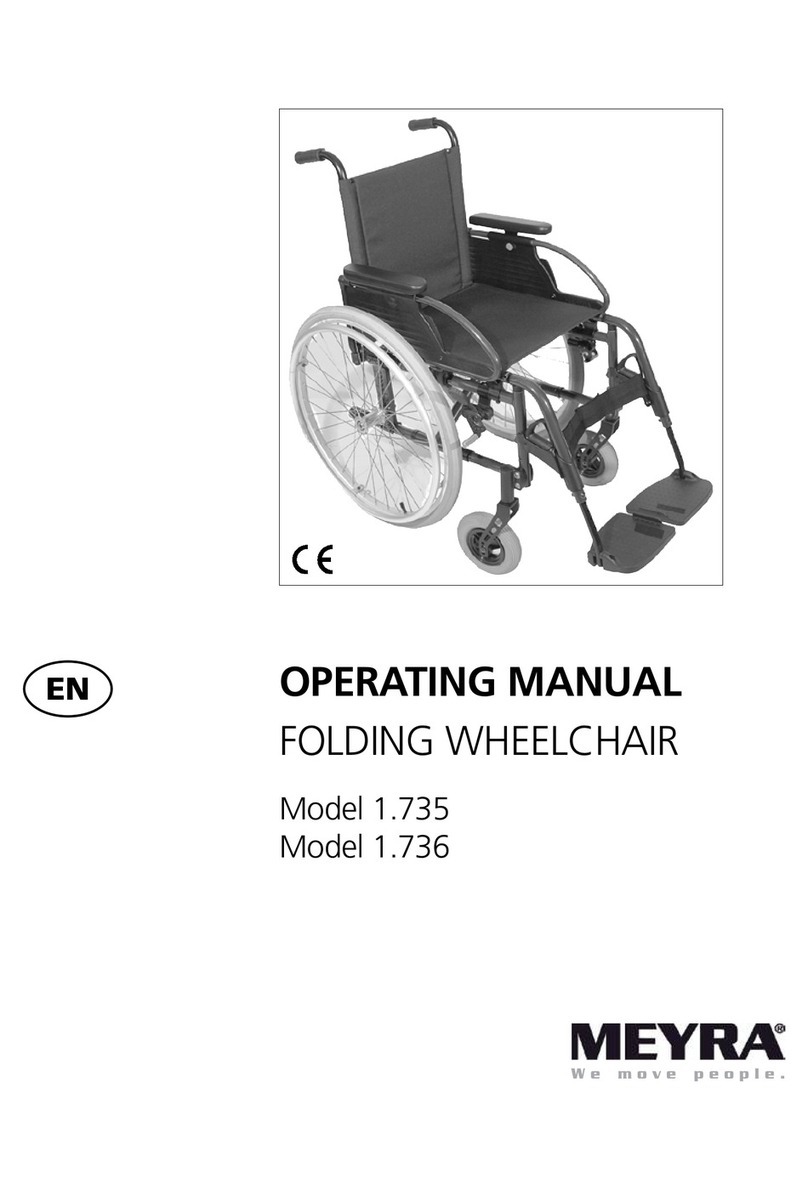
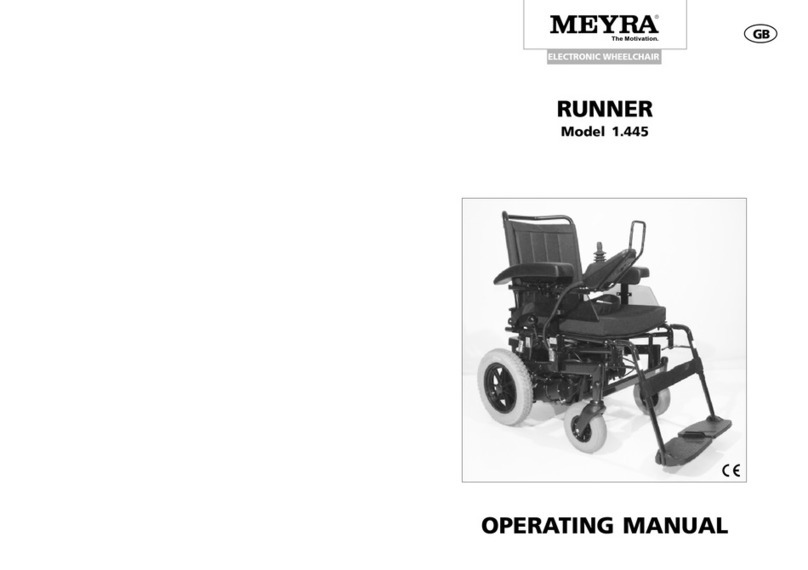
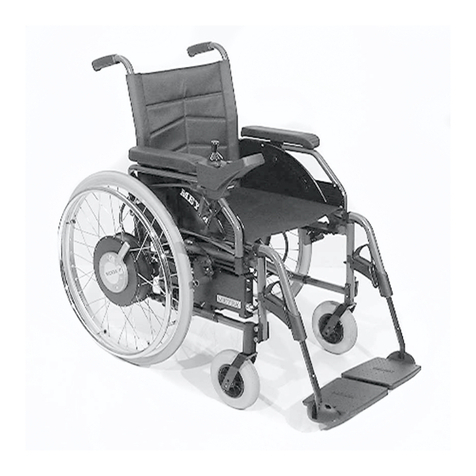
Meyra 8013039 User manual

en
Operating manual
Shower- and toilet wheelchair
Model McWet 8013039 / 8013040 /
8013041 / 8014041

2
Contents
Meaning of the applied markers 5
Introduction 5
List of models 5
Indications / contraindications 6
Acceptance 6
Intended purpose 6
Use 6
Delivery condition 7
Adjustment 7
Combination with manufacturer foreign products 8
Reinstallment 8
Life span 8
Overview 9
Model: 8013039 / 8013040 / 8013041 / 8014041 9
Assembly 10
Adjusting the pressure brakes 11
Fine adjustment of the pressure brakes 11
Brake 12
Pressure Brake 12
Locking the brakes 12
Releasing the brakes 12
Service brake 12
Lockable castors 13
Footboard 14
Folding up the footboard 14
Arm supports 14
Swivelling up the arm support 14
Swivelling down the arm support 14

3
Seat pad 15
Removing the seat cushion 15
Placing the seat cushion 15
Placing the insert cushion 15
Removing the insert cushion 15
Toilet pail 16
Wheels 17
24" Drive wheels 17
Quick release axle 17
Basic safety information 18
Accompanying person 19
Transfer out of the Shower and toiler wheelchair 19
Reaching for objects 19
Driving on falling, rising or transverse gradients 19
Crossing obstacles 20
Loading the Shower and toiler wheelchair 20
Transport in vehicles 21
Transport safety of the unoccupied Shower and toiler wheelchair 21
Transport of people inside a motor vehicle 21
Transport in public methods of transportation 21
Driving on public highways 21
Cleaning 21
Finish 22
Disinfection 22
Repairs 22
Repairs 22
Customer Service 22
Spare parts 22
Information for extended pauses of use 22
Disposal 23
Maintenance 23
Maintenance 23
Maintenance schedule 24

4
Technical data 26
Tyre pressure of pneumatic tyres 26
Applied norms 26
Further technical data for model 8013039 McWet 27
Further technical data for model 8013040 McWet 28
Further technical data for model 8013041 McWet 29
Further technical data for model 8014041 McWet 30
Meaning of the symbols on the type plate 31
Inspection certificate 32
Warranty / Guarantee 33
Warrantee / Guarantee section 34
Inspection certificate for transfer 34
Notes 35

5
MEANING OF THE AP-
PLIED MARKERS
Safety instructions with a coloured back-
ground are mandatory and need to be
observed under any circumstance!
☞This symbol indicates tips and recom-
mendations.
[ ] Reference to a picture number.
( ) Reference to a function element within
a picture.
INTRODUCTION
Read and observe this manual before first
operation.
Before first use, children and adolescents
should read this document, in necessary
together with their parents, resp. a super-
visor or accompanying person.
Your specialist dealer should also intro-
duce you into the use of your shower and
toilet wheelchair.
This manual is to help you get accustomed
to the handling of the shower and toilet
wheelchair as well as to prevent accidents.
☞Please note that the illustrated equip-
ment variants can deviate from your
model.
Therefore you will also find chapters that
might not apply to your individual shower
and toilet wheelchair. A list of the available
options and accessories can be viewed in
the order form of your shower and toilet
wheelchair.
Users with visual impairments can find the
PDF-files together with further information
on our website:
< www.meyra.com >.
☞Contact your specialist dealer when re-
quired.
Alternatively users with visual impairments
can have the documentation read out by a
helper.
Inform yourself regularly about product
safety and possible recalls of our products
in the < Infozentrum > on our website:
< www.meyra.com >.
We have developed a product that fulfils
the technical and legal requirements of
medical devices. For information about a se-
vere accident that can still not be ruled out
completely, please use our E-mail address
sible governmental agency of your country.
LIST OF MODELS
This operating manual applies to the follow-
ing models:
Model 8013039
Model 8013040
Model 8013041
Model 8014041


6
INDICATIONS /
CONTRAINDICATIONS
In case of allergic reactions, skin rashes
and/or pressure sores during the use of
the shower and toilet wheelchair sores
contact a doctor immediately.
The Shower and toiler wheelchair serves to
improve individually conducting personal
hygiene for people with not necessarily dis-
ease caused limitations in mobility (walking
disability or extremely limited walking abil-
ity).
The Shower and toiler wheelchair may not
be used in case of:
– In case of the inability to sit.
The Shower and toiler wheelchair may only
be used with an accompanying person in
case of:
– Cognitive limitations and mental re-
tardness, that exclude an individual use
of the Shower and toiler wheelchair.
– Influence of impairing medications (ask
your doctor or pharmacist).
– Extreme limitations in balance and/or
disorders in perception.
– Contractures on arms and legs, that
cannot ensure a safe use of the Shower
and toiler wheelchair.
– Loss of limbs on arms and legs.
☞Please ask your doctor, therapist or
specialist dealer to these and possi-
ble other risks in combination with
this product.
ACCEPTANCE
All products are checked for faults in the
factory and packed in special boxes.
☞We nevertheless ask you, immediately
after receipt of the shower and toilet
wheelchair – best while the delivery
agent is present – to check for any dam-
ages that might have occurred during
transport.
☞The packaging of the shower and toilet
wheelchair should be stored for a fur-
ther transport that might become nec-
essary.
INTENDED PURPOSE
The Shower and toiler wheelchair serves
people with limited mobility as an aid for
showering and when needed a toilet.
The shower and toilet wheelchair is de-
signed for indoor use.
The Shower and toiler wheelchair serves
solely for use of one person sitting in the
seat and not as pulling aid, transporter or
similar.
USE
Do not reach into the spokes or grip the
tyres of the rotating wheels. – Danger of
injury!
. Do not reach into the space between the
pressure brake and the tyre when pro-
pelling the shower and toilet wheelchair.
– Danger of injury!
Avoid abrupt forward propelling of your
shower and toilet wheelchair. – Danger of
tipping over or tilting!
Do not use the shower and toilet wheel-
chair without attached leg supports and
arm support units!

7
The shower and toilet wheelchair is applica-
ble on level, firm surfaces and can be used
as follows:
– for indoors (e.g. apartment, day care),
– Never expose the shower and toilet
wheelchair to extreme temperatures
and damaging environmental condi-
tions, such as sunlight, extreme cold or
salty water.
– Sand and other dirt particles can seize
on moving parts and render them with-
out function.
– Use only the handrims on the drive
wheels to propel your shower and toi-
let wheelchair.
You must not let yourself be carried in your
shower and toilet wheelchair by having the
shower and toilet wheelchair lifted from the
floor. Parts that are not securely fixed, e.g.
side elements or leg supports, can come
away and thus cause an accident.
☞The Shower and toiler wheelchair is
a wheelchair and not carrying equip-
ment.
Only apply the shower and toilet wheelchair
within the scope of the specifications and
limitation described in chapter Technical
data on page 26.
DELIVERY CONDITION
The shower and toilet wheelchair is sup-
plied in easy to assemble part groups.
☞Therefore observe chapter Assembly on
page 10.
ADJUSTMENT
Always have adaptation, adjustment or re-
pair work carried out by a specialist dealer.
The shower and toilet wheelchair offers
manifold adjustment possibilities to individ-
ual vital statistics. Before first use an adapta-
tion of the shower and toilet wheelchair and
a practical instruction in the functionalities
of your shower and toilet wheelchair should
be carried out by your specialist dealer. Be-
fore first use, check the functionality of your
shower and toilet wheelchair.
☞We recommend a regular control if
the wheelchair adjustment in order to
ensure a long-term optimal provision
even with changing illness/handicap
patterns of the user. Especially for juve-
niles an adjustment every 6 months is
recommendable.

8
COMBINATION WITH MAN-
UFACTURER FOREIGN
PRODUCTS
Any combination of your shower and toilet
wheelchair with components not supplied
by us generally results in an amendment to
your shower and toilet wheelchair. Please
inquire with us if there is a valid combina-
tion clearance/release.
REINSTALLMENT
The shower and toilet wheelchair is suited
for reinstallment. With the building block
system the shower and toilet wheelchair
can be fit to accommodate different hand-
icaps body sizes. Before reimplementation
the shower and toilet wheelchair is to un-
dergo a complete cleaning and inspection.
☞Hygienical measures required for rein-
stallment are to be carried out accord-
ing to a validated hygienic plan and
must include disinfection.
The service manual, intended for the spe-
cialist dealer provides information to the re-
installment and reinstallment frequency of
your shower and toilet wheelchair.
LIFE SPAN
We expect an average life span of about
4 years for this shower and toilet wheelchair,
as far as the shower and toilet wheelchair is
applied for its designated purpose and all
maintenance and service guidelines. The
life span of your shower and toilet wheel-
chair depends upon the frequency of use,
the application environment and care. The
implementation of spare parts can prolong
the life span of the shower and toilet wheel-
chair. As a rule spare parts are available up
to 5 years after production is discontinued.
☞The indicated lifespan does not consti-
tute additional guarantee.

12
3
4
5
6
8
9
10
11
12
13
7
9
OVERVIEW
Model: 8013039 / 8013040 / 8013041 / 8014041
The overview shows the most important components and operating equipment.
(9) Pushing bar
(10) Driving wheel
(11) Handrim
(12) Quick release axle
(13) Rear castor - lockable
Pos. Description
(1) Back support
(2) Arm support
(3) Seat pad
(4) Insert cushion
(5) Footboard
(6) Front castor
(7) Type plate
(8) Pressure Brake

2
2
6
1
3
4
5
10
ASSEMBLY
The assembly must be carried out by your
specialist workshop.
We supply the Shower and toiler wheelchair
dismantled in assembly groups. Assembly is
to be carried out as follows:
1. First insert the back tubes from the top
into the two rear frame parts [1] the
screw the handwheels in tightly (2) .
2. Mount the 24“ wheels with the axles
included within the scope of delivery
into the lowest hole of the receptacle
adapter [3].
☞If required the receptacle block
can be placed toward the back by
screwing it into a different position.
This achieves a wheelbase exten-
sion.
3. Mount the pressure brakes with the
clamping bits on both sides to the
brake adjustment rail [4].
☞Therefore observe chapter Adjusting
the pressure brakes on page 11.
4. Placing the seat cushion [5].
☞Therefore observe chapter Seat pad
on page 15.
☞Upon demand place the insert
cushion into the recess (6).
5. The footboard can be folded forward
out of the frame.
6. Finally check for a secure fit of all con-
necting elements.

1
2
11
Adjusting the pressure brakes
According to the chapter Maintenance
schedule on page 24 the brakes are to
be checked for function after each reposi-
tioning of the drive wheels and readjusted
if necessary.
– Loosen the clamping screw (1) of one
pressure brake.
– Afterwards preadjust the respective
brake by repositioning it accordingly.
Pressure Brake
For this slide the brake bolt of the inacti-
vated brake (2) to approx. 5 mm - 10 mm in
front of the drive wheel and align it at a right
angle to the drive wheel.
☞Retighten the clamping screw (1).
Adjust opposite pressure brakes as de-
scribed.
Equally adjust both pressure brakes, taking
into account
– tread of the drive wheels,
– air pressure of the tyres and
– user weight
adjust evenly. – Danger of accidents caused
by one sided braking effect!
Fine adjustment of the pressure brakes
– Slacken the clamping screw (1).
– Fine tuning is achieved by slight repo-
sitioning of the respective pressure
brake.
– Retighten the clamping screw (1).
☞Inspect function and accurate fit of the
pressure brakes.

2
1
3
12
BRAKE
The shower and toilet wheelchair loaded
with the user may not let itself be pushed
in with the brakes engaged.
Arrange an immediate repair of the brakes
by your specialist workshop if the braking
performance reduces.
Wheelchairs with PU-tyres when stored
for longer periods of time, should be put
away safely without activated pressure
brakes, since otherwise permanent defor-
mations to the tyre surface could occur.
Do not support the body on the lateral
brake levers (2).
In case of removed drive wheels the
Shower and toiler wheelchair can only be
braked by locking the steering castors.
When activating the brake there is an in-
creased danger of jamming between the
brake lever and frame!
The brake performance reduces with:
– tyre profile is worn
– tyre pressure is too low
– tyres are wet
– released pressure brake.
Pressure Brake
Locking the brakes
To secure the shower and toilet wheelchair
against any unintentional rolling, press both
brake levers (2) forward all the way [1].
☞It should not be possible to push the
shower and toilet wheelchair forward
when both brakes are locked.
Releasing the brakes
Pull both brake levers back all the way [3].
Service brake
The shower and toilet wheelchair is braked
down with help of the handrims.
☞If needed use suitable gloves in order
to brake down the shower and toilet
wheelchair.

4
2
3
1
13
Lockable castors
When only one parking brake is locked,
the free-running wheel can run around
the braked wheel. – Danger of accidents!
This function is intended for the accom-
panying person while using the Shower
and toiler wheelchair.
The rear castors can be locked [1].
Locking the castors
Press the large lever (2) down with your foot
as far as possible to lock the castors.
Unlocking the castors
Press the small lever (3) down with your foot
as far as possible to unlock the castors.

3
4
1
2
14
FOOTBOARD
When the footboard is folded inward it is
not locked into place and can fold out-
ward during transport of the shower and
toilet wheelchair. – Secure if necessary!
When putting weight on the footboard
the shower and toilet wheelchair will tilt
forward easily. – Danger of accidents!
The footboard can be folded forward out of
the frame [1].
Folding up the footboard
For this first remove the feet from the foot-
board. Afterwards fold the footboard up as
far as possible [2].
ARM SUPPORTS
Do not reach into the area at the end of
the arm support while swivelling it down.
– Danger of jamming!
Do not use the arm support as an aid for
getting up!
Swivelling up the arm support
For this swivel the arm support upward as
far as possible (3).
Swivelling down the arm support
For this fold down the arm support until it
returns into the original position (4).

3
5
1
2
4
15
SEAT PAD
Grab under the seat cushion when swiv-
elling it downward. – Danger of jamming!
The seat cushion can be removed for clean-
ing purposes [1].
Removing the seat cushion
For this grab hold of the front of the seat
cushion and lift it upward off of the frame
tubes [2]. Then lift the seat cushion off of the
rear cross tube [1].
Placing the seat cushion
For this press the rear guide groove of the
seat cushion onto the frame cross tube (3).
Then press the clips on the bottom of the
seat cushion onto the frame tubes [4].
Placing the insert cushion
For this place the insert cushion according
to the form into the opening in the seat (5).
Removing the insert cushion
For use of the toilet, lift the insert cushion
out to the top [2].

16
TOILET PAIL
After use of the toilet pot, the toilet pot
and the toilet seat must be thoroughly
cleaned and disinfected.
☞Therefore observe chapter Disinfec-
tion on page 22.
The toilet seat is equipped with a toilet pail
rail.
The toilet pail, with or without lid, can be
slid from the back underneath the toilet seat
into the guide rails.
☞For use, the toilet top must be pushed
in to a point where it is aligned with the
toilet seat hole.

1
17
WHEELS
With removed drive wheels the Shower
and toiler wheelchair cab no longer be
braked, resp. locked through the brake
levers.
Shower and toilet wheelchairs with PU-
tyres when stored for longer periods of
time, should be put away safely without
activated pressure brakes, since otherwise
permanent deformations to the tyre sur-
face could occur.
Tyres are made of a rubber mixture and
can leave permanent or difficult-to-re-
move marks on some surfaces (e.g. plas-
tic, wooden or parquet flooring, carpets,
mats).
24" Drive wheels
After inserting the drive wheel the locking
button must stick a couple of millimetres
out of the wheel nut.
The drive wheels are on a quick release axle.
☞No person may be seated in the shower
and toilet wheelchair during assembly
or removal. The shower and toilet chair
must stand on a level and firm surface.
Before starting disassembly of a wheel,
secure the shower and toilet wheel-
chair to prevent it from tipping over or
unwanted movement.
Quick release axle
The driving wheels can be removed and re-
assembled without any tools.
☞For this first unlock the quick release
axle by pressing the spring button (1),
then pull the drive wheel off toward the
outside.
To replace the drive wheels unlock the re-
spective quick release axle by pressing the
spring button (1) and press it as far as possi-
ble into the axle receptacle.
☞After each assembly the locking device
is to be checked with sideward pulling/
pressing on the drive wheels!
☞The stop bolt must be kept clean. A
functional fault may occur in the case of
contamination due to sand or earth or
in the event of freezing of moist cold air.
☞If the drive wheels has too much side-
ward lag or the axle does not engage,
have it maintained immediately by the
specialist dealer.

18
BASIC SAFETY
INFORMATION
This safety information is an extract of the
Safety and general handling instructions,
that can be found on our website: < www.
meyra.com >.
Do not put your fingers into open frame
tubes. – Danger of injury!
Scuttling (rolling motion of the shower
and toilet wheelchair with help of the
feet) is only permitted with creeping roll-
ing speed on horizontal, level surfaces
indoors.
When scutteling watch for the possibility
of jamming the feet.
In doing so the sitting position may not
be slid onto the front third of the seat.
A stable sitting position is to kept while
using the shower and toilet wheelchair,
even when not in motion and especially
on hills and slopes. – Danger of accidents!
In a safe sitting position the back of the
user lies directly on the back support up-
holstery and the hip of the user is at the
back end of the seat.
Transit out of the shower and toilet wheel-
chair on hills/slopes may only be carried
out in emergencies and with the aid of
an accompanying person and/or helper!
– Danger of accidents!
You should not smoke while using the
shower and toilet wheelchair.
Exposure to direct sunlight can cause seat
covers/upholstery, arm support pads, leg
supports and handles to heat up to over
41 °C.
– Contact with exposed skin can result in
injury!
Prevent such heating by parking the
shower and toilet wheelchair in a shaded
area.
Special attachment points for fastening
objects that are to be carried along are
not provided.
Take care that all four castors stand safe-
ly on the floor during use when the 24"
drive wheels are not used. – Danger of
accidents!
With open wounds use a sterile pad for
seat, back, foot and arm support cushions!
The shower and toilet wheelchair should
only be used with the help of an atten-
dant.
Only use the shower and toilet chair for
short distances. – Health can suffer from
long-term use since no spring elements
exist.
Do not straighten or use a deformed
shower and toilet wheelchair. – Danger of
accidents!
Do not rest your legs on furniture or other
items. – Leaning backwards then changes
the centre of gravity and increases the risk
of tipping over.
The shower and toilet chair is not suited
for permanent use in salty atmosphere,
such as saline baths.
To prevent damages the shower and toi-
let chair is to be cleaned thoroughly with
regular tap water after such use.
After showering the Shower and toiler
wheelchair is to be cleaned from soap res-
idue. – Danger of accidents.
Ensure that the brakes are not released
unintentionally while showering or during
the use of the toilet.
Your Shower and toiler wheelchair can
contain flammable materials.

19
Smoking when handling the Shower and
toiler wheelchair is forbidden.
Accompanying person
The accompanying person must be made
aware of all possible danger situation before
the start of his/her supportive involvement.
The parts of your shower and toilet wheel-
chair that are held onto by the attendant are
to be checked for tight seat.
Transfer out of the Shower and
toiler wheelchair
Drive with the shower and toilet wheelchair
as closely as possible to the spot where you
want to switch out of the shower and toilet
wheelchair.
☞Herefore additionally observe chapters
Brake on page 12 and Swivelling up
the arm support on page 14.
☞We recommend to conduct the transfer
from the shower and toilet wheelchair
together with an aid.– Danger of over-
turning, or tilting of the Shower and
toiler wheelchair.
Reaching for objects
Avoid an extreme forward or backward in-
clination of the upper body when picking
up or placing heavy objects. – Danger of
overturning, or tilting of the Shower and
toiler wheelchair.
Driving on falling, rising or trans-
verse gradients
For safety reasons, the maximum permitted
gradient is limited because the tip-over sta-
bility and the braking and steering behav-
iour are impaired by a reduced floor/road.
☞Observe chapter Technical data on
page 26.
For your own safety, we recommend that
you use the assistance of an accompany-
ing person for driving slopes of more than
1% tilt.
☞This low gradient value is valid for per-
sons that are not able to effect even
the smallest centre of gravity change
by changing the position of their upper
body.
The accompanying person should be aware
that the control of the shower and toilet
wheelchair requires more strength on a
downward slope/ hills than on a level driv-
ing surface and that there is an increased
danger of slipping.
Never lean towards the downhill direction
when driving on rising, falling or transverse
gradients.
Avoid jerky changes of the driving condition
(especially with critically adjusted driving
parameters as for example an active wheel
position).
Never drive faster than walking speed.
There is an increased danger of tilting while
driving backwards.
While driving in curves and when turning
on inclinations and slopes there is a danger
of tilting.
The braking force transferred to the driving
surface is much less on a downward slope
than on a level driving surface and is fur-
ther reduced by poor road conditions (e.g.
rain, snow, grit, dirt). A dangerous slipping
of the wheels due to excessive braking and
an associated unwanted course deviation
must be avoided by way of a careful dosed
braking.
At the end of the downward slope, take care
that the foot plates do not make contact
with the ground and endanger you through
a sudden braking effect.

20
Transverse surfaces to the driving direction
(e.g. transversely sloped pavements) effect
a turning of your shower and toilet wheel-
chair in the downhill direction. You or an ac-
companying person must compensate for
this drift by a counter-steering.
Crossing obstacles
Each crossing of obstacles involves a risk!
Even flat obstacles (e.g. sills, carpet edges,
small steps or similar) represent a danger of
tipping.
The crossing of obstacles is a special dan-
ger situation in which a combination of the
safety advice in the sections headed uphill
driving, downhill driving and driving trans-
verse to a slope must be observed in addi-
tion to other safety advice.
For your own safety all obstacles should
only be driven over with an accompanying
person.
The unassisted, safe, crossing of small ob-
stacles (< 4 cm) is only possible with a suffi-
ciently safe control of the shower and toilet
wheelchair.
Always approach small obstacles, e.g. steps
or curbs, slowly and at a right angle (90°)
until the steering wheels almost touch the
obstacle. Briefly stop the shower and toilet
wheelchair and then drive over the obsta-
cle.
Always drive over an obstacle forwards
(not backwards) and simultaneously with
both front/rear wheels in order to prevent
a sideways tipping of the shower and toilet
wheelchair.
Always maintain a safety distance between
the wheelchair and drops, stairs, slopes, etc.
sufficient for reaction, braking and turning.
If possible, let one or more helpers lift you
out of the shower and toilet wheelchair and
carry you to the destination point.
The crossing of stairs is only possible with
the assistance of two helpers who are fa-
miliar with the danger situation and firmly
guide the shower and toilet wheelchair.
☞The helpers may only hold (without lift-
ing) the wheelchair with the push han-
dles and the seat frame.
Loading the Shower and toiler
wheelchair
Do not use the leg supports, arm sup-
ports or accessory parts in order to lift the
shower and toilet wheelchair!
Before lifting, the shower and toilet
wheelchair is to be secured against unin-
tentional rolling motions!
☞Therefore observe chapter Brake on
page 12.
The parts detached for loading must be
carefully stowed and carefully attached
again before the next journey.
The weight of the shower and toilet wheel-
chair is reduced when you remove detacha-
ble components.
The shower and toilet wheelchair can be
also loaded with the aid of ramps or lifting
platforms.
☞Therefore observe the respective
user manual and the load capacity
of the ramp resp. lifting platform.
This manual suits for next models
3
Table of contents
Other Meyra Wheelchair manuals

Meyra
Meyra RUNNER 1.445 User manual

Meyra
Meyra X1 User manual

Meyra
Meyra MOTIVO 2.250 User manual

Meyra
Meyra 1.360 User manual

Meyra
Meyra 1.155 User manual

Meyra
Meyra Ortopedia 1.054 User manual

Meyra
Meyra EUROCHAIR 2 PRO 2.850 User manual

Meyra
Meyra Optimus User manual

Meyra
Meyra 2.432 User manual

Meyra
Meyra 9.050 User manual
Popular Wheelchair manuals by other brands

Ferno
Ferno FST user manual

Sunrise Medical
Sunrise Medical One-Arm Drive Quickie 2 Specifications

Permobil
Permobil M5 Corpus user manual

Drive DeVilbiss
Drive DeVilbiss TC002 user manual

Invacare
Invacare Wheelchair Accessories Accessories guide

GOLDEN LITERIDER
GOLDEN LITERIDER Envy Lite GP161 owner's manual