5ENA7 Touch BT
measure in the future. The arm with the higher blood pressure
should be measured.
4. Remove close-fitting garments from the upper arm. To avoid
constriction, shirt sleeves should not be rolled up - they do not
interfere with the cuff if they are laid at.
5. Always ensure that the correct cuff size is used (marking on the
cuff).
• Fit the cuff closely, but not too tight.
• Make sure that the cuff is 2 cm above your elbow.
• The artery mark located on the cuff ( 3 cm long bar) must lie
over the artery which runs down the inner side of the arm.
• Support your arm so it is relaxed.
• Ensure that the cuff is at the same height as your heart.
6. Slide the lock switch AN down to the «unlock» position. Touch
the START/STOP pad 1to start measuring.
7. The cuff will now pump up automatically. Relax, do not move
and do not tense your arm muscles until the measurement
result is displayed. Breathe normally and do not talk.
8. When the correct pressure is reached, the pumping stops and
the pressure falls gradually. If the required pressure was not
reached, the instrument will automatically pump some more air
into the cuff.
9. During the measurement, the pulse indicator BN ashes in the
display.
10.The result, comprising the systolic AR and the diastolic ASblood
pressure and the pulse rate BT is displayed. Note also the
explanations on further display symbols in this booklet.
11. When the measurement has finished, remove the cuff. The
measurement values are stored automatically.
12. Switch off the device. (The monitor does switch off
automatically after approx. 1 min.).
How not to store a reading
Press the START/STOP pad 1while the reading is being
displayed. Keep the button pressed until «M» BM is ashing and
then release it. Conrm by pressing the M-pad AK again.
• You can stop the measurement at any time by pressing the
START/STOP pad (e.g. if you feel uneasy or an unpleasant
pressure sensation).
5. Appearance of the Atrial Fibrillation Indicator for early
Detection (only in AFIB/MAM mode)
This device is able to detect atrial brillation (AFIB). This
symbol BO indicates that atrial brillation was detected during
the measurement. If AFIB is present during blood pressure
measurement, the AFIB indicator is displayed ashing at the end
of the triple measurements. It is highly recommended to take
an additional
AFIBsens
TM
/ MAM measurement an hour later to
conrm the result. If after repeated measurement the AFIB symbol
is no longer displayed there is no cause for concern. In such case
it is recommended to measure again the next day.
However, if the symbol appears on a regular basis (e.g. several
times a week with measurements taken daily) we advise you to
visit your doctor. Please provide the following explanation:
Information for the doctor on frequent appearance of the
atrial brillation indicator
This device is an oscillometric blood pressure monitor that also
analyses pulse irregularity during measurement. The device is
clinically tested.
The AFIB symbol is displayed after the measurement, if atrial
brillation occurred during measuring. If the symbol appears
more frequently (e.g. several times per week on measurements
performed daily) we recommend the patient to seek medical
advice.
The device does not replace a cardiac examination, but serves
to detect atrial brillation that often remains undiagnosed until
stroke occurs.
Keep the arm still during measuring to avoid false readings.
This device may not detect atrial fibrillation in people with
pacemakers or debrillators.
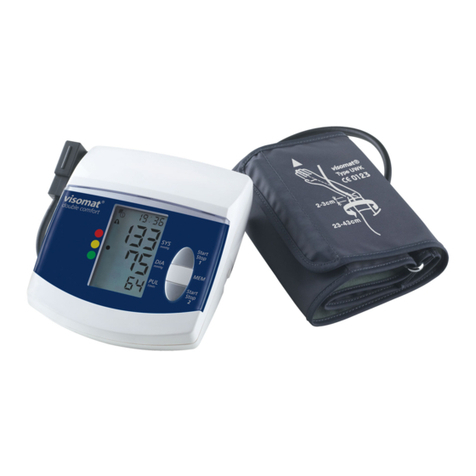
6. Trafc Light Indication in the Display
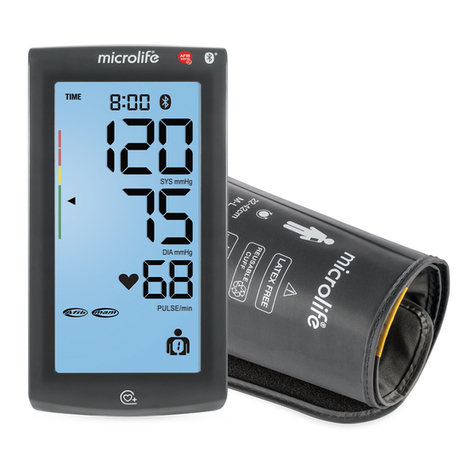
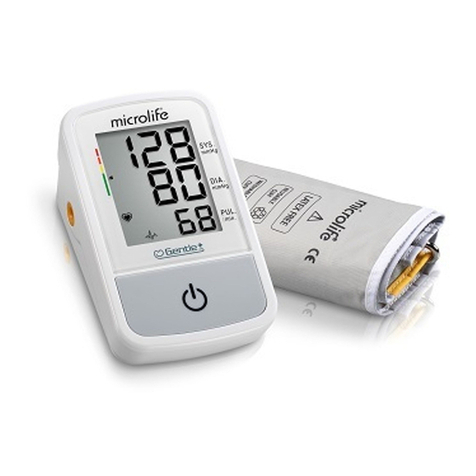
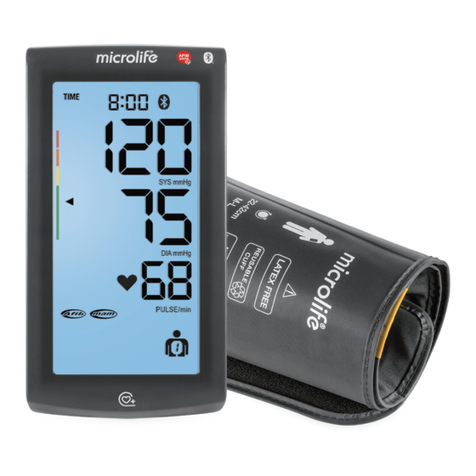
The bars on the left-hand edge of the trafc light display BL show
you the range within which the indicated blood pressure value lies.
Depending on the height of the bar, the readout value is either
within the optimum (green), elevated (yellow), too high (orange) or
dangerously high (red) range. The classication corresponds to
the 4 ranges in the table as dened by the international guidelines
(ESH, AHA, JSH), as described in «Section 1.».

