4
3
1 2
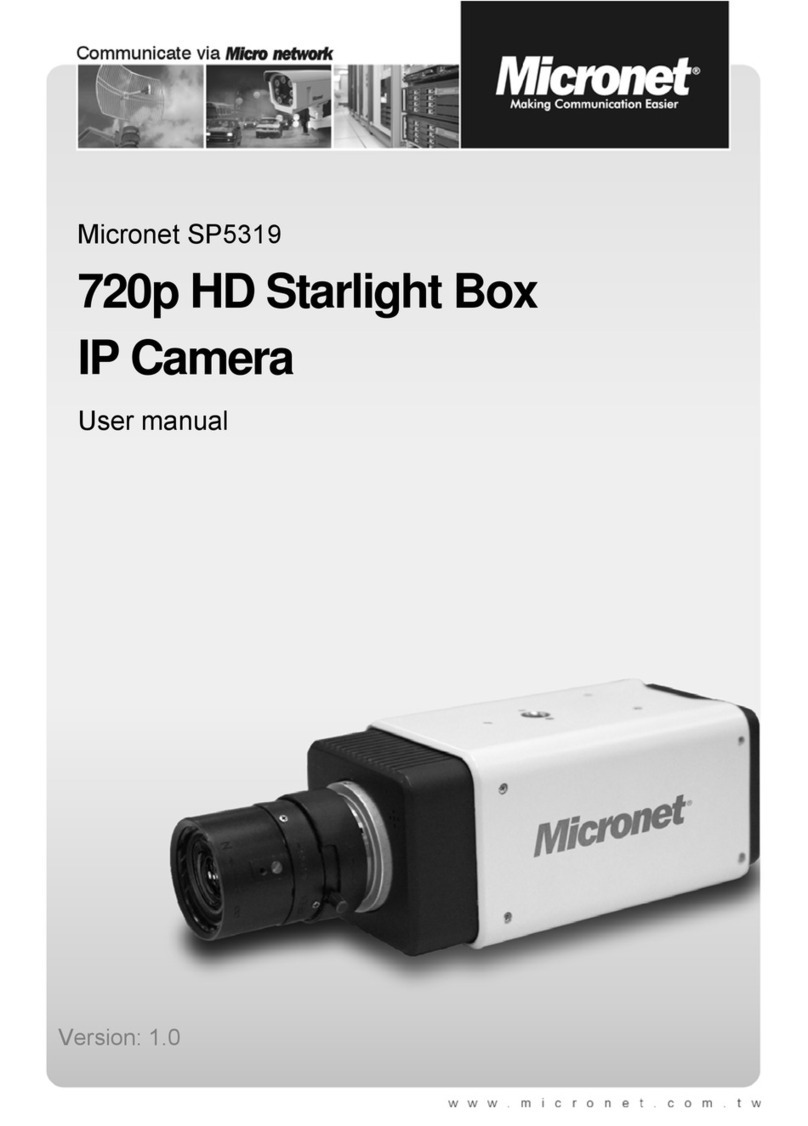
Camera Features
Capture high resolution video with the mega-pixel CMOS sensor
Minimum illumination 0.007 lux in color image
Real-Time dual streams
30ftps @ 720P or 1.3MP
True Day/Night function
H.264, Mpeg4 and MJPEG compression supported
Motion detection supported
Compliant with IEEE802.3af standard
Firmware upgradeable
System Requirements
Minimum system requirement:
CPU: Pentium 4 class, 2.0GHz
Memory: 512MB RAM
Hard disk drive: 500MB of available space
GPU: AGP card, 128MB RAM; resolution @ 800x600 or above
Operating system: Microsoft Windows XP, Vista, and Win 7
Browser: Microsoft Internet Explorer 7.0 and above
Note: When you connect multiple cameras to monitor different
places within your surveillance application, it is
recommended to use high-performance computer and
networking to approach better effect while transmitting
the image.
Note:
Note:
Note:
Note:
Introduction
Technology increases light sensitivity in near-dark conditions. It
incorporates a special progressive CMOS sensor with exceptional
light sensitivity which allows true colors to be seen in the dark.
There are many situations where surveillance video with color is an
important factor for successful identification, and this capability
greatly enhances the user's possibility to effectively identify people,
vehicles and incidents. Micronet SP5319 HD Starlight box network
camera is designed to provide security footage in extreme low-light
environments.
Micronet Starlight Technology camera is perfect for any
indoor/outdoor applications such as parking lots, city surveillance,
schools campuses, ports and constructions site. In these places
there are extremely low light conditions that might only be lit by a
single light at night usually needs supplemented with IR illuminators
but now with Micronet SP5319 HD Starlight box network camera
makes IR illumination unnecessary.
Package Contents
Check the following items that are included in the package. Contact
the authorized dealer of your locale immediately if any item
contained is damaged or missing.
Network camera x 1
L-type hex key wretch x 1
2-pin power terminal block x 1
5-pin DI/DO terminal block x 1
Ethernet cable (RJ-45 type) x 1
Installation CD x 1
Quick Installation Guide x 1
DC power adapter (Optional) x 1
Hardware Installation
Installing the camera hardware
Mount lens by turning it clockwise onto the camera then connect the
DC-iris control cable to the socket
Connecting the cables
To connect the Ethernet cable:
Use the RJ-45 type Ethernet cable to connect the camera to your
local area network (LAN). Plug one end of the Ethernet cable to the
Ethernet port and the other end to an active port on the
switch/router.
To connect the DC power adapter (optional for PoE model):
Plug the DC power adapter cable with the 2-pin power terminal
block to the DC power input on the bottom panel of the camera and
the power plug to the wall socket.
1.Socket set screws.
2.Reset button
3.Audio out
4.Line in
5.DC-iris control cable socket
6.BNC video output
7.DC 12V power input
8.DI/DO terminal
9.Ethernet port
10.MicroSD card slot
11.RS485 terminal
1 2
5
7
6
8
3 4
910 11

