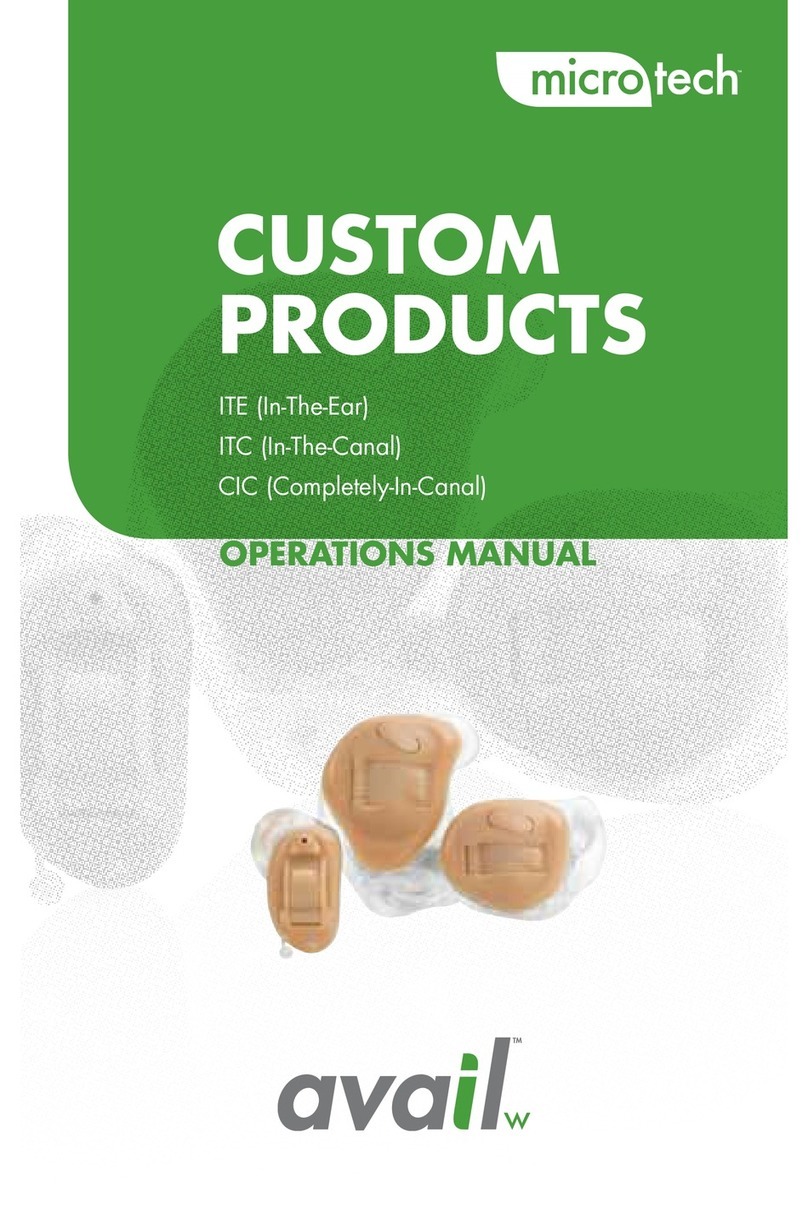
Microtech Radius CIC User manual

CIC
COMPLETELY-IN-THE-CANAL
OPERATIONS MANUAL

2
Congratulations!
Your new Radius hearing system uses advanced
digital features to provide improved sound quality,
speech understanding and listening comfort.
Micro-Tech® was founded in 1986 on the philosophy
that superior sound quality can be achieved
while providing patients the small, stylish hearing
instruments they desire.
Today, Micro-Tech has earned a reputation as an
industry leader in hearing instrument technology
and the treatment of hearing loss.
Micro-Tech focuses on connecting people with
people. This philosophy is at the center of
everything we do. Our ultimate goal is to provide
you the best listening experience possible.
Please read this manual carefully to take full
advantage of all features on your new hearing
system. If you have any questions, please contact
your hearing care professional.

Congratulations!
You’ve just taken the
first step on your
journey toward better
hearing. Use this
manual as a guide
to the use and care
of your new hearing
instruments. If you have
questions, your hearing
professional is trained and willing to help.
Your new hearing instruments are customized to your
hearing loss and lifestyle. Your hearing professional
can make changes to the instruments to match your
needs. He or she will make note of these changes in
boxes like the one shown below.
3

4
You have Completely-In-The-Canal (CIC) hearing
instruments. Your hearing instruments were made
for you, to treat your hearing loss. Your hearing
professional will check which features your hearing
instruments have.
Your hearing instruments may contain a different
combination of features and controls, depending on
the specific options selected for you.
ABOUT YOUR HEARING INSTRUMENTS
Your hearing instrument features are:
Multimemory settings
Automatic telephone response

5
FEATURES AND CONTROLS
RECEIVER OPENING
MULTIMEMORY BUTTON
(OPTIONAL)
MICROPHONE SOUND INLET
BATTERY COMPARTMENT
REMOVAL LINE
VENT (OPTIONAL)

6
Each instrument can be identified by its serial
number, located on the outside shell.
Serial Number and Identification
Your hearing instruments are identified by the color
marking of the serial number or the shell color. RED is
for RIGHT, while BLUE is for LEFT.
IDENTIFICATION
00-000000
SERIAL NUMBER

7
Battery Size
CICs use a size 10A battery. Battery sizes can be
identified by a color code on the packaging. Size 10A
batteries have a yellow mark on the package.
It is very important to use the correct size and type
battery for your hearing instrument.
Because of their size, it’s a
good idea to change and
replace batteries at a table
or desk to reduce the risk
of dropping the instrument
or battery.
To insert or replace
the battery, open the
compartment by placing
your fingernail under the
edge of the swing-out door
and gently pulling outward.
Do not open the battery
door too far or damage is
likely to occur.
BATTERIES

8
Changing Batteries
Remove the old battery by
pushing it out the top of the
fully opened door.
DO NOT pull it out the side
of the door.
Place the new battery in the
compartment with the plus
(+) sign facing up.
Close the battery
compartment by swinging
the door until it snaps shut.
NEVER FORCE THE DOOR
SHUT. This could result in
serious damage. If the door
will not close easily, check that the battery is placed
properly in the compartment and is not upside down.
BATTERIES

9
Low Battery Indicator
Your hearing professional will check the box below
if the low battery indicator for your instruments is
turned on.
When the low battery indicator is turned on, your
hearing instruments will beep four times going from
a high-to-low pitch when the battery’s voltage is low.
Replace the battery when you hear these tones.
When the battery is too weak to power the hearing
instrument, you will hear a tone for two seconds and
the instrument will shut down. Replace the battery
when this happens.
BATTERIES
The low battery indicator is turned on.

10
Battery Caution
Because batteries can vary in size and performance,
your hearing professional is your best source for
lifespan estimates and verification that you are using
the proper size and type.
To help prevent the accidental ingestion of batteries,
keep them out of the reach of children and pets.
Always check your medication before ingesting –
batteries have been mistaken for pills.
Never put batteries in your mouth for any reason, as
they can easily be unintentionally swallowed.
Dispose of used batteries immediately, using
the proper waste or recycling receptacle.
BATTERIES
m WARNING:
HEARING INSTRUMENT BATTERIES ARE
DANGEROUS IF SWALLOWED.
National Button Battery
Ingestion Hotline (202) 625-3333

11
Before placing your instruments into your ears, make
certain the batteries are inserted properly and the
battery doors are closed securely.
To insert the hearing
instrument, hold it with
the insertion/removal line
between your thumb and
forefinger. The microphone
opening should be at the top
of the instrument.
Guide the instrument into
your ear canal until you
feel resistance.
Let go of the insertion/
removal line. Gently push
the instrument in until it is
resting comfortably inside
your canal.
To ease insertion, you may
wish to pull down on your
earlobe with your other hand
as you push.
INSERTION AND REMOVAL

12
To remove your hearing
instrument, slowly and gently
pull the insertion/removal
line outward.
INSERTION AND REMOVAL

13
Your hearing instrument is
“on” any time a functioning
battery is properly placed in
the compartment and the
battery door is closed.
Some hearing instruments
are programmed to have a
power on delay. Your hearing professional will
check the box below if your hearing instruments
have this feature.
The power on delay means that your hearing
instruments will take several seconds to turn on once
the battery door has been closed. This feature allows
you to get the hearing instruments in your ear before
they start to amplify sound.
ON, OFF AND VOLUME LEVEL
Your hearing instruments have a power
on delay.

14
To turn the instrument
“off,” open the battery
compartment door so the
battery is no longer in
contact with the internal
components. This is
recommended to preserve
battery life any time your
instrument is not in use.
Your hearing instruments have been set to a specific
volume level by your hearing professional. There is
no volume control on the instrument. If sounds are
generally too loud or too soft, contact your hearing
professional for advice and adjustment.
ON, OFF AND VOLUME LEVEL

15
Multimemory Settings
Your hearing professional will place a check in
the box below if your hearing instruments have a
multimemory push button.
While your hearing instruments make many
adjustments automatically, the multimemory push
button lets you select a different memory setting
for your current listening environment; for example,
when you are using the telephone or sitting in a
noisy restaurant.
When first turned on, your
instruments are most likely
programmed for normal
listening environments.
Additional settings are
accessed by pressing
the button on the
hearing instrument.
OPTIONAL FEATURES
Your hearing instruments have a multimemory
push button.

16
When changing the settings, there may be an audible
beep or indicator to let you know where the memory
is located. For example, the hearing instrument will
beep twice for memory 2. Your hearing professional
will work with you to set the memories to your
preference. With your hearing professional, use the
table below to write in the memory settings for
your instruments.
MEMORY
NO.
ENVIRONMENT/
LISTENING SITUATION
BEEP/
INDICATOR
1
2
3
4
OPTIONAL FEATURES

17
Special Instructions:
OPTIONAL FEATURES

18
Your hearing instruments are equipped with tools
to help you effectively communicate on the
telephone. Your hearing professional will check the
box/boxes that represent the telephone settings in
your instruments.
Automatic Telephone Response
This option activates the telephone response
automatically when used with a hearing aid
compatible telephone. To use, place the telephone
receiver on your ear as you normally would and the
hearing instrument will select the telephone setting.
It might be necessary to move the telephone
USING THE TELEPHONE
Your hearing instruments have the following
telephone setting(s):
Automatic telephone response
A beep or indicator tone is enabled on your
instruments to signal you when the device
switches to the telephone setting

19
receiver slightly to find the best reception.
Once the telephone is removed from the ear, the
hearing instrument will switch back to the normal
listening mode.
Note: If you have a hearing aid compatible phone,
but your Automatic Telephone Response does not
switch to the telephone setting automatically, your
hearing professional can provide you with a small
magnet to place on your telephone receiver. This
magnet will help activate your automatic
telephone option.
General Telephone Use
Some hearing instruments
work best by holding the
phone close to, but not fully
covering your ear. In some
instances, if you encounter
whistling (feedback), tilt the
receiver at an angle until the
whistling stops. Your hearing
professional can give instructions and techniques for
your specific needs.
USING THE TELEPHONE

20
Special Instructions:
USING THE TELEPHONE
Table of contents
Other Microtech Hearing Aid manuals

Microtech
Microtech MicroLens Synergy iQ User manual

Microtech
Microtech Summit iQ User manual

Microtech
Microtech ITE User manual

Microtech
Microtech Axio ST User manual

Microtech
Microtech Envy AI RIC User manual

Microtech
Microtech Axio User manual

Microtech
Microtech SurfLink Mobile Assembly instructions

Microtech
Microtech Esentia AI User manual
Microtech
Microtech Esentia User manual

Microtech
Microtech Radius ITC User manual