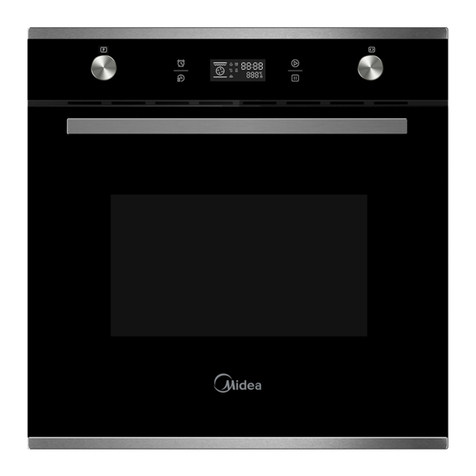
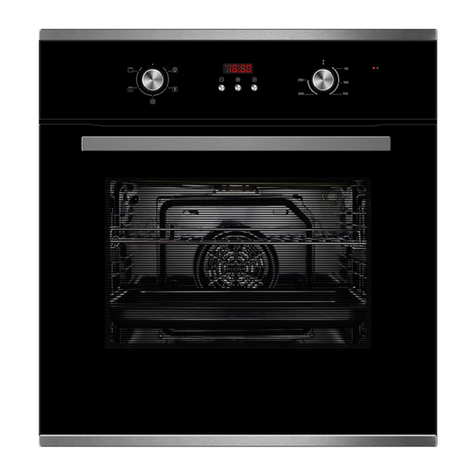
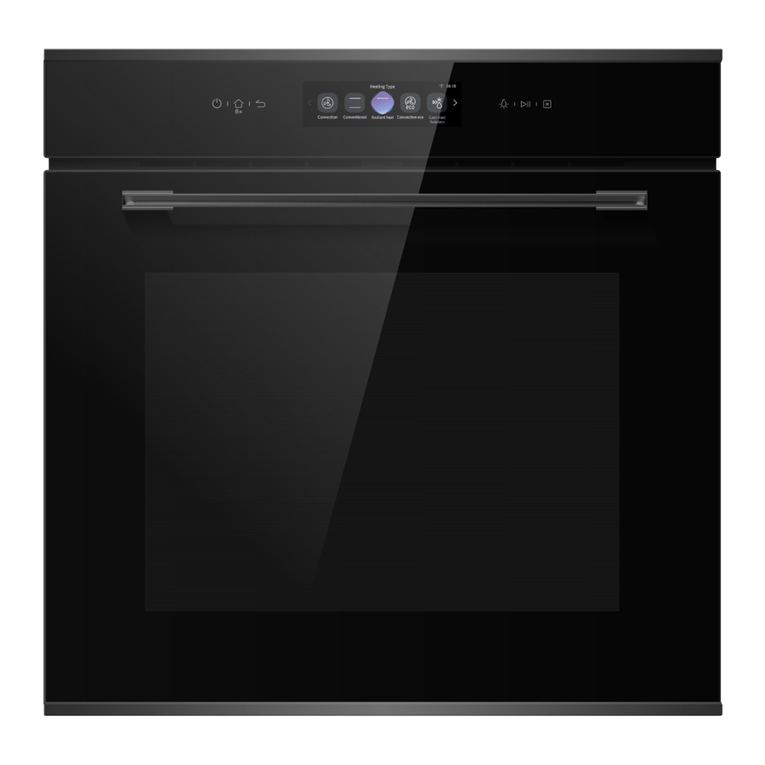
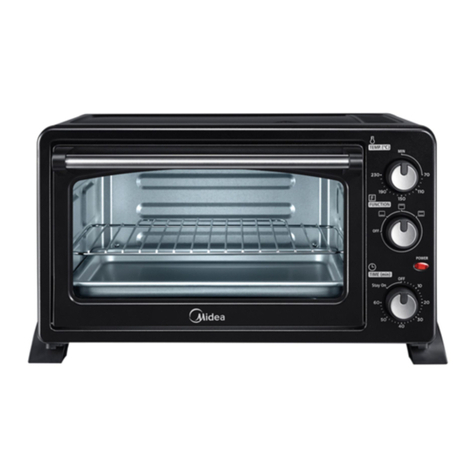
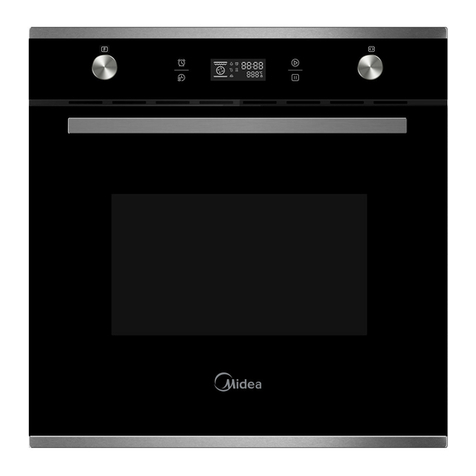
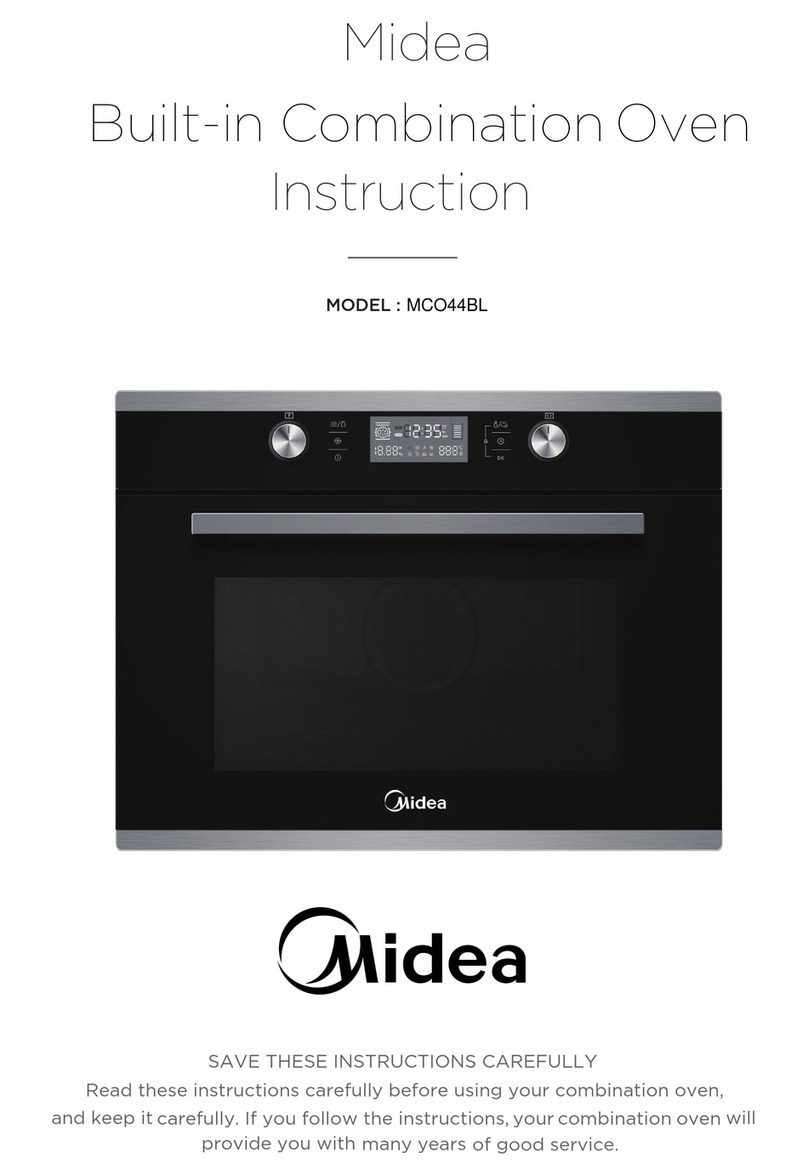
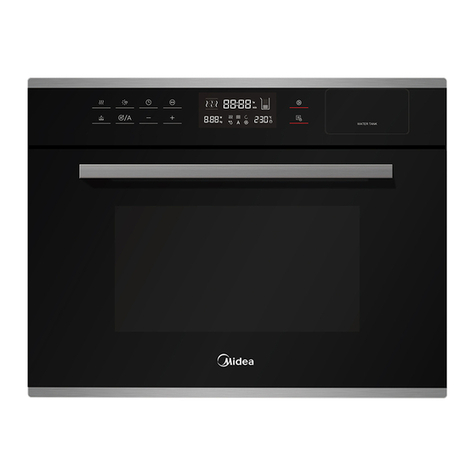
Midea 315545 User manual

315545
USER MANUAL
Warning notices: Before using this product,please read this manual carefully and keep it for future reference.
The design and specifications are subject to change without prior notice for product improvement.
Consult with your dealer or manufacturer for details.
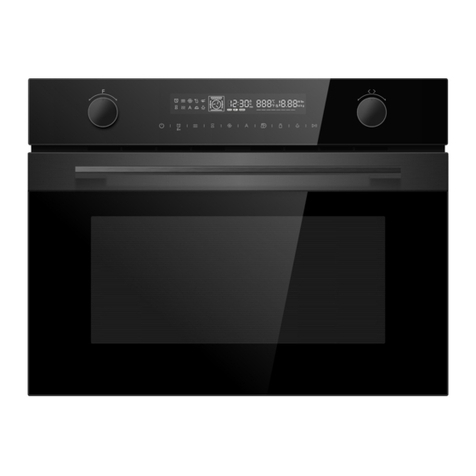
The diagram above is just for reference. Pleasetake the appearance of the actual product as the standard.
BUILT-IN COMPACT OVEN

THANK YOU LETTER
Thank you for choosing Midea! Before using your new Midea product, please read
this manual thoroughly to ensure that you know how to operate the features and
CONTENTS
functions that your new appliance oers in a safe way.
THANK YOU LETTER
THANK YOU LETTER -------------------------------------------------- 01
SAFETY INSTRUCTIONS--------------------------------------------- 02
SPECIFICATION --------------------------------------------------------
PRODUCT OVERVIEW------------------------------------------------ 1
PRODUCT INSTALLATION ------------------------------------------- 12
1
OPERATION INSTRUCTIONS ---------------------------------------- 1
198
CLEANING AND MAINTENANCE-----------------------------------23
TROUBLE SHOOTING--------------------------------------------------25
TRADEMARKS, COPYRIGHTS AND LEGAL STATEMENT ---27
----------------------------------------28
DATA PROTECTION NOTICE
0 1
02
1
22
24
26
27
01
07
08
1
18

Danger
This symbol indicates that there are dangers to the life and health of
persons due to extremely flammable gas.
Warning of electrical voltage
This symbol indicates that there is a danger to life and health of
persons due to voltage.
Warning
The signal word indicates a hazard with a medium level of risk which, if
not avoided, may result in death or serious injury.
Caution
The signal word indicates a hazard with a low degree of risk which, if
not avoided, may result in minor or moderate injury.
Attention
The signal word indicates important information (e.g. damage to
property), but not danger.
Observe instructions
This symbol indicates that a service technician should only operate and
maintain this appliance in accordance with the operating instructions.
Intended Use
SAFETY INSTRUCTIONS
Read these operating instructions carefully and attentively before using/commissioning the
unit and keep them in the immediate vicinity of the installation site or unit for later use!
The following safety guidelines are intended to prevent unforeseen risks or damage from
unsafe or incorrect operation of the appliance. Please check the packaging and appliance
on arrival to make sure everything is intact to ensure safe operation. If you find any
damage, please contact the retailer or dealer. Please note modifications or alterations to
the appliance are not allowed for your safety concern. Unintended use may cause
hazards and loss of warranty claims.
Explanation of Symbols
SAFETY INSTRUCTIONS
02

IMPORTANT SAFETY INSTRUCTIONS
IMPORTANT SAFETY INSTRUCTIONS WARNING
To reduce the risk of fire, electric shock, persons when
injury to using your appliance, follow basic precautions,
including the following:
• This appliance can be used by children aged from 8
years and above and persons with reduced physical,
sensory or mental capabilities or lack of experience
and knowledge if they have been given supervision
or instruction concerning use of the appliance in
a safe way and understand the hazards involved
Children shall not play with the appliance. Cleaning
and user maintenance shall not be made by children
without supervision.
• Read and follow the specific:"PRE-CAUTIONS".
• Keep the appliance and its cord out of reach of
children less than 8 years.
• If the supply cord is damaged, it must be replaced
by the manufacturer, its service agent or similarly
qualified persons in order to avoid a hazard. (For
appliance with type Y attachment)
• WARNING: It is hazardous for anyone other than a
competent person to carry out any service or repair
operation.
• When heating food in plastic or paper containers,
keep an eye on the oven due to the possibility of
ignition.
• Only use the temperature probe recommended for
this oven.(for ovens provided with a facility to use a
temperature-sensing probe. )
03

• This appliance is intended to be used in household
and similar applications such as:
- Sta kitchen areas in shops, oces and other
working environments;
- By clients in hotels, motels and other residential
type environments;
- Farm houses;
- Bed and breakfast type environments.
• The appliance shall not be cleaned with a steam
cleaner.
• WARNING: Ensure that the appliance is switched o
before replacing the lamp to avoid the possibility of
electric shock.
• WARNING: Accessible parts may become hot during
use. Young children should be kept away.
• Surface of a storage drawer can get hot.
• WARNING: The appliance and its accessible parts
become hot during use. Care should be taken to
avoid touching heating elements. Children less than
8 years of age shall be kept away unless continuously
supervised.
• During use the appliance becomes hot Care should
be taken to avoid touching heating elements inside
the oven.
• Do not use harsh abrasive cleaners or sharp metal
scrapers to clean the oven door glass since they can
scratch the surface, which may result in shattering of
the glass.
• The appliance is intended to be used built-in.
• WARNING: When move the oven, do not carry
handle. ( Oven is overweight, handles are easily
broken. )
04

• Do not use the paper cups and plastic containers
with temperature resistance below 120 degrees. The
glass, ceramic, stainless steel utensils can be used.
READ CAREFULLY AND KEEP FOR FUTURE
REFERENCE
CAUSES OF DAMAGE
CAUTION
• Creation of sparks: Metal e.g. a spoon in a glass must
be kept at least 2 cm from the oven walls and the
inside of the door. Sparks could irreparably damage
the glass on the inside of the door.
• Water in the hot cooking compartment: Never pour
water into the hot cooking compartment. This will
cause steam. The temperature change can cause
damage.
• Moist food: Do not store moist food in the closed
cooking compartment for long periods.
Do not use the appliance to store food. This can lead
to corrosion.
• Cooling with the appliance door open: Only leave the
cooking compartment to cool with the door closed.
Do not trap anything in the appliance door. Even if
the door is only slightly ajar, the fronts of adjacent
units may be damaged over time.
• Heavily soiled seal: If the seal is very dirty, the
appliance door will no longer close properly during
operation. The fronts of adjacent units could be
damaged. Always keep the seal clean.
05

• Using the appliance door for standing on or placing
objects on: Do not stand or place anything on the
open appliance door. Do not place ovenware or
accessories on the appliance door.
• Transporting the appliance: Do not carry or hold
the appliance by the door handle. The door handle
cannot support the weight of the appliance and
could break.
• Liquid that has boiled over must not be allowed to
run through the turntable drive into the interior of
the appliance. Monitor the cooking process. Choose
a shorter cooking time initially, and increase the
cooking time as required.
• Failure to maintain the oven in a clean condition
could lead to deterioration of the surface that could
adversely aect the life of the appliance and possibly
result in a hazardous situation.
06

SPECIFICATION
MODEL 315545
RATED VOLTAGE 220-240V~ 50 Hz
1700 W
1000 W
2200 W
3000 W
07
RATED INPUT POWER(CONVECTION)
RATED INPUT GRILL POWER(BOTTOM)
RATED INPUT GRILL POWER(DOUBLE TOP)
RATED INPUT POWER(MAX)

PRODUCT OVERVIEW
Use this section to familiarise yourself with your new appliance. The control panel and
the individual operating controls are explained. You will find information on the cooking
compartment and the accessories.
Control Panel
Touch Keys And Display
The touch keys are used to set the various additional functions. On the display, you can
read the values that you have set.
Symbol Function
Cancel
Kitchen Timer
Childproof Lock
Preheat
Clock
Temperature
Light bulb
Start/Stop
08

Function And Displayscreen
Use the function knob( the left knob ) to set the type of heating.
Function Use
Conventional
The top and bottom elements work together to provide
conventional cooking. The oven needs to be pre-eated to the
required temperature: ideal for slow cooking dishes such as
casseroles and stews.
Convection
For baking on several levels(e.g. baking trays of chocolate chip
cookies).
Convection
ECO mode optimises the cooking process at the maximum energy
eciency level decreasing the energy consumption.
Conventional + Fan
Convenient and time savings, up to 4 dishes can be cooked
simultaneously on dierent shelves without mixing of taste or
smell.
Radiant Grilling
Best results can be obtained from using the top shelf for small
items and lower shelves for larger items.
Double Grill +
Fan
For gratin dishes and finishing roasted vegetables.
Double Grilling
The inside radiant elements and out-. side top element work
simultaneously giving a rapid and even grilling heat, therefore
eectively browning the top surface of the food.
Pizza
Pizza is perfectly cooked with extra heat from both bottom and
sides of the oven, guaranteening pizza bases are crispy.
Lower Heater
Element
This is ideal for slow cooking dishes such as casseroles, stews.
Defrost
The circulation of air at room temperature enables quicker thawing
of frozen food(without the use of any heat).
Dough Proofing
This function provides a warm environment, perfect for proving
yeast dough while improving the texture and quality of pastry
foods, such as cakes and breads.
09

Parameter Adjustment
Use the parameter knob(the right knob) to set the parameters.
Parameter Function
Temperature
Select the temperature of cooking(°C).
: 100-235 : 100-250
: 50-250 : 100-235
: 150-200 : 50-250
: 50-235 : 50-235
: 100-235 : 30-45
Time Set the time of cooking.
Cooling Fan
Your appliance has a cooling fan. The cooling fan switches on during operation. The hot
air escapes above the door.
The cooling fan continues to run for a certain time after operation.
CAUTION!
Do not cover the ventilation slots. Otherwise, the appliance will overheat.
10

PRODUCT INSTALLATION
Fitted Units
• This appliance is only intended to be fully fitted in a kitchen.
• This appliance is not designed to be used as atabletop appliance or inside a cupboard.
• The fitted cabinet must not have a back wall behind the appliance.
• A gap of at least 45 mm must be maintained between the wall and the base or back
panel of the unit above.
• The fitted cabinet must have a ventilation opening of 250cm on the front. To achieve
this, cut back the base panel or fit a ventilation grille.
• Ventilation slots and intakes must not be covered.
• The safe operation of this appliance can only be guaranteed if it has been installed in
accordance with these installation instructions.
• The fitter is liable for any damage resulting from incorrect installation.
• The units into which the appliance is fitted must be heat- resistant up 90°C.
Installation Dimensions
Ventilation grid Cupboard feet
min 6
50
min 45
min 850
460+2
450+2
560+8
560+8
Back
panel
open
Back
panel
open
min.
550
min.
550
600
Ventilation
in the base
min. 250cm2
Ventilation
area in the
base min. 250cm2
Ventilation openings
behind, min. 250 cm2
NOTE
There should be gap above the oven.
11
2

Building In
• Do not hold or carry the appliance by the door handle. The door handle cannot hold
the weight of the appliance and may break o.
1. Carefully push the oven into the box, making sure that it is in the centre.
2. Open the door and fasten the oven with the screws that were supplied.
* 20 mm for metal fascias
min.10
min.550
56
450 454
4
19 (20)
595
454
• Fully insert the appliance and centre it.
• Do not kink the connecting cable.
• Screw the appliance into place.
• The gap between the worktop and the appliance must not be closed by addtional
battens.
Important Information
1. The appliance is designed to be permanently installed with a three-pin power cord
and may only be connected by a licensed expert in accordance with the connection
diagram.
2. Only a qualified electrician who takes the relevant regulations into account may
replace the power cord.
3. Do not use multiple plugs, power strips or extensions. Overloading causes a risk of
fire.
4. If the connection is no longer accessible following installation, an all-pin isolating
switch with a contact gap of at least 3 mm must be provided.
8
12

Connect The Wires Of The Mains Power Cord In Accordance With
The Following Colour Coding:
Green and yellow Earth wire < (E) Neutral
Blue wire (N)
Brown Live (L)
Great Britain And Australia:
Do not connect the appliance using a 13 A plug or protect it with a 13 A fuse. The
appliance must be protected using a fuse that is rated 16 A or higher. The appliance must
be disconnected from the power supply during all installation work.When the appliance is
installed, protection must be provided against accidental contact in the future.
Accessories
Do not use the accessories to work when the oven is empty.
Baking tray
• For making cake roll, roasting whole chickens.
• In order to ensure the best cooking eect, the baking tray should
be placed in the bottom of the side hanger, as shown in the figures
below, the baking tray should be pushed along the lowest guide
rails of the side hanger in place.
13

Grill rack
• For grilling, e.g. steaks, sausages and for toasting bread.
• Type and quantity of accessories is subject to actual demand.
• In order to ensure the best cooking eect, the baking rack should
be placed in the second of the side hanger, as shown in the figures
below, the baking tray should be pushed along the second guide
rails of the side hanger in place.
Appliance Door
With good care and cleaning, your appliance will retain its appearance and remain
fully functional for a long time to come.
This will tell you how to remove the appliance door and clean it.
For cleaning purposes and to remove the door panels, you can detach the appliance
door.
The appliance door hinges each have a locking lever.
When the locking levers are closed, the appliance door is secured in place. It cannot be
detached.
When the locking levers are open in order to detach the appliance door, the hinges are
locked. They cannot snap shut.
Warning – Risk of injury!
1. If the hinges are not locked, they can snap shut with great force. Ensure that the
locking levers are always fully closed or, when detaching the appliance door, fully
open.
2. The hinges on the appliance door move when opening and closing the door, and you
may be trapped. Keep your hands away from the hinges.
14

Removing the appliance door
1. Open the appliance door fully.
2. Fold open the two locking levers on the left and right
3. Close the appliance door as far as the limit stop.
4. With both hands, grip the door on the left- and right-hand side, and pull it out
upwards.
Fitting the appliance door
Reattach the appliance door in the opposite sequence to removal.
1. When attaching the appliance door, ensure that both hinges are placed right onto the
installing holes of the front panel of the cavity. Ensure that the hinges are inserted into
the correct position. You must be able to insert them easily and without resistance. If
you can feel any resistance, check that the hinges are inserted into the holes right.
2. Open the appliance door fully. While opening the appliance door , you can make
another check if the hinges areonto the right position . If you make the fitting wrong ,
you will not be able to make the appliance door fully opened. Fold both locking levers
closed again.
3. Close the cooking compartment door. By the same time , we warmly recommend you
to check one more time , if the door is onto the right position and if the ventilation
slots are not half-sealed.
15

Removing the door cover
The plastic inlay in the door cover may become discolored. To carry out thorough
cleaning, you can remove the cover.
Remove the appliance door like instructed above.
1. Press on the right and left side of the cover.
2. Remove the cover.
3. After removing the door cover , that rest parts of the appliance door can be easily
taken o so that you can go on with the cleaning. When the cleaning of the appliance
door has finished, put the cover back in place and press on it until it clicks audibly into
place.
4. Fitting the appliance door and close it.
16

A
A
4
Take out the glass, clean the inside and outside door glass as well as internal dirt.
Tips:
1. After cleaning, please restore the inner glass in the direction of taking out and make
sure that the inner glass A is facing down.
2. When assembling, make sure that the smooth surface of the inside glass is oriented
towards the furnace cavity.
17

OPERATION INSTRUCTIONS
Before Using The Appliance For The First Time
Here you will find everything you need to do before using your oven to prepare food for
the first time. First read the section on Safety information .
Setting The Clock
1. In waiting state, touch the key to enter clock setting mode. “00:00” will display
and the hour figures will flash.
2. Turn the parameter knob to set the hour figures. The input time should be within 0--23.
3. Touch to confirm, the minute figures will flash.
4. Turn the parameter knob to set the minute figures. The input time should be within
0-- 59.
5. Touch to finish clock setting, “:” will flash.
The time is set. And the appliance will enter waiting state.
Cleaning The Accessories
Before you use the accessories for the first time, clean them thoroughly with hot soapy
water and a soft dish cloth.
Heating Up The Oven
To remove the new cooker smell, heat up the oven when it is empty and closed. One hour
with Convection at 250 °C is ideal. Ensure that no packaging remnants have been left
in the cooking compartment.
1. In waiting state, turn the function knob repeatedly till light. And the default
temperature of convection will display.
2. Turn the parameter knob to set the temperature to 250° C.
3. Touch to enter cooking time setting mode. “00:00” will flash.
4. Turn the parameter knob to set the cooking time to 60 minutes.
5. Touch the key. The oven begins to heat up.
There are various ways in which you can set your oven. Here we will explain how you can
select the desired type of heating and temperature or grill setting. You can also select
the oven cooking time for your dish.
setting options.
18

Setting The Type Of Heating And Temperature
Example: Radiant Grilling at 200 °C for 25 minutes.
1. In waiting state, turn the function knob repeatedly till light.
And the default temperature of radiant grilling will display.
2. Turn the parameter knob to set the temperature to 200° C.
3. Touch to enter cooking time setting mode. “00:00” will flash.
4. Turn the parameter knob to set the cooking time to 25 minutes.
5. Touch the key. The oven begins to heat up.
NOTE
The temperature of Defrost function cannot be adjusted.
Pausing operation
Touch the key to pause operation. Then touch the key to continue operation.
Changing the cooking time
This can be done at any time. Touch the key. Turn the parameter knob to change the
cooking time.
Changing the temperature
This can be done at any time.
Touch the parameter knob to change the cooking time.
Cancelling operation
This can be done at any time. Touch the key to enter the waiting state.
Preheating
Preheating is available for the following types of heating:
•Conventional
•Convection
•Conventional + Fan
•Radiant Grilling
•Double Grill+Fan
•Double Grilling
•Pizza
•Lower Heater Element
To ensure an oven cooking result, only put your food in the cooking compartment when
the preheating phase is complete.
1. Setting the type of heating and temperature.
2. Touch the key. The symbol lights up in the display.
The oven begins to heat up.
3. The buzzer will sound three times once the preheating has completed.
The cooking time in the display blinks. Put your dish in the oven.
19
Other manuals for 315545
1
Table of contents
Other Midea Oven manuals

Midea
Midea MOP9BL User manual
Midea
Midea MO9BL User manual

Midea
Midea MC32AHB User manual

Midea
Midea MBO-M1865 User manual

Midea
Midea PS2022Z-S1 User manual

Midea
Midea MOP9BL User manual

Midea
Midea MO 659 TD BK User manual

Midea
Midea MO 729 TDE BK User manual

Midea
Midea 7NM30M1 User manual
Midea
Midea 65CME19 series User manual

Midea
Midea MG25CHB User manual

Midea
Midea AAE40006 User manual

Midea
Midea VS96048D User manual
Midea
Midea MT2520JB User manual

Midea
Midea MG25BNM User manual

Midea
Midea MEO-38GY5 User manual
Midea
Midea TR936T4CR User manual

Midea
Midea 310715 User manual

Midea
Midea 310503 Wiring diagram

Midea
Midea MEO-32Z25 User manual