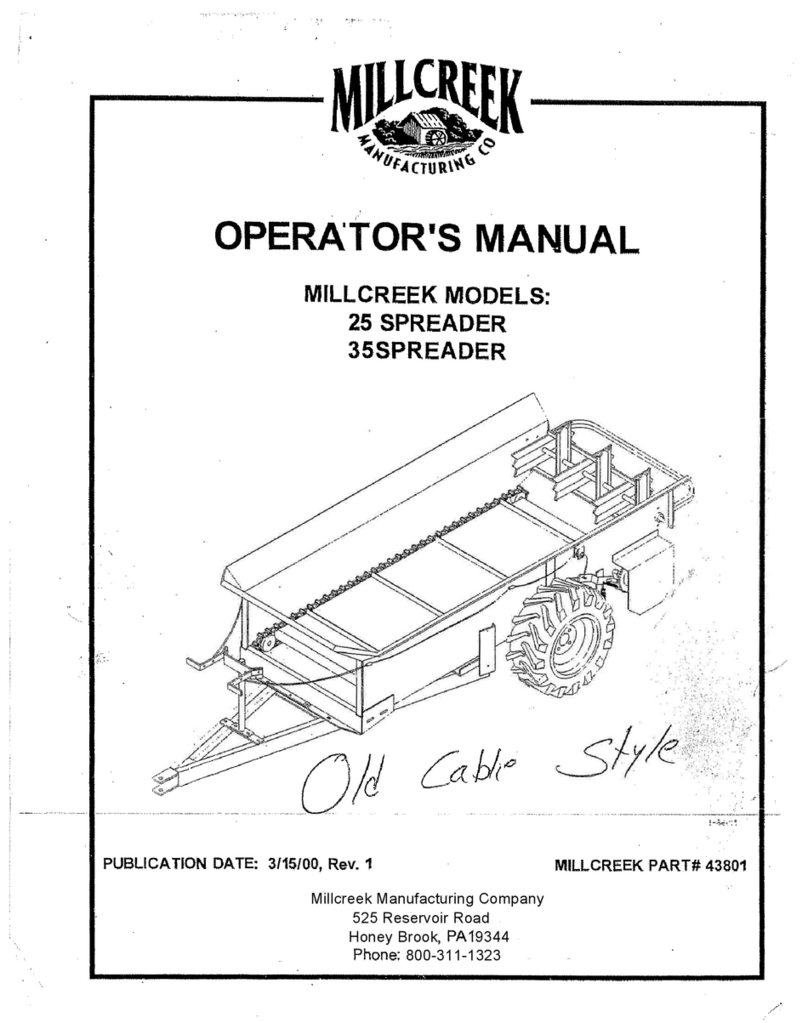
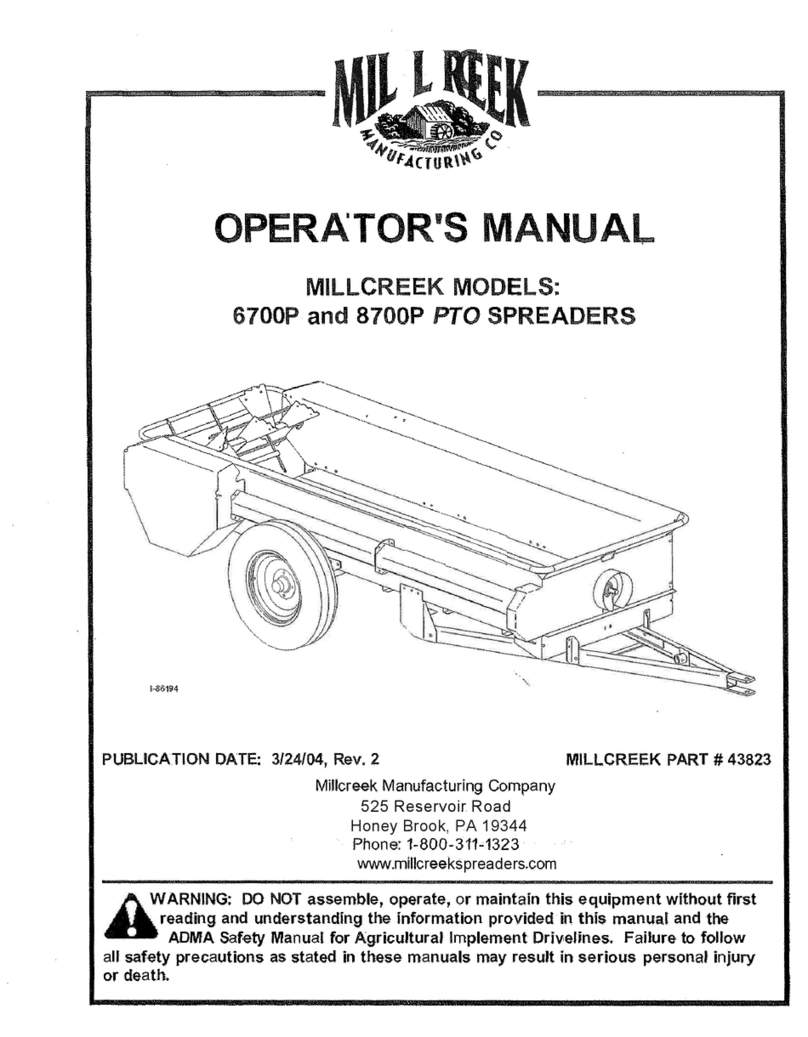
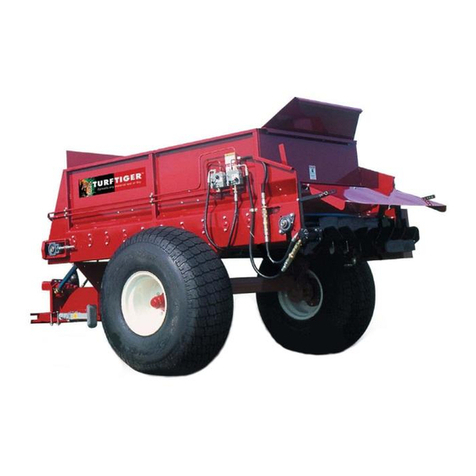
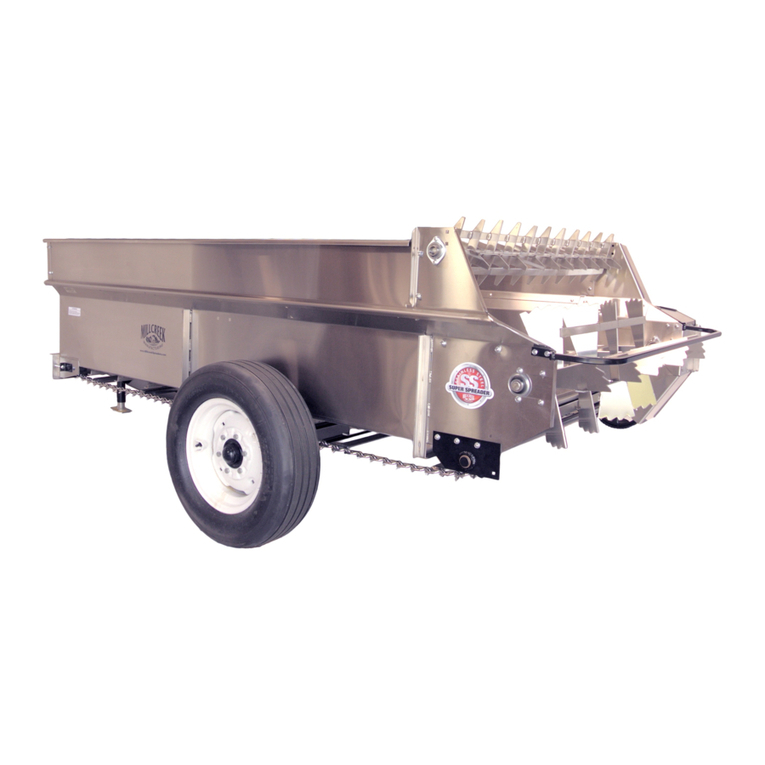
Millcreek 25G Series User manual

OPERATOR'S MANUAL
MILLCREEK MODELS:
25G and 35G
GROUND DRIVE
SPREADER
1-86015
PUBCATION DATE: 12/22/03, Rev. 6 MILLCREE PART# 43801
WARNING: DO NOT assemble, operate, or maintain this equipment without rst
reading and understanding the inrmation provided in this manual. Faure to
ow a safety precautions as stated in the manual may result in serious
personal inju or death.
Mcreek Manufacturing
C
ompany
525 Reservoir Road
Honey Brook
, PA
19344
Phone:
800-311-1323


WARNTY INFORMATION
Mcreek Manufacturing Company (hereinaer caed t e Company) warrants to e original Purchaser, the
Equipment, manufactured by the Company, to be free om defects in material and workmanship under normal
use and seice. T e Company obligaon under t is Warran s a be mited to replacement or repair of any
pas t ereof, free of c arge, to the original Purchaser, at t eir place of business, provided, owever, that t e
pa(s) to be replaced or repaired, s a, wit in one year aer deve to t e original Purc aser, be demonstrated
to be defective; w ic determinaon s a be made by the Company. T e said components or pas must be
retued t ug t e Seng Dealer or Distributor direcy to t e Company with a transpoaon c arges prepaid.
Noce of defe sha be fuis ed in wring to t e Seer and to the agent t roug w om t e mac ine was
purc ased, disosing in fu a known defects and faure in operation and use. Reasonable me s a be given to
t e Seer to remedy any suc defects and faures.
T is Warran does not cover, under any circumstances, any pas, components, or materials w ic , in the opinion
of t e Seer and t e Company, ave been subjected to neglect, misuse, alteration, accident, or repaired wit pas
ot er than t ose manufactured by and obtained from Mcreek Manufacturing Company.
This Warran does not cover components w ic are already covered by a separate warran provided by the
supplier of said pas or component
This Warranty is made in eu of a other warranties, expressed or i ped, including any warran of
erchantab and tness for use and purpose and of a other obgaons or abes on the Co pany
pa and any i ped warran. The Co pany neither assu es nor authorizes any other peon to assu e
for it, any other ab in connection with the sale of this equipment. This Warran sha not apply to
this equipment or to any pa thereof which has been subjected to accident, neggence, alteration, abuse,
or isuse.
The Company makes no warran whatsoever in respect to accessories or pas not supplied by t e Company.
The term "original Purc aser," as used in t is Warran, sha be deemed to mean that person for w om t e
equipment is originay supped. T is Waan s a apply only wit in the boundaries of t e connental United
States.
Under this Warranty, the Company cannot guarantee t at conditions exisng beyond its control w not aect the
Company's ab to obtain materials or manufacture necessa replacement pas.
The Company resees the rig t to make design changes, or changes in specicaons at any time, without any
conngent obgaon on t e pa of the Company to purc asers of machines and pas previously sold.
The Company warrants the construcon of the equipment sold erein and w replace at t e Company's expense
for a period of one year from t e date ereof, any pas w ic pve defecve as determined under t e terms of
this mited Warranty. Hig densi, polyet elene floors are warranted for 20 years fm cracking, ing, sping,
or peeng.
TDEMARKS
The Mcreek logo is a trademark of t e Mcreek Manufacturing Company. A ot er brand or pduct names
mentioned are t e registered trademarks or tdemarks of their respective owners.
COPYRIGHT
Copyright© 2
003 Mc
r
e
ek Manufacturing Company. A rig ts reseed.
N
o pa of this pubcaon may be
r
ep
ro
d
u
c
ed
,
o
r di
stri
b
uted without t e prior wri
en permission of Mcreek Manufacturing Company
,
34 Z
immerman Road
, L
eola, P
A 1754
0. Subject to c an
g
e without noce.


(

TABLE OF CONTENTS
SECTION 1: INTRODUCTION 1-1
Guide to s Mual 1-1
For Yo Se 1-1
Inspe tion & W Registration.......................0.................................................. I-3
SECTION 2: OPE ION 2-1
Understding Spreader Opetion 2-1
The Spreader Opeting Components 2-1
Guidelines r Loading the Spreader 2-1
Opeting the Spreader 2-1
SECTION 3: MAINTENANCE & ADJUSTMENT 3-1
Guidelines r Regul Maintence 3-1
Pcedes r Spreader Adjustment 3-2
Adjusting the Re Pawl 3-2
Re-instang the Beater Drive Chain 3-3
APPENDIX A: PARTS REFERENCE A-1
Genel Spreader Specations A-I
Ordering Inrmation A-2
Spreader Box Assembly d S
afe
Sh
i
e
l
ds A
-
2
l
e
d
eel
A
ssembl
y
A-
4
H
itch Assemb
ly
d S
p
reader Con
ol
s
A
-6
A
pn C
hain d Sp
ck
et
A
ssem
b
l
y
A
8
Apron
C
hain
Dv
e
ou
p
A
-10
Beaters
d
D
ri
v
e
A
sse
mb
l
y
A-12
Spr
e
ader
Op
ti
o
ns A-1
4
P
s
C
ross
R
e
rence
A
-1
6


Operator's Manual: Mcreek 25G
&
35G Spreade s
SECTION 1: INTRODUCTION
Guide to this Manual
This mu conns l e ioation necessa to sely ope ate d mn e Millcreek 25G or
35G Spreade Const e Table of Contents a deled st of topics cove ed. You' nd s
ml's step-by-step pcedes ey to ow d de std. Should questions se, please conct
yo Mc eek dealer be e sting y of the pcedes in is mua
NOTE: This manual covers equipment serial numbers stain om: Model 25G -
SN
8505 and
Model 35G- SN# 2155. Procedures provided in this manual apply
both
spreader models (Model
25G and Model 35G) unless specicay noted otheise.
Regding e ioation p esented in s mual:
• A sa, opeting, d seing ioation eects cent pduction models at the time
of pubcation of this mu.
• Re ences made to le, right, ont, d e e those di ections viewed when cing e
it om the e.
Please read a sections in the manual care ully--including the important safe information found
in th section--bere beginning any procedures; doing so ensures your safe and the opmal
peormance of your Micreek Spreader.
For Your Safety ...
Fo yo sa, Mc eek docention contns e owing es of se statements (sted he e
in order of inc eing intensi):
• NOTE:
A ication of p evious ination o additional peinent ination.
• ATTENTION:
A saty stement indicating that potenti equipment dage may occ if
insctions e not owed.
A
CAUTION:
A sa statement that eminds of sa pctes o di ects aention to sa
practes whh could esu in pe sonal inj if ppe p ecautions e not ten.
A
WAING:
A
song
se statement indicating at a hd exists wch c rest in
inj or death if ppe p ecautions e not ten.
A
DANGER!
The utmost levels of safe must be obseed;
extreme hd exists which
would esult in high pbab of death o iepable se ious pe sonal inj if pper
precautions e not ten.
The best operator
a careful operator.
By using coon sense, obseing gene sa les, d
aeg to e precautions spec to e sp eader, you, e ope ator, c p
mote sa eq
pment
ope
t
ion.
1-1

Operator's Manual: Mcreek 25G
&
35G Spreaders
For Your Safe ... (continued)
addition to obseing e specic precautions liste ouout e mu,
the owing general
precautns apply and
must be heeded
to ensure ro er, sa operaon.
(
6
WING:
Keep hds et om er e spreader at l mes. Ense that you e
sely disced om y oer persons bere operatg e spreader.
h
WAING:
DO NOT aempt to operate e spreader e steep incnes, ditches,
lge rocks, sps, or holes wch may endger e operator by upseing e actor or cause
dage to e spreader.
A
CAUTION:
To prevent inj d to promote se spreader operation, keep a selds place
dng operation. Ense at l motg h we is ppey titened.
A
WING:
Never e, adjust, or repr e spreader whe e tractor is g.
A
WNG:
Never get o e actor whe it is in motion or e spreader is in operation.
A
WAING:
Never we loose oing when opeting e spreader as it may become caut
in e mong ps of the maine.
A
WAING:
Never low clen or yone else to de on the spreader.
ATTENTION:
To ense pper d se operaon of the sprea er, periodicay inspect a ps r
excessive we. Replace wo components th cto-auozed ps.
ATTENTION:
DO NOT back up when e spreader is in oading mode; doing so c cause the
beater ive chain to jp o the spcket (d may age yo spreader).
The ong se decs have been placed on yo spreader to remin you of ctic se
precauons which must be heeded r e personal sa of you, e operator, d y persons
in e vini of e equipment wle it is in opetion. Be se to keep e se decs cle d
readable. e decs ever become daged or egible, contact yo Mcreek dealer r
replacements.
(
A
WARNING
(
STOP E ENGINE. REMO E K
D WT FOR MOE TO
STOP BORE NG OPTOR'S 5. KEEP RIDE S OFF THE CHINE.
POSITION FOR RON.
6. USE SLOW MOVING ICLE
3. KEEP SHIES IN PC KE IDTIFICATION BL D
D E CLOING, D IR FHING WNG LIGS
AWAY FROM OPTING PT OPETING ON HIGAYS CEPT
W
PRHIBI BY
FRE TO HD ESE WARNINGS C RESULT IN INJURY OR D
.
TO HE PRT INJURY, ENTGLE OR AMP TION R E
OPETOS U AND L S INSUS BEFORE APNG TO
OPE IS CHIN IF YOU DO NOT HA A U CONTACT YOUR
MILLCRK D
1. ME CERTN YONE IS C 4. NR
ST,
LUBRI T CL
OF MHI BORE TG OR UNUG MAC NE E
EINE OR OPTION. ENGINE RUNNING. E OER'S
MU FOR
D LUBCAT ON PROCEDURES.
PEOPLE WHO FALL OR GET PULLED
INTO E BTERS WILL BE
SERIOUSLY INJURE OR KILLE
FLOOR CHAINS AND BTERS CAN
ACCIDENTL Y START MOVING
NER ALLOW RERS ON TH S MACHINE
42
1-2

Operator's Manual: Mcreek 25G
&
35G Sprea ers
Inspection and Warran Registration
Most spreader models e spped om yo Mcreek Dealer completely asse bled d ready r
operation. spect yo new spreader thougy upon receipt to ense at it h been shipped to you
a sascto mer. Iediately noti e eight compy d yo Mcreek deer in case of
shipping dage, shoage(s), or eors.
NOTE:
e spreader has not been pre-sembled, plee rer to the
Supplemental Dealer's
Iucons for Un acking and Assembly.
Please conct yo local Mcreek Dealer r assisce
needed.
Foong inspection of yo new spreader, locate e Mcreek Wr Cd in e terate packet
shipped yo spreader. For pper w regisaon, Mcreek reqres at you out the
w regisation cd d re it
within 30 ds
to:
MLCEK WTY GISTON
Mcreek Mucng Compy
34 Zie Road
Leola, PA 17540
For your sa, be sure to locate a safe decals and eview thei content be e proceeding with
operating the spreader.
1-3

Operatos Manual: Millcreek 25G
&
35G Sp eade s
1-4
(
(
t

Operator's Manual: Mcreek 25G
&
35G Spreade
SECTION 2: OPETION
Understanding Spreader Operation
Proper d se operation of e Mcreek 25G/35G preader requires: (1) being f e
spreader's opeting components d (2) heeding a sety precations stated in is m.
The Spreader Operating Componen
By denition, e le d rit sides of e spreader e determined whe siing on e actor seat.
• The
lehand spreader lever
engages the oor apron chain which moves the manure to the
rear of the spreader and into the beater.
• The
righthand spreader lever
en ages the chain that drives the beater and spreads the
manure.
Guidenes r Loading the Spreader r Ope ation
• Mcreek recoends at you
load the spreader from the front toward the back
to
ctate eier loading.
• NEVER store me in the spreader beeen loading times dng critical cold weaer
mons when a ozen load could resu in severe equipment dage (e. tom oor apn
chain
• DO NOT store wet me in the spreader ( or keep the spreader outdoors th me in it)-
doing so accelerate sting of e stee
Operating the Spreader
Befo e proceeding with ope ation of the sp eader, eview a safety statements
as p ovided in Section 1 of this manual.
ATT NTION
I
CAUTION:
order to obn pper, agessive spreading acon,
the spreader
grou d speed must reach a minimum of 3.0 mes per hour-the equivalent of a comfortable walking
pace.
ote at the wheels ve the beater action.) However, spreading at speeds over 5.0 miles per
ho (i.e. sim to a ve bsk wng pace) c cause excessive we or dage to e eqpment.
Ense at the spreader (d actor) e not in motion (in a stopped posion).
2.
you have a spreader e endgate option, li e end gate.
3. Engage the t lever r sting e beate
4. Begin moving d, d engage the le lever wch ss the action of the apron oor chain
(moving the mateal towds e re of the spreader).
5. Ense at you e reaching e optim operating speed r spreading (at least 3.0 mph, but not
more 5.0 mph). Reme
mber
at
s optim speed is sim to a com
able walking pace.
2-1

Operator's Manual: Mcreek 25G & 35G Spreaders
Operating the Spreader (continued)
6.
7.
8.
en e spreader is most emp d ere is ve le me pusng agt e beater,
disengage e t spreader lever (wch conols e beater on).
Aow e apn chn to e remaig me out e back of the spreader.
en completely oaded, disengage e le spreader lever to stop e acon of e apn
ch
2-2
(
(
•

Operator's Manual: Millcreek 25G
&
35 Spreaders
SECTION 3: MAINTENANCE & ADJUSTMENT
Guidenes for Regular Maintenance
WG:
A selds must be replaced aer maintence or j sent pcedes e
peoed. Flure to do so cod resu in seo s person j or dea.
Peoing regul maintence on you Mcreek Spreader w help ense optimal peoce.
Please ow ese denes r mnning yo spreader:
•
•
•
•
•
•
Cle e spreader aer each use.
Check e spreader each time it is used r loose, bent, bken or missing ps.
ATTENTION:
Ding operation, sten r abnoal sods which might indicate loose
ps or other equipment dage. Coect y ps pblems ediately; expded ps
views of a spreader assembes e pvided in e Appendixes at e back of is mu.
NEVER store me in the spreader beeen loading times ding critic cold weaer
mons when a ozen load could result in severe equipment da
g
e
(
e.
t
o
m
oo
r
ap
n
chn). Stong
wet m
e in the sprea
d
er
(
or
k
eeping t
h
e spreader o
u
tdoo
rs
wi
m
e
n
it
) w
accelerate
s
n
g
o
f
t
h
e stee
U
se a t
ction i
mp
lement tire o
n
e
i
v
e
w
hee
Ap
p
ly chain lube once a month to the
oor apn
c
h
n .
Pe
od
a
y c
h
ec
k
the
oor apn chain r tensio
tigh
e
s
s
(
re
r to
F
ige
4A).
Procedure for checnadjusting the oor apron chain:
a
) P
u up on e center slat o
f
e
oor apn chain
.
b
)
you c it
h
i
er t
h
5
inches, t
h
e chain is too loose.
c) If
you c
it no higher t
h 3
inches, t
h
e chain is too tig
h
d) If
t
h
e ch
n needs ad
j
ustmen
t
, use
a 1/2" ench
to
l
oosen
e two side n
u
ts
o
n each
side o
f
e spreader bo
x a
s shown i
n F
i
g
e
4
A.
T
e
front
n
u
t c
l
ockwise
o
r
coter
ockwi
s
e til co
ect tensio
ti
g
htness is ac
e
v
ed
. R
epeat
r the other
side
.
Make sure that the chains on each side of the apron re equay tau
e) Re-tighten
e side nuts
.
II
ii
i
}
•
-0628
Figure 4A- Adjusting the Floor Apron Chain r Pro er Tensn
3-1

Operator's Manual: Mcreek 25G & 35G Spreaders
Procedures for Spreader Adjustment
Pblems spreader opeon may incate t cen adjuents e reqred to restore pper
cong. e og pcedes adess coon problems wch may be encotered in
spreader oper on.
(
Adjusting the Rear Pawl
e oor apron chain is not moving, e most coon cause is pper bre (re) pawl djusent.
y jacng up e led ve wheel d g e wheel by hd, you be able to obsee e
bre pawl engagement in the sprocket tee.)
Rer to Fie 4B.
2. Remove e seld coveng the bre pawl ssembly by removing e o (2) bolts, whers,
d nuts holdg it in pl ce.
3. Loosen e nut bend e bre p wl using a 9/16" ench.
4. Wi e er positioned at e est point on e st c, t p e bre pawl up or do as
necess to ain a
1/16
to 8" clece beeen e bre pawl d e spcket too (see
close-up deta in Fie 4B).
5. Aer the desed djtment is aceved, re-titen e re nu
6. Replace e se shield.
/
/<)
PA •
/
!
i
!
i
i
i
Pus#rR PAL
!
, CLEARANCE
j
. 1/16' TO 1/8° :
' --------
cRa,
%o t
0
0
I
CAM
I-860l
Figure 4B - Adjusting the Rear Brake Pawl
(
3-2

Operator's Manual: Mcreek 25G & 35G Spreaders
Procedures for Spreader Adjustment (continued)
Re-insng the Beater Drive Chain
Bacd motion (bacng up) wi e spreader engaged most bably cause the beater ve
chn to come o e re spcke e ong cede explns how to re-insl e chn should
is ever become necess.
Discoect e s reader om e actor.
2. ck up d sece e ght side of e spreader.
3. Remove the ght sa seld by removing e ee (3) bolts, whers, d nuts.
4. Engage the ver r e beater ve chain into oading mode.
5. Rer to Fie 4C. Re-ins e chain on the re spcke
6. Re-insl e chain over e lge ve s cke
7. Re-insta e chain od the boom idler spcke
8. Re-insl e ch over e top idler spcket by usng the to der spcket to e re of e
spreader. Ense at e chain is posioned propey sho in Fie 4C.
9. Re-insl the se seld.
LARGE DRIVE SPROCKET
PROPER
ENGAGED
POSITION
REAR SPROCKET
0
I
BEATER DRIVE CHAIN
\
BOTTOM IDLER
SPROCKET
0
LARGE DRIVE SPROCkg
TOP L � �
l
bye
REAR SPROCKET
BEATER DRIVE CHAIN BOTTOM I LER
SPROCKET
PROPER
DISENGAGED
POSITION
1-86012
Figure 4C- Beater Drive Chain staed in the Proper (En a ed) Posion
3-3

Operator's Manual: creek 25G & 35G Spr ers
1
3-4
(
(
(

Operator's Manna!: Millcreek 25G
&
35G Sprea ers
APPENDIX A: PARTS REFERENCE
The owing ation is pvided r yo rerence in derstding how the spreader is
assembled d how spe ps c be identied d ordered ppey.
General Spreader Specications
Model 25G Mod l 35G
Capacity, heaped
28.0 cubic
.
37.2 cubic
.
Body Length
72inches 96inches
Body Width
28inches 28 inches
Body Flare Width
34inches 34inches
B dy Height
15 nes 15 ines
Overa Length
9
.,
3 inches 11
.,
3 inches
Overa Width
46.5 inches 46.5 inches
Overa Height
26.5 nches 26.5 inches
Loading Height
26.5 inches 26.5 inches
Construcon
A steel, optional poly oor A steel, oponal poly oor
Apron Chain
#55 steel detachable #55 steel detachable
Tires
6.00-12 traction re 6.00-12 traction re
Bearings
O impregnated, bronze O impregnated, bnze
Beater Drive
#2040 er chain #2040 er chain
Apron Drive
Ratchet Ratchet
Body Finish
Industrial, rust-proof Industr al, rust-pof
Weight (with tires)
325 lbs. 395 lbs.
Tract r Size
(weight required)
10 HP & greater 18 HP & gater
*NOTE: The tires are mounted in reverse direcon of "normal" instaaon.
A-1

Operator's Manual: Mcreek 25G
&
35G Spreaders
Ordering Information
en ordeg rlacement ps, please provide the owing in aon to yo local creek
dealer:
• Model d Seal Nber of e t (located on the ont t comer of the spreader)
• P Nber d Despon as it appes on e owg ags/ps lists
Spreader Box Assemb y & Safety Shields
1-86019
Figure Al - Spreader Box Assembly Parts Deta
-2
(
C
(

Operar's Manual: Mcreek 25G
&
35G Spread rs
Spreader Box Assembly (continued)
1
2
3
4
5
6
7
8
9
10
MC Pa#
260176
2601
260178
260179
260338
34320
215100
215102
215296
215297
328
260129
337
99
260112
260996
Qty. ComponentDescription
1 Mod 25 Spreader Box, Steel Floor
1 Model 25 Spreader Box, Poly Floor
1 Model 35 Spader Box, Steel Floor
1 Model 35 Spreader Box, Poly Floor
1
Rear Guard
15 5/16 x 1-1/4 Carriage Bolt
4 Model 25 Poly Board, Wide
4 Model 35 Poly Board, 6" Wide
1 Mod 25 Poly Board,
Wide
1 Mod 35 Poly Board,
Wide
4 5/16x 3/4 Flange Bolt
1
Ratet Shield
5 5/16 x
½
Carriage Bolt
24 5/16Flange Nut
2 Poly Floor Hold Down
1 Beater Drive Shield
A-3

Operator's Manual: Mcreek 25G
&
35G Spreaders
le and Wheel Assembly
•
-86010
(
(
Figure A2 - Axle and Wheel Assembly Parts De a
NOTE: The spreader res are mounted in reverse direc ion of the "normal" instaation.
A-4
This manual suits for next models
5
Other Millcreek Spreader manuals

Millcreek
Millcreek TURF TIGER 3100 User manual

Millcreek
Millcreek 4300 TURF TIGER User manual

Millcreek
Millcreek 100P User manual

Millcreek
Millcreek 27ss User manual

Millcreek
Millcreek 25 User manual

Millcreek
Millcreek 6700P User manual

Millcreek
Millcreek 57G User manual

Millcreek
Millcreek 27+ User manual

Millcreek
Millcreek 6700P User manual

Millcreek
Millcreek 97 User manual