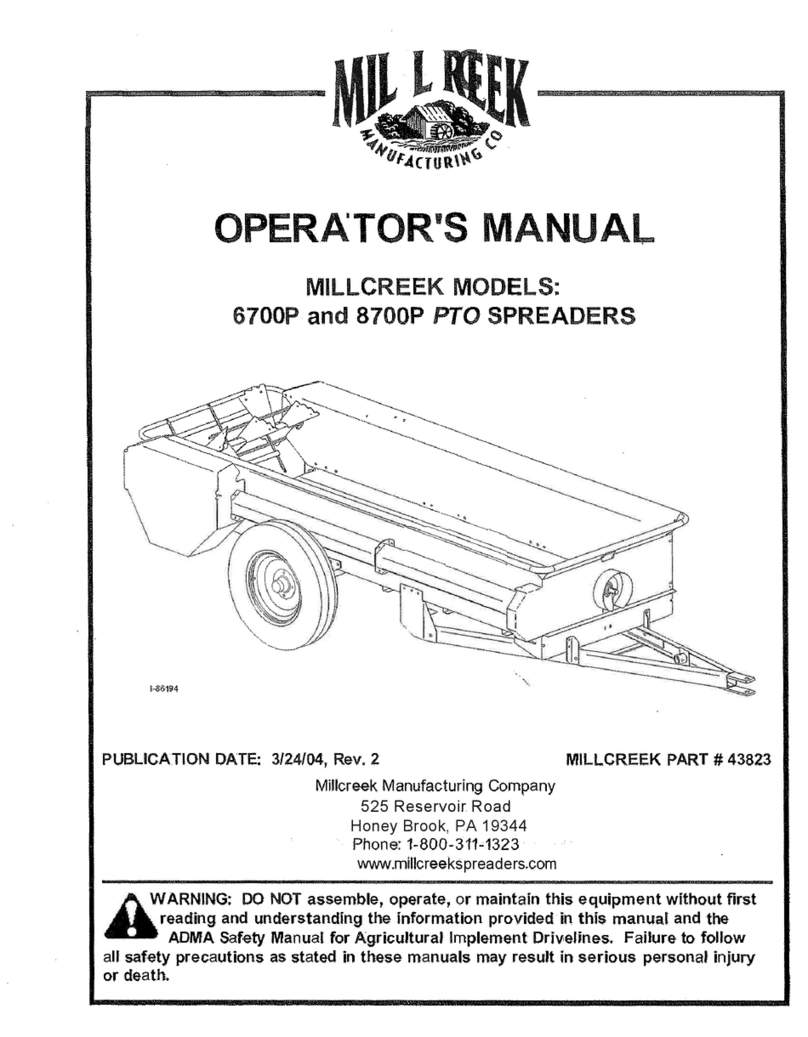
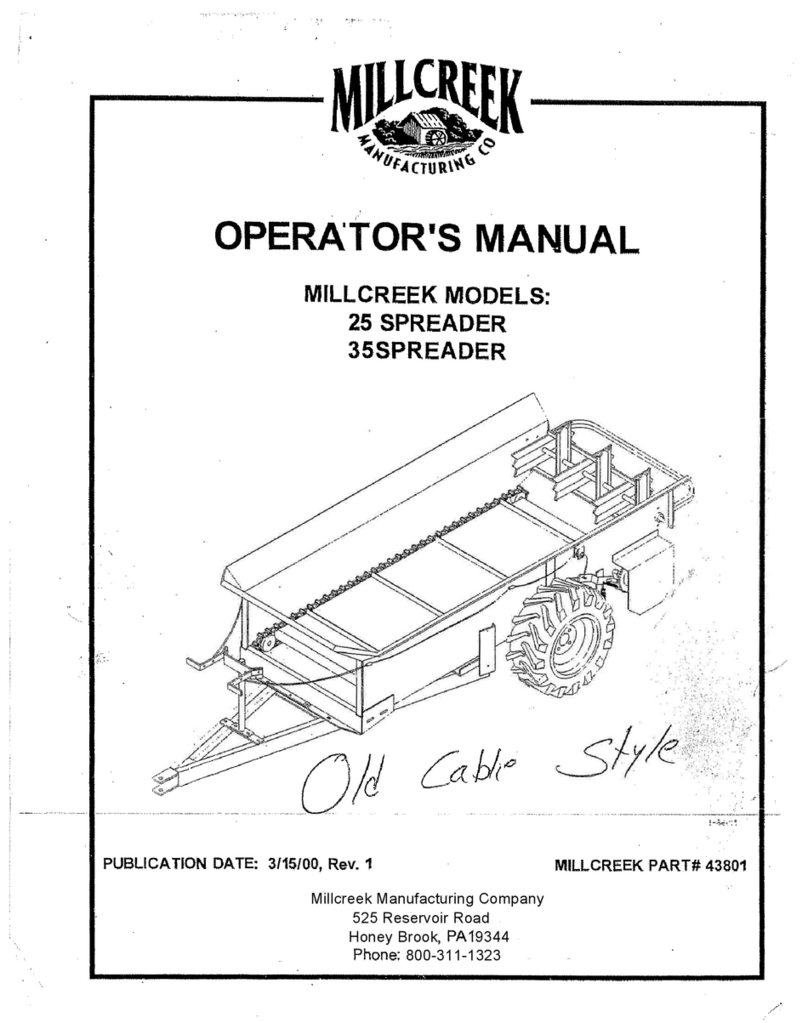
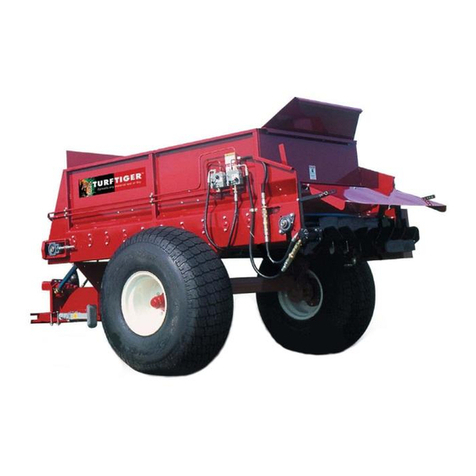
Millcreek 97 User manual

I- 86234
OPERATOR'SMANUAL
MILLCREEKMODELS:
97AND127 SPREADERS
PUBLICATIONDATE:6/1/13,Rev. 2 MILLCREEKPART#43833
WARNING: DONOTassemble, operate, or maintainthisequipment without first readingand
understanding the information provided in this manual and the ADMA Safety Manual for
Agricultural Implement Drivelines. Failuretofollowall safetyprecautionsasstatedinthese
manualsmayresultinseriouspersonalinjuryordeath.
Millcreek Manufacturing Company
525 Reservoir Rd
Honey Brook PA 19344
Phone: 1-800-311-1323
www.millcreekspreaders.com

WARRANTYINFORMATION
TRADEMARKS
The Millcreek logo is a trademark of the Millcreek Manufacturing Company. All other brand or product names
mentioned are the registered trademarks or trademarks of their respective owners.
COPYRIGHT
Copyright © 2005 Millcreek Manufacturing Company. All rights reserved. No part of this publication may be
reproduced, or distributed without the prior written permission of Millcreek Manufacturing Company, 525
Reservoir Road, Honey Brook PA 19344. Subject to change without notice.
Millcreek Manufacturing Company (hereinafter called the Company) warrants to the original Purchaser, the
Equipment, manufactured by the Company, to be free from defects in material and workmanship under normal
use and service. The Company obligation under this Warranty shall be limited to replacement or repair of any
parts thereof, free of charge, to the original Purchaser, at their place of business, provided, however, that the
part(s) to be replaced or repaired, shall, within one year after delivery to the original Purchaser, be demonstrated
to be defective; which determination shall be made by the Company. The said components or parts must
bereturned through the Selling Dealer or Distributor directly to the Company with all transportation charges
prepaid. Notice of defect shall be furnished in writing to the Seller and to the agent through whom the machinery
waspurchased, disclosing in full all known defects and failure in operation and use. Reasonable time shall be
given to the Seller to remedy any such defects and failures.
This Warranty does not cover, under any circumstances, any parts, components, or materials which, in the opinion
of the Seller and the Company, have been subjected to neglect, misuse, alteration, accident, or repaired with parts
other than those manufactured by and obtained from Millcreek Manufacturing Company.
This Warranty does not cover components which are already covered by a separate warranty provided by the
supplier of said parts or components.
ThisWarrantyismadeinlieuofallotherwarranties, expressedorimplied, includinganywarrantyofmerchantability
and fitness for use and purpose and of all other obligations or liabilities on the Company part and any implied
warranty. The Company neither assumes nor authorizes any other person to assume for it, any other liability in
connection withthe saleof thisequipment. This Warrantyshall not applytothisequipment or toanypart thereof
whichhasbeensubjectedtoaccident,negligence,alteration, abuse, ormisuse.
The Company makes no warranty whatsoever in respect to accessories or parts not supplied by the Company.
The term "original Purchaser," as used in this Warranty, shall be deemed to mean that person for whom the
equipment is originally supplied. This Warranty shall apply only within the boundaries of the continental United
States.
Under this Warranty, the Company cannot guarantee that conditions existing beyond its control will not affect the
Company's ability to obtain materials or manufacture necessary replacement parts.
The Company reserves the right to make design changes, or changes in specifications at any time, without any
contingent obligation on the part of the Company to purchasers of machines and parts previously sold.
The Company warrants the construction of the equipment sold herein and will replace at the Company's
expense for a period of twoyearsfrom the date hereof, any parts which prove defective as determined under
the terms of this Limited Warranty. Ten(10)year, pro-rated warranty on spray-on polyurethane lining (applied to
internal sides of unit). High density, polyethelene floors are warranted for the life of the machine from
cracking, rotting, splitting, or peeling.

TABLEOFCONTENTS
SECTION1: INTRODUCTION.................................................................................... 1-1
Guide to this Manual.........................................................................................................1-1
For Your Safety.................................................................................................................1-1
Safety Labels.....................................................................................................................1-2
Inspection and Warranty Registration...............................................................................1-5
SECTION2: ATTACHINGTHESPREADERTOTHETRACTOR............................. 2-1
Connecting the Spreader to the Tractor.............................................................................2-1
Attaching the Spreader PTO to the Tractor PTO..............................................................2-2
SECTION3: OPERATION.......................................................................................... 3-1
Understanding Spreader Operation....................................................................................3-1
The Spreader Operating Components................................................................................3-1
Guidelines for Loading the Spreader................................................................................ 3-1
Operating the Spreader..................................................................................................... 3-1
SECTION4: MAINTENANCE&ADJUSTMENT....................................................... 4-1
Guidelines for Regular Maintenance................................................................................4-1
Procedures for Spreader Adjustment................................................................................4-3
Adjusting the Holding Pawl............................................................................................. 4-3
Adjusting the Drive Chains..............................................................................................4-4
APPENDIXA:PARTSREFERENCE......................................................................... A-1
General Spreader Specifications.......................................................................................A-1
Ordering Information........................................................................................................A-2
Hitch Assembly................................................................................................................A-2
Wheel and Hub Assembly............................................................................................... A-4
Rear Drive Assembly.......................................................................................................A-6
Front Drive Assembly...................................................................................................... A-8
Apron Chain and Sprocket Assembly.............................................................................. A-10
Safety Shields and Guards............................................................................................... A-12
PTO Shaft Assembly........................................................................................................A-14
APPENDIXB:SPREADEROPTIONSPARTSREFERENCE.................................. B-1
Hydraulic Endgate Assembly.............................................................................................B-2
Assembling the Endgate on the Spreader...........................................................................B-2
Fines Pan Assembly.......................................................................................................... B-4
Assembling the Fines Pan on the Spreader....................................................................... B-4
Safety Chain Assembly..................................................................................................... B-6
Operator's Manual: Millcreek 97 & 127 PTO Spreaders
Side Extensions and Upper Beater...................................................................................A-16

Operator's Manual: Millcreek 97 & 127 PTO Spreaders
1-1
SECTION1: INTRODUCTION
GuidetothisManual
This manual contains all the information necessary to safely operate and maintain the Millcreek 97P PTO
Spreader. Consult the Table of Contents for a detailed list of topics covered. You'll find this manual's step-by-
step procedures easy to follow and understand. Should questions arise, please contact your Millcreek dealer
before starting any of the procedures in this manual.
Regarding the information presented in this manual:
• All safety, operating, and servicing information reflects current production models at the time
of publication of this manual.
• References made to left, right, front, and rear are those directions viewed when facing the
unit from the rear.
Please read all sections in the manual carefully--including the important safety information found in
this section--before beginning any assembly/operation procedures; doing so allows you to use your
Millcreek Spreader safely with optimal performance.
ForYourSafety...
For your safety, Millcreek documentation contains the following types of safety statements (listed here
in order of increasing intensity):
•NOTE: A clarification of previous information or additional pertinent information.
•ATTENTION: A safety statement indicating that potential equipment damage may occur if
instructions are not followed.
CAUTION: A safety statement that reminds of safety practices or directs attention to unsafe
practices which could result in personal injury if proper precautions are not taken.
WARNING: A strong safety statement indicating that a hazard exists which can result in
injury or death if proper precautions are not taken.
DANGER! The utmost levels of safety must be observed; an extreme hazard exists which
would result in high probability of death or irreparable serious personal injury if proper
precautions are not taken.
The best operator is a careful operator. By using common sense, observing general safety rules, and
adhering to the precautions specific to the spreader, you, the operator, can promote safe equipment
operation.

Operator's Manual: Millcreek 97 & 127 PTO Spreaders
1-2
ForYourSafety...(continued)
In addition to observing the specific precautions listed throughout the manual, the following general
precautions apply and must be heeded for proper, safe operation.
WARNING: Keep hands and feet from under the spreader at all times. Ensure that you are
safely distanced from any other persons before operating the spreader.
WARNING: DO NOT attempt to operate the spreader in areas with steep inclines, ditches,
large rocks, stumps, or holes which may endanger the operator by upsetting the tractor or cause
damage to the spreader.
WARNING: To prevent serious personal injury and to promote safe spreader operation, keep all
shields in place during operation. Ensure that all mounting hardware is properly tightened.
WARNING: Never clean, adjust, or repair the spreader while the tractor is running.
WARNING: Never get off the tractor while it is in motion, while the spreader is in operation,
and/or while the PTO is engaged.
WARNING: Never wear loose clothing when operating the spreader as it may become caught
in the moving parts of the machine.
WARNING: Never allow children or anyone else to ride on the spreader.
ATTENTION: For proper and safe operation of the spreader, periodically inspect all parts for excessive
wear. Replace worn components with factory-authorized parts.
ATTENTION:
To prevent the hitch from coming disconnected during operation, use the proper size hitch pin
with a safety cotter at all times.
ATTENTION: Be sure to use a safety chain when traveling with the spreader on a public roadway.
SafetyLabels
Following are the locations and descriptions of all labels on the spreader; refer to Figure 1A. Please note that
some labels denote model number, model description, etc. while others contain important safety messages.
Each Safety Label contains an important safety message starting with a key word as discussed earlier in this
section (e.g. ATTENTION, CAUTION, WARNING, DANGER). For your safety and the safe operation of
your equipment, review all labels and heed all safety messages as printed on the labels.
Be sure to keep the safety labels clean and readable. If the labels ever become damaged or illegible, contact
your Millcreek dealer for replacements.

Operator's Manual: Millcreek 97 & 127 PTO Spreaders
1-3
42710
42802
42700
42772
42783
42807
42700
42700 42756
42792
I-86235
42756
SafetyLabels(continued)
For your safety, be sure to locate all safety labels and review their content before proceeding with
operating the spreader!
Figure 1A - Spreader Safety Label Locations
Spreader Safety Labels
Label Part # Description
42792 DANGER - NO riders
42710 WARNING - Flying Debris
42756 WARNING - Entanglement, Do NOT operation without shields
42772 WARNING - Spreader combination safety label - moving parts, read manual
42783 ATTENTION - Do NOT exceed specified speed
42778 Millcreek Logo Label
42802 Spreader Serial Number Label
42807 Spreader Model Number Label
NOTE: Label 42756 is provided in four
locations: on the rear side shield, behind
the rear side shield, on the front shield
and behind the front shield.

1-4
SafetyLabels(continued)
ATTENTION
DONOTexceed6 mph when spreading.
DONOTexceed15 mph when transporting a full load.
When traveling on public roadways, use a safety chain
and adhere to all applicable motor vehicle codes. 42783
NORIDERS 42792
DONOTSTANDinbackofmachine
while engine is running and/or machine
is operating. Rotating beaters and/or
flying debris can cause serious personal
injury or death.
Approach the rear of the maching ONLY
when all power sources are shut OFF and
all moving parts have stopped. 42710
Entanglement/FlyingDebris
Hazards.
EntanglementHazard.
DONOTOPERATEwithout
safety shield in place. Moving
parts can crush and cut.
42756
Movingpartscancrushorcut.
STAYCLEARof machine while engine is
running and/or machine is operating.
Keep hands, feet, clothing, and hair away from
operating parts.
Neveradjust, lubricate, or clean machine while
engine is running and/or machine is operating.
Neveroperate machine without safety shields in
place.
Readandunderstandoperator's manual and
safety labels before operating or servicing the
machine.
Failuretofollowthesewarningsmayresultin
seriousinjuryordeath.
Operator's Manual: Millcreek 97 & 127 PTO Spreaders

Operator's Manual: Millcreek 97 & 127 PTO Spreaders
1-5
InspectionandWarrantyRegistration
Most spreader models are shipped from your Millcreek Dealer completely assembled and ready for operation.
Inspect your new spreader thoroughly upon receipt to ensure that it has been shipped to you in a satisfactory
manner. Immediately notify the freight company and your Millcreek dealer in case of shipping damage,
shortage(s), and/or errors.
NOTE: If the spreader has not been pre-assembled, please refer to the Supplemental Assembly
Instructions. Please contact your local Millcreek Dealer for assistance as needed. If you ordered an
optional endgate and/or optional fines pan with your spreader, you may also have to assemble these
components on your spreader; refer to the Assembly Instructions sheet and/or Appendix B at the back of
this manual for the corresponding parts drawings.
Following inspection of your new spreader, locate the Millcreek Warranty Card in the literature packet
shipped with your spreader. For proper warranty registration, Millcreek requires that you fill out the
warranty registration card and return it within 30 days to:
MILLCREEK WARRANTY REGISTRATION
Millcreek Manufacturing Company
525 Reservoir Road
Honey Brook PA 17540
For your safety, be sure to locate all safety decals and review their content before proceeding with
operating the spreader.

Operator's Manual: Millcreek 97 & 127 PTO Spreaders
2-1
SECTION2: ATTACHINGTHESPREADER
TOTHETRACTOR
Figure 2A - Specifications for Connecting the Spreader/Tractor Hitch
ConnectingtheSpreadertotheTractor
The spreader hitch is designed to work with a standardized tractor hitch. To connect the spreader hitch
to the tractor hitch, refer to Figure 2A and adhere to the following guidelines:
• Adjust the drawbar so that it is 13 to 20 inches above the ground as shown in Figure 2A.
• Extend or shorten the tractor hitch to obtain the horizontal distance from the end of the
tractor power take-off (PTO) shaft to the center of the hitch pin hole (as shown in Figure 2A).
• Use the jack provided with your spreader to adjust the height of the spreader hitch so the tractor
drawbar matches the height of the spreader hitch.
• Back the tractor into the hitch until the holes line up.
• Fasten the spreader hitch to the drawbar with a hitch pin that fits securely (i.e. so that it will
not come out during spreader operation) and lock in place with the clip as shown.
• Remove the weight from the jack by lowering the spreader hitch on the drawbar.
• Swing the jack back into its horizontal position and lock it in position to provide maximum ground
clearance.
WARNING: Damage to the spreader or other vehicle, as well as injury to the operator,
may occur if a properly-sized hitch pin is not installed as recommended. Note that the
installation of the safety clip, as noted in Figure 2A, is also required for safe spreader operation.
ATTENTION: An improperly located hitch point may cause damage to the universal joints of the PTO.
The recommended length of the PTO shaft should range from 36 to 51 inches center to center of the "U" joints.

Operator's Manual: Millcreek 97 & 127 PTO Spreaders
2-2
AttachingtheSpreaderPTOtotheTractorPTO
1. Align the PTO splines on the spreader with the PTO splines on the tractor.
2. Pull back the slide collar on the PTO yoke, and slide the spreader PTO assembly onto the
tractor PTO shaft. Be sure the slide collar snaps forward to indicate that the spreader PTO
assembly is properly secured to the tractor PTO shaft.
3. Fasten the PTO safety chain to one of the hitch brackets on the front of the spreader (fasten to upper
unused hole in bracket) to prevent rotation of the safety shield during operation.
4. Fold down the PTO holder bracket alongside the hitch member, and wrap the bungee/ball strap around
the bracket for safe keeping during operation of the spreader.
WARNING: Failure to secure the PTO safety chain will allow the safety shield to rotate.
Operating the spreader without the safety shield in proper position may result in serious personal
injury or death.

Operator's Manual: Millcreek 97 & 127 PTO Spreaders
3-1
SECTION3: OPERATION
UnderstandingSpreaderOperation
Proper and safe operation of the Millcreek 97P Spreader requires: (1) being familiar with the spreader's
operating components and (2) heeding all safety precautions as stated in this manual.
GuidelinesforLoadingtheSpreaderforOperation
•Millcreek recommends that you load the spreader from the front toward the back to
facilitate easier unloading.
•ATTENTION: NEVER store manure in the spreader between unloading times during
critical cold weather months when a frozen load could result in severe equipment damage
(i.e. torn floor apron chain).
• DO NOT store wet manure in the spreader (or keep the spreader outdoors with manure in it)--
doing so will accelerate rusting of the steel.
TheSpreaderOperatingComponents
By definition, the left and right sides of the spreader are determined while sitting on the tractor seat. PTO
model spreaders are powered through the tractor drive train. The PTO powers the apron chain and the
beater. For further information on engaging the PTO drive line, please refer to the following section,
Operating the Spreader.
The following operating components are included with the Standard Model 97P spreader:
•The swing-away jack facilitates hook-up of the spreader to the tractor.
•The T-rod apron chain provides reliable material movement in the spreader load after load.
Optional operating components (ordered separately) for the Model 97P include:
•The hydraulic endgate helps to contain loads between spreading and also shields the operator
during spreading.
•The fines pan aids in distributing fine materials (e.g. compost) evenly.
•The safety chain, which is strongly recommended for use when the spreader is transported on a
public roadway.
OperatingtheSpreader
WARNING! Beforeproceedingwithoperationofthespreader,reviewallsafety
statementsasprovidedinSection1ofthismanual.
WARNING: To prevent serious personal injury, ensure that ALL safety shields are in place on the
spreader before starting operation. NEVER operate the spreader without ALL safety shields in place.
1. If you have a spreader with the endgate option, lift the endgate.
2. With the tractor at idle, simply activate the switch to engage the PTO.
ATTENTION: DO NOT engage the PTO while running at full throttle; doing so may tear the
front drive belt or cause it to jump off the pulley.

Operator's Manual: Millcreek 97 & 127 PTO Spreaders
3-2
3. For best results, run the tractor throttle at the 540 rpm PTO shaft speed and regulate the ground
speed to no more than 6 mph.
4. When the spreader box is empty, stop the PTO by disengaging the lever/switch on the tractor. Lower
the endgate (if applicable).
5. Refer to Section 4 in this manual for maintenance to be performed following operation of the
spreader.
OperatingtheSpreader(continued)
IMPORTANT! After a few hours of initial operation, watch and listen for any loose components.
Be aware that it may be necessary to re-tighten hitch hardware and/or wheel bolts; please refer to
Section 4 in this manual for the proper torque specifications.

Operator's Manual: Millcreek 97 & 127 PTO Spreaders
4-1
SECTION4: MAINTENANCE&ADJUSTMENT
GuidelinesforRegularMaintenance
WARNING: All shields must be replaced after maintenance or adjustment procedures are
performed. Failure to do so could result in serious personal injury or death.
Performing regular maintenance on you Millcreek Spreader will help ensure optimal performance.
Please follow these guidelines for maintaining your spreader:
• Clean the spreader once a week and before storing the unit for an extended period of time.
ATTENTION: NEVER store manure in the spreader between unloading times during
critical cold weather months when a frozen load could result in severe equipment damage
(i.e. torn floor apron chain). Storing wet manure in the spreader (or keeping the spreader
outdoors with manure in it) will accelerate rusting of the steel.
• Check the spreader each time it is used for loose, bent, broken or missing parts.
ATTENTION:
During operation, listen for abnormal sounds which might indicate loose
parts or other equipment damage. Correct any parts problems immediately; expanded parts
views of all spreader assemblies are provided in the Appendixes at the back of this manual.
ATTENTION: For safe and proper operation of the spreader, adhere to the following
specifications for tightening the hitch hardware; failure to tighten all hitch hardware securely may
result in equipment damage.
Hardware Torque Specification
1/2" 60 ft. lbs.
3/8" 25 ft. lbs.
5/16" 15 ft. lbs.
• Check and grease the lube fitting at the PTO (at the front of the spreader) once a year. Remove the
telescoping shaft, clean, and add a light coating of grease.
• Check that the implement tires have adequate air pressure (30 psi). Wheel bolts should be torqued
to 75 to 80 ft. lbs.
• Inspect the safety chain regularly to check the condition of the links and locking/hooking
mechanisms; replace the chain as soon as weakness/breakage is noted.
• Apply chain lube once a month (or as needed) to the drive chains (shown in Figure 4B);
use vegetable oil or a common spray lube for chains.
• Apply chain lube once a month (or as needed) to the floor apron chain; use vegetable oil or a
common spray lube for chains.

Operator's Manual: Millcreek 97 & 127 PTO Spreaders
4-2
Figure 4A - Adjusting the Floor Apron Chain for Proper Tension
GuidelinesforRegularMaintenance(continued)
• Periodically check the floor apron chain for proper tension/tightness (refer to Figure 4A).
Procedure for checking/adjusting the floor apron chain:
a) Check the distance between the apron chain and the bottom of the side sheet at the apron's
lowest point (just behind the wheels). If the distance is more than 6-1/2 inches, the
chain must be tightened.
NOTE: The recommended floor apron chain tension is achieved when the apron's
lowest point is 4-1/2 to 5 inches below the frame (behind the tire).
b) Use a 9/16" wrench to tighten the adjustment nut on the lower left/right front of the spreader
box as shown in Figure 4A. Observe the chain positioning with respect to the floor/apron.
Make sure that the chains on each side of the apron are equally taut.
Nut

Operator's Manual: Millcreek 97 & 127 PTO Spreaders
4-3
I-86245
Holding Pawl
Drive Pawl
Short Link
Gap
Crank Arm Sprocket
Bracket
Loosen Tighten
Idler Sprocket
Tighten
ProceduresforSpreaderAdjustment
Problems with spreader operation may indicate that certain adjustments are required to restore proper
functioning. The following procedures address common problems which may be encountered in
spreader operation.
Figure 4B - Adjusting the Holding Pawl and Drive Chains
AdjustingtheHoldingPawl
If the apron chain is not advancing properly, the holding pawl may need to be re-adjusted to restore proper
apron chain speed and functioning.
To Reset the Holding Pawl (refer to Figure 4B):
(a) Rotate the crankarm sprocket until the short link is in the horizontal rearward position.
(b)Loosen the nut that secures the holding pawl.
(c) Adjust the holding pawl to obtain a 1/8" gap between the end of the pawl and bottom of the
notch as shown in Figure 4B. Tighten the nut to secure the holding pawl.

Operator's Manual: Millcreek 97 & 127 PTO Spreaders
4-4
AdjustingtheDriveChains
NOTE: The drive chains are factory-set for the proper operating tension and should not require adjustment.
The following instructions are provided for reference only, in rare cases where re-adjustment or replacement
may become necessary.
Refer to Figure 4B on the previous page for an illustration of the drive chains and related components. The
chains should be snug, but not too tight. If the chains are too tight, they may cause excessive wear on the
bushings in the crank arm sprocket (resulting in premature failure). If the chains are too loose, they can slip and
jump sprocket teeth when the spreader is operating with a full load.
•Check the drive chains in two positions:
(a) Gearbox to Beater Chain: check the bottom span.
(b)Ratchet Drive Chain: check top or bottom span.
NOTE: When pushing on the middle of the span with one finger (about 20 lbs. pressure),
the chain should deflect about 3/8 to 1/2 inch. A straight-edge ruler may be helpful in
verifying the proper setting.
•Adjust the drive chains according to Figure 4B and the following guidelines:
(a) Gearbox to Beater Chain: adjust the idler sprocket as indicated.
(b) Ratchet Drive Chain: adjust the bracket position by loosening the two (2) 1/2"
bracket bolts and the idler sprocket bolt, then slide the bracket forward or
backward as shown.
ProceduresforSpreaderAdjustment(continued)

Operator's Manual: Millcreek 97 & 127 PTO Spreaders
A-1
APPENDIXA: PARTSREFERENCE
The following information is provided for your reference in understanding how the spreader is
assembled and how spare parts can be identified and ordered properly.
GeneralSpreaderSpecifications
Capacity, struck 58 cubic ft. 89 cubic ft.
Capacity, heaped 109 cubic ft. 140 cubic ft.
Body Length 114 inches
Body Width 55 inches
Body Height 17.5 inches 26 inches
Overall Length 13 ft. 6 inches
Loading Height 39 inches 47.5 inches
Construction All steel, poly floor
Apron Chain T- od 11/32
Beater Bearings Sealed ball bearings
Beater Drive Gear box
Apron Drive atchet
Body Finish Powder coating
Weight 1260 lbs (Approx) 1440 lbs (Approx)
Tractor Weight and
HP re uired
1500 lbs and
25 HP & greater
1800 lbs and
28 hp & greater
Model 97 Model 127

Operator's Manual: Millcreek 97 & 127 PTO Spreaders
A-2
9
10
11
13
15
1
2
12 13
15
14
6
I-86236
7
16
8
11
11
8
3
12 17
18
19
13 13
20 21
22
11
2
23
24
OrderingInformation
When ordering replacement parts, please provide the following information to your local Millcreek
dealer: •Model and Serial Number of the unit (located on the left side towards the front of the
spreader; see Section 1 in this manual for an illustration of specific label locations)
•Part Number and Description as it appears on the following drawings/parts lists
SpreaderBox&HitchAssembly
Figure A1 - Hitch Assembly Parts Detail

Operator's Manual: Millcreek 97 & 127 PTO Spreaders
A-3
Box&HitchAssembly(continued)
NOTE: For maintenance/repair work on the polyurethane-lined sides of the spreader box,
order the UrethaneRepairKit, MCPart#215298.
Item# MCPart# Qty. ComponentDescription
1 34191 8 3/8 x 3/4 Carriage Bolt
2 34009 12 3/8 Flange Nut
3 261550 2 Hitch Extension
6 261409 1 Right Front Hitch Bracket
7 215320 1 Complete Jack (includes items 25 & 26)
8 34085 4 1/2 x 1 Flange Bolt
9 261408 1 Left Front Hitch Bracket
10 261404 1 Hitch
11 34384 8 1/2 Flange Nut
12 34311 3 1/2 x 1-1/4 Bolt
13 34099 6 5/16 Flange Nut
14 261537 1 Axle
15 34274 4 5/16 x 3/4 Carriage Bolt
16 261530 1 97 Box
17 34227 1 1/2 Washer
18 261690 1 PTO Shaft Holder
19 34198 1 1/2 Nylon Lock Nut
20 34057 1 5/16 Washer
21 34257 1 5/16 x 1-1/2 Bolt
22 220197 1 Ball Bungee
23 34406 2 1/2 x 1 Low Carriage Bolt
24 34405 4 3/8 x 3/4 Low Carriage Bolt

Operator's Manual: Millcreek 97 & 127 PTO Spreaders
A-4
WheelandHubAssembly
Figure A2 - Wheel and Hub Assembly Parts Detail
This manual suits for next models
1
Table of contents
Other Millcreek Spreader manuals

Millcreek
Millcreek 25 User manual

Millcreek
Millcreek 6700P User manual

Millcreek
Millcreek TURF TIGER 3100 User manual

Millcreek
Millcreek 27+ User manual

Millcreek
Millcreek 27ss User manual

Millcreek
Millcreek 4300 TURF TIGER User manual

Millcreek
Millcreek 25G Series User manual

Millcreek
Millcreek 6700P User manual

Millcreek
Millcreek 57G User manual

Millcreek
Millcreek 100P User manual