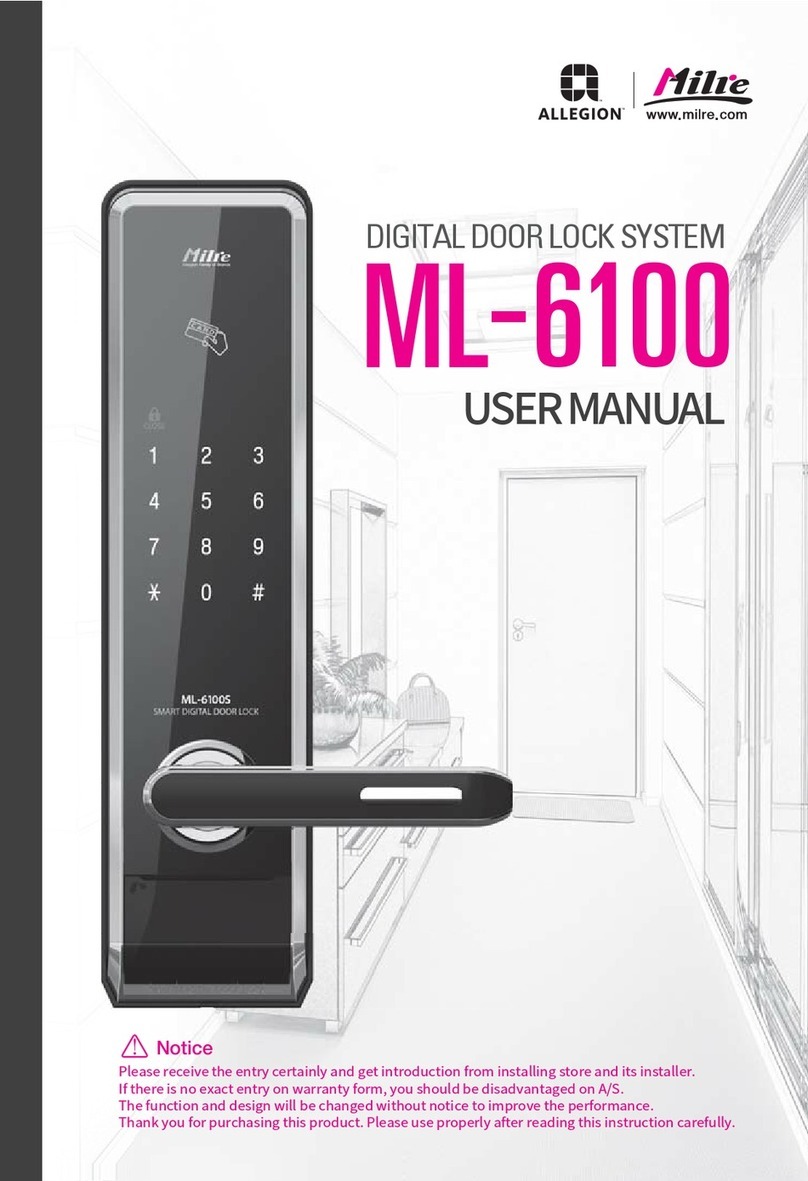
Milre MI-7800 User manual

USER MANUAL
Notice
Please receive the entry certainly and get introduction
from installing store and its installer. If there is no exact
entry on warranty form, you should be disadvantaged
on A/S. The function and design will be changed without
notice to improve the performance.
Thank you for purchasing this product.
Please use properly after reading this instruction carefully.
Free Direction
Push-Pull Handle
Smart Auto
Safety function
Voice Guide
Status Checking
Guide
Trespass Alarm
Function
Wireless Interlock
Function
(only MI-7000T)

Safety precautions
Do not disassemble or alter the lock. Assembling or disassembling the doorlock
may damage the product. Damages to the product caused by unauthorized
persons may result in damages to your property. Please contact our Customer
Service.
If the product generates harmful gases or smoke, please re move the batteries
immediately form the product, If you do not take this step immediately, the
product may suffer severe damage.
Please keep the product away from water or any liquids. If the product is
exposed to salty water or liquids, please wipe off the moisture with a soft cloth.
If moisture or foreign materials penetrate the product, remove the batteries
immediately and contact the Service Agency or Customer Service Center
for advice. Using a product contaminated with foreign materials may cause
problems.
Please check the batteries every 6 months to see if the batteries are leaking and
to check the cleanliness of battery terminals. If leakage is discovered, please
wipe out with a dry cloth and replace the new batteries. In case of exposure to
leakage, wash with soap and water immediately.
Do not clean the product with flammable materials such as alcohol, benzene or
thinners. Such materials may damage the surface or cause a fire.
Batteries should not be exposed directly to heat sources or flames, or
submerged in water, because they may leak or explode, resulting in severe
damage. Please do not use damaged batteries.
Do not allow the battery electrodes to make contact with metals such as keys,
as the battery may overheat, causing explosion or severe damage.
Please do not close the door with the deadbolt in the locked position. It may
damage the product or cause a malfunction.
Do not force to pull the front cover. It may damage the product or cause a
malfunction.
Please do not mix old with new batteries or use different types. Always use new
alkaline batteries. Please make sure the batteries are inserted correctly(+/-)
as indicated in the battery compartment. Otherwise, it may cause a leaks or
explosions.
Please do not hang the heavy things or bag, etc on the handle.
It is may damage the handle or cause a malfunction

Contents
Product features .................................................................... 04
Product composition and components .................................... 06
Name and function of each part............................................... 08
Description shortcut icons........................................................ 10
How to replace battery............................................................. 10
How to apply external power in the emergency ......................... 10
How to use mechanical override key ......................................... 10
How to use random security coding function ............................ 10
How to unlock / to lock from outdoor ........................................ 11
How to set auto-locking/manual-locking ................................. 11
How to select the language ...................................................... 11
How to unlock / to lock from indoor ......................................... 11
How to set double locking function ........................................... 12
Safety handle function ............................................................. 12
Auto-locking function / Auto-relocking function........................ 12
How to change normal mode / safety mode ............................. 13
How to register / to delete the secret code in normal mode......... 13
How to register / to delete the card key in normal mode.............. 13
How to register / to delete the nger print in normal mode .......... 13
How to register / to delete the secret code in safety mode ......... 14
How to register / to delete the card key in safety mode.............. 14
How to register / to delete the nger print in safety mode............ 14
To change manage code in safety mode ................................... 14
To register manager card in safety mode ................................... 14
To delete all manager card in safety mode................................. 14
How to control voice guide volume .......................................... 15
Guest secret code (Temporary use) .......................................... 15
How to control operation volume .............................................. 15
Status checking guide.............................................................. 15
Check battery capacity............................................................. 15
Safety handle function ............................................................. 15
Warning function against mischief or hacking ............................ 15
Warning alarm function against trespassing by force.................. 15
How to install the communication pack...................................... 16
How to register / to delete remote key & to unlock / to lock......... 16
Simplied Chinese characters................................................... 18
Traditional Chinese characters .................................................. 33
Product Warranty..................................................................... 47
Ⅰ. Before using
Ⅱ. Basic function
Ⅲ. Normal Mode
& Safety Mode
Ⅳ.Applications
Ⅴ.Others

Ⅰ. Before using
4
Product features
Convenient Push ↔ Pull Handle Convert Function
Direction of push and pull may be freely adjusted according to the door
opening direction.
Smart Auto Safety Handle
Operation of the handle inside is restricted for preventing outside intrusion.
Bi-direction Installation Method : Motorized Mortise Lock
The mortise of this product is convenient for installing as left/right direction
is adjustable.
A↔M Automatic/Manual Locking Set Function
Automatic and manual locking mode set is possible with simple switch
operation from inside.
Auto-relock function
If users do not open the door after unlocking, it is to be locked automatically for
higher security
Double lock function
When double lock function is activated, the door cannot be opened
from outside even with the registered card, secret code or finger print.
(only override key)
Mute function
You can open the door in quite not to interrupt neighbor without any
operating sound temporarily.
Battery level indicator & alarm for battery replacement time
Easy to check battery status with 3 step level indicator and alarming battery
replacement time with sound & lamp
Trespass alarm function
When the door is opened by force with hammer or other lock is suspended
with alarm sound

Ⅰ. Before using
5
Prevent mischief & hacking
With applying wrong code 3 times, unregistered card for 3 times or
unregistered finger print for 5 times, alarm system is activated with warning
sound and all the function of door lock is suspended for 3 minutes.
Random security coding function
When you enter your home with friends or other people, you don't want
to show secret code to them. In his case, you may press any number
randomly without limitation and then enter your secret code at final.
Then, you can open the door without revealing your secret code.
Normal mode / Security mode
Normal mode : Easy to use for normal user
Safety Mode : High security mode with manager function added,
provides individual register and delete function which is not provided in
normal mode.
Option Function
Option button : To use for register or setting change of optional functions.
1. Register and setting for RF connection option
2. Change setting of Language option

Ⅰ. Before using
6
Product composition and components
① ② ③ ④ ⑤
⑧⑥
⑨
⑩
⑪
⑭
⑬
⑮
User
Manual
Installation
template Remote key
(Optional)
Communication pack
(Optional)
⑦
⑫
Screws
ISO
CARD
Tag
key

Ⅰ. Before using
7
Name Product specication Remark
①
Front Ass'y
88mm(W) X 396mm(H) X 40mm(D)
Including rubber pad
②
Back Ass'y
83.7mm(W) X 373mm(H) X 38.7mm(D)
③ Back Cover 88mm(W) X 381mm(H) X 8.7mm(D)
Including rubber pad
④ Mortise lock 105.4mm(W) X 240mm(H) X 24mm(D)
⑤ Strike 24mm(W) X 240mm(H) X 4.5mm(D)
⑥ Card key ISO Card, Tag key
⑦
Mechanical key Mechanical key
⑧ Battery 6V (1.5V 'AA' Size LR6 Alkaline, 8ea)
⑨ Handle shaft 70.5mm(W) X 8mm(H) X 8mm(D) 40~50mm Door
⑩ Handle shaft(M) 101.7mm(W) X 8mm(H) X 8mm(D) 70~90mm Door
⑪
Handle shaft stop-ring
2ea
⑫ Key tail plate 1ea
⑬ Screws 1set
⑭ User Manual Main user manual
Including warranty form
⑮ Installation template English, Chinese
Communication Pack Communication Pack Optional
Remote key Remote key Optional
※ Door thickness For 40~90mm
Factory setting
Item Setting status Ref. page
Auto/Manual lock mode [Auto-lock]11
Language (English/Chinese) English 11
Normal mode / Security mode Normal mode 13
Voice guide volume (1~3 level) 3 level [Maximum]15
Beef sound level (1~8 level) 8 level 15
Handle direction (Push/Pull)
Front cabinet - Pull / Back cabinet - Push

Ⅰ. Before using
8
Name and function of each part
Finger print sensor
Touch the registered finger print
on sensor, and then open the door
Card key touch plate
Touch the registered card
key to open the door.
Lock/Unlock lamp
Indicate lock/unlock status
Handle
You can open the door by
pushing or pulling it after
pressing secret code, touching
card key, or finger print.
Status indicator
Indicate operation status and
checking battery capacity.
Touch type numeric pad
Emergency Cover
Window icon
Mute function
Safety handle
Battery replacement indicator
Trespass alarm function
Wireless interlock
Card key
(ISO Card, Tag key)
Mechanical key
External Emergency Power SupplyTerminal
When battery does not operate, product may
be operated and unlocked by contacting 9V on
terminal located outside.
Emergency Key Insert Part
Door may be opened through emergency key.
Emergency Cover (External Emergency Power Supply Terminal & Emergency Key Insert Part)
1. Front ass'y
ISO
CARD
Tag
key

Ⅰ. Before using
9
2. Back Ass'y
Battery cover
Push up to open the battery
cover
[N ]
button
Registration/Delete of code, card,
finger print in normal mode
[S ]
button
Registration/Delete of code, card,
finger print in safety mode
indicator lamp to set
the safety handle
LED indicator (Locking status)
Handle
Cover
Auto/Manual mode switch
A : Auto mode
M : Manual mode
[Option] button
To register or delete optional RF
communication module
[Manual locking] button
Button to lock the door by manual
at manual locking mode
[Double lock function] button
Button to set double locking mode
Safety handle jog button
(Refer to the below explanation)
Manual safety handle switch
To release safety handle
function manually when Safety
handle jog button is out of
order or no battery
How to set the safety handle function
: When maintaining lower part
[CLOSE] for 5 seconds
The safety handle function is set
: When maintaining lower part
[OPEN] for 3 seconds
The safety handle function is
temporarily canceled.
Caution : The safety handle
function is a security function to
prevent any physical intrusion
from outside. Please use once
method of use is familiar enough.
In push handle type,
please do not put
your finger between
handle and door lock body.
Finger can be jammed or hurt
when you try to open the door.
Caution

Ⅰ. Before using
10
Description shortcut icons
How to apply external power in the emergency
/ How to use mechanical override key
How to use random security coding function
External power in the emergency
Secret
code
C
Card
key
Mechanical override key
Usage
Open the
cover
Push or pull the handle
and open the door
How to use random security coding function
Usage
RAN
DOM
CODE C
How to replace battery
If battery lamp in RED is flickering with sound,
separate battery cover, and replace all 8 batteries to new one, 6V(1.5V'AA' Size LR6 Alkaline)
:
[N] button
:
[S] button
: [Option] button
: Press [ ]
#
: Press [#] : Touch the front pad
C
: Secret code : Card key
: Finger print
UC
: User code
MC : Manager code
RC
: Registration code
: Trespass alarm : Unlock : Lock
※ Normal mode : [N] button / Safety mode : [S] button

Ⅱ. Basic function
11
How to unlock / to lock from outdoor
How to unlock from outdoor
Secret code
C
Card key
Finger print
How to unlock from outdoor (Mute function)
Secret code
OFF C
Card key
OFF
How to lock from outdoor
Auto-locking
mode
Manual-locking
mode
0
How to set auto-locking/manual-locking
Auto-locking
mode
In Auto-locking mode,
door will be locked automatically after closing.
Manual-locking
mode
In Manual-locking mode, door will be locked with pressing
manual lock button after closing.
How to select the language
English 3Cor #1
Chinese 3Cor #2
1. Auto-locking mode
When the door is closed, door is
locked with beep sound automatically.
2. Manual-locking mode
Setting manual-mode Press manual lock button,
then door is locked
How to unlock / to lock from indoor
Please push the
handle hard
enough from
indoor.

Ⅱ. Basic function
12
Safety Handle function
Set-up
Set-up
Cancel
Cancel
The safety handle function may be setup from both outside and inside, and is
automatically canceled when the registered secret code or card is authorized from the
outside. but from inside, only temporal cancel function is provided.
C8
Touch the
front pad
Touch the
front pad
Touch the
front pad
Card key
#
[#] button
[] button
#
[#] button
[] button
[8] button
Secret code
Secret code
or
Once the door is opened and closed
again within 7 seconds, safety handle
is activated.
[Method 2] Temporary release[Method 1] Emergency release
Push aside [Manual Safety Handle Switch]
C
Card key
1. How to set the safety handle function from outdoor
2. How to set the safety handle function from indoor / How to release
1. Auto-locking function 2. Auto-relocking function
How to set double locking function
Auto-locking function / Auto-relocking function
CancelSet-up
Press [Double lock] button for 3 second Press [Manual-locking] button
When the door is closed,
it will be locked automatically.
If the door is not opened within 7 seconds after
secret code, card key, nger print, it will be relocked
automatically to protect user's property.
Keep in [OPEN] position by pulling up jog
button for 3 seconds, safety handle is released
temporarily.
Keep in [CLOSE] position
by pulling down jog button for 5 seconds

Ⅲ. Normal Mode & Safety Mode
13
ㆍSecret code : 10ea(6~12digits) / Card key : 20ea / Finger print : 100ea
: [N] button : [S] button UC : User code MC : Manager code
RC :
Registration Code
: Card key : Finger print
How to change from safety mode to normal mode
1 2 3 4 5 6 7 8 9 10
Normal mode
3"sec MC #UC #UC #
How to change from normal mode to safety mode
Safety mode
3"sec UC #MC #MC #
Normal mode
Normal mode
12345678910
REG.
Secret
code
1 4 RC ㆍㆍㆍ
Card
key 1 5 ㆍㆍㆍ
Finger
print 1 6
DEL.
All
Card key
2 5
All
nger print
2 6
※ Repeat Highlighted part for continuous register or delete
How to change normal mode / safety mode
ㆍNormal Mode : Generally used mode, product released in normal mode.
ㆍSafety Mode : High security mode with manager function added, provides individual
register and delete function which is not provided in normal mode.

Ⅲ. Normal Mode & Safety Mode
14
Safety mode
ㆍSecret code : 10ea(6~12digits) / Card key : 20ea / Finger print : 100ea
: [N] button : [S] button UC : User code MC : Manager code
RC : Registration Code : Card key
Safety mode
1 2 3 4 5 6 7 8 9 10 11 12
REG.
Secret code
1 4 MC or #RC
Card key
1 5 MC or #
Card
Registration
Number(2digits)
#
Finger
print
1 6 MC or #
Finger print
Registration
Number(3 digits)
3 times
#
DEL.
All card key
2 5 MC or #
Individual
card key
3 5 MC or #
Card
Registration
Number(2digits)
#
All
nger print
2 6 MC or #
Individual
nger print
3 6 MC or #
Finger print
Registration
Number(3 digits)
#
Safety mode (Manager)
Change Manager
code
8 4 MC or #RC #RC #
REG.
Manager
card key
8 5 MC or #
DEL.
All
manager
card key
8 6 MC or #5
※ Repeat Highlighted part for continuous register or delete

Ⅳ. Applications
15
How to control voice guide volume
Min.
volume
#Cor #1
1
Mid.
volume 2
Max.
volume 3
Guest secret code (Temporary use)
REG. #Cor #2RC #RC #
How to control operation volume
Vol.
up #Cor # 3
7
Vol.
down 9
Status checking guide
Voice
guide #Cor #4
Check battery capacity
Voice
guide #Cor #5
Safety handle function
Set up #Cor #8
Warning function against mischief or hacking
Operate
Wrong secret code 3 times or unregistered card key 3 times
or unregistered nger print 5times
Warning alarm function against trespassing by force
Secret
code C
Card
key C
Additional function

Ⅳ. Applications
16
Communication pack /remote key
1. How to install the communication pack
2. How to register remote key & to unlock / to lock
When purchasing wireless communication
pack and remote control package separately
and equipping it, remote control may be used
in conjunction.
Communication pack
※ One round battery(CR1620) is equipped.
※ To replace battery, open the back cover
by screw driver.
1.
Open the inner battery cover then remove the battery
2. Install the wireless communication pack on
the connected terminal.
(Caution: Please fit the socket in the correct orientation)
3. Insert the batteries after confirming the direction
of and .
CR1620
: [Option] button : Remote unlock : Remote lock
To register / to delete remote key (Communication pack)
REG. Remote
key 1Cor #or
DEL. All
remote key 2Cor #
To lock / To unlock by remote key
Unlock Lock
※ Repeat Highlighted part for continuous register or delete
Portable remote key
Indicate lamp
[Lock] button
[Unlock] button
Optional
Installing
communication pack


中文说明书
注意
使用产品前请详细阅读本使用说明书。
客户必须认真填写由销售单位或负责人提供的品质保证书,
否则售后服务时会影响您的利益。
本产品建议使用专业人员安装,如要安装在其他类型门时,
与本公司要协商决定。
为提高产品性能,公司可能会随时更改本产品的功能与外观
设计,对此将不做预先通知。

安全注意
请勿擅自拆卸或随意改造本产品。擅自拆卸或改造会对产品造成损伤导致财产损
失,有需要请联系专业的产品检修售后服务公司和我公司客户服务中心。
若发现产品上有害气体泄露或喷发烟雾时请及时取下电池,否则会严重损害产
品。
若产品外部接触高湿度环境,请及时用柔软的抹布擦拭干净若发现内部有进水或
其他液体进入时,请立即卸下电池。
定期清洁和检查。建议每6个月进行电池电量及漏液检查,并清洁电池连接处的
接触弹簧,如果发现有漏液现象,请立即卸下电池,用干布擦拭泄漏液体,
并更换新的电池,并在处理完毕后立即用香皂洗手。
禁止使用易燃物质擦拭产品,比如含有酒精或苯类成分的物质。使用此物质会损
坏本产品的外观,或带来火灾隐患
电池不可以暴露在高温环境中,或靠近火源的地方。此类环境会导致电池漏液,
并有爆炸危险。请选用质量合格的电池。
电池电极部位不要与钥匙链或金属物接触。这可能会导电池过热引发爆炸。
请勿在方舌伸出的状态下关门。这样会损坏锁体,导致锁体无法工作
不要猛烈拍打触控面板。这样容易损坏外面板,可能导致故障。
请勿混用新旧电池。混用新旧电池会影响电池的使用寿命,
及发生漏液和过热现象,造成安全隐患
请勿将物品悬挂在把手上。这样将容易产生产品故障。
19

Ⅰ. 使用之前
20
产品特色
现场拉把手换向简便
按照开门的方向,现场推拉把手换向简单方便。
安心外出模式
室内机把手设计,可有效防止强行非法进入
锁体现场换向方便
本锁芯可以左右向调整,安装时非常方便。
自动上锁/手动上锁切换简便
室内机的[自动/手动]上锁开关,方便切换
自动反锁功能
用密码,感应卡或者指纹开锁后,但门未打开时,将自动重新上锁,保护财产安全。
双重上锁
如果在屋内设置为双重上锁功能,在屋外用密码,感应卡或者指纹无法打开
门锁。夜间更安心(只有使用钥匙可以开锁)
静音功能
在使用产品时可以随时使用静音功能,以避免开门时打扰其他人。
更换电池提示功能
产品在使用中发生低电量情况时,会以警报音和灯光闪烁进行提示。
非法侵入警报功能
如果门处于异常开锁状态,将发出警报音。
防骚扰及防密码破解警报功能
连续输错密码, 感应卡, 指纹时,将启动防骚扰及防密码破解警报功能并发出
警报音,同时在一定的时间范围内,功能运作将停止。
Other manuals for MI-7800
1
Table of contents
Other Milre Door Lock manuals
Popular Door Lock manuals by other brands
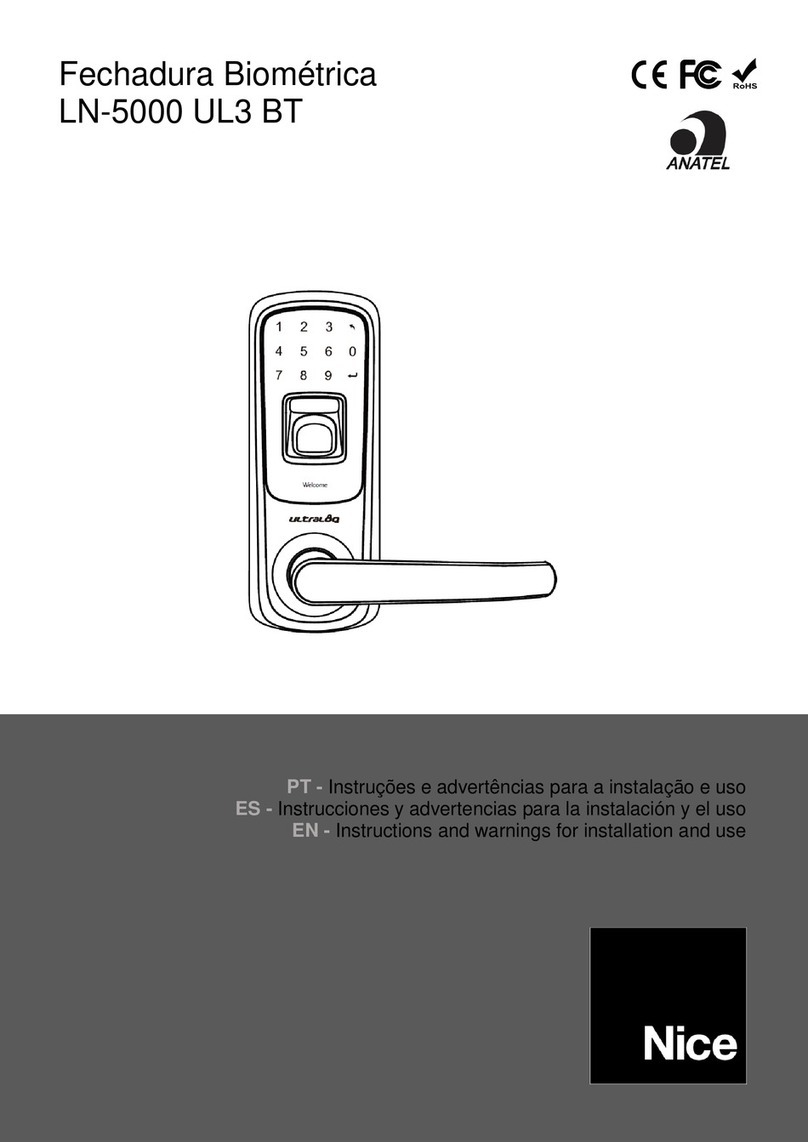
Nice
Nice LN-5000 UL3 BT Instructions and warnings for installation and use
WFE Technology Corp.
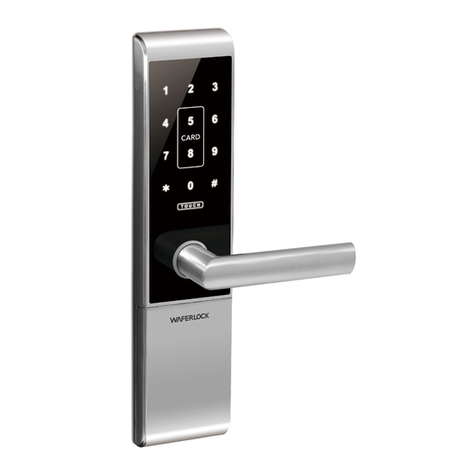
WFE Technology Corp. WAFERLOCK L375 manual

Armstrong
Armstrong SDWP-001 user manual

Sargent
Sargent P2 PASSPORT 1000 installation instructions
Yolink
Yolink Smart Lock M1 user guide
Assa Abloy
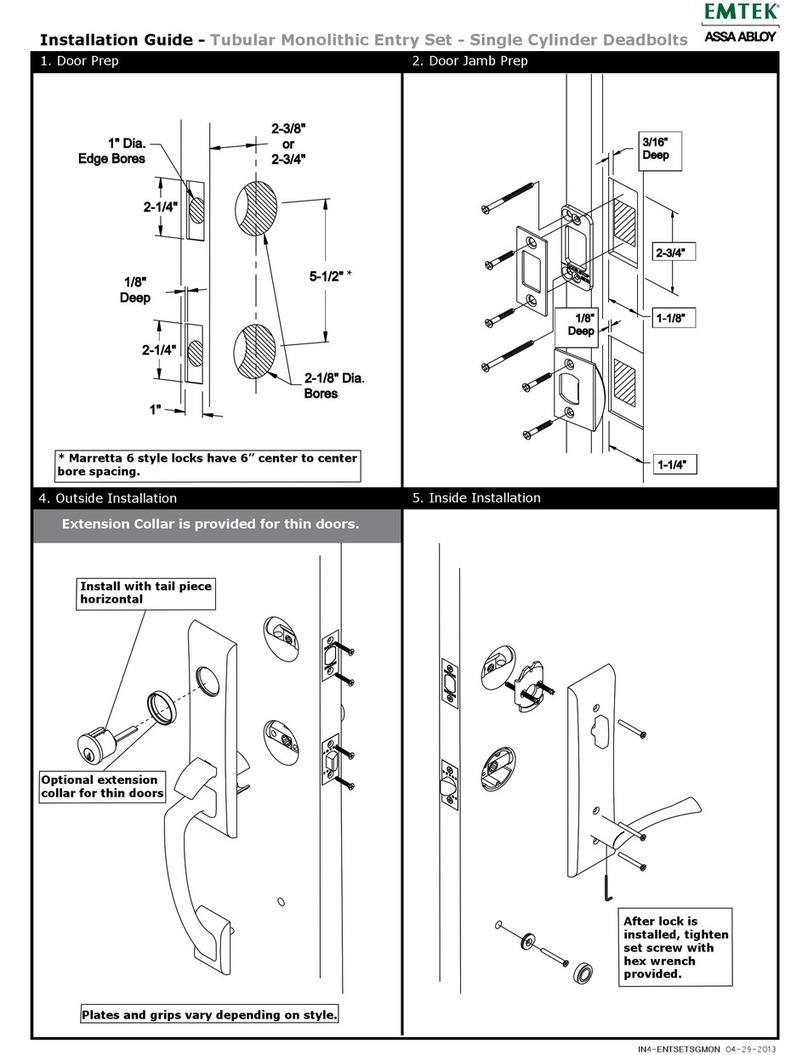
Assa Abloy EMTEK Tubular Monolithic Entry Set installation guide

