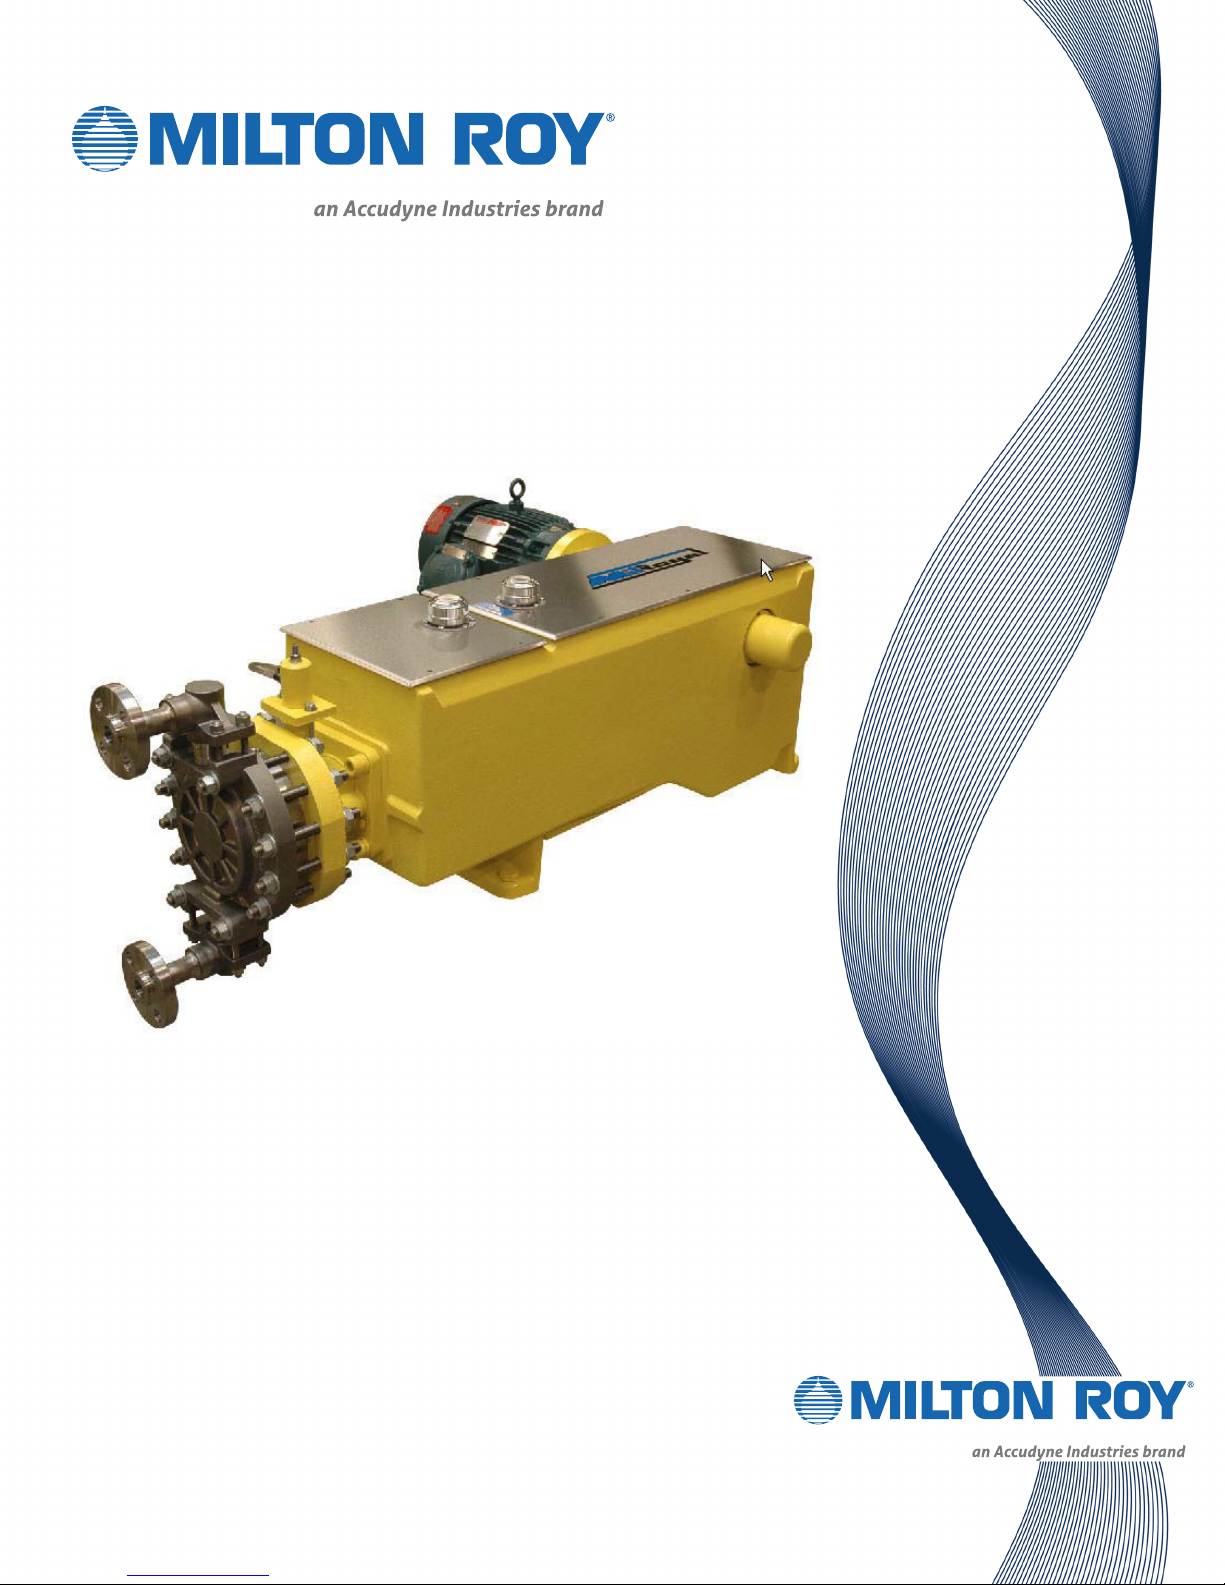
3Instruction Manual
2.1 UNPACKING
Units are shipped Free on Board (FOB) factory
and title passes to customer when carrier signs for
receipt of pump. The customer, therefore, must le
any damage claims with the carrier.
Carefully examine the shipping crate upon
receipt from the carrier to be sure there is no
obvious damage to contents. Open the crate
carefully, so that accessory items fastened to the
inside of the crate will not be lost or damaged.
Examine all materials inside the crate and check
against packing list to be sure that all items are
accounted for and undamaged.
2.2 CONVERSION PROCEDURES
To convert a pump from standard Packed Plunger
Liquid End to Disc Diaphragm Liquid End, study
drawings at the back of this manual and then mount
the liquid end to the pump as follows (numbers in
parentheses are part numbers).
2.2.1 MILROYAL®A & B (See Figure 4)
1. Remove Packed Plunger Liquid End assembly
from pump (see pump drive disassembly
instructions in Instruction Manual 53943).
Remove plunger adapter, gland cap, gland studs
or bolts, and funnel.
2. Place lip-type seal over crosshead and position
seal flush with original seal in crosshead
bore. Be careful not to damage seal lip during
installation. Also, note that seal is installed with
lip extending towards pump liquid end.
3. Place a length of 2 1/2” (64 mm) o.d. schedule
40 pipe over crosshead and against seal Using
a soft mallet, strike the pipe to drive seal into
crosshead bore until new seal is ush with
casing face.
4. Drill a 1/4” (6 mm) diameter hole OFF the
vertical center line 2 1/2” (64 mm) below the
top machined edge of the pump casing wall in
which seals are installed. (Lay a cloth in casing
to catch chips from drilling.)
5. Flush out all dirt, chips, and debris from pump
casing. Clean liquid end mounting face on pump
casing.
6. Loosely install plunger adapter in crosshead.
7. Place liquid end gasket on mounting face of
displacement chamber. Position relief valve
gasket between pump casing and displacement
chamber. This is best done by threading a pipe
nipple into the relief valve port and pushing
the gasket onto the pipe. Insert plunger
assembly in bore of displacement chamber.
Carefully t liquid end assembly to casing bore
while guiding plunger assembly into hole in
plunger adapter.
8. Thread bolts into displacement chamber from
inside pump catchall and tighten securely.
Remove gasket-positioning pipe and install relief
valve in displacement chamber so valve port
faces bottom of pump casing. Bottom plunger
rmly in plunger adapter against crosshead and
then tighten adapter securely.
9. Install air-bleed valve in top of displacement
chamber. Install hose connection and tubing for
oil return from valve to pump casing.
10. Install relief valve assembly and adapter to
displacement chamber from inside pump
catchall.
11. Install and tighten drain plug in bottom of pump
catchall.
12. Proceed to start-up instructions in Section 3.
SECTION 2 - INSTALLATION