manuals.online logo
Brands
  1. Home
  2. •
  3. Brands
  4. •
  5. Mimosa
  6. •
  7. Outdoor Furnishing
  8. •
  9. Mimosa 0262348 User manual

Mimosa 0262348 User manual

•Before installing please contact your local council for semi permanent structure requirements.
•For permanent fixture contact your local council and use appropriate fixings.
•This gazebo is a Semi-Permanent structure. Damage caused by extreme weather conditions including heavy rain or high winds is not
covered under warranty.
•Please carefully read all instructions before assembly and use.
•Please separate and identify all parts, ensuring that you have all parts listed.
•To avoid damage to your gazebo, it is recommended that you assemble it on a clean, protected surface.
•Washers must be used when indicated during the assembly process.
•Loosely tighten the nuts and then securely tighten when all are in position. Be careful not to over tighten the nuts during assembly.
•As an added precaution we strongly recommend you tighten any loose components after an initial period of use (around 3-6 months).
For assured longevity and safe use of your gazebo, we recommend regular checking and tightening of any bolts.
IMPORTANT SAFETY INSTRUCTIONS
•The ground for erecting and anchoring the gazebo is required to be a level, solid and a safe surface.
•Beware of existing utilities underground.
•Keep away from any electrical installations and transportation devices.
•Never climb, sit, or stand on the structure.
Please carefully read the below warnings and instructions.
Save the instructions for future reference.
!
MULLALOO ALUMINIUM
GAZEBO
Assembly Instructions
Item No.:0262348
Leg tube
Roof frame
Roof frame
Roof frame
Roof frame
Roof frame
Roof frame
Roof frame
Roof frame
Supporting frame
Supporting frame
Incline stabiliser brace
The middle roof tube
Side roof tube
Roof edge panel
Roof edge panel
Roof edge panel
Roof edge panel
Cover plate
Angled connection bracket
Corner bracket
Supporting plate
Supporting plate
Middle cape corner fittings
Middle bracket
Corner bracket
Leg base cover
Roof panels
Ø7*29
Bolt
Bolt
Bolt
Bolt
Bolt
Screw
Nut
Washer
Washer
bolt
Allen key
Screw driver
Spanner
A4V4
BB 8
Connect the leg base covers(V)to
the leg tubes(A)using bolts
(BB).Tighten securely using Allen
key(LL).
AA 4
B2B1 2
Connect Roof frame (B&B1)using bolts(AA).Tighten
securely using Allen key(LL).
AA 2
B2 2B3 2
H2
BB 4
Connect Roof frame
(B2&B3)using
bolts(AA).Tighten
securely using Allen
key(LL).
Connect the
supporting
frame (H) and the
Roof frame (B2& B3)
with bolts (BB). Tighten
securely with Allen Key
(LL).
DD 16
Secure the Leg tubes (A)to Roof frame(B&B1)using bolts(DD).
DD 16
Secure the Leg tubes(A) to Roof frame(B2&B3)using bolts(DD).
AA 8
J8CC 8
J
Connect Roof frame and leg tubes with the incline
stabiliser braces (J), using bolts (CC) & (AA). Tighten
securely using Allen Key(LL)
Q4FF 16
Join Corner bracket (Q) to the roof frame
using bolt(FF).Tighten
securely using Screw driver(MM).
R2R1 2
AA 8
Connect Supporting plates (R&R1)to the Leg tubes(A)using
bolts (AA).Tighten securely using Allen key(LL).
E4P2
C2C1 2
AA 4DD 8
Insert the angled connection bracket (P) into
the Roof frame (C & C1). Tighten the bolts
(AA) using Allen key(LL).
Connect the Side roof tube(E) and Roof frame
(C&C1)using bolts(DD).Tighten the bolts (DD) using
Allen key(LL).
AA 12
Connect Supporting
frame(H) and
supporting plate (R)
to Roof frame
(C&C1),using bolts
(AA).Tighten the
bolts (AA) using Allen
key(LL).
GG 2
2
D1
M14 AA 25
CC
D1 1
Connect Roof frame (D&D1)using
bolts(CC)and Nut(GG),and then cover
the Roof edge panel (M) on Roof
frame(D)using bolts(AA).Tighten the
bolts (AA) using Allen key(LL).
AA 4EE 8
Connect Roof frame(D)to
Supporting frame(H)using
bolts(AA).Tighten the bolts
(AA) using Allen key(LL).
AA 12
F12 S 12
F
S
EE 24
EE
Attach Middle cape
corner fittings(S) and The
middle roof tube(F)using
bolts(AA).
AA 36
F
Connect The middle
roof tube(F) to Roof
frame using bolts
(AA).
G28 AA 112
Connect the supporting frame (G) to the side roof
tube(E)and the middle roof tube (F) using bolts(AA).
BB 2
K2
AA 4
N2
Cover the Roof edge panel (K) on Roof frame(D&D1)using bolts(BB).
Attach the Cover plate(N) and Roof
edge panel (K)on Roof frame (C&C1)
using bolts (AA).

Other Mimosa Outdoor Furnishing manuals
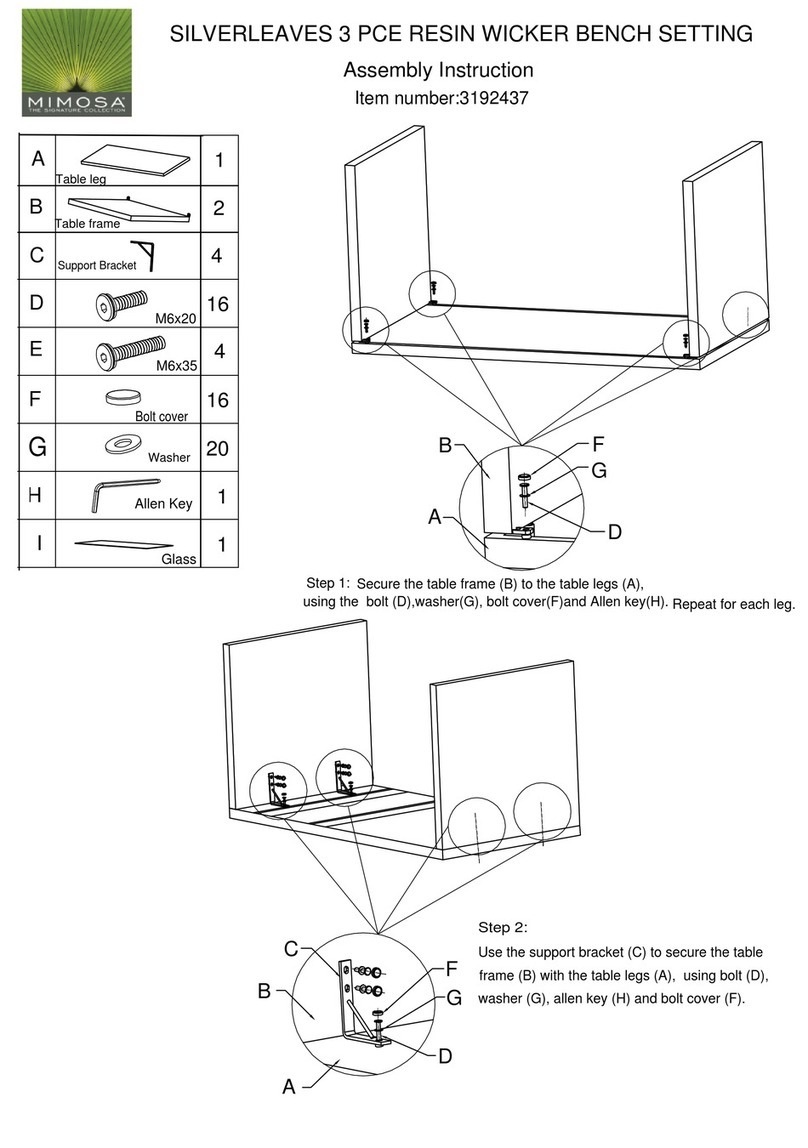
Mimosa Signature Silverleaves 3192437 User manual
Mimosa

Mimosa Signature Silverleaves 3192437 User manual

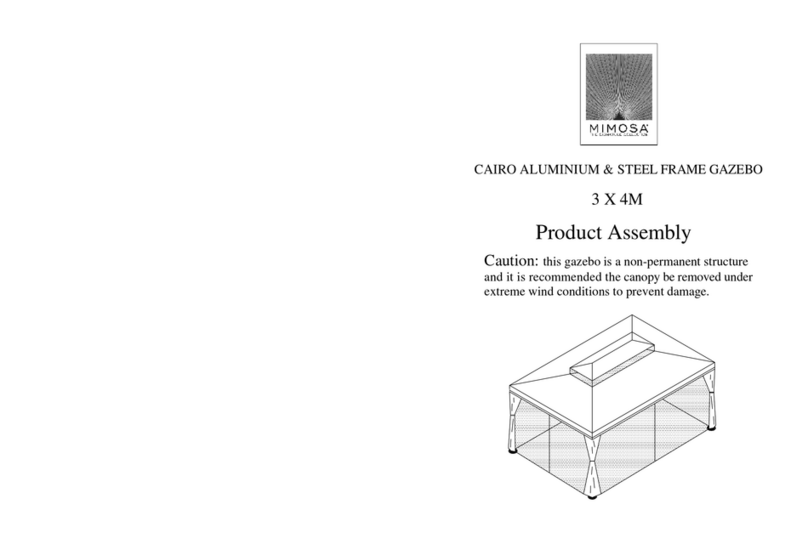
Mimosa CAIRO User manual

Mimosa

Mimosa CAIRO User manual
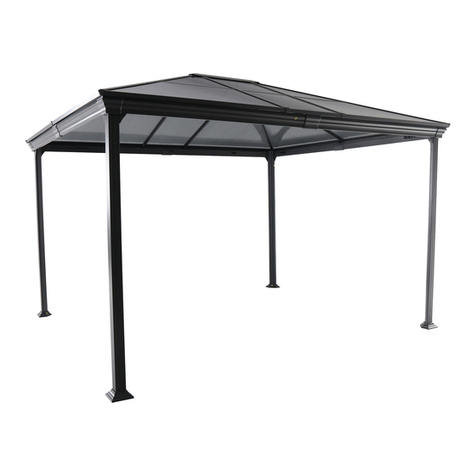
Mimosa 3192508 User manual

Mimosa

Mimosa 3192508 User manual
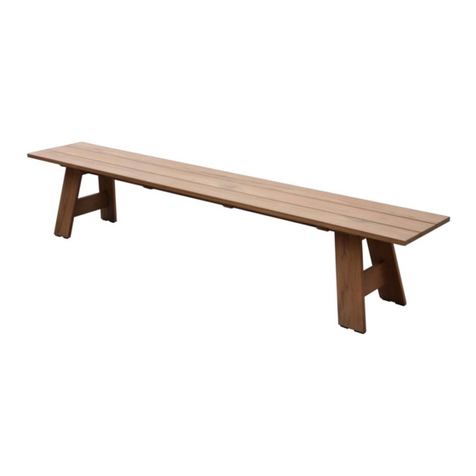
Mimosa BORDEAUX 0101667 User manual

Mimosa

Mimosa BORDEAUX 0101667 User manual
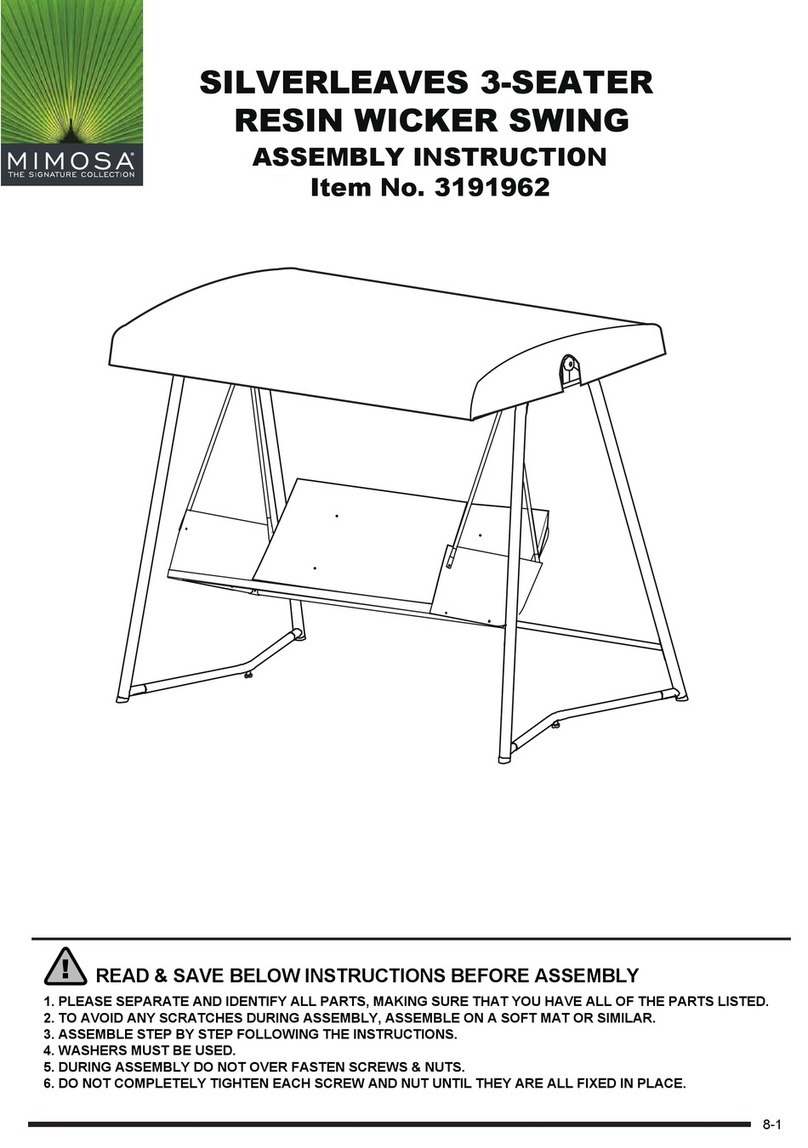
Mimosa Silverleaves 3191962 User manual
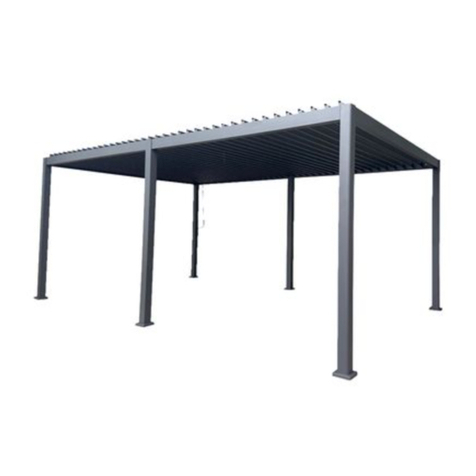
Mimosa

Mimosa Silverleaves 3191962 User manual

Mimosa SIGNATURE PORTSEA User manual

Mimosa

Mimosa SIGNATURE PORTSEA User manual

Mimosa Noosa User manual

Mimosa

Mimosa Noosa User manual
Mimosa Signature Silverleaves 3192438 User manual
Mimosa

Mimosa Signature Silverleaves 3192438 User manual

Mimosa BRIGHTON LOUVRE 0262347 User manual
Mimosa

Mimosa BRIGHTON LOUVRE 0262347 User manual

Mimosa CORAL BAY LOUVRE PANEL GAZEBO User manual

Mimosa

Mimosa CORAL BAY LOUVRE PANEL GAZEBO User manual

Mimosa LOUVRE User manual

Mimosa

Mimosa LOUVRE User manual

Mimosa 3x3 Portsea Gazebo User manual

Mimosa

Mimosa 3x3 Portsea Gazebo User manual

Mimosa G3232 User manual

Mimosa

Mimosa G3232 User manual

Mimosa GAZEBO SUN SHELTER User manual

Mimosa

Mimosa GAZEBO SUN SHELTER User manual

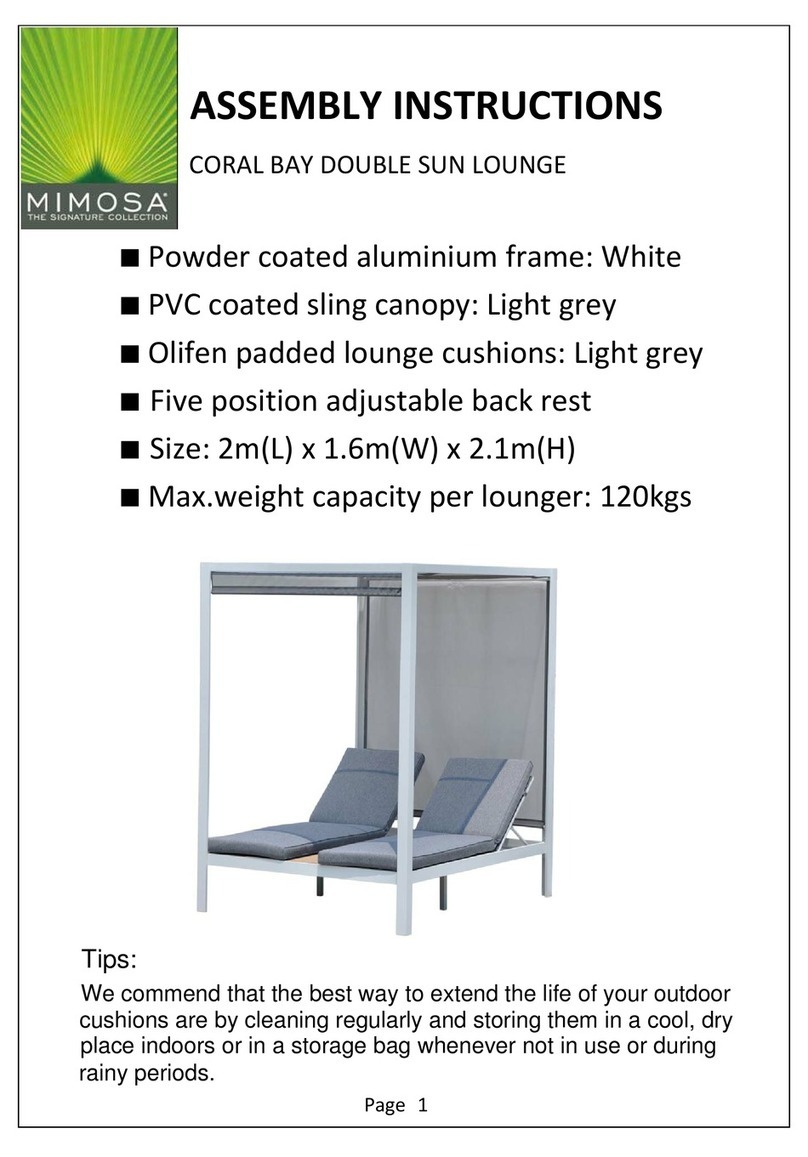
Mimosa CORAL BAY DOUBLE SUN LOUNGE User manual

Mimosa

Mimosa CORAL BAY DOUBLE SUN LOUNGE User manual

Mimosa SIGNATURE EDEN OUTDOOR BENCH User manual

Mimosa

Mimosa SIGNATURE EDEN OUTDOOR BENCH User manual

Popular Outdoor Furnishing manuals by other brands

Garden Treasures 1287 quick start guide
Garden Treasures

Garden Treasures 1287 quick start guide

Flower House FHBB100 Assembly instructions
Flower House

Flower House FHBB100 Assembly instructions

Palram CANOPIA OASIS How to assemble

Palram

Palram CANOPIA OASIS How to assemble

LuxCraft Classic Vinyl Swing Stand Assembly instructions
LuxCraft

LuxCraft Classic Vinyl Swing Stand Assembly instructions

Sunjoy A101004302 instruction manual

Sunjoy

Sunjoy A101004302 instruction manual
for Living A101008601 Assembly instructions
for Living

for Living A101008601 Assembly instructions

Lifetime 60360 Assembly instructions

Lifetime

Lifetime 60360 Assembly instructions
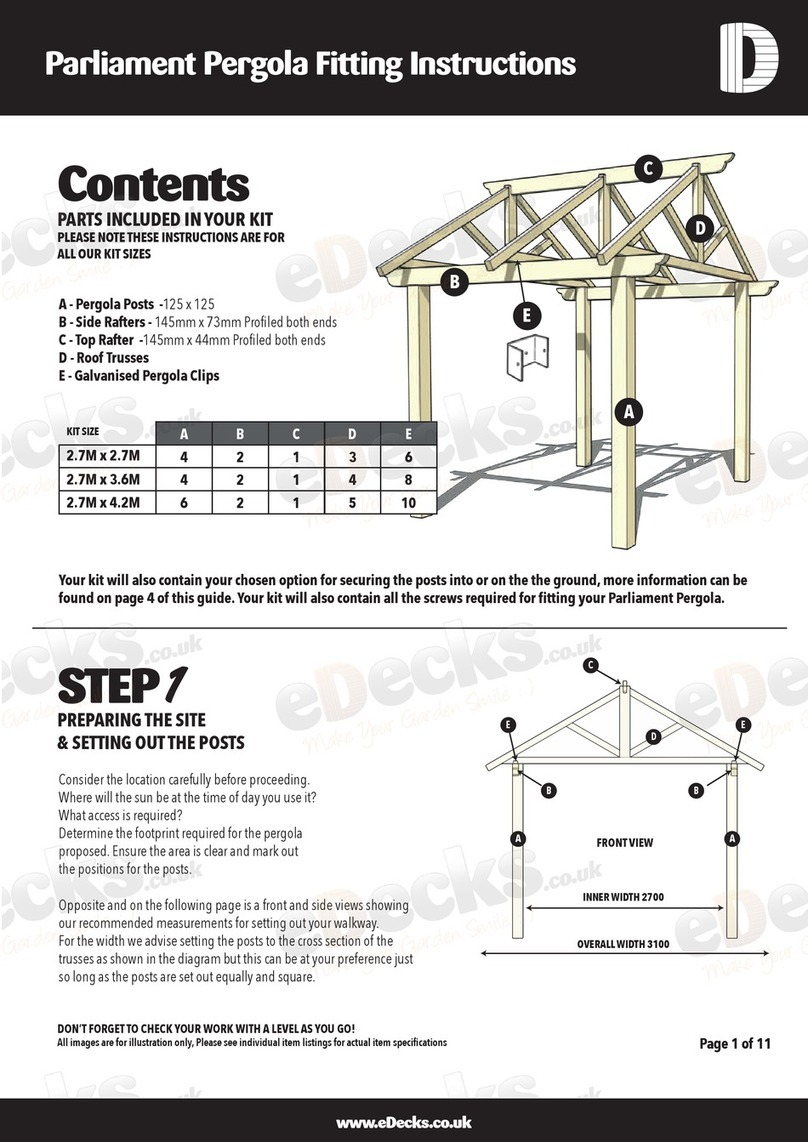
eDecks Parliament Pergola Fitting instructions
eDecks

eDecks Parliament Pergola Fitting instructions

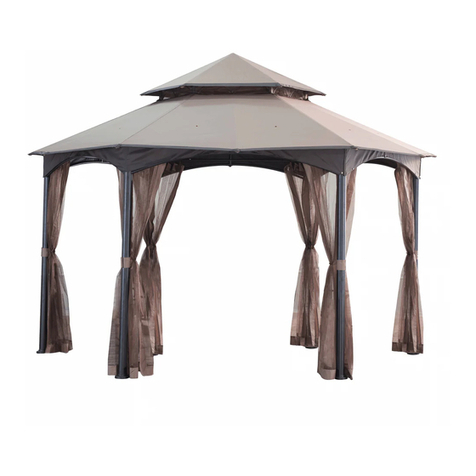
Sunjoy Southbay Hex Easy Up instruction manual
Sunjoy

Sunjoy Southbay Hex Easy Up instruction manual

Crosley Kiawah CO7119-BR instructions

Crosley

Crosley Kiawah CO7119-BR instructions
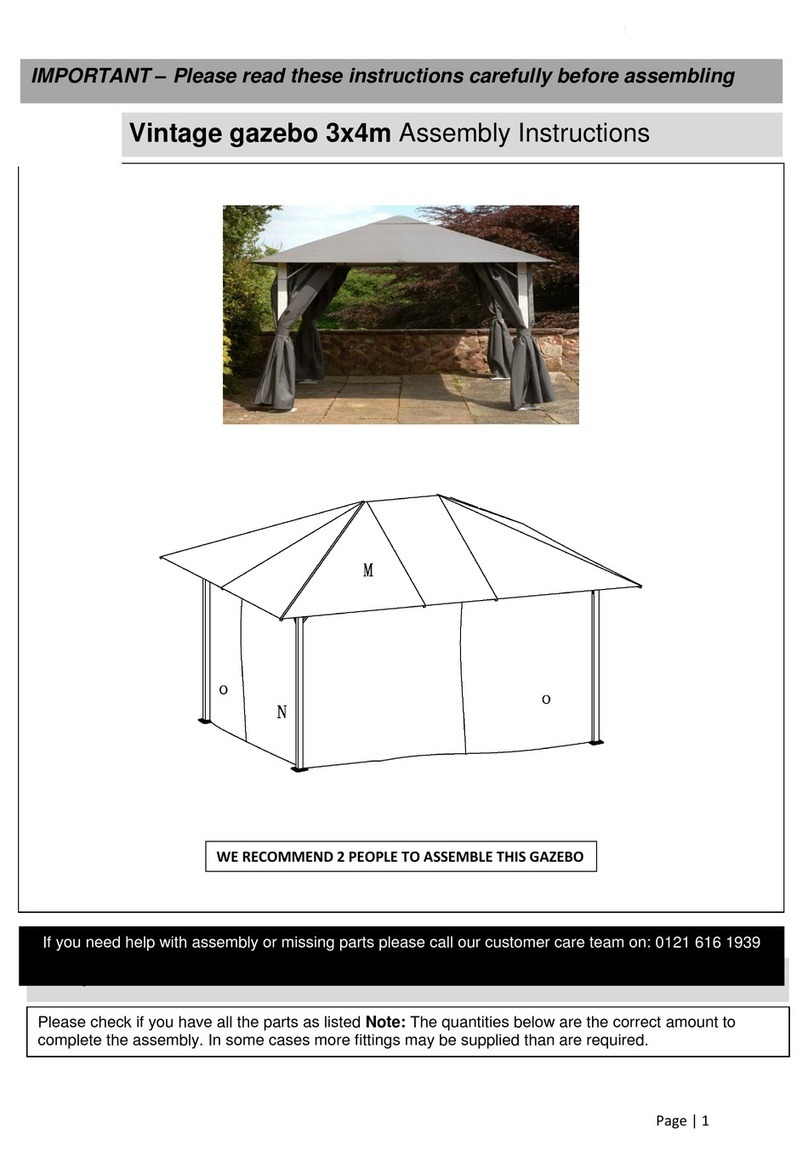
Glendale GL1546 Assembly instructions

Glendale

Glendale GL1546 Assembly instructions
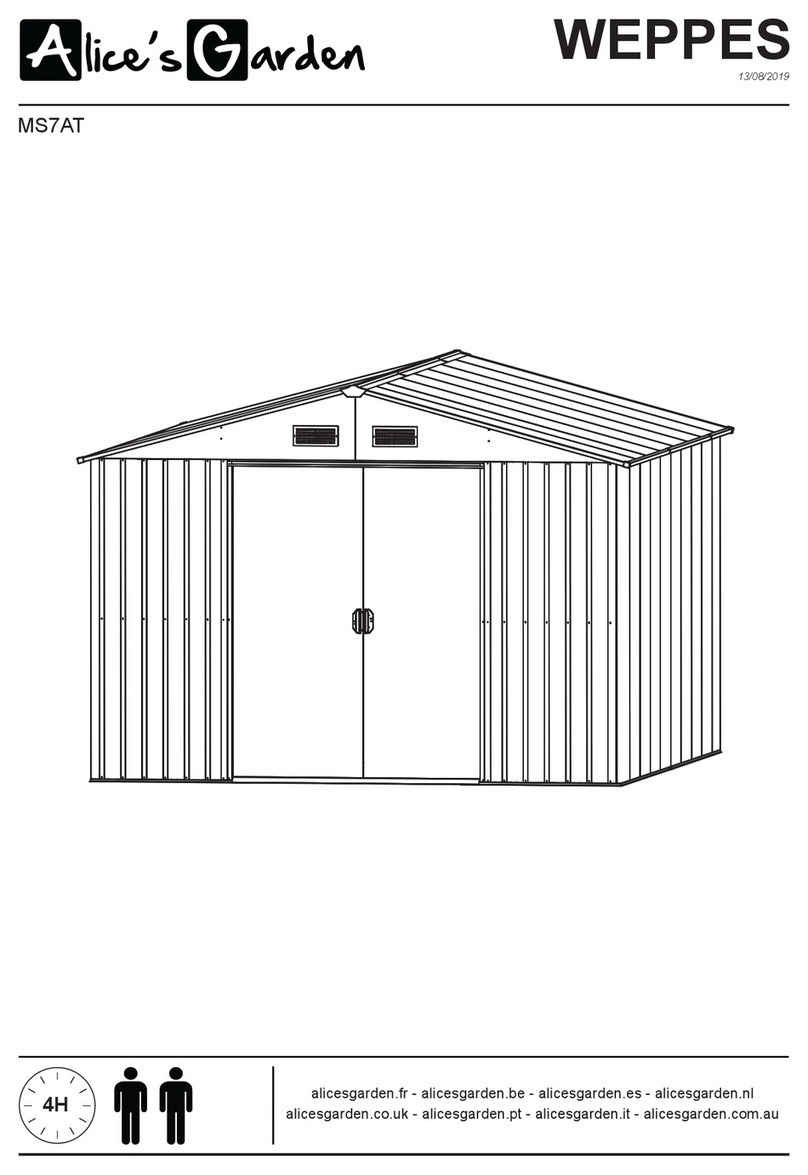
Alice's Garden WEPPES MS7AT Assembly instructions
Alice's Garden

Alice's Garden WEPPES MS7AT Assembly instructions

Forever Redwood RECLINING REDWOOD LOVESEAT Assembly instructions

Forever Redwood

Forever Redwood RECLINING REDWOOD LOVESEAT Assembly instructions
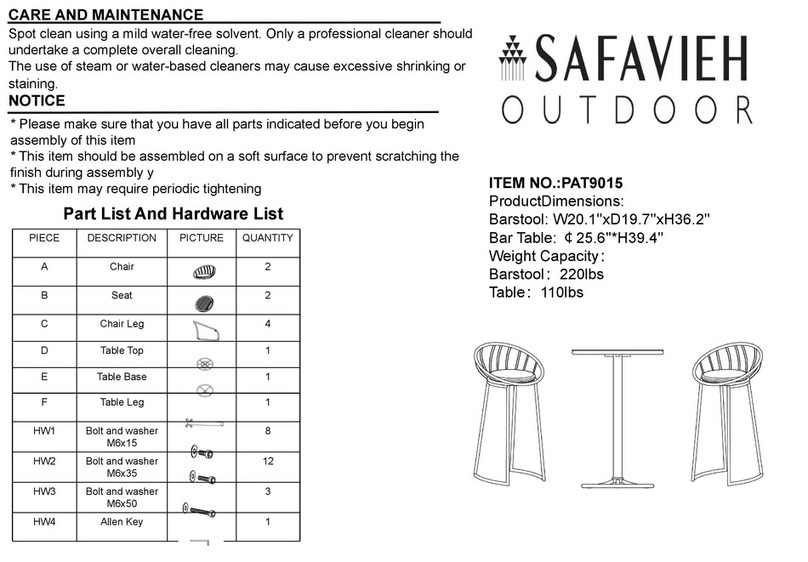
Safavieh Outdoor Lersa PAT9015 quick start guide
Safavieh Outdoor

Safavieh Outdoor Lersa PAT9015 quick start guide

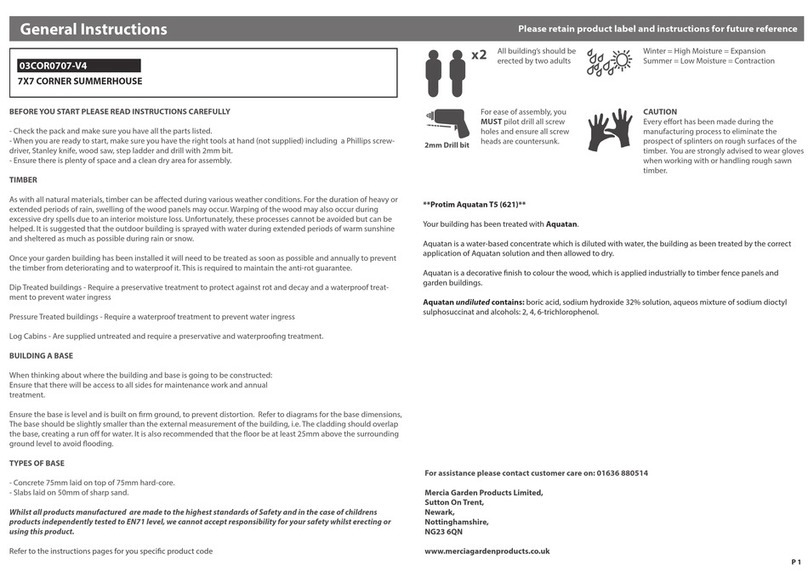
Waltons 03COR0707-V4 General instructions
Waltons

Waltons 03COR0707-V4 General instructions

Kettler SENSE 0105002-9400 Assembly & operating instructions
Kettler

Kettler SENSE 0105002-9400 Assembly & operating instructions

Solid S8205 Assembly instructions

Solid

Solid S8205 Assembly instructions
sweeek. PERUGIA WK3101LQ manual

sweeek.

sweeek. PERUGIA WK3101LQ manual

manuals.online logo
manuals.online logoBrands
  • About & Mission
  • Contact us
  • Privacy Policy
  • Terms and Conditions

Copyright 2025 Manuals.Online. All Rights Reserved.