Version 1.1
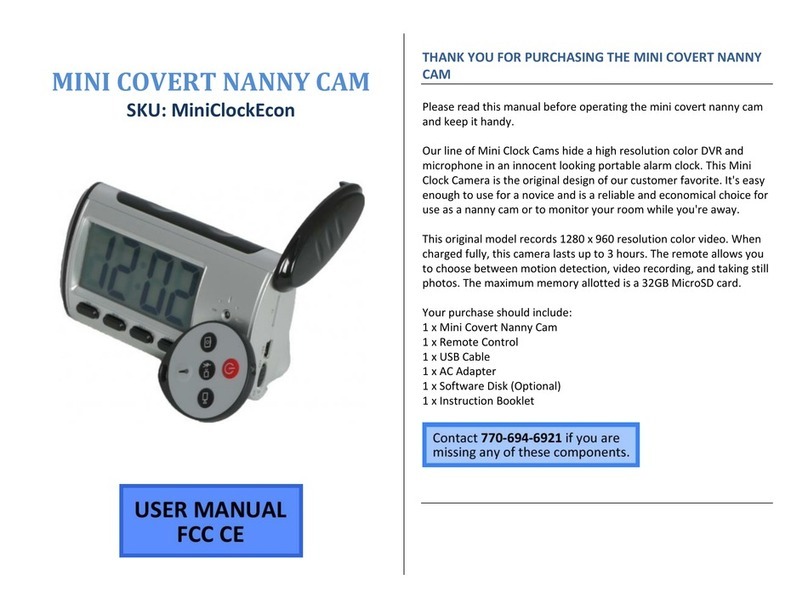
HOW TO TURN ON THE CAMERA
1. Push the Power Button on the
remote.
The blue indicator light will
come on.
HOW TO RECORD VIDEO
1. Push the Video Button on the
remote.
The blue indicator light will
blink 3 times and then turn
off.
The device is now recording.
2. Push the Video Button on the
remote.
The blue indicator light will
turn on.
The device has stopped
recording and saved the
video.
HOW TO TAKE PHOTOS
1. Push the camera button.
The blue light will flash once.
The device has taken a
photo.
HOW TO USE MOTION DETECTION
1. Push the Motion Detection Button
on the remote.
The blue light will flash
rapidly until motion is
detected.
When motion is detected,
the blue light will flash slowly
and then turn off.
The device is now recording
video.
The device will record for 3
minutes before cycling over
to a new video.
If no motion is detected, the
device will stop recording.
2. Push the Motion Detection Button
on the remote.
The blue indicator light will
turn on.
The device has stopped
recording and saved the
video.
HOW TO RESET THE TIME AND DATE
STAMP
1. Visit http://time.mgidownloads.com
2. Choose “MiniClockCam” and your time
zone in the dropdowns and click
download.
3. Plug the device into your computer.
4. Right click and “cut” the downloaded
time file.
5. Locate “Removable Disk” inside the
(My) Computer folder.
a. Go to Start >
Computer >
Removable Disk
6. Open the Removable Disk drive.
7. Right click with your mouse and paste
the downloaded time file.
8. Alternatively, if you cannot get the
above method to work, do the
following:
9. Right click anywhere in the blank white
space.
10. Scroll down to “New”.
11. Click “Text Document”.
12. Rename “New Text Document” as
“time”.
The title must be in all lowercase
letters!
Before Step 8
After Step 8
13. Open the text document.
14. Enter the date/time in the following
format:
a. Example:
2016-11-18 09:53:00
15. Save the text document.
