Updated 06/06/2016 3 Version 1.0
OPERATING THE LMWIFIDOCK
BEFORE YOU START
1. First you must download the PV Cam Viewer app from the
Google Play Store or the iPhone App Store.
oAndroid:
https://play.google.com/store/apps/details?id=cam.ac
.com&hl=en
oiPhone: https://itunes.apple.com/us/app/pv-cam-
viewer/id986625862?mt=8
2. If you wish to enable SD Card recording you must insert a
MicroSD card into the unit.
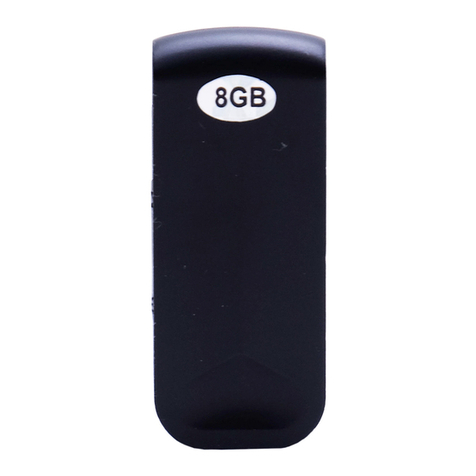
3. To do so, remove the back panel to reveal the MicroSD card
slot.
CONNECTING TO YOUR DEVICE FOR LOCAL VIEWING
1. Turn the WiFi mode on by switching the WiFi switch on the
back of the unit to the “ON” position.
2. Turn the device on by pressing the power switch one time.
3. A blue light will activate while the device is booting up.
4. When the device is booted up, the red and orange lights will
flash on the back of the unit.
5. Turn on your phone’s WiFi and look for the WiFi signal
generated by the device. The WiFi Signal name will match the
ID on the sticker on the bottom of the device.
6. Once the device generates its WiFi signal, connect to it via the
WiFi settings on your phone. The password is 88888888
oNOTE: Some Android devices may produce a warning
that the network has no internet access. If you see this,
choose to connect to the network anyway.
7. After connecting to the WiFi Signal with your mobile device,
open the PV Cam Viewer App.
oNOTE: For iOS devices you must wait until the WiFi
Signal appears next to your Phone Carrier Name in the
status bar at the top of your phone screen.
8. Once the app opens, tap the “Device Management” button.
9. Tap the plus (+) symbol at the top of the screen.
10. Use your device’s camera to scan the QR code on the sticker
on the bottom of the device.
11. All the camera’s information will be filled in automatically
12. Tap “Save”
13. The new camera will be listed in the “Device Management”
screen and will say “Device on-line”
14. Tap the camera to make it your active device and you will be
returned to the home screen of the app.
15. Tap “Recorder Setting” to view the live stream of the camera
video.
16. From this screen, you can choose to use Motion Activated
recording or Normal Mode (continuous recording)
CONNECTING THE DEVICE TO YOUR WIFI FOR REMOTE
VIEWING
1. From the home screen of the app choose “Device
Management”
2. Tap the Settings gear next to your camera
3. Next choose “Internet Wi-Fi Setting”
4. Flip the switch to the “on” position.
5. Tap the “i” with a circle around it in the SSID field.
6. Select your network from the list of available networks.
7. Enter your WiFi password in the password field and press
“Save” at the top right
8. A dialog will pop up that says “operation succeeded”
9. The device will reboot. You will know the device has
connected to your WiFi successfully when the camera shows
Online in device management as “Device on-line”. This may
take up to 5 mins. You may pull down in the list to refresh the
screen.
10. Once the device shows as Online, confirm that it connected to
your WiFi successfully by opening the settings app on your
