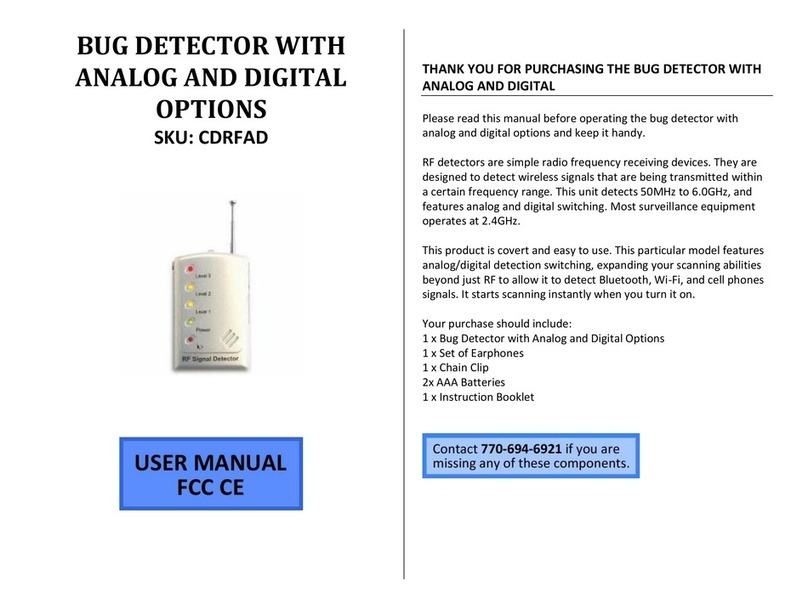
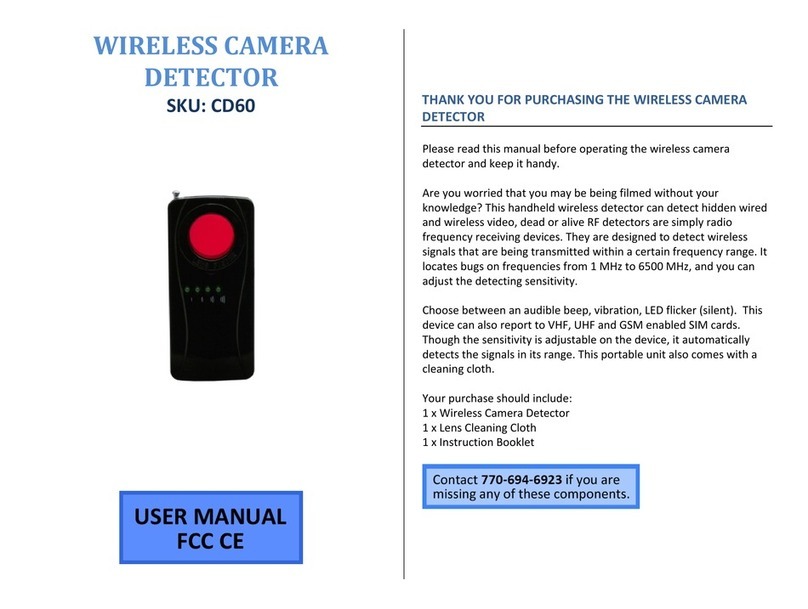
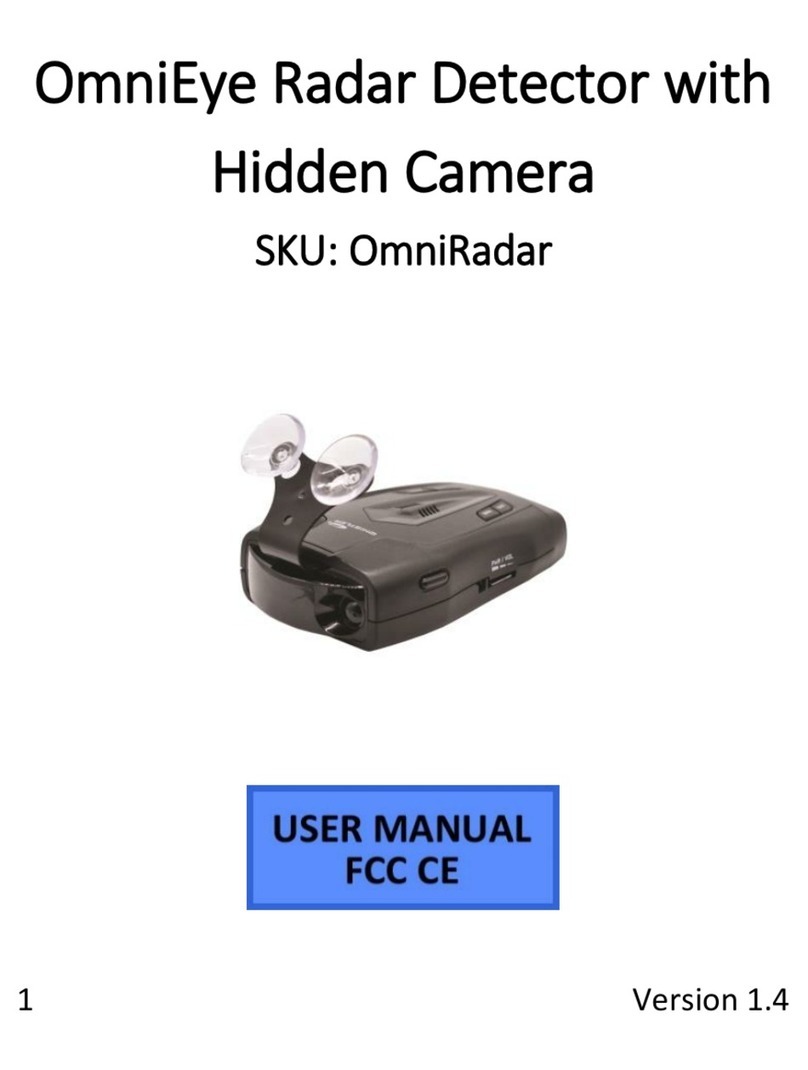
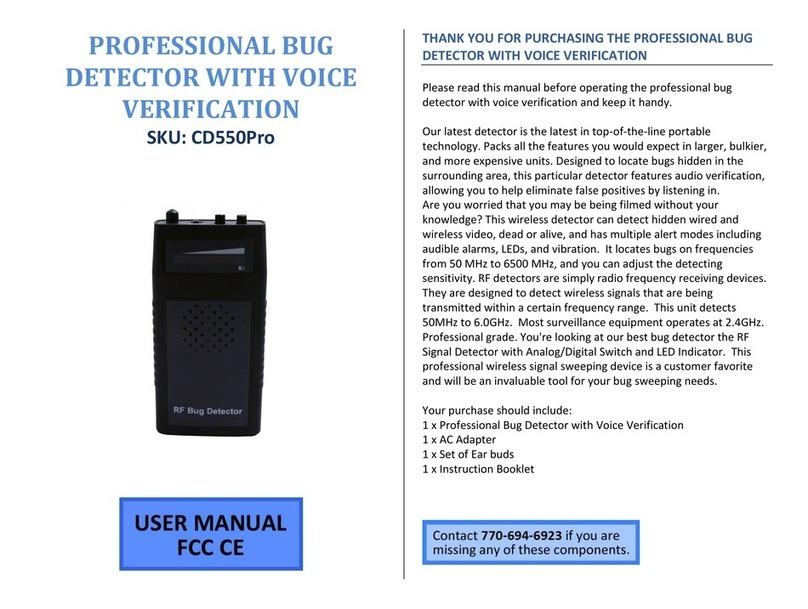
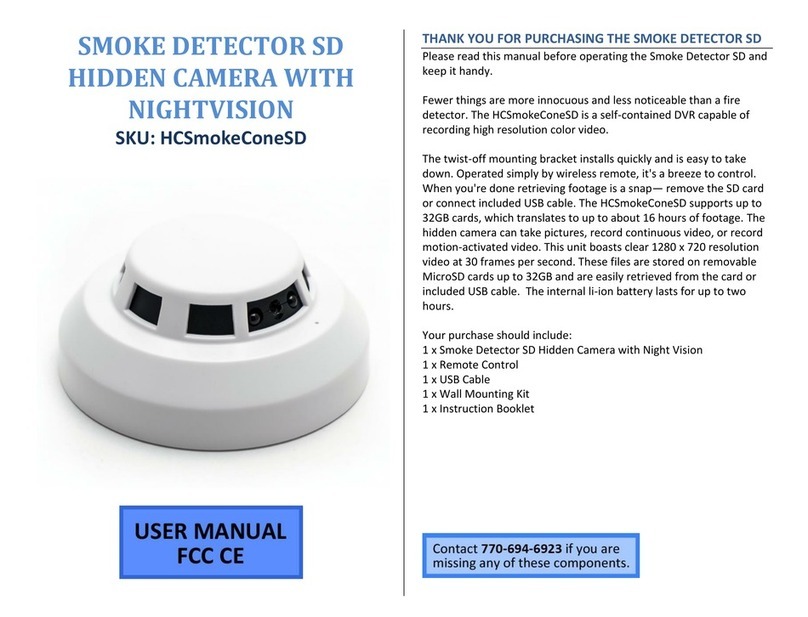
Mini Gadgets OmniXSmoke User manual

1 Version 1.0
OmniXSmoke Detector Hidden
Camera
SKU: OmniXSmoke

2 Version 1.0
THANK YOU FOR PURCHASING THE OMNIXSMOKE
DETECTOR HIDDEN CAMERA
Please read this manual before operating the camera
and keep it handy.
Your purchase should include:
1 x OmniXSmoke
1 x Manual
1 x 16GB MicroSD Card
1 x MicroSD Card Reader
1 x 3.5mm to USB Cable
1 x Remote
1 x AC Adapter

3 Version 1.0
GET FAMILIAR WITH YOUR OMNIXSMOKE HIDDEN
CAMERA

4 Version 1.0

5 Version 1.0
IMPORTANT WARRANY INFORMATION: If the
warranty sticker on your device has been removed or
tampered with, your lifetime warranty will be voided.
You may be charged fees or denied a return should this
happen.
HOW TO CHARGE THE CAMERA
Note: If you are not located in the US, or if you intend
to use this product anywhere other than the US, you
will need to purchase a converter in order to use the AC
wall plug in and avoid damaging the product. Because
different countries use different voltages in their
electrical wiring, you will need a converter that adapts
to the current in your particular country.
1. Connect the wall plug to an outlet.
2. Connect the charging cable to the wall plug.
3. Connect the charging cable’s other end to the
DC Port on the inside of your device.
4. While charging, the LED will blink red.
5. When charging is complete, the LED will be a
solid green.

6 Version 1.0
OPERATING THE CAMERA
HOW TO TURN ON THE CAMERA
1. Point the remote at the device, and press the
power button on the remote. The Green light
will blink once and then the Red light will blink
3 more times and turn off (if motion is detected
immediately). The device is now in motion
detection mode.
NOTE: If the light doesn’t come on, try many different
angles when pressing the power button and pointing it
at the front/top of the unit. Do not hold down the power
button. Press and release the button only.
2. To put the device into standby mode, stop
motion recording by pressing the motion
detection button one time. The Green light will
come on and the device will be in standby
mode.
HOW TO RECORD VIDEO

7 Version 1.0
1. When the camera is in Standby Mode, press the
“Continuous Recording Mode” button (see
page 4). The Indicator LED will flash two times.
2. Once the Indicator LED turns off, the camera is
now recording video.
HOW TO STOP RECORDING VIDEO
1. While the camera is recording video, press the
“Continuous Recording Mode” button once
more. (The Indicator LED will turn on.)
2. The camera has now stopped recording and is
now in Standby Mode.
HOW TO TAKE PICTURES
1. When the camera is in Standby Mode, press the
“Photo Button” (see page 4). The green light
will turn red while the photo is being taken.
2. Once the photo is taken, the light will turn back
to green and once again be in standby mode.
HOW TO RECORD MOTION DETECTION

8 Version 1.0
1. When the camera is in Standby Mode, press the
“Motion Detection” button (see page 4).
2. If motion is detected, the Red light will flash 2
times and turn off.
3. If there is no motion after 1 minute, the device
will return to detection standby mode until
motion is detected again. While waiting, the
Green light will be on.
NOTE: If you activate motion detection and there is no
motion currently in front of the camera, there will be no
indication you have entered into motion mode. The green
light will simply remain on. If you wish to confirm that
you have entered into motion detection mode, wave your
hand in front of the camera lens. The unit will flash the
red light 2 times, then the light will turn off confirming
that the device detected your motion and is now
recording video.
HOW TO STOP RECORDING MOTION DETECTION

9 Version 1.0
1. While the camera is recording motion
detection, press the “Motion Detection” button
once more. (The Indicator LED will turn on.)
2. The camera has stopped recording motion
detection and is now in Standby Mode.
HOW TO RECORD WITH THE PIR SENSOR
Note: The “Motion Detection” mode and “PIR” mode
work similarly in that they detect motion. The “Motion
Detection” mode relies on the camera itself to detect
motion, while the “PIR” mode relies on the PIR sensors
to detect motion. “PIR” represents “passive infrared
sensor”, which relies on measures of infrared light to
detect motion.
Note: Only OmniX Products have a PIR sensor installed.
OmniEye products do not come with this feature.
1. When the camera is in Standby Mode, press the
“PIR” button on the remote (see page 4).
2. The LED will flash Red 3 times and turn off.
3. The unit is now in PIR Mode and is waiting for
motion. When motion is detected, the light will
10 Version 1.0
turn green, then red, and blink 3 times and turn
out. The unit is now recording.
4. To return to standby mode, press the PIR
button again. The light will return green to
indicate the unit is in standby mode.
CHANGING YOUR DEVICE SETTINGS (INCLUDING THE
DATE/TIME STAMP)
Your OmniXSmoke comes with an A/V cable that is
used to connect the device to a monitor/TV so that you
can adjust various settings. See page 3 to locate the AV
port on your device.
1. Connect your device to a monitor/TV using the
provided A/V Cable.
2. Power on the device.
3. Press the motion detection button to stop
recording.
4. Press the “MENU” button on the remote.
5. A menu will display on the screen with various
options (Use OK, UP, Down, and Menu on the
remote to navigate the menu system):

11 Version 1.0
a. Resolution –Select from different
resolutions.
b. Time Stamp –Use this option to enable
or disable the date/time stamp on
videos.
c. Loop Record –Choose whether you
want the device to automatically
overwrite the oldest file on the memory
card if the memory becomes full.
d. Video Time –When in continuous
recording mode, this setting determines
how long video files will be before the
current recording is stopped and a new
recording is started.
e. Audio Record (if applicable) –If you
purchased your device with audio
recording capabilities, you can turn
audio recording ON or OFF here.
f. Motion Detection –Adjust motion
detection sensitivity here.
g. Setup –Enter this menu for additional
settings.

12 Version 1.0
h. Setup -> Format –Use this to format
your MicroSD card. All data on the disk
will be permanently erased.
i. Setup -> Language –Choose your
language.
j. Setup -> TV Output –Select between
NTSC or PAL for video output. We
recommend you do not adjust this
setting.
k. Setup -> Light Freq –Select different
light frequencies. We recommend that
you do not adjust this setting.
l. Setup -> Date Format –Choose from
various date/time formats
(MM/DD/YYYY, DD/MM,YYYY, Etc.)
m. Setup -> Date Input –Set the current
date.
n. Setup -> Time Input –Set the current
time in military format.
o. Setup -> System Reset –Use the is to
factory reset the device.

13 Version 1.0
p. Setup -> FW Upgrade –This is not active
on this device.
q. Setup -> FW Version –Displays the
firmware version of the device.
MICROSD CARD SLOT
To access the MicroSD Card Slot, you must open the
battery compartment of your device. See page 3 to
locate the MicroSD card.
1. Gently push the MicroSD Card into the slot. The
gold contacts on the card will be inserted first,
and they should face the main circuit board.
You will feel some spring resistance before the
card clicks in to place.
a. Never force the card into the Card Slot
under any circumstances. Otherwise,
the unit or the MicroSD card itself will
be damaged.
2. To remove the SD card, gently push the card in
so that it clicks. The internal spring tension will
eject the card.

14 Version 1.0
MicroSD cards 65GB and above will require special
formatting to work. The device will not function with
these cards if they are not properly formatted
beforehand.
Visit www.mgidownloads.com/Software and download
the “guiformat.zip” file. Extract the files and follow the
instructions in the “64GB SD Card Formatting.pdf”
document.
IMPORTANT NOTICE: Ensure that the device is off
before inserting the MicroSD card. Otherwise potential
corruption of the card file(s) may occur.
RETRIEVE THE FILES TO YOUR PC
1. Remove the MicroSD Card from the device and
plug it into your computer using the supplied
card reader.
2. Locate “Removable Disk” inside the (My)
Computer folder.
AutoPlay Removable Disk > Open folder
to view files

15 Version 1.0
Or…
Go to Start > Computer > Removable Disk
3. Open the Removable Disk drive.

16 Version 1.0
4. Open the [folder name] folder.
5. Double click the file you want to view.
VLC Player is recommended for
watching videos.
If you are having video playback issues, such as a
completely black video recording or “squiggly lines”, we
recommend you use VLC media player to play back the
videos. It can be downloaded for free from
www.videolan.org
COPYING AND DELETING YOUR FILES
The video files created are just like any other file on
your computer, and can be managed in the exact same
manner.
To save a file, you want to select the
file, right click your mouse on the file
name, and then choose “Copy” from the
menu. Next, go the location you want
the save the file to. Right click your
mouse, and then chose “Paste.” This will
copy the file to your computer.

17 Version 1.0
To delete a file, right click your mouse
on the file name and choose “Delete”
from the menu. You can quickly select
all of the files by pressing “CTRL+A” on
your keyboard.
If you are using MAC OS X, you must
empty the trashcan after you delete a
file. If this is not done, the SD card will
fill with hidden files, and the device will
no longer record new files.

18 Version 1.0
TROUBLESHOOTING
THE DEVICE WON’T TURN ON
Make sure the battery is charged.
DEVICE CONTINUALLY RECORDS IN MOTION MODE
Motion detection is measured by changing
pixels during recording. Any kind of motion
including shifting shadows or changing lighting
conditions can set off motion detection. Try
adjusting the motion detection sensitivity via
the setup menu.
OTHER PROBLEMS
Call our technical support at 770–694–6923

19 Version 1.0
SPECIFICATIONS
Video
Resolution
1920x1080
Video Format
.MP4
Frames per
Second
Up to 30 FPS
Vision Angle
65°
Battery Life
Up to 30 days in PIR Mode
20 Hours Continuous Recording
Motion
Detection & PIR
Sensor
8 meters for straight-line
distance
Photo
Resolution
2560x1920
Photo Format
.JPG
Type of Memory
External MicroSD Card
Memory
Capacity
Up to 128GB with special
formatting. See
http://mgidownloads.com. Go to
Product Manuals -> 64GB SD
Card Formatting.zip

20 Version 1.0
Recording Usage
10mins per 1GB
USB Interface
2.0 USB
Player Software
VLC recommended
Video
Compression
H.264
Table of contents
Other Mini Gadgets Security Sensor manuals

Mini Gadgets
Mini Gadgets OmniRadar User manual

Mini Gadgets
Mini Gadgets CDB200 User manual

Mini Gadgets
Mini Gadgets CD550Pro User manual

Mini Gadgets
Mini Gadgets HCSmokeConeSD User manual

Mini Gadgets
Mini Gadgets CD60 User manual

Mini Gadgets
Mini Gadgets CDHunter User manual

Mini Gadgets
Mini Gadgets CDRF User manual

Mini Gadgets
Mini Gadgets CDRFAD User manual
Popular Security Sensor manuals by other brands

Det-Tronics
Det-Tronics X Series Addendum

STEINEL
STEINEL IS 1 quick start guide

Inficon
Inficon E-Check Translation of the original operating instructions

Tanda
Tanda TX7110 Installation and operation manual

B.E.G.
B.E.G. LUXOMAT PD9-M-DIM Installation and operating instruction

Guardian
Guardian 04630 instruction manual