manuals.online logo
Brands
  1. Home
  2. •
  3. Brands
  4. •
  5. Mini Gadgets
  6. •
  7. Security Sensor
  8. •
  9. Mini Gadgets CDRFAD User manual

Mini Gadgets CDRFAD User manual

BUG DETECTOR WITH
ANALOG AND DIGITAL
OPTIONS
SKU: CDRFAD
THANK YOU FOR PURCHASING THE BUG DETECTOR WITH
ANALOG AND DIGITAL
Please read this manual before operating the bug detector with
analog and digital options and keep it handy.
RF detectors are simple radio frequency receiving devices. They are
designed to detect wireless signals that are being transmitted within
a certain frequency range. This unit detects 50MHz to 6.0GHz, and
features analog and digital switching. Most surveillance equipment
operates at 2.4GHz.
This product is covert and easy to use. This particular model features
analog/digital detection switching, expanding your scanning abilities
beyond just RF to allow it to detect Bluetooth, Wi-Fi, and cell phones
signals. It starts scanning instantly when you turn it on.
Your purchase should include:
1 x Bug Detector with Analog and Digital Options
1 x Set of Earphones
1 x Chain Clip
2x AAA Batteries
1 x Instruction Booklet
WHICH HIDDEN DEVICES CAN THE BUG DETECTOR WITH
ANALOG AND DIGITAL OPTIONS FIND
This device can detect frequencies within 50MHz –6.0GHz.
Detects all wireless cameras.
Hunts all cellular phones and wireless phones.
Can detect Bluetooth, Wi-Fi, cellular phone and digital spread
spectrum wireless products.
GET FAMILIAR WITH YOUR BUG DETECTOR WITH ANALOG
AND DIGITAL
Vibration
Mode
Alarm
Mode
Off Mode
Weak Indicator Light
Medium Indicator
Light
Strong Indicator Light
Power Indicator Light
Battery Indicator Light
Belt Clip
Battery Cover
Analog
Switch
Digital
Switch
OPERATING THE BUG DETECTOR WITH ANALOG AND
DIGITAL
1. Open the plastic battery cover on the back of the device.
2. Insert 2 AAA batteries.
3. Put the plastic battery cover back into place.
4. Draw out the antenna.
5. Move the Mode Switch into Alarm Mode. The green Power
Indicator Light should be on.
6. Adjust the Sensitivity Dial accordingly.*
During initial set up, turn the sensitivity tuner to the
plus (+) side until the yellow Level 1 indicator light
turns on —or is flickering.
7. Hold the detector close to any area you suspect has a
transmission device.
8. If there is a transmission device, the detection gauge will start
lighting up, and the alarm will begin to sound.
*NOTICE: If you are in an area with little to no transmission devices,
then high sensitivity is suggested.
If you are in an area with many transmission devices, proceed with
the following actions:
1. Move away from all possible transmission devices —
usually by standing in the middle of a large room or going outside.
2. Adjust the sensitivity down until all the indicators lights
are off or at least only the first indicator light is on.
3. Go back inside and start moving around the room you
suspect has a transmission device. As you get closer to the source, the
indicator lights will light up one by one.
Ultimately, you may have to adjust the sensitivity as you go to find
the best level for your environment.
Earphone
Jack
Low
Sensitivity
High
Sensitivity
Chain Clip
Hook
HOW TO USE VIBRATION MODE
1. Move the Mode Switch into Vibration Mode.
In vibration mode, the alarm will not make a sound.
The device will vibrate instead.
HOW TO USE SILENT MODE
1. Move the Mode Switch into Alarm Mode.
2. Plug earphones into the device.
When the alarm sounds, only you will be able to hear it
through your headphones.
ANALOG VS. DIGITAL SELECTION
When the switch is set to either analog or digital, the device will still
pick up both signals, though one signal type will be weaker than the
other.
For example: If the A/D switch is set to "D," digital signals will be
easier to pick up and will appear stronger on the device. If the A/D
switch is set to "A," the device will still pick up digital signals, but you
will have to be very close to the digital transmission device.
Devices that produce an analog signal are wireless cameras, hidden
microphones, and 2-way radios (such as walki-talkis).
To detect devices using an analog signal, make sure the A/D switch is
set to "A."
When detecting analog signals, the detection gauge will light up
without blinking and the alarm will be constant.
Devices that produce a digital signal are Bluetooth, WLAN, Wi-Fi, and
mobile phones.
To detect devices using a digital signal, make sure the A/D switch is
set to "D."
When detecting digital signals, the detection gauge will blink and the
alarm will be sporadic.
HOW TO DIFFERENTIATE BETWEEN WIRELESS CAMERAS,
BUGS, AND MOBILE PHONES
Wireless Cameras
Wireless cameras are almost always on. Some use motion detection,
but once you pass by or approach the camera, it will be in use.
Since wireless cameras are always on, the detection lights will
consistently light up on the bug detector once you are in range.
Mobile Phones
Mobile phone spy devices are not always on. A majority of these
devices are designed to transmit only when the mobile phone rings
and the user answers.
Since mobile phone transmission devices are not always on, the
detection lights will not light up when you hold the detector up to a
mobile phone. You will need to wait until someone calls you and you
answer your phone to use the bug detector.
IMPORTANT NOTICES
If you are not going to use this device for a long period of
time, remove the batteries to prevent damage from battery
leakage.
Unauthorized repair or dismantle of this device will void all
the warranties.
Do not store this device in an excessively hot place.
Avoid dropping this device.
Avoid water.
TROUBLESHOOTING
THE DEVICE WON’T TURN ON
Make sure there are 2 AAA batteries in the back of the device.
Change the batteries.
THE RED INDICATOR LIGHT IS ON
This is the low battery indicator. Replace the batteries.
THE ALARM IS ALWAYS ON AND THE GAUGE LIGHTS ARE
ALWAYS AT FULL CAPACITY
This means there are many transmission devices in your area
and the bug detector is picking up all the frequencies at once.
Lower the sensitivity until just the yellow Level 1 detection
light is on.
OTHER PROBLEMS
Call our technical support at 770-694-6921
SPECIFICATIONS
Frequency
50 MHz –6 GHz
Color
Silver
Dimensions
3.43" x 2.17" x 0.94"
Weight
1.5 lbs.
Power Consumption
2 AAA batteries; Up to 4 hours continuous use

Other Mini Gadgets Security Sensor manuals

Mini Gadgets CDHunter User manual

Mini Gadgets

Mini Gadgets CDHunter User manual

Mini Gadgets CDB200 User manual

Mini Gadgets

Mini Gadgets CDB200 User manual

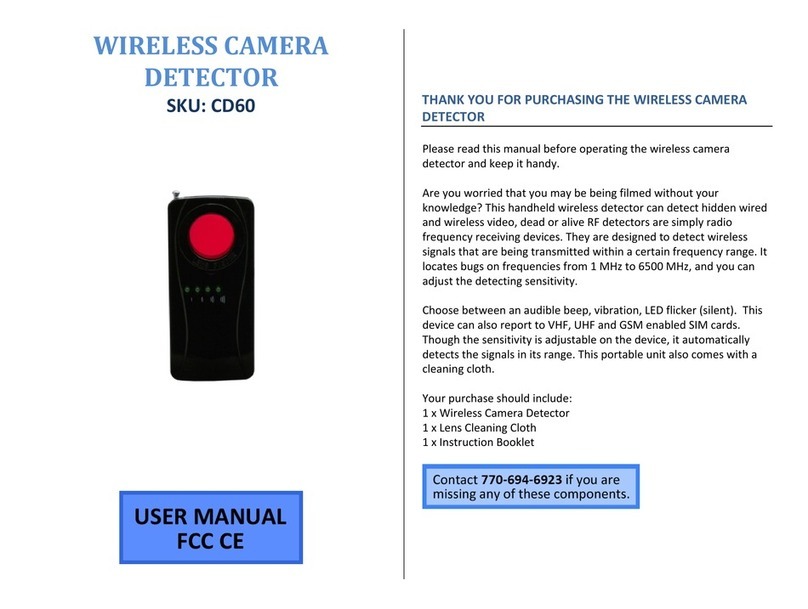
Mini Gadgets CD60 User manual

Mini Gadgets

Mini Gadgets CD60 User manual

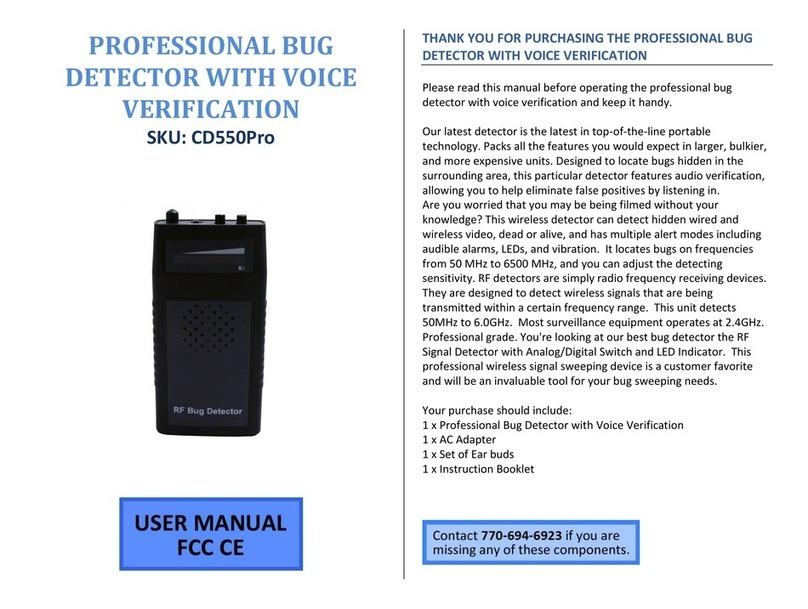
Mini Gadgets CD550Pro User manual

Mini Gadgets

Mini Gadgets CD550Pro User manual

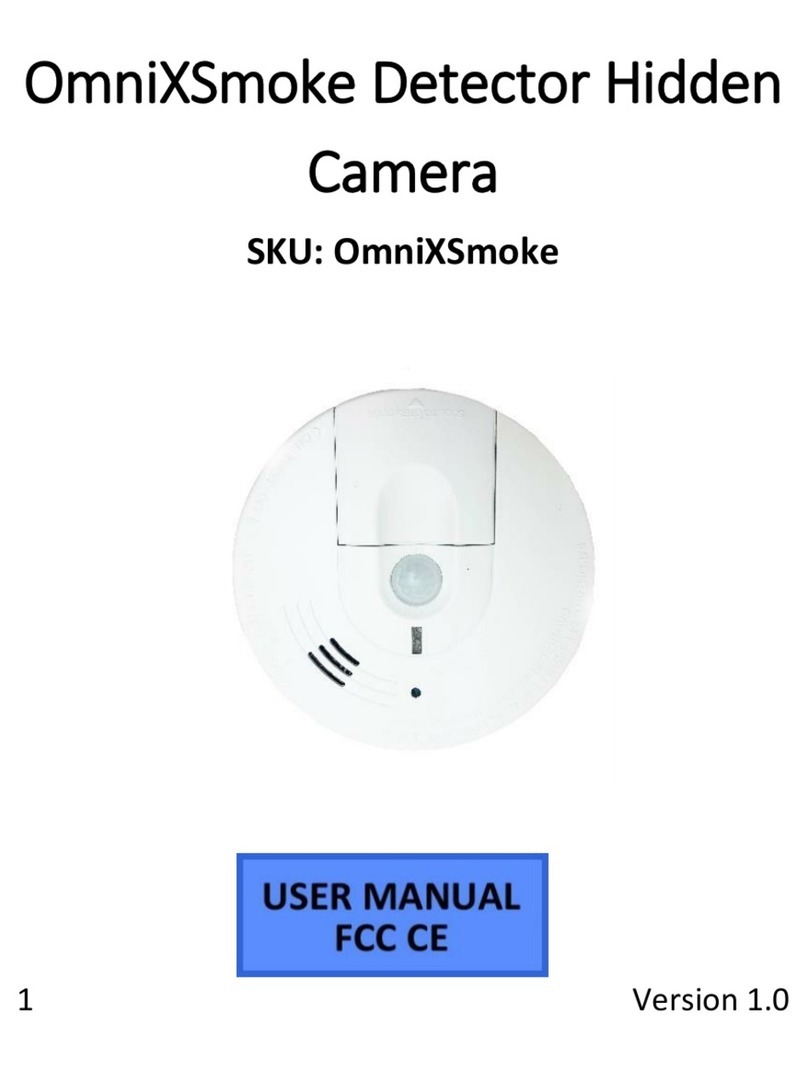
Mini Gadgets OmniXSmoke User manual

Mini Gadgets

Mini Gadgets OmniXSmoke User manual

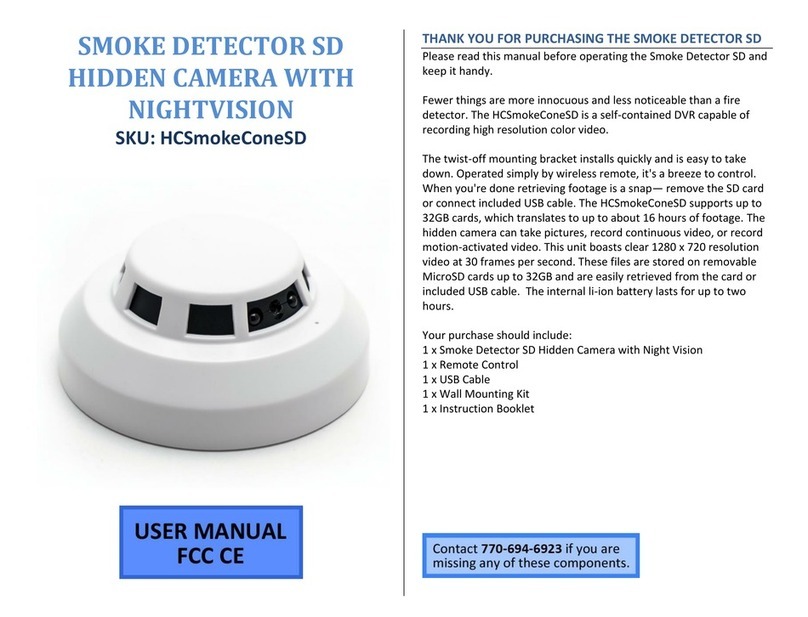
Mini Gadgets HCSmokeConeSD User manual

Mini Gadgets

Mini Gadgets HCSmokeConeSD User manual

Mini Gadgets CDRF User manual

Mini Gadgets

Mini Gadgets CDRF User manual

Mini Gadgets OmniRadar User manual

Mini Gadgets

Mini Gadgets OmniRadar User manual

Popular Security Sensor manuals by other brands

Edwards Signaling E-HD Installation sheet

Edwards Signaling

Edwards Signaling E-HD Installation sheet

Aritech VV600 Plus installation manual

Aritech

Aritech VV600 Plus installation manual

Essence Smartcare Care@Home ES700PIR user guide

Essence Smartcare

Essence Smartcare Care@Home ES700PIR user guide

AJAX MotionProtect Fibra user manual

AJAX

AJAX MotionProtect Fibra user manual

Extech Instruments EMF300 user guide

Extech Instruments

Extech Instruments EMF300 user guide

TRENDnet TEW-T1 Specifications

TRENDnet

TRENDnet TEW-T1 Specifications

Halma BEA IXIO Series quick start guide

Halma

Halma BEA IXIO Series quick start guide

Guardian 04630 instruction manual

Guardian

Guardian 04630 instruction manual

Satel GRAPHITE Pet manual

Satel

Satel GRAPHITE Pet manual

Vision ZP 3102 EU Installation & operation manual

Vision

Vision ZP 3102 EU Installation & operation manual

Honeywell SC105 installation guide

Honeywell

Honeywell SC105 installation guide

iMSENS iMS360 manual

iMSENS

iMSENS iMS360 manual

Pepperl+Fuchs INX360D-F99-I2E2-V15 manual

Pepperl+Fuchs

Pepperl+Fuchs INX360D-F99-I2E2-V15 manual

Radionics TriTech D8535 installation instructions

Radionics

Radionics TriTech D8535 installation instructions

SGB DL Series instructions

SGB

SGB DL Series instructions

Draminski MD2 manual

Draminski

Draminski MD2 manual

Kontrol Kube Advanced Complete owner's manual

Kontrol Kube

Kontrol Kube Advanced Complete owner's manual

Trinity MPS 350 Product Description and Assembly Manual

Trinity

Trinity MPS 350 Product Description and Assembly Manual

manuals.online logo
manuals.online logoBrands
  • About & Mission
  • Contact us
  • Privacy Policy
  • Terms and Conditions

Copyright 2025 Manuals.Online. All Rights Reserved.