LB0261 Rev A 01/2018 © Miramar Labs, Inc. 2018, Confidential Information of Miramar Labs, Inc. Page 10
No treatment-related serious adverse events occurred. Adverse events related to the procedure
or device were generally mild in nature and all but one (compensatory sweating) resolved over
time. The most common reported adverse events related to the device or procedure were
reports of numbness, tingling or sensitivity in the treatment limb (12%), pain or soreness (10%),
swelling in the treatment limb (9%), and blisters/ulcerations/burns (6%). There have been no
reports of late-onset adverse events associated with the device or procedure.
All subjects experienced some mild treatment effects. The most common were vacuum
acquisition “suction” marks caused by the vacuum acquisition of the skin, soreness in the
shoulder or arm due to arm positioning during the procedure, and discomfort/ tenderness in the
treatment area. These were well-tolerated and generally of short duration.
7.2. SINGLE GROUP, COMMERCIAL DEVICE STUDY
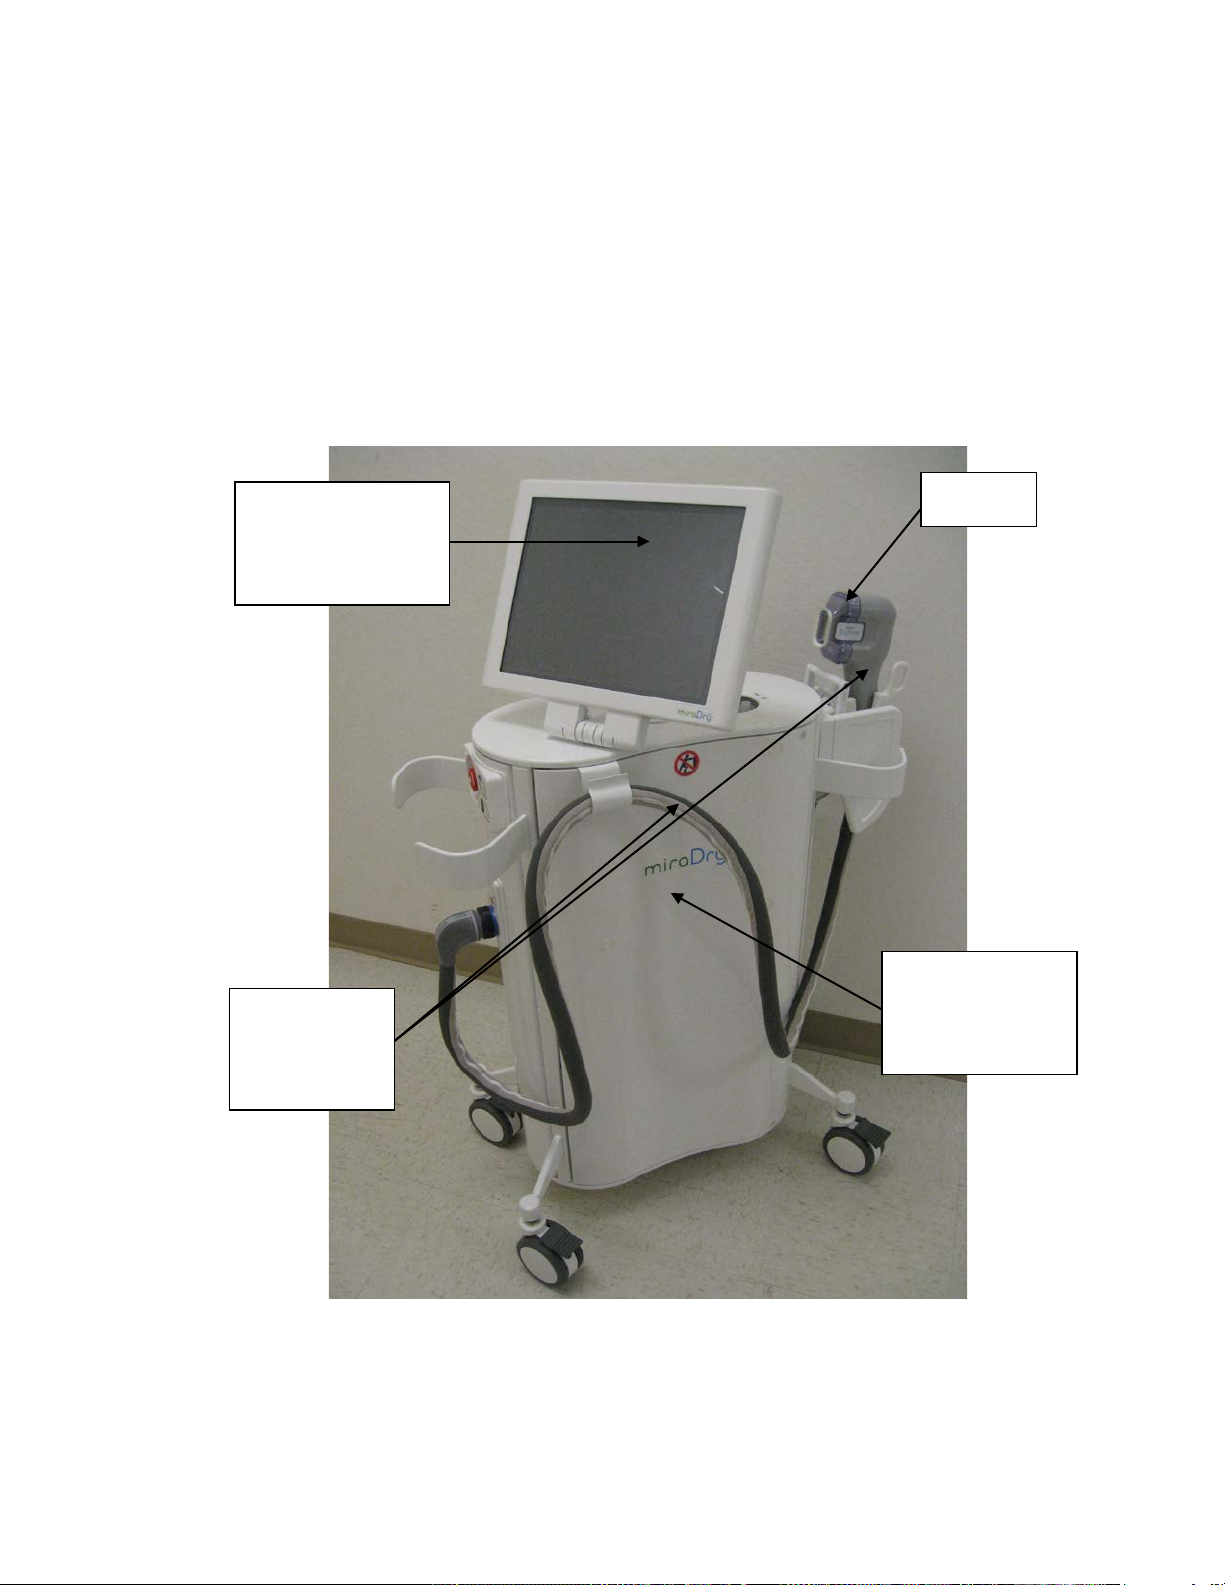
Device:
The device used in this study was the MD3000 version of the miraDry System. This system is
therapeutically equivalent to the MD4000 miraDry System, and the same device parameters
and settings were available.
Study Design:
This study was conducted at two centers, with all subjects receiving treatment in both
underarms. Approximately half of the patients received two treatments, with two to three
months between treatment sessions. 13% of the subjects had only one session; 38% of the
subjects were treated in three sessions, again separated by two to three months. The full
axillae were treated in the first treatment session, with other treatment sessions “touching-up”
any remaining areas of sweat. Microwave Energy Setting 3 was used for the first treatment
session for 74% patients, with increased settings used for subsequent sessions depending on
the subject’s acceptance of side effects. Lower initial energy settings were used for patients
with low axillary fat.
Formal office follow-up visits were conducted at 1 month, 3 months, 6 months and 12 months
post final treatment. Last-observation-carry-forward was used to impute missing data.
Subjects:
Thirty-one adult subjects were enrolled; 26 of those subjects completed the final follow-up visit.
The mean age of the patients was 33 years; 75% of the subjects were female and 87% were
Caucasian. All subjects had HDSS scores of 3 or 4 at baseline.
Results:
As with the prior study, the primary endpoint examined the percentage of subjects that reduced
their HDSS scores to a value of 1 or 2 at the 1 month follow-up visit. This value was 90.3%
(28/31) and the result remained stable and above 90% for all subsequent visits. The average
reduction in sweat as measured by weight was stable at 82%±1% for all follow-up visits. Patient
satisfaction (% of patients that were “very satisfied” or “somewhat satisfied”) was 89% or above
at all follow-up visits.
Most subjects experienced acute mild transient post-treatment effects such as localized edema,
discomfort, bruising and erythema. 61% (19/31) of subjects experienced at least one (1)
treatment-related adverse event (AE); 88% of AE’s were rated as mild (Grade=1) in severity.
The most common AE’s were numbness or tingling in an area of the treatment limb (n=12
subjects, 39%) and short-term (~1 week) edema in the chest or treatment limb (n=8 subjects,
26%). One subject experienced treatment-related neuropathy of the left tricep muscle after the
first treatment session that was resolving at 6 months, after which she was lost to follow-up.