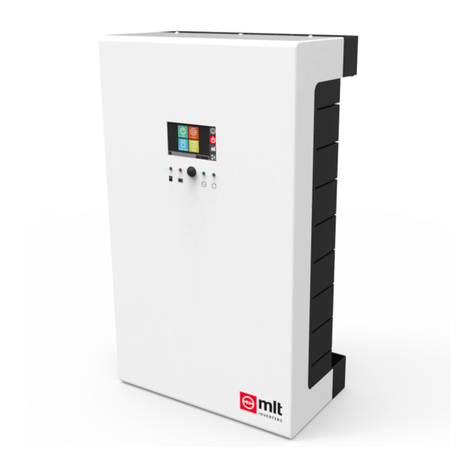
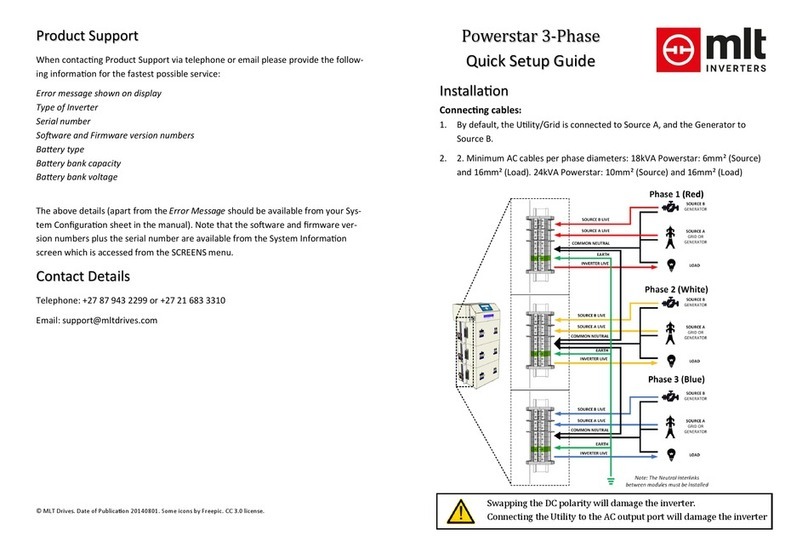
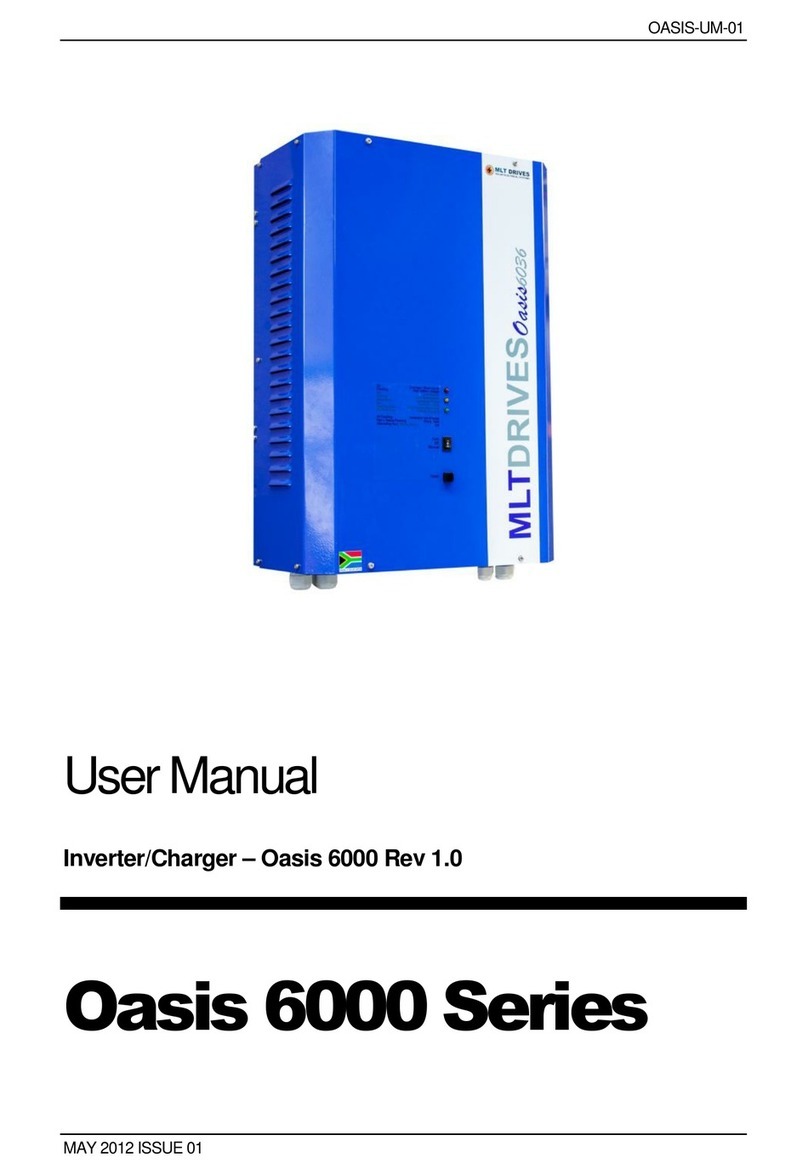
MLT Inverters Oasis 436 User manual

+
OASIS
User Manual

© 2016 MLT Inverters
4th Edition – April 2016
OASIS USER MANUAL PAGE 1

Oasis Series User Manual
Table of Contents
1. Introduction .......................................................................................................................... 6
1.1 Warnings and Cautions................................................................................................ 6
1.2 Contacting MLT Inverters ............................................................................................ 7
1.2.1 Product Support................................................................................................... 7
1.2.2 Contact Details..................................................................................................... 7
1.2.3 Telephone ............................................................................................................ 7
1.3 System Specifications................................................................................................... 8
1.3.1System Ratings..................................................................................................... 8
1.3.2 AC Input................................................................................................................ 8
1.3.3 DC Specifications.................................................................................................. 8
Connectors ..................................................................................................................... 8
1.3.4 Efficiency .............................................................................................................. 9
1.3.5 General Specifications ......................................................................................... 9
1.3.6 Climatic Conditions.............................................................................................. 9
1.3.7Operator Panel .................................................................................................... 9
1.3.8 Altitude Derating ............................................................................................... 10
1.4 System Description .................................................................................................... 11
1.4.1 Typical Off-grid or Self Consumption Application............................................ 11
1.4.2 Typical Grid-tied Application............................................................................. 11
1.4.3 Basic Generator or Load Control ...................................................................... 11
2. Advanced Features .............................................................................................................13
2.1Battery Cycling............................................................................................................13
2.2 Auxiliary Relay control ............................................................................................... 13
2.2.1 Battery Critical ................................................................................................... 13
2.2.2 High Load ...........................................................................................................13
2.2.3 Overload.............................................................................................................13
PAGE 2OASIS USER MANUAL

2.3 Load Sense.................................................................................................................. 14
2.4 MLT Bridge Communications (Optional Add-on) ..................................................... 14
3. Mounting and Electrical Connections ...............................................................................15
3.1 Installing the Oasis inverter ....................................................................................... 15
3.1.1 Selecting a suitable location..............................................................................15
3.1.2 Mounting ........................................................................................................... 15
3.1.3 Making the electrical connections....................................................................16
3.1.4 Battery Bank Size ...............................................................................................18
3.1.5 Powering up the Oasis....................................................................................... 18
3.1.6 Powering down the Oasis ................................................................................. 19
4. Inverter Operation Indicators............................................................................................21
4.1 Inverter Status ............................................................................................................21
4.2 Battery Status ............................................................................................................. 21
4.3 Source Status..............................................................................................................21
4.4 Load Status ................................................................................................................. 21
4.5 Special Combinations.................................................................................................21
5. Interface ..............................................................................................................................22
5.1 On/Off Button ............................................................................................................ 22
5.2 System Icons............................................................................................................... 22
5.3 Dashboard .................................................................................................................. 22
5.4 Control Panel .............................................................................................................. 23
5.5 Graphing and Logs...................................................................................................... 24
5.5.1 Source Graphs....................................................................................................24
5.5.2 Load Graphs ....................................................................................................... 25
5.5.3 Battery Graphs................................................................................................... 25
5.5.4 Event logs ........................................................................................................... 26
5.5.5 Production Logs .................................................................................................28
5.6 Settings ....................................................................................................................... 29
5.6.1 Settings Menu....................................................................................................29
OASIS USER MANUAL PAGE 3

5.6.2 Setup Alarms......................................................................................................30
5.6.3 Date & Time .......................................................................................................31
5.6.4 Relay Control...................................................................................................... 32
5.6.5 Battery Cycle...................................................................................................... 33
5.6.6 Battery Setup .....................................................................................................34
6. Configuration ......................................................................................................................37
6.1 DIP Switch configuration............................................................................................37
6.2 Connecting an external AC source ............................................................................ 37
6.2.1 Preparation ........................................................................................................37
6.2.2 Installing a Source.............................................................................................. 37
7. Configuration Switches ......................................................................................................38
7.1 DIP Switch Table......................................................................................................... 38
7.1.1 Description of DIP functionality ........................................................................ 38
8. Grid-tied Inverters ..............................................................................................................41
8.1 General .......................................................................................................................41
9. About Batteries...................................................................................................................42
9.1 General ....................................................................................................................... 42
9.1.1 Sealed Lead-Acid Batteries................................................................................ 42
9.1.2 Deep Cycle Lead-Acid Batteries ........................................................................ 42
9.1.3 Lithium Batteries................................................................................................42
9.2 Battery Bank Location................................................................................................ 42
9.3Maintenance .............................................................................................................. 42
9.4 Replacing a Battery .................................................................................................... 43
9.5 Lead-Acid Battery Charging ....................................................................................... 43
9.5.1 Charging Stages..................................................................................................43
9.5.2 Battery charger settings .................................................................................... 44
9.6 Lithium Battery Charging ........................................................................................... 45
9.6.1 Battery charger settings .................................................................................... 45
10. About Solar Panels..............................................................................................................46
PAGE 4OASIS USER MANUAL

10.1 Introduction................................................................................................................ 46
10.2 Using a Solar System with the Oasis..........................................................................46
10.3 Battery charger settings............................................................................................. 46
11. Trouble Shooting ................................................................................................................47
11.1 Faults........................................................................................................................... 47
11.2 Typical Problems ........................................................................................................ 47
11.2.1 My Oasis’ screen fails to respond or a does not appear to be working47
11.2.2 Why does the Oasis not connect to a running generator? ................... 47
11.2.3 Why does the generator connect and then immediately drop out?.... 48
11.2.4 Why didn’t I get the usual capacity from my storage batteries? ..........48
11.2.5 Why doesn’t my Oasis ‘wake up’ when I switch on a load?.................. 48
12. Glossary ...............................................................................................................................49
Appendix A: Single Line Wiring Diagram .....................................................................................50
Figures
Figure 1: De-rating the Oasis inverter output power at high altitude ........................................ 10
Figure 2: Identifying parts of the Oasis......................................................................................... 12
Figure 3: Wall mounting................................................................................................................ 16
Figure 4: AC Input/output Connections on the Oasis.................................................................. 18
Figure 5: DC cables ........................................................................................................................ 19
Figure 6: Oasis DC connections..................................................................................................... 20
OASIS USER MANUAL PAGE 5

1. Introduction
1.1 Warnings and Cautions
A safety instruction (message) includes a hazard alert symbol and a signal word, WARNING or
CAUTION. Each signal word has the following meaning:
HIGH VOLTAGE: This symbol indicates the presence of a high voltage. It calls your
attention to items or operations that could be dangerous to yourself or others
operating this equipment. Read the message and follow the instructions carefully.
WARNING: Indicates a potentially hazardous situation which, if not avoided, can result
in serious injury or death.
CAUTION: Indicates a potentially hazardous situation which, if not avoided, can result
in minor to moderate injury, or serious damage to the product. The situation
described in the CAUTION may, if not avoided, lead to serious results.
GENERAL WARNINGS
DANGER OF ELECTRIC SHOCK. There are no user serviceable parts inside the inverter. DO NOT attempt to make
repairs or alterations to the unit.
WARNING: This equipment should be installed, adjusted, and serviced by qualified electrical maintenance
personnel familiar with the construction and operation of the equipment and the hazards involved. Failure to
observe this precaution could result in personal injury.
GENERAL CAUTIONS
CAUTION: Always wear personal protective equipment (protective clothing, gloves, and safety boots) while
performing an installation or maintenance, to avoid the danger of injuries.
CAUTION: Proper grounds, disconnecting devices, e.g. bypass boxes and other safety devices and their location
are the responsibility of the user and are not provided by MLT Inverters.
CAUTION: Do not cover the device or store it in a small space - always keep it well ventilated and well away from
flammable gases or powders. Components in the device could potentially cause a small electric spark that could
ignite flammable gas or powders. Flammable gases are created by batteries and can become a hazard in poorly
ventilated spaces.
CAUTION: For indoor use only and MUST be installed in a dry area free from conductive liquids or conductive
debris. If part of the inverter becomes submerged in water look for a safe way to isolate it at the distribution
board and if possible at the batteries.
PAGE 6OASIS USER MANUAL

1.2 Contacting MLT Inverters
1.2.1 Product Support
When contacting Product Support via telephone, email or fax please provide the following information
for the fastest possible service:
Type of Inverter
Serial number
Battery type
Battery bank capacity
Battery bank voltage
A description of the event
Note that the serial number is available on the serial plate that is attached to the bottom of the machine
inside the cover.
1.2.2 Contact Details
Telephone: +27 (0) 21 201 1335
Email: info@mltinverters.com
Address: 103 Garfield Road
Kenilworth 7708
Cape Town
South Africa
1.2.3 Telephone
You can reach technical support by telephone directly Monday to Friday between 08h00 and 17h00
(GMT +2 hours). Queries outside of these hours should be directed to support@mltinverters.com and
will be answered at the earliest opportunity. When contacting technical support, please ensure that
you have the information listed above available.
OASIS USER MANUAL PAGE 7

1.3 System Specifications
1.3.1 System Ratings
Oasis 436 / 448
Oasis 636 / 648
Rated Voltage / Frequency 1ø / 230 V / 50 Hz 1ø / 230 V / 50 Hz
Continuous Rated Output Power 4 kVA 6 kVA
Half-hour Rated Output Power 5 kVA 8 kVA
Rated Output Current 17 A (40 A with AC source) 26 A (60 A with AC source)
Maximum Output Current 22 A (for 30 mins), 34 A (for
2s), 40 A (with AC source)
35 A (for 30 mins), 52 A (for
2s), 60 A (with AC source)
THD V (at rated power) < 5 % < 5 %
Protection Surge, Overload, Short circuit, Over temperature, Reverse
power, Low / High battery voltage, Source over/under
voltage/frequency
Changeover time Less than 30ms changeover time after source failure.
1.3.2 AC Input
Input Voltage Range 185 .. 250 V 185 .. 250 V
Input Frequency Range 42 .. 65 Hz 42 .. 65 Hz
Rated Input Current 40 A 60 A
1.3.3 DC Specifications
Battery Voltage (Nom.) 36 / 48 V 36 / 48 V
Charging Voltage 42.3 / 44.1 V (36 V) and 56.4 / 58.8 V (48 V)
Max. Charging Current 25 / 50 A (36 V) & 20 / 40 A (48 V) 30 / 60 A (36 V) & 25 / 50 A (48 V)
Battery Technology Lead-Acid, Li-Ion
(Contact MLT Inverters for details on supported Batteries)
Connectors
DC Input 10 x 35 mm² Lugs 10 x 50 mm² Lugs
Rated Output Power 10 mm² Terminal Block 16 mm² Terminal Block
PAGE 8OASIS USER MANUAL

1.3.4 Efficiency
Oasis 436 / 448
Oasis 636 / 648
Efficiency Up to 94 % Up to 94 %
No Load Power Consumption (On) < 35 W < 40 W
No Load Power Consumption
(Load Sense)
6 W 6 W
1.3.5 General Specifications
Mounting Method Wall Mounted
Dimensions (W x H x D) 355 x 580 x 210 mm 380 x 700 x 210 mm
IP/NEMA Rating IP20 / NEMA1 IP20 / NEMA1
Colour RAL9002 / RAL9011 RAL9002 / RAL9011
Weight 43 kg 62.5 kg
Architecture Galvanically Isolated, Forced Air Cooling
1.3.6 Climatic Conditions
Ambient Temperature -5 .. 45 °C
Ambient Transport Temperature
-25 .. 70 °C
Maximum Ambient for Rated Power 40 °C
Relative Humidity (Non-Condensing) 5 .. 85 %
Maximum Altitude for Rated Power 1000 m above sea level
(Power derated for High Altitude)
1.3.7 Operator Panel
Display Type Full Colour Touch Screen 4.3” LCD; 24h logs of source
power, load power, battery state of charge and Events
All specifications listed above performed at nominal voltage, frequency and temperature unless
otherwise noted.
OASIS USER MANUAL PAGE 9

1.3.8 Altitude Derating
Figure 1: De-rating the Oasis inverter output power at high altitude
80
82
84
86
88
90
92
94
96
98
100
0 500 1000 1500 2000 2500 3000 3500 4000
Percentage of Rated Power
Altititude Above Sea Level in Meters
Percentage of rated power vs Altitude
PAGE 10 OASIS USER MANUAL

1.4 System Description
The Oasis inverter range offers a cost-effective and reliable solution to the home or farm owner faced
with unreliable or no grid electricity supply.
The inverter operates at low-voltage DC and is transformer-based, which translates to a robust and
safe product that guarantees trusted power in the harshest environments.
The Oasis inverter system can be configured in various ways, and some examples are shown below.
1.4.1 Typical Off-grid or Self Consumption Application
The Oasis inverter is ideal for off-grid installations
where the renewable source of power is fed directly
into the batteries. The Oasis converts the battery
power into clean AC power that the load can use. The
built-in battery charging function allows the use of a
backup generator or the grid without the need for
external battery chargers.
The Oasis can be configured to maximise self-
consumption of renewable power by disconnecting from the grid during specified times, enabling
optimal use of all available renewable power.
1.4.2 Typical Grid-tied Application
The Oasis inverter will act as a backup supply to provide
power from the batteries in the event of a grid failure.
Installing a solar PV inverter on the load side will allow
efficient use of solar energy and any excess generated
power will automatically be used to charge the batteries
or be exported to the grid.
1.4.3 Basic Generator or Load Control
In off-grid systems, the Oasis inverter can automatically start the
generator when the battery voltage is low or an overload occurs.
The Oasis synchronises with the generator before connecting the
load. When the charge cycle is complete, or when the overload
disappears, the Oasis will turn off the generator and transition back
to stand-alone mode.
The Oasis can also be used to turn on / off specific loads based on low battery voltage or overload.
OASIS USER MANUAL PAGE 11

Figure 2: Identifying parts of the Oasis
PAGE 12 OASIS USER MANUAL

2. Advanced Features
2.1 Battery Cycling
The Oasis can be configured to maximise self-consumption of renewable
power by disconnecting from the grid or source during specified user
determined times, enabling optimal use of all available renewable power. In
some cases where peak demand prices are increased, the Oasis can thus be
programmed to utilise battery power through these periods.
2.2 Auxiliary Relay control
A single, no voltage auxiliary relay can be controlled with three user settings.
This relay can be used to control external load relays, a generator or any other
simple binary logical circuit you can think of.
2.2.1 Battery Critical
If the battery bank is being depleted, with no external recharging, eventually a battery low state will
occur. If this continues for long enough a Battery Critical state is reached. When a Battery Critical stage
is reached, the auxiliary relay will be engaged.
This allows, for example, a generator to be connected and automatically start.
2.2.2 High Load
If the inverter’s capacity is approaching close to the maximum rated capacity, the auxiliary relay will be
engaged.
This allows, for example, a contactor to be connected and automatically engage to connect the source
to the load whenever the load is high, saving battery capacity and decreasing operational costs.
2.2.3 Overload
When an overload flag is set, the auxiliary relay will be engaged.
This allows, for example, a contactor to be connected to the grid and automatically engage to connect
the source to the load whenever the load is exceeded.
Since there is only one relay, setting more than one option will perform action for all three states. The
typical use for the setting all three is to start a generator when the battery goes low or the load is higher
than is economical to run purely of batteries.
OASIS USER MANUAL PAGE 13

2.3 Load Sense
The load sensing feature is used to save power on batteries when there is no
load (at night with all the lights and geyser off). The Oasis draws more power
when operating (converting AC to DC) that when in standby (no AC output)
therefore if there is no load to supply the inverter will go into a “sleep mode”
to conserve battery power and check every few seconds if there is load
connected to its output. If a load has suddenly been connected (someone turns
on a light) then the oasis will power that load.
2.4 MLT Bridge Communications (Optional Add-on)
The Bridge external optional add-on enables browser-based internet monitoring and control of the
Oasis inverter. The Bridge must be connected to an internet network.
Visit our website for further details.
PAGE 14 OASIS USER MANUAL

3. Mounting and Electrical Connections
3.1 Installing the Oasis inverter
For optimal performance, please refer to the following instructions regarding the installation and setup
of your newly purchased Oasis.
3.1.1 Selecting a suitable location
When selecting a location to mount your Oasis inverter, take note of the following:
1. The Oasis should be mounted indoors, in a well-ventilated area out of direct sunlight,
where the ambient temperature does not exceed 45°C (inverter derating applies).
2. The Oasis is designed to be wall-mounted, and must therefore be installed upright in a
vertical position, with a clearance of 200mm above and below, to allow sufficient cooling
and airflow. The wall must be able to take the full weight, otherwise use a mounting
frame.
3. The battery leads should be as short as possible, so that the Oasis inverter will need to
be in close proximity to the batteries. (Standard cables are supplied with the inverter).
4. While charging the batteries, the Oasis inverter will emit an audible hum. This should be
taken into account when selecting a suitable location.
Note: At high altitudes natural thermal convection (natural thermal cooling) of the all electrical
equipment is degraded. This is due a lower air density available to remove heat from the heatsink. In
accordance with the standards, the Oasis is rated for altitudes up to 1000m above sea level. If it is going
to be installed in an area where the altitude is greater than 1000m above sea level, refer to the power
derating graph (Figure 1) to establish the maximum continuous load.
3.1.2 Mounting
The Oasis is designed to be wall-mounted. Once a suitable location has been chosen, use the following
information as a guide to make the mounting process easier:
1. Using a 10mm masonry drill bit, drill 3 holes 55mm deep and 124mm apart. It is
recommended to use the bracket as a template.
2. Insert the M8 wall anchor bolts through the bracket into the holes, and tighten with a
13mm spanner, fixing the bracket to the wall.
3. Using at least two people, hold the Oasis vertically and lift it onto the mounting bracket.
Caution: The Oasis is quite heavy; dropping it could result in personal injury and
damage to the machine. It is therefore recommended that this step be performed by
a minimum of two people, or using a mechanical block-and-tackle.
OASIS USER MANUAL PAGE 15

Figure 3: Wall mounting
3.1.3 Making the electrical connections
Once your Oasis has been mounted on the wall, you can begin making the electrical connections.
Follow these steps to make the task as simple as possible.
Caution: Failure to follow these instructions carefully could increase the risk of
personal injury, death or damage to property or equipment.
Ensure that any electrical connections is dead before touching any potential live
wiring. Certain electrical connections must be performed by a qualified electrician. If
in doubt about anything, contact MLT Inverters for assistance.
1. Remove the screws that secure the removable bottom cover.
2. The ‘Load’ connections inside the Oasis will need to be connected into your distribution
board to provide power to your house. These connections should be made with a
minimum size of 10mm² for the 3kVA and 4kVA models, and 16mm² for the 6kVA
models. Take care to connect the Live wire to the ‘L’ terminal and the Neutral wire to
the ‘N’ terminal.
3. If you are installing a generator, make sure it is switched off and any ‘Automatic starting’
circuitry is disabled before continuing. Referring to Figure 4, bring 10mm² for the 3kVA
and 4kVA models, and 16mm² for the 6kVA model, sized cables into the ‘Generator’
terminals of the Oasis, taking care to connect the Live wire to the ‘L’ terminal and the
PAGE 16 OASIS USER MANUAL

Neutral wire to the ‘N’ terminal. Connecting the generator incorrectly could cause
damage to the unit.
4. If the Oasis is being used without a generator, the ‘Generator Neutral’ terminal inside
the unit must be connected to the Earth so that external earth-leakage protection
devices can operate correctly. In installations with a generator, the generator chassis
must be grounded to the same earth as the Oasis.
5. The ‘Earth’ terminal inside the Oasis must be grounded to reduce the risk of electrical
shock and to ensure that external earth-leakage protection device can operate correctly.
6. The Oasis comes from the factory with battery leads included. Tighten the cables to the
DC terminal connections, taking care to observe the polarity. It is not recommended that
these be lengthened. If, however, replacing the DC cables is unavoidable, make sure to
use cables of the same size, length and rating (35mm²) to avoid any problems.
7. Once all the electrical connections have been made, double-check that they are secure,
as a loose connection could get hot enough to cause a fire.
Note: External protection devices such as fuses, circuit breakers and earth-leakage protection are the
responsibility of the owner, and not of MLT Inverters. MLT Inverters cannot be held responsible for
personal injury, death or damage to property or equipment caused by the improper use or installation
of this equipment. It is therefore recommended that all the electrical connections must be made by a
qualified electrician or an MLT Inverters approved installer.
OASIS USER MANUAL PAGE 17

Figure 4: AC Input/output Connections on the Oasis
3.1.4 Battery Bank Size
If using a lead-acid battery bank, please ensure that the battery bank size is a minimum of 200Ah for a
6kVA and 150Ah for a 4kVA Oasis. Having a too small a battery bank might cause system instability.
These are values are guidelines and depending on the type and quality of battery, and size of the load,
a larger or smaller bank might be acceptable.
3.1.5 Powering up the Oasis
1. Make sure all source (Generator or utility) and load AC wires and the DC cables are
connected correctly to the Oasis.
2. Connect the Negative battery cable to the Negative (-) terminal of the battery.
3. Put the pre-charge cable onto the Positive (+) terminal on the battery and hold it there
for about ten seconds and until the user screen has powered up, this will pre-charge the
DC capacitors inside the Oasis so that there is no spark when the Positive cable is
connected. Not following this step will not cause damage to the damage inverter, but
may cause pitting on the terminal leads.
PAGE 18 OASIS USER MANUAL

4. Leaving the Pre-charge cable on the Positive (+) terminal of the battery, connect the
Positive cable onto the Positive (+) terminal on the battery as well. See Figure 6.
5. Make sure the battery connections are secure.
3.1.6 Powering down the Oasis
If it is necessary to turn off or disconnect your Oasis for some reason, follow these simple steps:
1. Turn off the inverter.
2. If a source such as a generator or utility is connected, make sure it is turned off, and that
the breakers to the source are disconnected.
3. If required, the Oasis can now be disconnected from the batteries.
4. Once disconnected from the batteries, connect the Pre-charge cable to the Negative
cable, as this will discharge the DC capacitors inside the Oasis.
Figure 5: DC cables
OASIS USER MANUAL PAGE 19
This manual suits for next models
3
Table of contents
Other MLT Inverters Inverter manuals
Popular Inverter manuals by other brands

Goodwe
Goodwe SDT G2 Series user manual

Wacker Neuson
Wacker Neuson GPi 3200 Operator's manual

Siemens
Siemens SINAMICS PM240-2 Hardware installation manual

GE
GE HOME NERATOR SYSTEM 12000 WATT Installation and start-up manual

Larson Electronics
Larson Electronics WCDE-6-NL manual

Power One
Power One AURORA PVI-OUTD-US Series Installation and operator's manual