ESENFRITDEPT Apolo
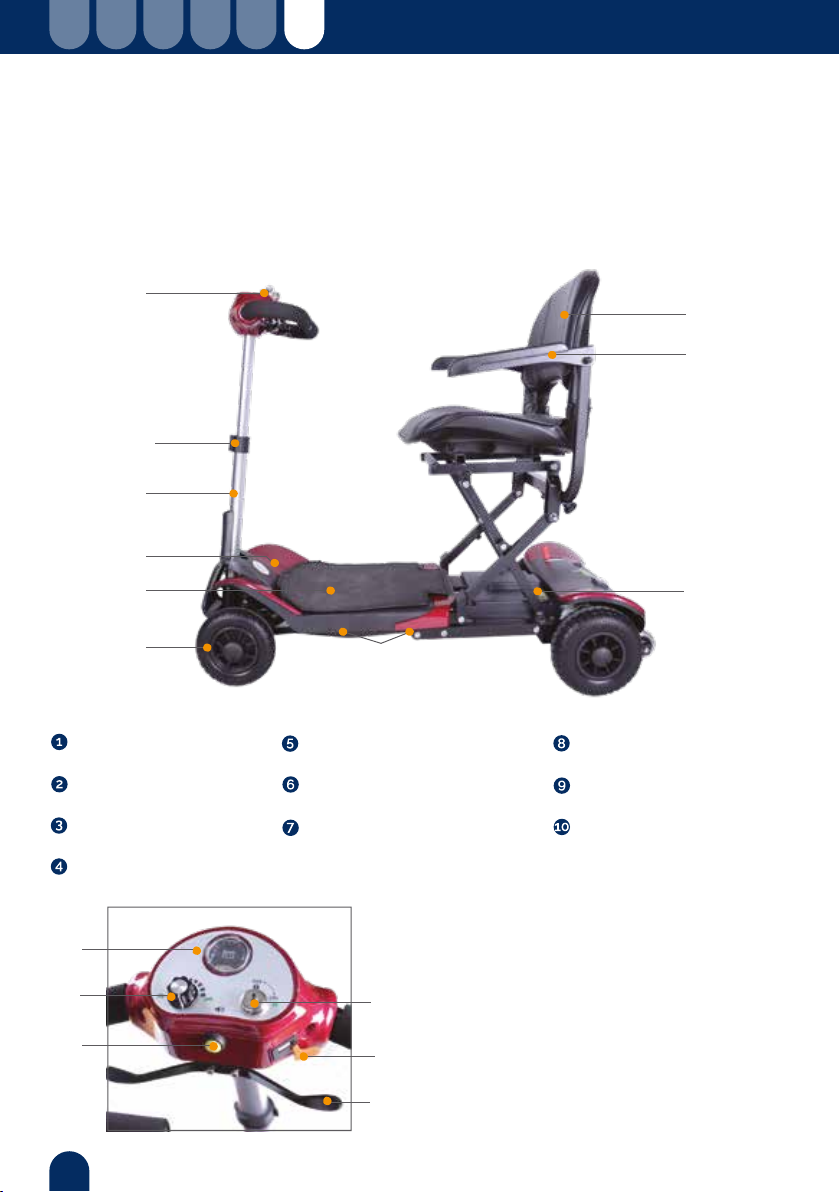
Función de las principales partes operativas
El manillar de control incluye el panel
de control (indicador de nivel de
batería y conmutador de llave,
regulador de velocidad y bocina).
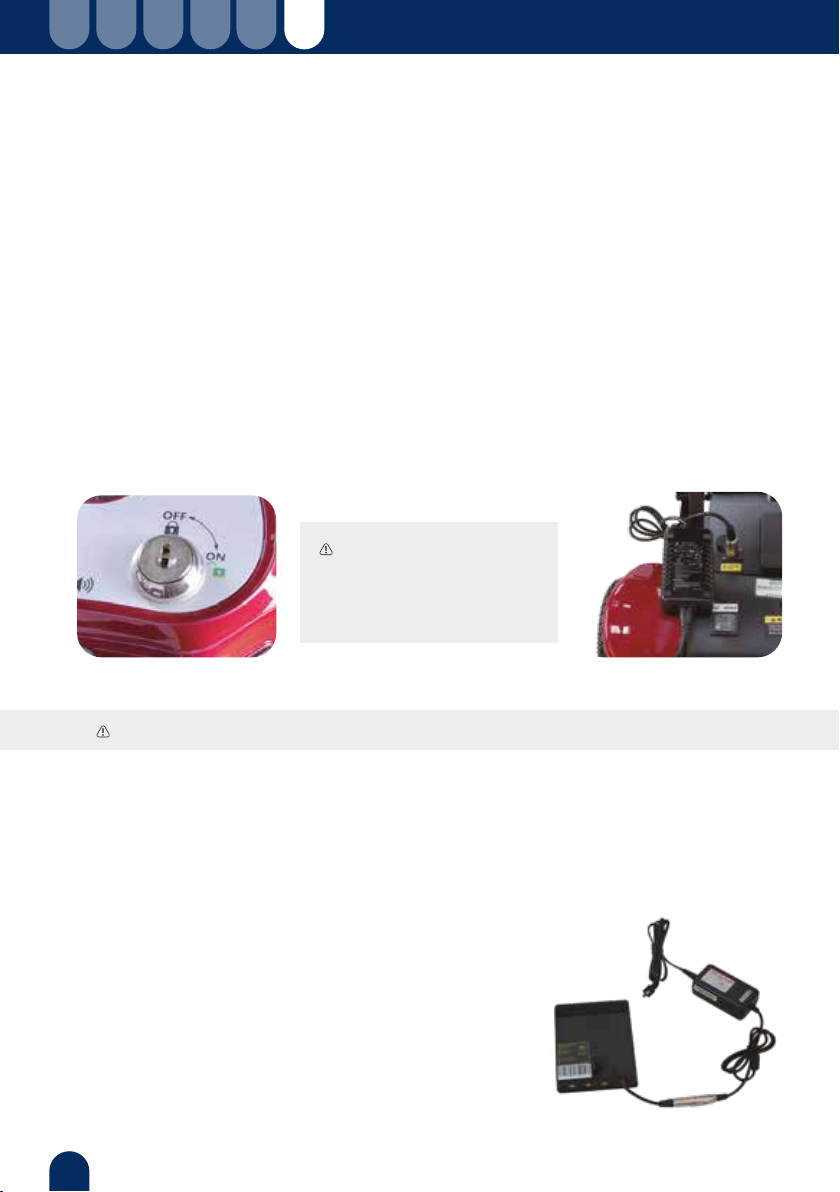
La velocidad de conducción puede ser ajustada a
través del regulador de velocidad. Gire el regulador
hacia la izquierda para una velocidad baja (hacia el
símbolo de tortuga) y hacia la derecha para una
velocidad rápida (hacia el símbolo de liebre).
Aviso: Mantenga el scooter alejado de ambientes
húmedos, esto podría dañar su funcionamiento.
Advertencia: si el scooter realiza una parada repentina mientras está circulando, se deberá al frenado
electromagnético.
Advertencia: Mantenga el nivel de velocidad baja cuando se
conduzca hacia atrás.
Manillar de control
Conmutador de llave
Regulador de velocidad
Panel de control
a.
b.
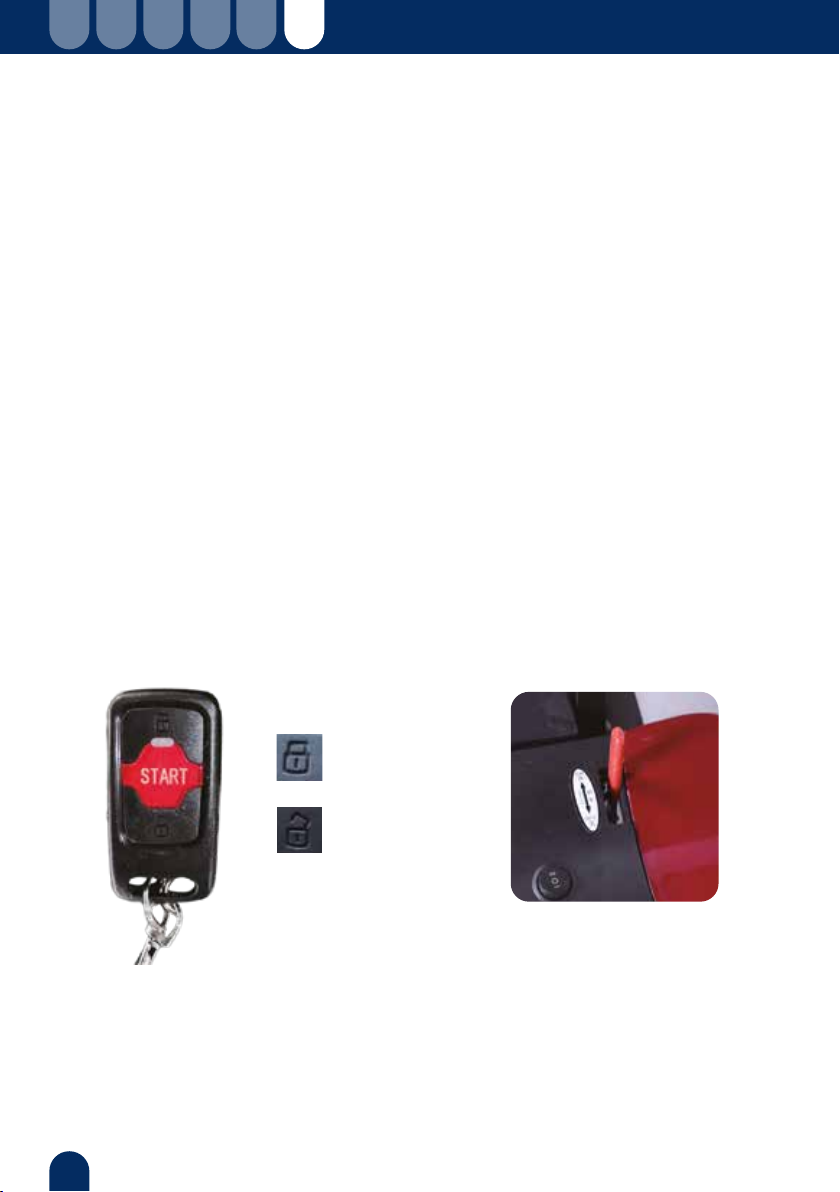
El scooter estará encendido y listo para funcionar
una vez que el conmutador se gire con la llave
introducida hacia la derecha en el sentido de
giro.
El scooter estará apagado e inoperativo una vez
que el conmutador se gire con la llave introduci-
da hacia la izquierda en el sentido de giro.
4