Mobility Research LiteGait AutoStep User manual
Other Mobility Research Medical Equipment manuals
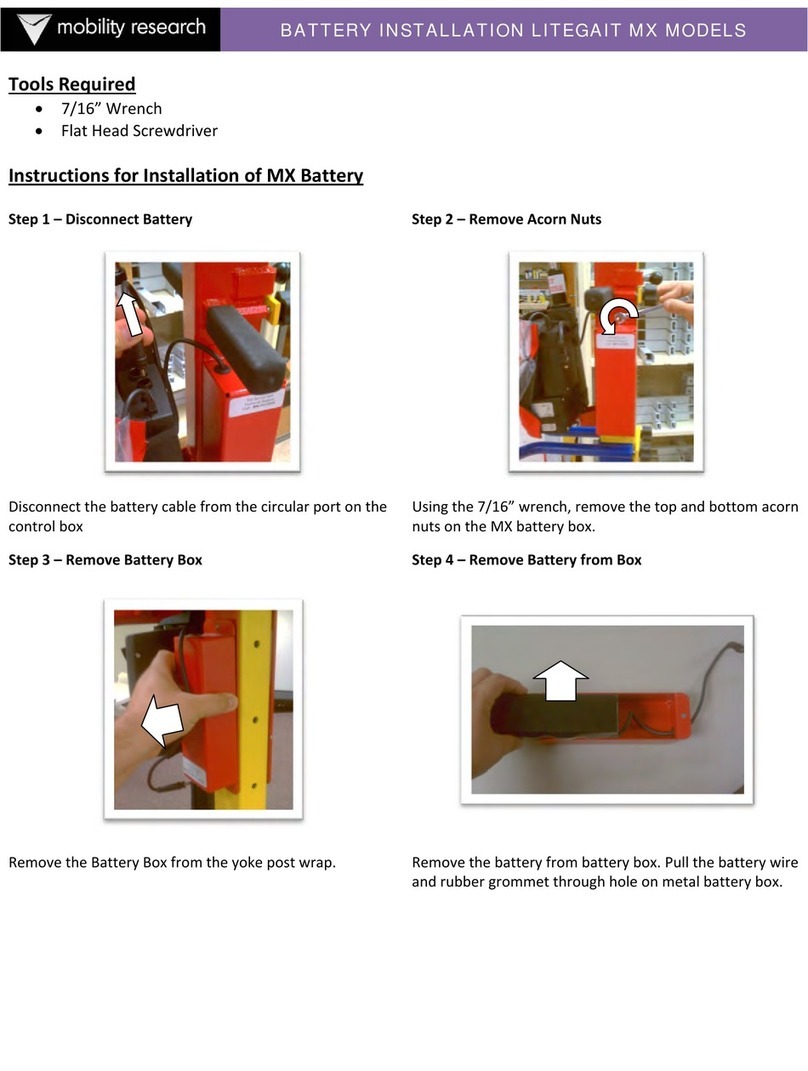
Mobility Research
Mobility Research LITEGAIT MX Series User manual
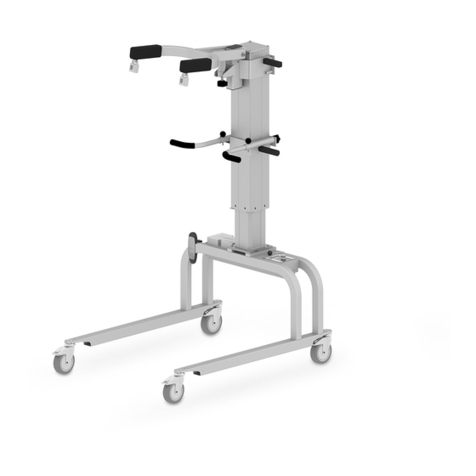
Mobility Research
Mobility Research LiteGait 4Home User manual
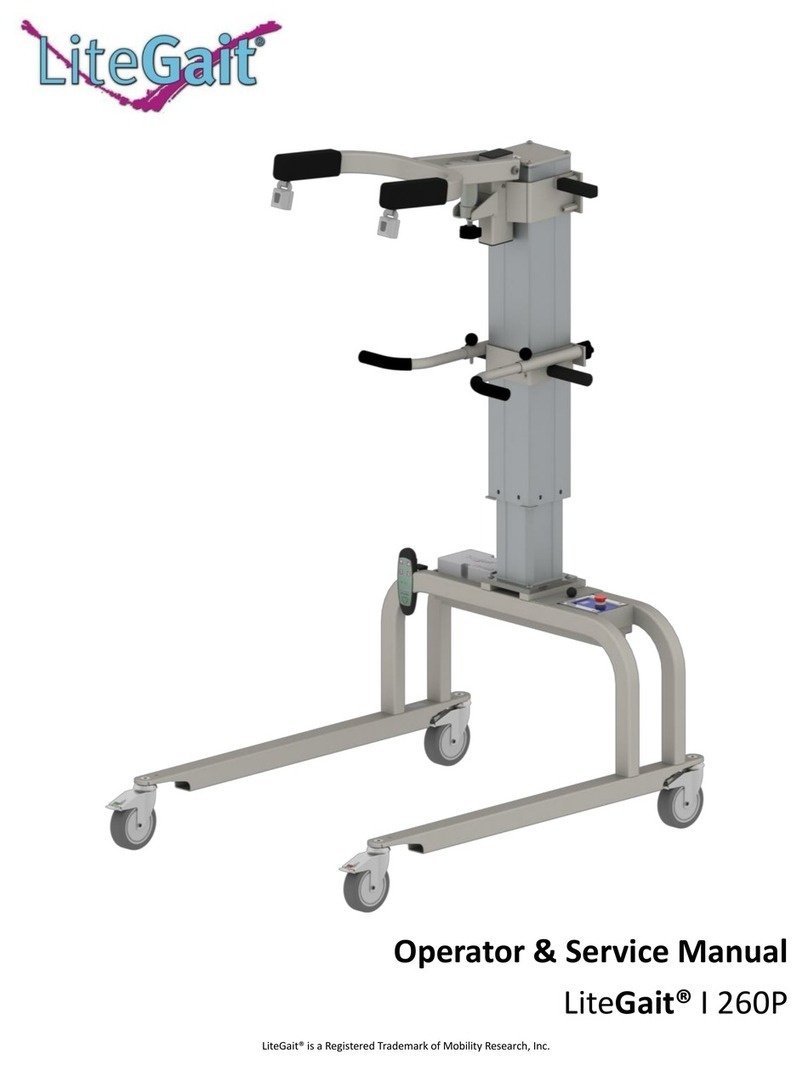
Mobility Research
Mobility Research LiteGait 200P User manual

Mobility Research
Mobility Research Therapy Mouse User manual

Mobility Research
Mobility Research LITEGAIT II User manual
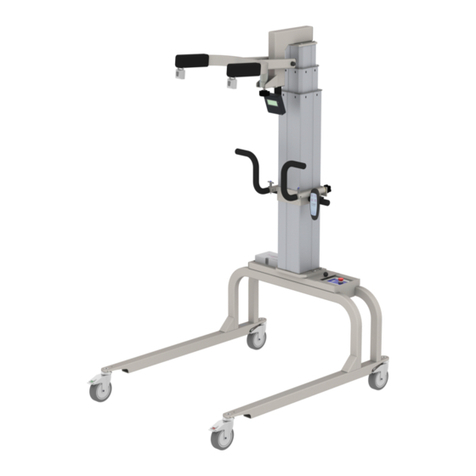
Mobility Research
Mobility Research LiteGait I 360E User manual
Popular Medical Equipment manuals by other brands

Getinge
Getinge Arjohuntleigh Nimbus 3 Professional Instructions for use

Mettler Electronics
Mettler Electronics Sonicator 730 Maintenance manual

Pressalit Care
Pressalit Care R1100 Mounting instruction

Denas MS
Denas MS DENAS-T operating manual

bort medical
bort medical ActiveColor quick guide

AccuVein
AccuVein AV400 user manual


