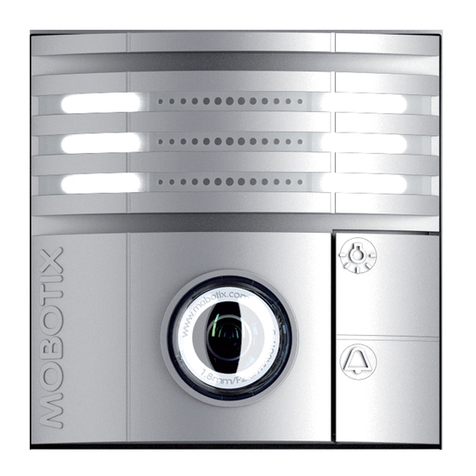
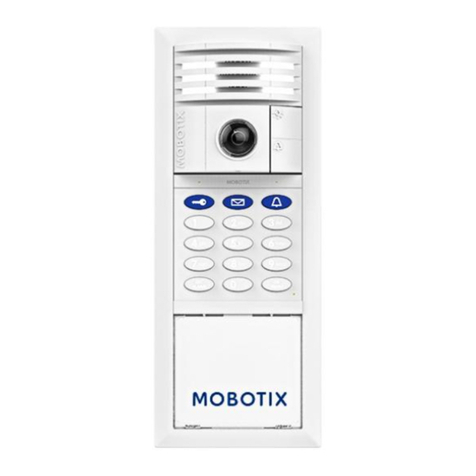
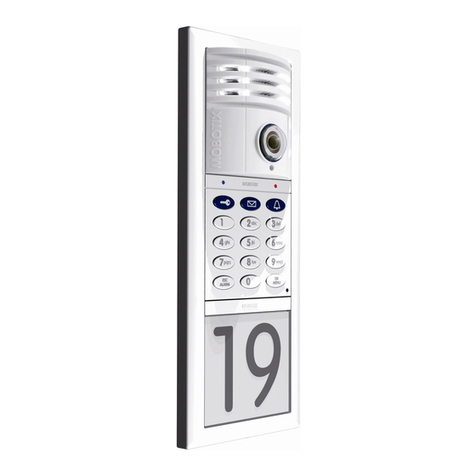
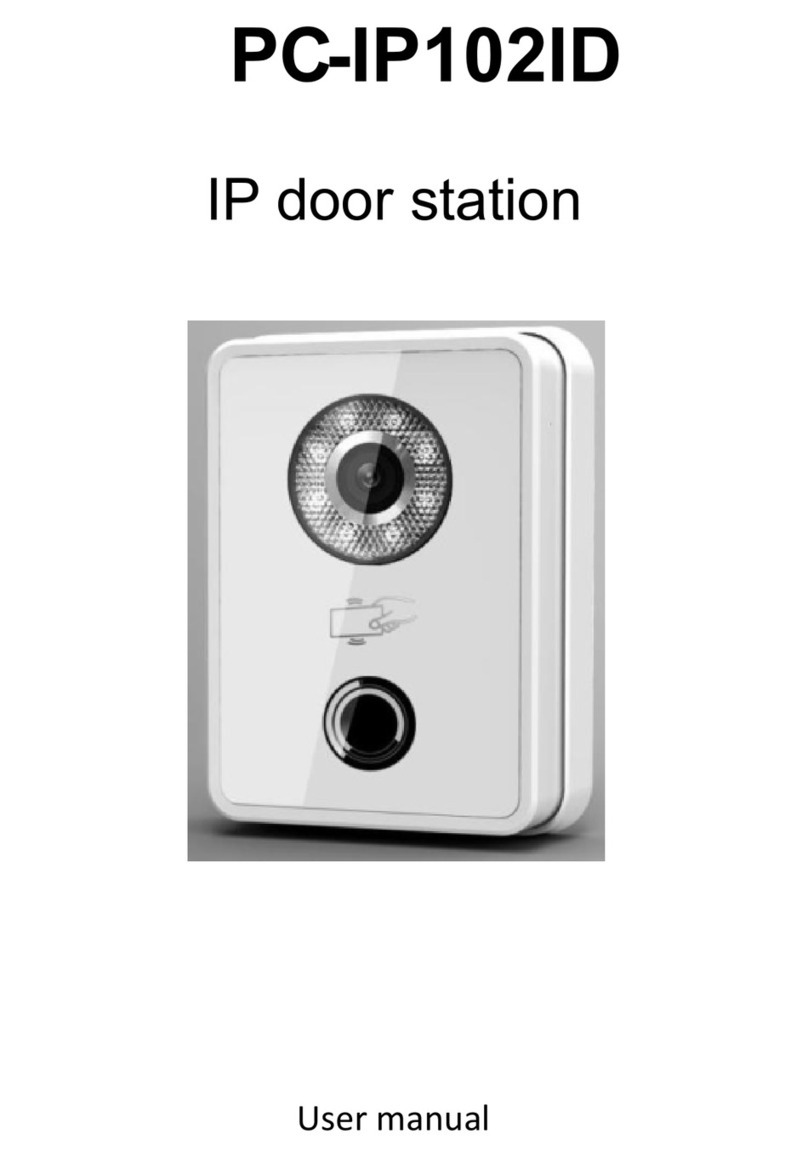
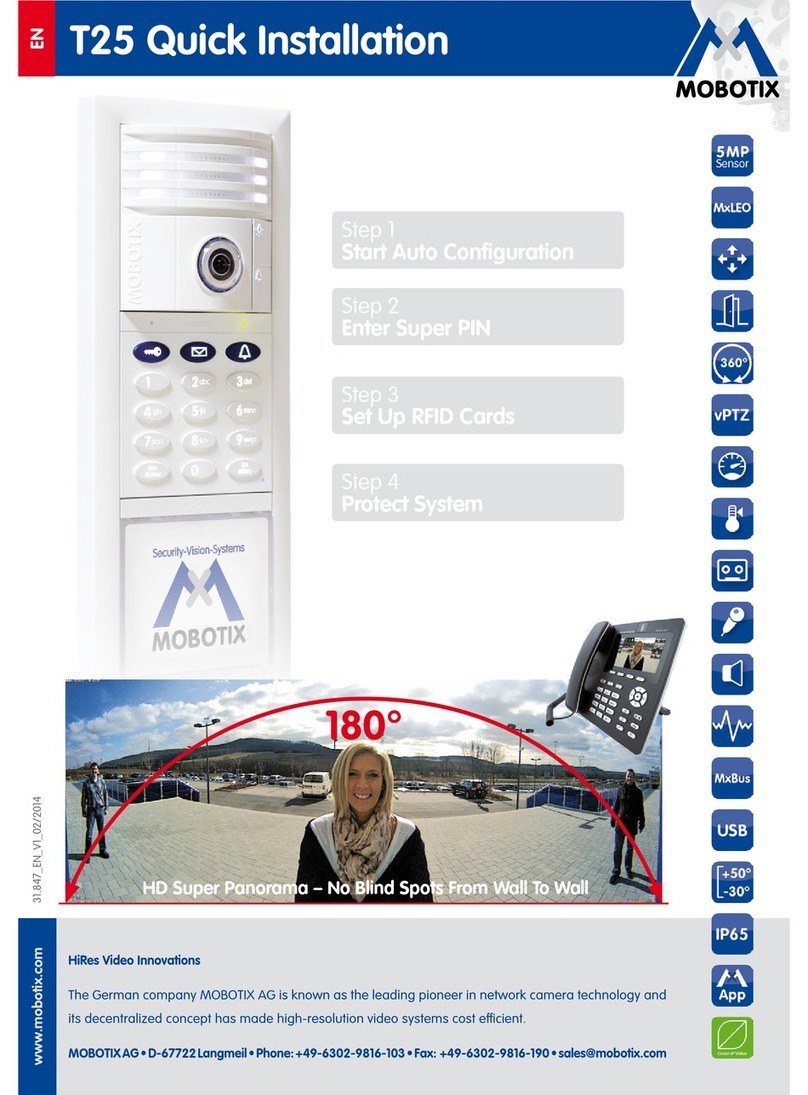
Mobotix T24 User guide

www.mobotix.com
The HiRes Video Company
T24 System Manual
HiRes Video Innovations
The German company MOBOTIX AG is known as the leading pioneer in network camera technology and
its decentralized concept has made high-resolution video systems cost ecient.
MOBOTIX AG • D-67722 Langmeil • Tel: +49-6302-9816-103 • Fax: +49-6302-9816-190 • [email protected]
EN
Filmstrip_all.indd 4 30.03.10 09:00
EN
12/2011
HD Super Panorama – No Blind Spots From Wall To Wall
180°
Part 1: System Overview And Mounting
Installation And Cabling
(For Installers)
Part 2:
System Startup And Configuration
Software And Network
(For System Administrators)
Part 3: Operating Manual
Modules And Remote Stations
(For Users)

© MOBOTIX AG • Security-Vision-Systems • Made in Germany
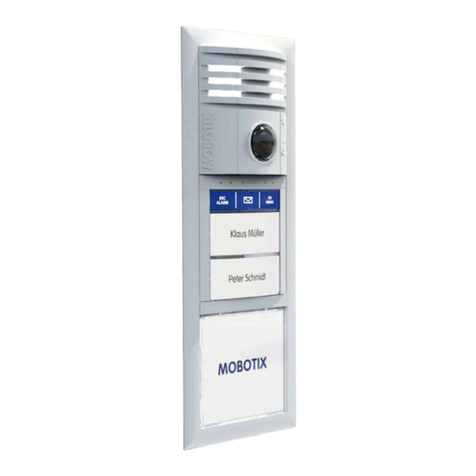
Hemispheric IP Video Door Station with camera, keypad and info module • Made in Germany • www.mobotix.com

3/98
© MOBOTIX AG • Security-Vision-Systems • Made in Germany
www.mobotix.com • [email protected]
Contents
This is Part 2 of the T24 System Manual (Operation And Configuration). The complete
T24 System Manual also includes Part 1 (System Overview And Installation) and Part 3
(Operating Manual). All manuals can be downloaded as PDF files from the MOBOTIX website
(www.mobotix.com > Support > Manuals).
1 Overview Of Application Scenarios 8
1.1 Standard Scenario 8
1.1.1 Description 8
1.1.2 Example 10
1.2 Advanced Scenario 12
1.2.1 Advanced Access Control 12
1.2.2 Multiple Doorbells And Voice Mailboxes (Addressees) 14
1.2.3 Multiple Door Stations 16
1.3 Expand System With PC And MxEasy 18
1.3.1 PC As T24 Remote Station 18
1.3.2 Worldwide Two-Way Communication Intercom 19
1.3.3 Network Without DHCP Server (Static IP Addresses) 20
2 System Startup Without A PC 22
2.1 Step 1: Performing Auto-Configuration 24
2.1.1 Start The Videophone 24
2.1.2 Start The Door Station 25
2.1.3 Start Auto-Configuration 26
2.1.4 Functional Test Part 1 27
2.2 Step 2: Setting Up The Keypad 30
2.2.1 Enter The Super PIN 31
2.2.2 Add Admin Card 32
2.2.3 Add User Cards (Fast Setup) 34
2.2.4 Set Time Zone, Time And Date 36
2.3 Step 3: Configure The System Via A Videophone 40
2.3.1 Change Menu And Voice Mailbox Greeting Language 42
2.3.2 Open Admin Setup 43
2.3.3 Change Your Super PIN 44
2.3.4 Set Door Status Display 45
2.3.5 Activate Video Recording 46
2.3.6 Functional Test Part 2 48
SYSTEM MANUAL PART 2 – SYSTEM STARTUP AND CONFIGURATION

4/98
© MOBOTIX AG • Security-Vision-Systems • Made in Germany
www.mobotix.com • [email protected]
T24-System Manual Part 2: Contents
2.4 Step 4: Protect Your System Via A Videophone 50
2.4.1 Change Grandstream Web Password 51
2.4.2 Disable Auto-Configuration 52
2.4.3 Save Your System Configuration 53
3 Access Configuration On The Keypad 54
3.1 Quick Start: Access Configuration 54
3.2 Individual Configuration Of Access Media 56
3.2.1 Personal, Transponder And Contact Numbers 56
3.2.2
T24 Data Record Card (To Be Completed By Installer/Admin Setting Up The System)
57
3.3 Managing Transponders 58
3.3.1 Add User Card (Individual Number Assignment) 58
3.3.2 Erase User Card 60
3.3.3 Time-Restricted Access (“Tradesman Card“) 62
3.3.4 Add Further Admin Cards 64
3.3.5 Erase Admin Card 66
3.4 Manage Access PINs 68
3.4.1 Add PIN 68
3.4.2 Delete PIN 70
3.4.3 Change PIN 72
3.5 Erase All Access Privileges Of A User (Cards/PINs) 74
3.6 Erase Contact (Doorbell/Voice Mailbox) 76
3.7 Change Super PIN Using The Keypad 78
4 Expand System With PC And MxEasy 80
4.1 Set Up PC As T24 Remote Station 80
4.2 Set Up Worldwide Two-Way Communication With MxEasy 80
4.3 Set Up T24 In Network Without DHCP Server 80

5/98
© MOBOTIX AG • Security-Vision-Systems • Made in Germany
www.mobotix.com • [email protected]
5 System Restore 82
5.1 Error Messages And Reboot 82
5.2 Backup And Restore 83
5.2.1 Exchanging Keypad– With System Restore 84
5.2.2 Exchanging Security Door Opener– With System Restore 84
5.2.3 Exchanging Info Module 85
5.2.4 Exchanging Mx2wire Components 86
5.2.5 Exchanging Camera Module– With System Restore 87
5.2.6 Exchanging Or Adding Video Phone 87
6 Additional Notes 88
6.1 Weatherproofing And Care 88
6.2 Surge Protection 88
6.3 AVC Video/H.264 89
6.4 Warranty And Repair Service 89
Notes And Copyright Information
The Camera Software Manual contains detailed information on the camera software.
Download the latest version of this manual and the MxEasy and MxControlCenter
manuals as PDF files from www.mobotix.com (Support > Manuals).
All rights reserved. MOBOTIX, MxControlCenter, MxEasy, ExtIO, Mx2wire and CamIO
are internationally protected trademarks of MOBOTIX AG. Microsoft, Windows and
Windows Server are registered trademarks of the Microsoft Corporation. Apple,
the Apple logo, Macintosh, OS X and Bonjour are trademarks of Apple Inc. Linux
is a trademark of Linus Torvalds. All other brand names mentioned herein may be
trademarks or registered trademarks of the respective owners. Copyright © 1999–2011
MOBOTIX AG, Langmeil, Germany. Information subject to change without notice!
Note: T24 In Multiple-Family Houses (MFH)
The T24 system is designed to support the setup and use of multiple doorbells for
dierent areas in single-family homes (e. g., areas for both personal and commercial
use). For the purposes of data protection, we do not recommend using this product in
multiple-family homes or multi-tenant buildings. Currently, it is still possible to use one
remote station to access the camera recordings and voice mailboxes from all other
remote stations and therefore from other users (families, tenants).
More information:
www.mobotix.com

6/98
© MOBOTIX AG • Security-Vision-Systems • Made in Germany
www.mobotix.com • [email protected]
T24-System Manual Part 2: Foreword
FOREWORD
Dear MOBOTIX customer,
The T24 IP Video Door Station is a complete outdoor system that includes a hemispheric
door camera with built-in microphone, speakers, a voice mailbox function and a keypad
with integrated RFID card reader for keyless access. The tamper-proof security door opener,
which also serves as a doorbell, with backup power supply is installed indoors. The
Grandstream GXV3140, a sleek, high-quality VoIP video phone, makes the perfect remote
video station.
The entire MOBOTIX system was designed to allow it to be started up and configured quickly
and easily by a single user. In the first section of the manual, “Overview Of Application
Scenarios,” we will familiarize you with the many ways in which you can use this flexible
system. You can then decide for yourself which system functions you would like to use
and configure.
The dierent operation steps correspond to the order of the chapters of this manual and
you can simply skip the sections pertaining to functions that you do not need. The IP-based
system is extremely flexible, meaning that you can easily change the configuration – and
the range of available functions – at any time.
You can operate and configure the entire system without the need for a PC or any other
special devices. Only the optional extensions listed in Section 4 require you to connect
the T24 to a computer running MxEasy. The MxEasy video software is free of charge and
can be downloaded directly from the MOBOTIX website (www.mobotix.com > Support >
Software Downloads).
Grandstream GXV3140Security door openerT24 IP Video Door Station

7/98
© MOBOTIX AG • Security-Vision-Systems • Made in Germany
www.mobotix.com • [email protected]
Monday to Friday, 8 a.m. to 6 p.m. (CET). We hope that you enjoy your new powerful
MOBOTIX IP Video Door Station.

8/98 T24 System Manual Part 2: Overview Of Application Scenarios
© MOBOTIX AG • Security-Vision-Systems • Made in Germany
www.mobotix.com • [email protected]
1 OVERVIEW OF APPLICATION SCENARIOS
1.1 Standard Scenario
1.1.1 Description
The standard application scenario for the MOBOTIX IP Video Door Station is the simple
one-party scenario (for example, a single-family home or doctor’s oce). This scenario
involves one building or apartment with a door that is secured using the T24 system.
At the door, visitors can ring the doorbell for one party (meaning one or more occupants).
Hardware And Functions In The Standard Scenario:
• Outdoor station: One T24 Video Door Station with keypad and multiple transponder
cards (blue user cards for day-to-day use, red admin card for system administration)
• Remote station in the house: Grandstream video phone &/or PC with MX Easy.
• Additional doorbell in the house: MOBOTIX security door opener (with connected
door switch and door lock switch)
Visitors can press the bell button on either the camera or the keypad to ring the doorbell
of the building or apartment. The video phone and the security door opener then call the
house phone or MX Easy.
The homeowner picks up the receiver in order to speak to the visitor. The live image of
the door camera is displayed in the color display on the video phone. The homeowner
can then press a button on the video phone to activate the electric door opener and, for
example, switch on the light in the stairwell.
If the homeowner does not respond to the doorbell, and the voice mailbox function is
activated, visitors can leave a message at the door – just as they would on a telephone
answering machine. The homeowner can listen to these messages at the door station or
at a video phone in the house.
Admin card
Welcome Message:
Please leave a message.
To leave a message, press and hold
the blue letter button.
Message:
Please call me
back. John!

9/98
Standard Scenario
© MOBOTIX AG • Security-Vision-Systems • Made in Germany
www.mobotix.com • [email protected]
Homeowners can use the blue user cards to open the door from the outside without a
key and listen to voice mailbox messages right at the door station. In addition to using
the transponder cards, homeowners can also enter an access PIN that can be used to
open the door via the keypad. It is possible to use up to 1,000 cards and PIN codes for a
single door station!
User card
Door station with keypad
Indoor security
door opener
VideophoneVideophone
Access using RFID and PIN

10/98 T24 System Manual Part 2: Overview Of Application Scenarios
© MOBOTIX AG • Security-Vision-Systems • Made in Germany
www.mobotix.com • [email protected]
1.1.2 Example
The Smith family consists of a husband and wife, John and Susanne Smith, and their
15-year-old daughter, Anna. The three of them live in a single-family home. The door to their
house is secured with a T24 IP Video Door Station with a keypad and a security door opener.
One Grandstream video phone located on the first floor and another Grandstream video
phone located on the second floor near the parents’ bedroom serve as the remote stations
for the system. Anna lives on the third floor and has her own Grandstream video phone.
In addition to using the red admin card, Mr. Smith has registered a blue user card to
enable keyless access for himself, his wife and his daughter. Admin and user cards can
be registered during system startup. This can be done simply by holding the cards up
to the keypad. Once the system is operational, the user can also enter an access PIN.
This way, in an emergency in which the user has misplaced or forgotten his or her key
or transponder, he or she can still enter the house without having to call a locksmith.
When a visitor rings the doorbell at the door station, all three video phones ring and dis-
play visual signals. In addition, the security door opener, which is mounted in the entry
area near the door, plays a bell sound that has been selected by the user. Thirty seconds
after the visitor rings the doorbell for the first time, the system instructs the visitor to leave
a message (voice mailbox function). In addition, the visitor can choose to leave a mes-
sage without ringing the doorbell by pressing the letter button. Anna sometimes uses
this function to quickly let her parents know when she is on her way to a friend’s house.
In summary, the following functions are available:
Open Door/Keyless Access
• With the three user cards (or with the admin card as well)
• Or with the access PIN
Ringing The Doorbell For The Family
• By pressing the white bell button on the camera module
• Or by pressing the blue bell button on the keypad
Leaving A Voice Mailbox Message
• By pressing and holding the blue letter button on the keypad
• After ringing the doorbell or without ringing the doorbell at all
Listening To Voice Mailbox Messages
• On the keypad (possible in connection with a user or admin card only,
function must be activated)
• On the Grandstream video phone (can be accessed by everyone in the house)

11/98
Standard Scenario
© MOBOTIX AG • Security-Vision-Systems • Made in Germany
www.mobotix.com • [email protected]
Anna
People
Addressees
Smith Family
1
1
2
2
3
3
Authentication
(for access and
voice mailbox)
In addition, an Access
PIN was trained
(not shown)
Susanne SmithJohn Smith
Ring
Message

12/98 T24 System Manual Part 2: Overview Of Application Scenarios
© MOBOTIX AG • Security-Vision-Systems • Made in Germany
www.mobotix.com • [email protected]
1.2 Advanced Scenario
1.2.1 Advanced Access Control
Multiple user cards or an additional access PIN can be assigned to each user with advanced
access control. These assignments, which are made based on a personal number when
the cards/PINs are registered in the system, make it possible to quickly and easily remove
users from the system at a later time.
Setup Cards Using The Keypad
The user cards are included with your MOBOTIX product. These cards allow you to enter
the building without the need for a key and enable you to operate the voice mailbox using
the keypad. However, the cards must first be registered in the system before they can be
used. To set up a new user card, use the red admin card for authentication, enter a special
key combination and then simply hold the card up to the keypad.
Setup With Automatic Number Assignment
The system automatically assigns two numbers to each new card for quick and easy
setup: a personal number and a transponder number. The personal number represents
the owner of the card. Using the transponder number, it is possible to erase a card from
the system, even when the card is not available (for example, if it is stolen or misplaced).
The transponder number is the current number of the card, which sequentially increases
along with the total number of cards registered in the system.
The system automatically assumes that each user card will be assigned to a dierent
user. Therefore, in this simplified system operation, the system automatically assigns
personal number 1 and transponder number 1 to the first blue user card to be registered.
The system then assigns personal number 2 and transponder number 2 to the second
blue user card, etc.
The red admin card has a special status in the system. This card is used to carry out special
administrative and configuration tasks. The admin card automatically receives personal
number 0 and transponder number 0 from the system.
Automatic assignment of personal numbers and transponder numbers when registering
the transponder cards using the keypad:
Personal number Transponder number Serial card number
Admin card 0 0 Printed on card
First user card 1 1 Printed on card
Second user card 2 2 Printed on card
Third user card 3 3 Printed on card
Fourth user card 4 4 Printed on card
... ... ... ...

13/98
Advanced Scenario
© MOBOTIX AG • Security-Vision-Systems • Made in Germany
www.mobotix.com • [email protected]
Registering User Cards With Custom Personal Numbers
As part of the advanced access control, you can also register user cards with custom
personal numbers. If individual users require more than one user card or access PIN,
multiple user cards and access PINs can be assigned to the same personal number.
Registering User Cards With Custom Transponder Numbers
Normally, it is not necessary to change the transponder number assigned by the system
because this number simply represents the current number of the card. However, if you
would like to user longer custom transponder numbers (up to eight digits), these numbers
can be derived form the serial card numbers printed on the back of each card, at the
bottom. We recommend making a note of this number along with the user of the card.
This way you can use the serial card number to help identify each card.
T24 User Data Record Card
We recommend making a note of all numbers, regardless of whether they are custom
numbers or numbers that have been assigned automatically by the system. The T24 User
Data Record Card (see Section 3.2.2) is ideally suited for this task. Make sure that you
store these records in a safe place.

14/98 T24 System Manual Part 2: Overview Of Application Scenarios
© MOBOTIX AG • Security-Vision-Systems • Made in Germany
www.mobotix.com • [email protected]
1.2.2 Multiple Doorbells And Voice Mailboxes (Addressees)
In addition, the T24 system oers the visitor the option of entering a special contact
number on the keypad (similar to a telephone number) to trigger the doorbell to ring at
the remote station of one specific user or user group (“addressee”). If the addressee does
not respond within a certain period of time, the visitor can leave a message on the voice
mailbox (just like with a mobile phone).
Set Up Multiple Doorbells/Voice Mailboxes With Custom Contact Numbers
Contact numbers are important when you wish to set up additional doorbells and voice
mailboxes in the system. When you set up the user cards, you can also create up to 16 dierent
contact numbers in the system. You can set up multiple cards to employ the same contact
number. They will be assigned to the same addressee.
In the example with the Smith family (see Section 1.1.2), a visitor can select to ring the
doorbell for the entire family or specifically for the daughter, Anna, who lives on the third
floor. In addition to the standard doorbell and voice mailbox, which do not have an extra
contact number, Mr. Smith has set up another doorbell and voice mailbox for his daughter,
Anna (by assigning contact number 1 to Anna’s user card). This way, when visitors ring the
doorbell with contact number 1 only the video phone in Anna’s room rings.
Ringing The Doorbell For Mr. And Mrs. Smith:
• Ring the doorbell by pressing the blue bell button on the keypad or the white bell
button on the camera module.
•
Leave voicemail messages after the welcome message or by pressing the blue letter
button on the keypad.
Ringing The Doorbell For Daughter Anna:
• Ring the doorbell by pressing 1 along with the bell button on the keypad
• Leave a voicemail message after the welcome message or by pressing 1 along with
the letter button the keypad

15/98
Advanced Scenario
© MOBOTIX AG • Security-Vision-Systems • Made in Germany
www.mobotix.com • [email protected]
Additional Contact
Number 1 for Anna
(doorbell/voice mailbox)
Anna
Authentication
(for access and
voice mailbox)
People
Addressees
Smith Family
1
1
2
2
3
3
Anna
Susanne SmithJohn Smith
Ring
Message Message
Ring

16/98 T24 System Manual Part 2: Overview Of Application Scenarios
© MOBOTIX AG • Security-Vision-Systems • Made in Germany
www.mobotix.com • [email protected]
1.2.3 Multiple Door Stations
You can also use multiple networked door stations to secure the main and side entrances
of a house. To do so, select one of the door cameras as the master T24. This camera will
be in charge of auto-configuration for all door stations and remote stations.
For system startup, carry out auto-configuration for the selected T24 device (and for this
device only) once you have set up the network and ensured that all system components
are supplied with power (see Section 2.1).
Then you must set up each individual keypad as described in Section 2.2 (by entering a
Super PIN and adding cards). The numbers for each door station (Super PIN, personal
number, transponder number and contact number) must be identical to the numbers for
the master T24 device. We recommend using the same admin card to set up all of the
door stations in the house or building.
Note
In order to erase a card that has been set up on multiple keypads from the system
(for example, if it is lost or stolen or if the user has moved away), the card must be
erased on all keypads.
Outdoors Indoors
Master door
station (*201)
VoIP videophone
(*102)
VoIP videophone
(*101)
DSL router
(DHCP server)
Door station
(*202)
PoE switch
VoIP videophone
(*103)
* Keypad soon to
be released as
standalone solution

17/98
Advanced Scenario
© MOBOTIX AG • Security-Vision-Systems • Made in Germany
www.mobotix.com • [email protected]
1.2.3 Multiple Door Stations
You can also use multiple networked door stations to secure the main and side entrances
of a house. To do so, select one of the door cameras as the master T24. This camera will
be in charge of auto-configuration for all door stations and remote stations.
For system startup, carry out auto-configuration for the selected T24 device (and for this
device only) once you have set up the network and ensured that all system components
are supplied with power (see Section 2.1).
Then you must set up each individual keypad as described in Section 2.2 (by entering a
Super PIN and adding cards). The numbers for each door station (Super PIN, personal
number, transponder number and contact number) must be identical to the numbers for
the master T24 device. We recommend using the same admin card to set up all of the
door stations in the house or building.
Note
In order to erase a card that has been set up on multiple keypads from the system
(for example, if it is lost or stolen or if the user has moved away), the card must be
erased on all keypads.
Outdoors Indoors
Master door
station (*201)
VoIP videophone
(*102)
VoIP videophone
(*101)
DSL router
(DHCP server)
Door station
(*202)
PoE switch
VoIP videophone
(*103)
T24 complete set
in triple frame
T24 with keypad
in double frame

18/98 T24 System Manual Part 2: Overview Of Application Scenarios
© MOBOTIX AG • Security-Vision-Systems • Made in Germany
www.mobotix.com • [email protected]
1.3 Expand System With PC And MxEasy
1.3.1 PC As T24 Remote Station
In addition to using a Grandstream GXV3140 IP video phone, you can also use any standard
PC connected to the network (in conjunction with the MOBOTIX video software MxEasy)
as a T24 remote station. You can use MxEasy* to manage and operate up to 16 MOBOTIX
cameras and/or door stations.
The program can run in the background of a PC screen or touchpad with a standard operating
system and pop up automatically when someone rings the doorbell. Using the computer’s
microphone and speakers as a two-way communication intercom with lip-synchronous
audio (full duplex), you can speak to visitors and by clicking on the corresponding buttons
in the software, you can open the door or switch on the light. MxEasy also makes it easy
to listen to voice mailbox messages or search through all of your camera recordings.
The current version of MxEasy (for Windows and Mac operating systems) can be downloaded
directly from the MOBOTIX website (www.mobotix.com under Support> Software Downloads>
MxEasy).
Before you launch MxEasy for the first time, set up the system for operation without a PC
as described in Section 2 of this manual.
* from version 1.5 on

19/98
Expand System With PC And MxEasy
© MOBOTIX AG • Security-Vision-Systems • Made in Germany
www.mobotix.com • [email protected]
1.3.2 Worldwide Two-Way Communication Intercom
You will never have to miss an important visitor again – even when you are on-the-go
outside of your local network. Using a computer with MxEasy, you can establish an Internet
connection – for example, using a Wi-Fi access point or a UMTS modem – to your door
station from anywhere in the world.
DynDNS (dynamic domain name system) is the perfect way to access your system. This
protocol enables you to access your computer from anywhere in the world. DynDNS does
not rely on one (frequently changing) IP address (for example, 213.117.53.215); instead, it
utilizes a custom name that you can register with a DynDNS service provider (for example,
www.dyndns.org). The integrated DynDNS client in your local router transmits the new IP
address to the DynDNS service provider each time a change is made. This way, you can
select the door station with your DynDNS name (for example, Name.dyndns.org:19801).
When MxEasy is running, you can use an existing Internet connection to create a T24
remote station from which you can access all program functions. This way, you will receive
video and audio signals when someone rings the doorbell at your house. You can view
the live camera image on your monitor or display, speak with the visitor and operate the
door lighting and the door opener remotely.
To set up this feature, you will need a computer with a suciently fast Internet connection
and a router that is connected to the door camera (which has been set up without a PC).
See the description in Section 4.2.
With (worldwide)
access via internet,
please be sure to use
adequately secured and
encrypted connections
Alarm
message
T24
Private home
in Frankfurt
www
Global access
e. g. notebook
Location: New York

20/98 T24 System Manual Part 2: Overview Of Application Scenarios
© MOBOTIX AG • Security-Vision-Systems • Made in Germany
www.mobotix.com • [email protected]
1.3.3 Network Without DHCP Server (Static IP Addresses)
If you are using a network with a static IP address and no DHCP server, you must manu-
ally set up all devices connected to the network. You must also configure these devices
so that they are assigned to static IP addresses within the same range of addresses. This
will enable the devices to communicate with one another.
You will need a PC with MxEasy and a LAN connection in order to carry out the setup. We
describe the basic process of configuring one or more T24 Video Door Station devices
in networks with static IP addresses in Section 4.3. With this configuration, you can only
startup the system using a computer with MxEasy. It is not possible to operate the system
by pressing the bell button on the camera module.
Outdoors Indoors
Master door station (*201)
10.8.0.30
PoE switch
PC
10.8.0.20
Videophone (*102)
10.8.0.11
Videophone (*101)
10.8.0.10
Other manuals for T24
5
Table of contents
Other Mobotix Intercom System manuals

Mobotix
Mobotix T24S Instruction Manual

Mobotix
Mobotix T25 User guide

Mobotix
Mobotix MxDisplay Plus Instructions for use

Mobotix
Mobotix T24 User manual

Mobotix
Mobotix T24 Guide

Mobotix
Mobotix T25 Quick start guide

Mobotix
Mobotix T24S User guide

Mobotix
Mobotix T26 User guide

Mobotix
Mobotix T25 Original operating instructions

Mobotix
Mobotix T24 User guide
Popular Intercom System manuals by other brands

Esco
Esco TSC-1005C Installation and operation guide

Security Brands
Security Brands Edge E4 quick start guide

Vitec Group Communications
Vitec Group Communications CellCom 10 Product guide

Western Electric
Western Electric 1A manual

Eques
Eques R22 user manual

Grandstream Networks
Grandstream Networks GSC3570 Quick installation guide