manuals.online logo
Brands
  1. Home
  2. •
  3. Brands
  4. •
  5. Mocka
  6. •
  7. Indoor Furnishing
  8. •
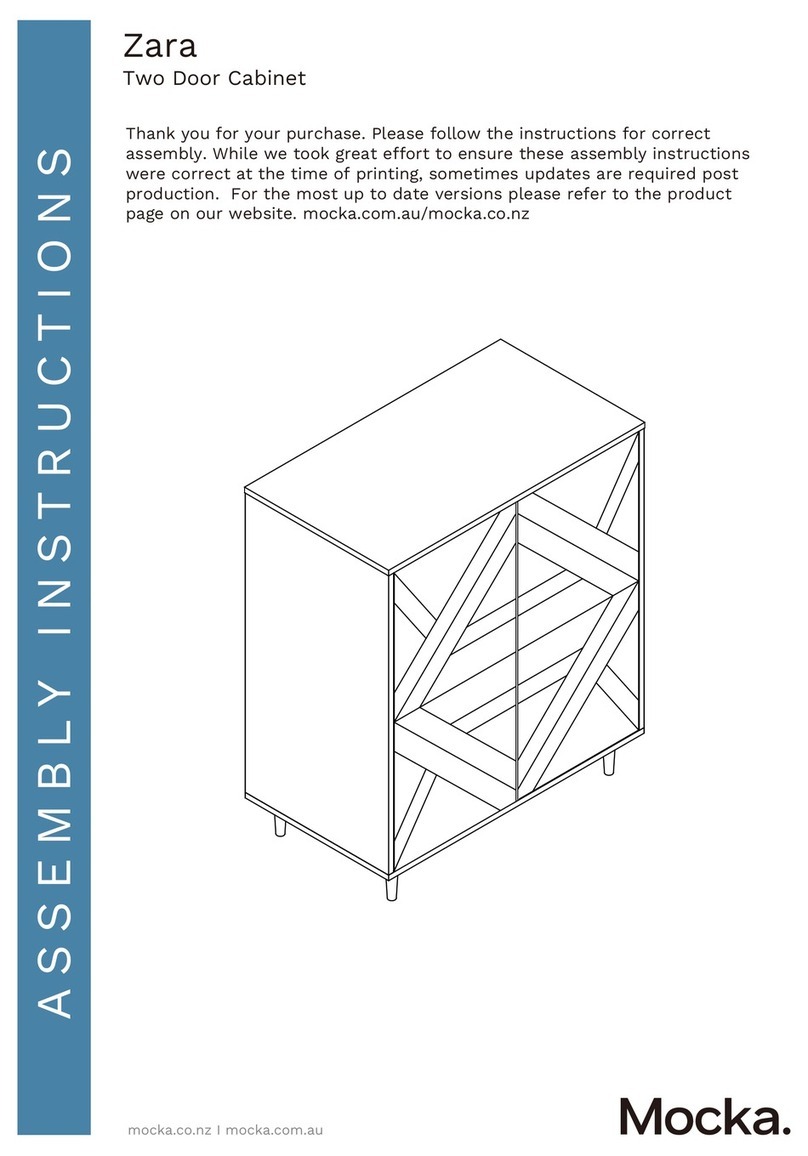
  9. Mocka Eclipse User manual

Mocka Eclipse User manual

Eclipse Two Door Cabinet
Assembly Instructions
1
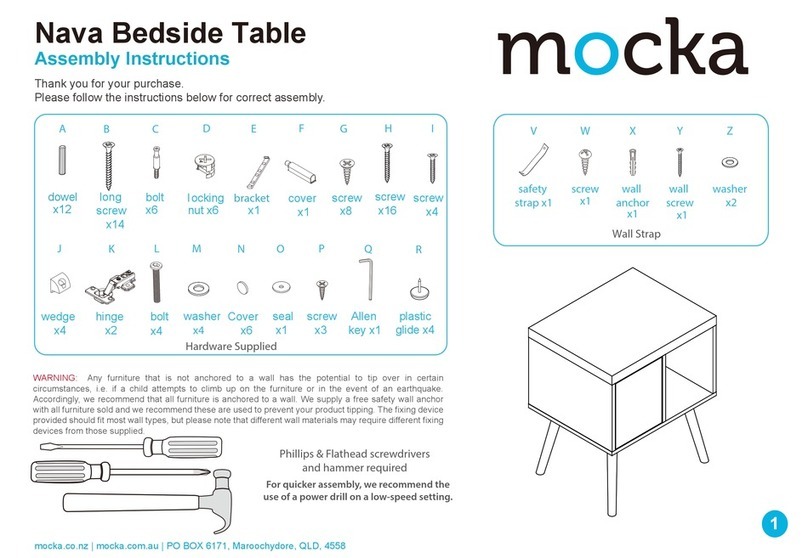
Wall Strap
x2
washer
Z
Y
wall
anchor
x1
X
safety
strap x1
WV
screw
x1
wall
screw
x1
mocka.co.nz | mocka.com.au | PO BOX 6171, Maroochydore, QLD, 4558
x8
A B C D EFG
J K L M N
I
Hardware Supplied
dowel
x12
screw
x4
bolt
x8
screw
x9
screw
x24
locking
nut x8
wedge
x8
bolt
x8
screw
Allen
Key
x1
screw
x2
hinge
x4
H
buffer
plate
x2
handle
x2
handle
screw
x4
O
shelf
plug
x4
P
WARNING: Any furniture that is not anchored to a wall has the potential to tip over in certain
circumstances, i.e. if a child attempts to climb up on the furniture or in the event of an earthquake.
Accordingly, we recommend that all furniture is anchored to a wall. We supply a free safety wall anchor
with all furniture sold and we recommend these are used to prevent your product tipping. The fixing device
provided should fit most wall types, but please note that different wall materials may require different fixing
devices from those supplied.
For quicker assembly, we recommend the
use of a power drill on a low-speed setting.
Phillips & Flathead screwdrivers
Thank you for your purchase. Please follow the instructions for correct assembly.
While we took great effort to ensure these assembly instructions were correct at
the time of printing, sometimes updates are required post production. For the
most up to date versions please refer to the product page on our website.
mocka.com.au/mocka.co.nz
Eclipse Two Door Cabinet
Assembly Instructions
mocka.co.nz | mocka.com.au | PO BOX 6171, Maroochydore, QLD, 4558
2
12
Insert 4x bolts (C) into panel [1] and tighten with a screwdriver. Insert 4x bolts (C) into panels [3] and [4]. Tighten with a screwdriver.
1
3
4
C
C
C
C
C
C
C
C
Eclipse Two Door Cabinet
Assembly Instructions
mocka.co.nz | mocka.com.au | PO BOX 6171, Maroochydore, QLD, 4558
3
3 4
Attach panels [3] and [4] to panel [6] with 4x dowels (A) and secure with
4x locking nuts (D). Tighten with a screwdriver.
D
D
D
D
A
A
A
A
4
3
6
4
3
5
5
13
Attach panels [5] together with connect sticks [13]. Slide panels [5]
down along the grooves between the panels [3] and [4].
D
Eclipse Two Door Cabinet
Assembly Instructions
mocka.co.nz | mocka.com.au | PO BOX 6171, Maroochydore, QLD, 4558
4
65
Attach panel [1] to panels [3] and [4] with 4x dowels (A) and secure
with 4x locking nuts (D). Tighten with a screwdriver.
Carefully turn the unit over. Slide panel [5] down along the grooves between
panels [3] and [4] as shown.
3
A
A
AD
D
D
1
34
5
4
Eclipse Two Door Cabinet
Assembly Instructions
mocka.co.nz | mocka.com.au | PO BOX 6171, Maroochydore, QLD, 4558
5
78
Attach panel [2] to panels [3] and [4] with 4x dowels (A) and secure
with 4x screws (B). Tighten with a screwdriver.
Attach panel [7] to panels [8] and [9] secure with 8x bolts (L). Tighten
with an Allen Key (I).
A
A
A
B
B
B
B
7
7
8
8
9
9
L
L
L
L
L
L
L
L
L
I
B
2
3
4
Eclipse Two Door Cabinet
mocka.co.nz | mocka.com.au | PO BOX 6171, Maroochydore, QLD, 4558
6
910 Door x2
Assembly Instructions
Attach panels [8] to panel [2] and secure with 6x screws (E).Tighten
with a screwdriver.Attach panel [10] to panel [1] secure with 2x screws
(H) and 3x screws (E). Tighten with a screwdriver.
Attach 2x hinges (G) to panel [11] using 4x screws (F), and attach
1x handle (M) to panel [11] and secure with 2x screw (N).
Tighten with a screwdriver.
NN
M
FF
F
FF
F
G
G
G
Tighten the
screws 90%..
11
E
E
E
E
E
E
E
8
8
2
E
E
E
H
H
10
1
E
H
33
4
6
Eclipse Two Door Cabinet
Assembly Instructions
mocka.co.nz | mocka.com.au | PO BOX 6171, Maroochydore, QLD, 4558
7
12 Door x211
Attach hinges on panels [11] to panels [3] and [4] and secure
with 16x screws (F). Tighten with a screwdriver. Attach 2x buffer
plates (P) to panel [6] as shown. Ensure the doors open and
close easily.
O
O
F
F
F
NOTE: If the doors are
uneven or there is a gap
in the middle, loosen or
tighten the screw on the
door hinge until they are
sitting flush.
11
11
P
12
4
Insert 4x shelf plugs (O) into the unit at the desired height for the shelves
and rest the shelf panel [12] onto them. Ensure the shelves are balanced
and stable.
5
5
Eclipse Two Door Cabinet
Assembly Instructions
mocka.co.nz | mocka.com.au | PO BOX 6171, Maroochydore, QLD, 4558
8
1413
Attach 8x wedges (J) into the corners of the back of the unit and secure
with 8x screws (K). Tighten with a screwdriver. Attach 1x safety strap (V)
to the top of the back side of the unit as shown using 1x washer (Z)
and 1x screw (W). Tighten with a screwdriver.
Once assembled lift furniture into place, do not drag. Use a drill to
create a small hole lining up with the top of the safety strap (V).
Fasten to the wall using 1x washer (Z), 1x wall anchor (X) and
1x wall screw (Y). Ensure unit is balanced and steady before
use.
V
Z
W
X
Y
Z
VJ
K
J
J
J
J
J
J
J
K
K
K
K
K
K
K
Z
W
wall
anchor
screw
strap
washer
J
K
Attach panels [5] together with connect sticks [13]. Slide panels [5]
down along the grooves between the panels [3] and [4].
Eclipse Two Door Cabinet
Assembly Instructions
mocka.co.nz | mocka.com.au | PO BOX 6171, Maroochydore, QLD, 4558
9
1615
You’re done, enjoy!
MM
MM
MM
Eclipse Two Door Cabinet
Assembly Instructions
mocka.co.nz | mocka.com.au | PO BOX 6171, Maroochydore, QLD, 4558
10
HOW TO ADJUST THE HINGES TO
ALIGN THE DOORS IF NEEDED.
Open the door.
1. 2. 3.
1. 2. 3.
1. 2. 3.
STEP 1
Adjuse the door panelsupward or downward
STEP 2
Adjuse the flush between door panel and side panel
STEP 3
Adjuse the Gap beteen door
panel and side panel
STEP 4
Loosen this screw a bit. MOVE DOOR BACK OR
FORTH Re-tighten this screw.
Panel
Door
Unscrew 2 screws in round
holes loosen 2 screws in oval
holes a bit.
Tighten 2 screws in oval
holes. Screw in 2 screws in
round holes
MOVE DOOR UPWARD
OR DOWNWARD
MOVE DOOR OUTWARD
by turning this screw
counter-clockwise
KEEP DOOR IN RIGHT
POSITION MOVE DOOR OUTWARD
by turning this screw clockwise

Other manuals for Eclipse

7

Other Mocka Indoor Furnishing manuals

Mocka Marlow Desk User manual

Mocka

Mocka Marlow Desk User manual

Mocka Zara User manual

Mocka

Mocka Zara User manual

Mocka House Bed Single User manual

Mocka

Mocka House Bed Single User manual

Mocka Sadie Queen bed User manual

Mocka

Mocka Sadie Queen bed User manual

Mocka Cove User manual

Mocka

Mocka Cove User manual

Mocka Hamptons User manual

Mocka

Mocka Hamptons User manual

Mocka Sadie User manual

Mocka

Mocka Sadie User manual

Mocka Detroit Trolley Side Table User manual

Mocka

Mocka Detroit Trolley Side Table User manual

Mocka Aspen Wardrobe User manual

Mocka

Mocka Aspen Wardrobe User manual

Mocka Jack Six Drawer User manual

Mocka

Mocka Jack Six Drawer User manual

Mocka Charli User manual

Mocka

Mocka Charli User manual

Mocka Hamptons User manual

Mocka

Mocka Hamptons User manual

Mocka Sadie User manual

Mocka

Mocka Sadie User manual

Mocka Mabel Six Drawer User manual

Mocka

Mocka Mabel Six Drawer User manual

Mocka Luna Cube 4 User manual

Mocka

Mocka Luna Cube 4 User manual

Mocka Porto Entertainment Unit User manual

Mocka

Mocka Porto Entertainment Unit User manual

Mocka Nava User manual

Mocka

Mocka Nava User manual

Mocka Sadie User manual

Mocka

Mocka Sadie User manual

Mocka Theo User manual

Mocka

Mocka Theo User manual

Mocka Kids Rocking Horse User manual

Mocka

Mocka Kids Rocking Horse User manual

Mocka Imogen Queen Bed User manual

Mocka

Mocka Imogen Queen Bed User manual

Mocka Genevieve Change Table User manual

Mocka

Mocka Genevieve Change Table User manual

Mocka Eclipse Four Drawer User manual

Mocka

Mocka Eclipse Four Drawer User manual

Mocka Scarborough Four Drawer User manual

Mocka

Mocka Scarborough Four Drawer User manual

Popular Indoor Furnishing manuals by other brands

Sorelle Verona 2730 manual

Sorelle

Sorelle Verona 2730 manual

Ameriwood HOME 1819196COM manual

Ameriwood HOME

Ameriwood HOME 1819196COM manual

Cooper Lighting Portfolio 860 Specification sheet

Cooper Lighting

Cooper Lighting Portfolio 860 Specification sheet

LDI Spaces Safco E-Z Stor 9241 Assembly instructions

LDI Spaces

LDI Spaces Safco E-Z Stor 9241 Assembly instructions

Forte CHEST SQNK233-C764 Assembling Instruction

Forte

Forte CHEST SQNK233-C764 Assembling Instruction

Husky ERPB4020B quick start guide

Husky

Husky ERPB4020B quick start guide

PowellKids 904-038 Assembly instructions

PowellKids

PowellKids 904-038 Assembly instructions

Next 369857 Assembly instructions

Next

Next 369857 Assembly instructions

Birlea SOMERSET DINING SET Assembly instructions

Birlea

Birlea SOMERSET DINING SET Assembly instructions

CONFORAMA LORIE III G+ 1S 214509 Assembling instructions

CONFORAMA

CONFORAMA LORIE III G+ 1S 214509 Assembling instructions

Amart Furniture TULUM 72537 Assembly instruction

Amart Furniture

Amart Furniture TULUM 72537 Assembly instruction

Light-Point 256603 instruction manual

Light-Point

Light-Point 256603 instruction manual

Universal Furniture Explore Home 414635CAN instruction sheet

Universal Furniture

Universal Furniture Explore Home 414635CAN instruction sheet

rst brands Vera OP-ALTS6335-VERA-TBL Assembly instructions

rst brands

rst brands Vera OP-ALTS6335-VERA-TBL Assembly instructions

Bell'O ODL792-51-D915 user manual

Bell'O

Bell'O ODL792-51-D915 user manual

Altra furniture 5978330COM Assembly instructions

Altra furniture

Altra furniture 5978330COM Assembly instructions

JWA Leeds 68157 Assembly instruction

JWA

JWA Leeds 68157 Assembly instruction

One Stop Gardens 91090 Assembly and operating instructions

One Stop Gardens

One Stop Gardens 91090 Assembly and operating instructions

manuals.online logo
manuals.online logoBrands
  • About & Mission
  • Contact us
  • Privacy Policy
  • Terms and Conditions

Copyright 2025 Manuals.Online. All Rights Reserved.