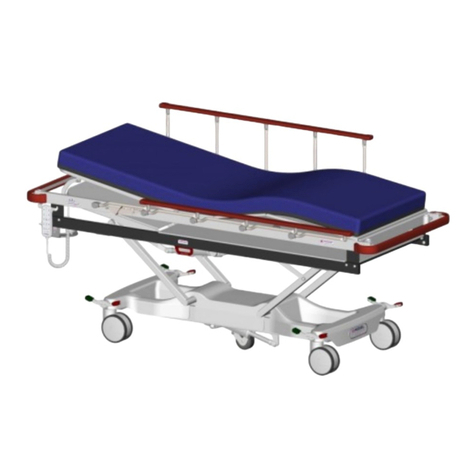
How To Replace A Column Gas Strut
Refer to the SparePart Identification diagram
1. Partially extend the column to approx. mid position by squeezing the release lever
2. Remove the two release lever retaining nuts (Item 3)
3. Remove the three retaining nuts that hold the trolley top to the column (Item 4)
4. Place the top section down safely
5. Remove the three bolts holding the column top
6. Slide the inner column tube down from the column top
7. Loosen the gas strut locking nut underneath and then unwind the column top to remove
8. Remove the three lower column retaining bolts
9. Slide the column outer tubes up and remove
10. Grip the body of the gas strut carefully and unwind to remove from the base (Item 5)
11. Apply medium strength thread locker to the new strut and replace
12. Slide the outer column tubes back on, ensure the upper notch faces away from the front center
leg (brake castors to the left and right hand sides)
13. Re-assemble the three lower column retaining bolts using medium strength thread locker
14. Screw the column top back on until the inner strut head release lever comes out to almost flush
with its housing (Item 6)
15. Operate the release lever by squeezing it to test the gas strut releases and locks correctly
16. Tighten the gas strut locking nut underneath
17. Slide the column tubes up and replace the three retaining bolts with medium strength thread
locker
18. Reassemble the top and release lever
v-05092022 - Page 4
"Trusted products made for trusted professionals"


