manuals.online logo
Brands
  1. Home
  2. •
  3. Brands
  4. •
  5. modway
  6. •
  7. Indoor Furnishing
  8. •
  9. modway EEI-3875-WHI User manual

modway EEI-3875-WHI User manual

Thank you for purchasing the MODWAY Vanity!
Before you start, here are some helpful advice:
1.We suggest you spend a short time reading through this leaflet and then follow the simple step-by-step instructions.
2.Owing to the size and weight of the vanity, we recommend that it is assembled by two adults, on a carpeted or
padded area, in the room that it is intended for. Approximate assembly time: 60 minutes.
3.Please do not use any tools other than those provide or recommended in these instructions.
4.Please do not throw away any of the packaging or instructions until you have checked all the components and
hardware and the furniture is fully assembled.
5.Assemble all components loosely until advised to tighten. Depending on use, it may be necessary to tighten the
components from time to time, so please save the tools that have been provided.
6.Please keep all pieces out of reach of children.
Hardware required. Hammer not included
Hardware required. Screwdriver not included
Carefully insert the Wood Dowels (A) at the designated holes on the relevant parts.
Use Philips screwdriver to insert the Cambolt (B) carefully at the designated holes on the relevant parts.
Please ensure the Cambolt is inserted and secured at the correct pre-drilled holes.
(Power tool not recommended)
Hardware required. Screwdriver not included
Secure the Door Stopper (L) to the Bottom Panel (3) with Screw (K).
Secure the Base Panel (15) to the Adjustable Shelf (6) with 2 pieces of Wood Screw (I).
This assembly namely Shelf Panel Assembly
Hardware required. Screwdriver not included
Assemble 2 pieces of Door Hinges (G) to the 'Door Left (9)' and 'Door Right (10)' on each sides and secure it
with 2 pieces of Screws (F) for each hinges.
Properly insert the Camlock (C) in the pre-drilled hole then align it to the assembled Cambolt (B) to secure
both of Front Panel (7) and Base Panel (8) to the Vertical Panel 1 (11) and Vertical Panel 2 (12).
This assembly namely Front Frame Assembly
Hardware required. Screwdriver not included
Repeat Step 6 to secure the Back Panel 1 (5) and the Back Panel 2 (16) to the Vertical Panel 4 (14) and
Vertical Panel 3 (13).
This assembly namely Back Frame Assembly
8.1- Lay flat the Side Panel Left (1) which already assembled with 4 pieces of Wood Dowel (A)
and 3 pieces of Cambolt (B).
8.2- Insert Camlock (C) from the pre-drilled hole of the Bottom Panel (3) then properly align the Wooden Dowel
to the pre-drilled hole of the Side Panel Left (1).
8.3- Once aligned and attached, make sure to secure Camlock (C) from the Bottom Panel (3) to the
Cambolt (B) of the Side Panel Left (1).
8.4- Repeat steps to secure the Base Panel 1 (4) to the Side Panel Left (1) as shown.
Hardware (L)
face front.
Hardware required. Screwdriver not included
Repeat step 8.2 - 8.3 to secure the Side Panel Right (2) to the Base Panel 1 (4) and Bottom Panel (3).
This assembly namely Carcass Assembly
10.1- Lay flat the Back Frame Assembly which already completed on Step 7,
10.2- Due to the unstable structure, properly lift the Carcass Assembly and align both pre-assemble
wood dowels and Cambolt (B) to the pre drilled hole on the Back Frame Assembly and properly
secure the inserted Camlock (C).
This assembly namely Semi Completed Vanity
Hardware (L)
face front.
Hardware required. Screwdriver not included
11.1- Once Step 10 is completed, lay flat the Semi Completed Assembly with Back Frame Assembly
facing down.
11.2- Carefully align all 4 pieces of wooden dowel and Cambolt (B) to the pre-drilled holes at the Front Frame
Assembly which completed on Step 6 and secure it with the inserted Camlock (C).
Insert the Shelf Pin (H) to the pre-drilled holes and adjust the desired height accordingly.
Hardware required. Screwdriver not included
Properly align the pre-drilled hole at the bottom of the Shelf Panel Assembly which already completed
on Step 4 to shelf pin.
13.2 - Once fixed the shelf will be secured.
Hardware required. Screwdriver not included
Secure 2 pieces of Knobs (D) with Screw (E) to the pre-drilled holes on the Front Panel (7).
Assemble Door Knob (D) on each 'Door Left (9)' and 'Door Right (10)' and secure it
with a Screw (E) by using screwdriver.
Screw and Wall Plug are not provided.
Please use appropriate fixtures for your wall.
Hardware required. Screwdriver not included
Hole=Ø6mm
Use Screwdriver to secure the Metal Bracket (J) on each corner of the top portion of the Vanity Cabinet with
4 pieces of Screw (F).
Note: Professional work required.

This manual suits for next models

5

Other modway Indoor Furnishing manuals
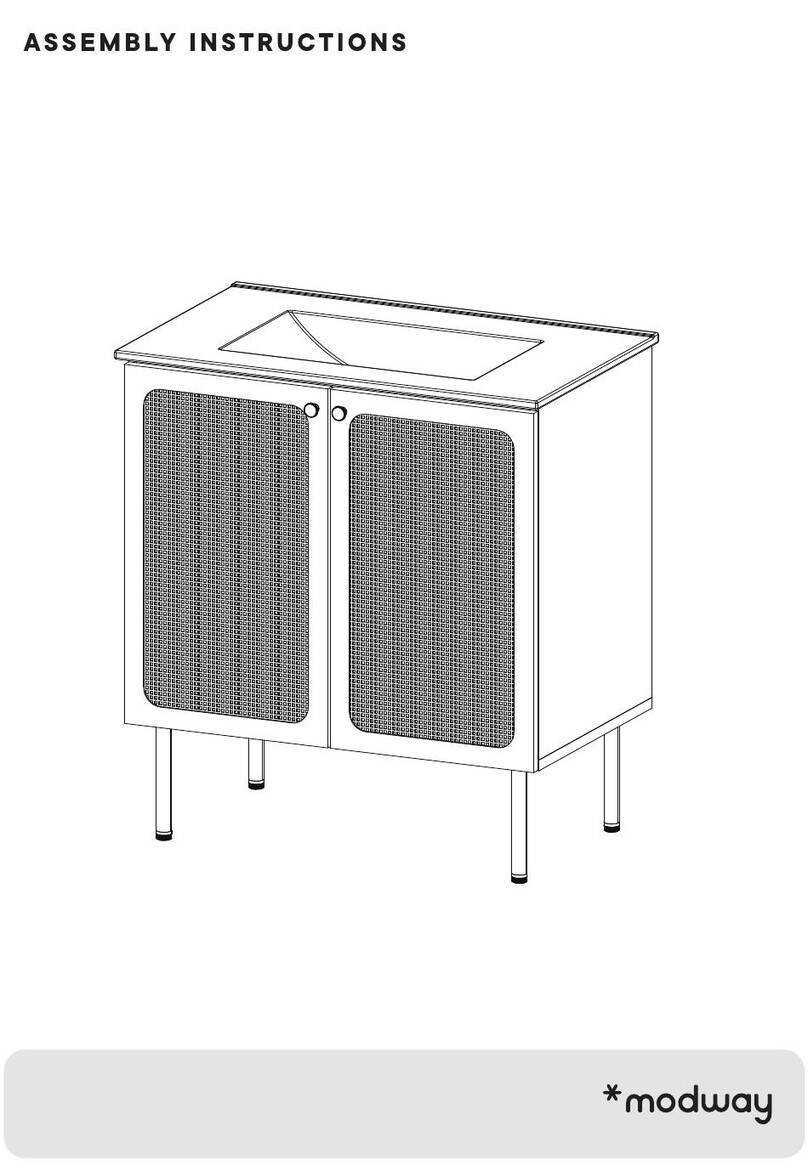
modway KIREI HIGH TV 180 2L User manual

modway

modway KIREI HIGH TV 180 2L User manual

modway EEI-2089 User manual

modway

modway EEI-2089 User manual

modway EEI-4575 User manual

modway

modway EEI-4575 User manual

modway EEI-6578 User manual

modway

modway EEI-6578 User manual

modway EEI-5083-NAT User manual

modway

modway EEI-5083-NAT User manual

modway EEI-3457 User manual

modway

modway EEI-3457 User manual

modway MOD-6250 User manual

modway

modway MOD-6250 User manual

modway MOD-6225 User manual

modway

modway MOD-6225 User manual

modway EEI-2126 User manual

modway

modway EEI-2126 User manual

modway EEI-3438 User manual

modway

modway EEI-3438 User manual

modway MOD-6031 User manual

modway

modway MOD-6031 User manual

modway EEI-5037 User manual

modway

modway EEI-5037 User manual

modway EEI-3579 User manual

modway

modway EEI-3579 User manual

modway Regent EEI-3608 User manual

modway

modway Regent EEI-3608 User manual

modway EEI-2542 User manual

modway

modway EEI-2542 User manual

modway EEI-4368 User manual

modway

modway EEI-4368 User manual

modway EEI-6167-WAL User manual

modway

modway EEI-6167-WAL User manual

modway EEI-4894 User manual

modway

modway EEI-4894 User manual

modway EEI-2251 Manual

modway

modway EEI-2251 Manual

modway Energize EEI-5548 User manual

modway

modway Energize EEI-5548 User manual

modway Harness EEI-3446 User manual

modway

modway Harness EEI-3446 User manual

modway EEI-2120 User manual

modway

modway EEI-2120 User manual

modway EEI-2531 User manual

modway

modway EEI-2531 User manual
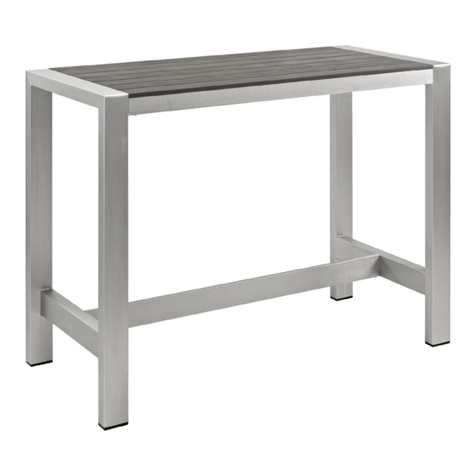
modway EEI-4209 User manual

modway

modway EEI-4209 User manual

Popular Indoor Furnishing manuals by other brands

Maxon M-KIT118 Assembly instructions

Maxon

Maxon M-KIT118 Assembly instructions

BDI Corridor 8172 instruction manual

BDI

BDI Corridor 8172 instruction manual

ROBERTO FIORE Cabinets To Go WC2442 Assembly instructions

ROBERTO FIORE

ROBERTO FIORE Cabinets To Go WC2442 Assembly instructions

Tennsco 1-Wide Welded Base for Lockers without Legs Assembly Instructions/Parts Manual

Tennsco

Tennsco 1-Wide Welded Base for Lockers without Legs Assembly Instructions/Parts Manual

WASHTOWER WSCH207-60 Assembling Instruction

WASHTOWER

WASHTOWER WSCH207-60 Assembling Instruction

RTA Products Techni Mobili RTA-3840SU Assembly instructions

RTA Products

RTA Products Techni Mobili RTA-3840SU Assembly instructions

Seconique BLACK TANDI TRIPLE SLEEPER BUNK BED Assembly instructions

Seconique

Seconique BLACK TANDI TRIPLE SLEEPER BUNK BED Assembly instructions

Jofran 1511-380KD manual

Jofran

Jofran 1511-380KD manual

STILFORD JBRDMT90OA Assembly instructions

STILFORD

STILFORD JBRDMT90OA Assembly instructions

HOMCOM 831-495 Assembly & instruction manual

HOMCOM

HOMCOM 831-495 Assembly & instruction manual

Amart Furniture HUGH 66203 Assembly instruction

Amart Furniture

Amart Furniture HUGH 66203 Assembly instruction

E15 DC10 LAZLO manual

E15

E15 DC10 LAZLO manual

LDI Spaces Safco 1986 instructions

LDI Spaces

LDI Spaces Safco 1986 instructions

GABBY CARINE Assembly instruction

GABBY

GABBY CARINE Assembly instruction

Vu Ryte VUR 8877FL installation instructions

Vu Ryte

Vu Ryte VUR 8877FL installation instructions

Inglesina fast instruction manual

Inglesina

Inglesina fast instruction manual

Wholesale Interiors BR 990065 Assembly instructions

Wholesale Interiors

Wholesale Interiors BR 990065 Assembly instructions

Alice's Home CAMARGUE Assembly

Alice's Home

Alice's Home CAMARGUE Assembly

manuals.online logo
manuals.online logoBrands
  • About & Mission
  • Contact us
  • Privacy Policy
  • Terms and Conditions

Copyright 2025 Manuals.Online. All Rights Reserved.