manuals.online logo
Brands
  1. Home
  2. •
  3. Brands
  4. •
  5. Mold-Masters
  6. •
  7. Controllers
  8. •
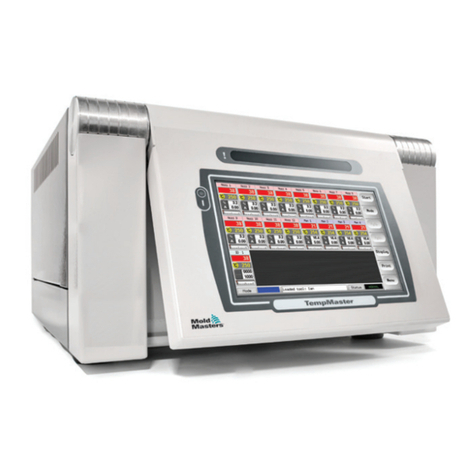
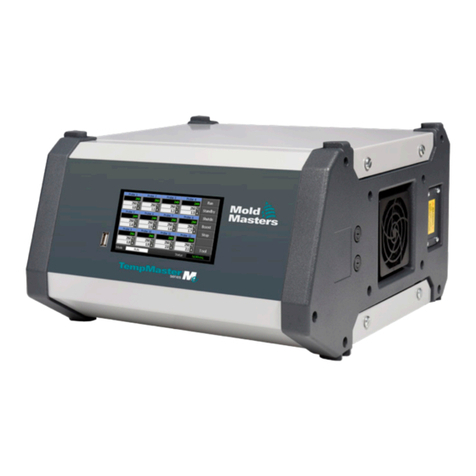
  9. Mold-Masters TempMaster M3 Series User manual

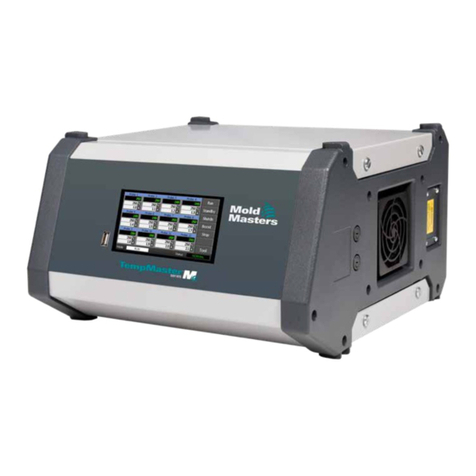
Mold-Masters TempMaster M3 Series User manual

2021 Mold-Masters (2007) Limited. All Rights Reserved.
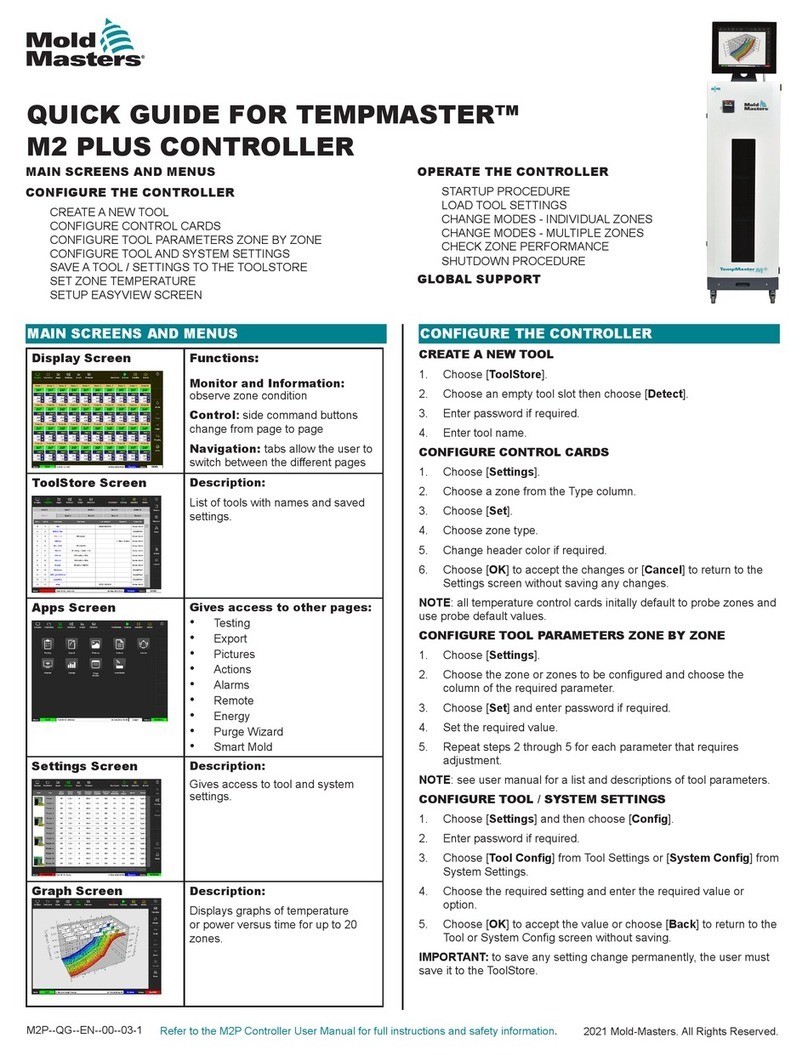
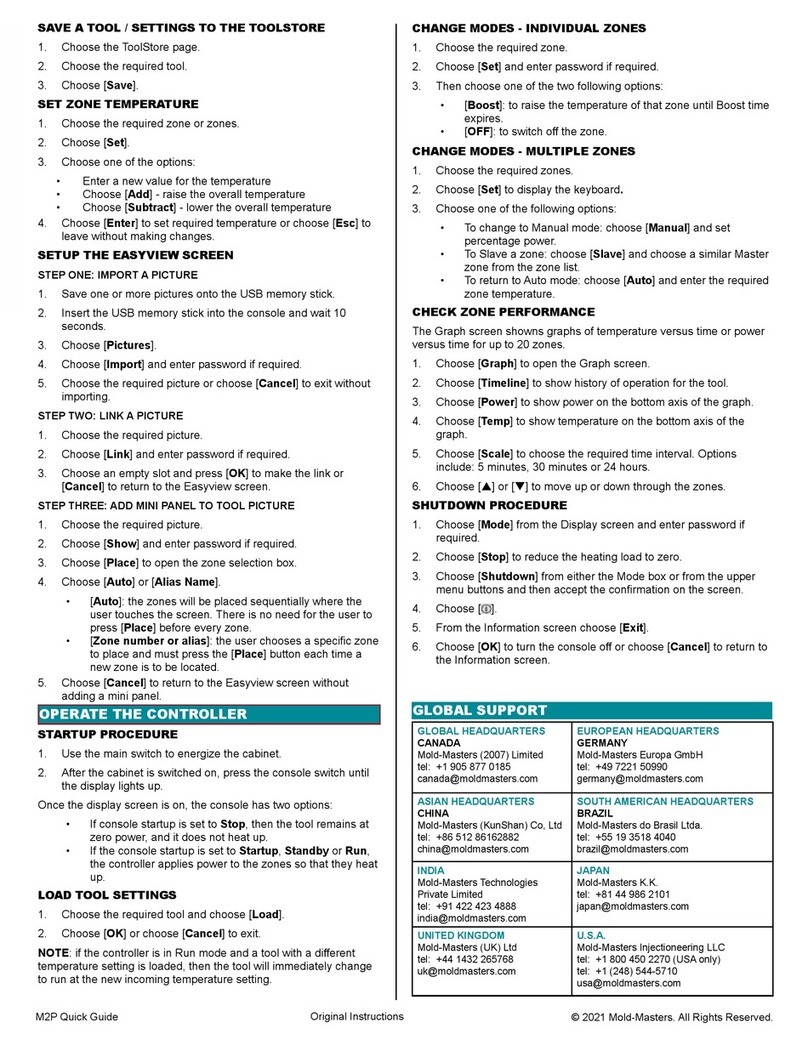
Quick Guide for Tempmaster™ M3 Controller
Refer to the M3 Controller User Manual for full instructions and safety information.
Create a New Tool
1. Choose [ToolStore].
2. Choose an empty tool slot and then choose [Detect].
3. Enter the password if required.
4. Enter a tool name.
Congure Control Cards
1. Choose [Settings].
2. Choose a zone from the Type column.
3. Choose [Set].
4. Choose a zone type.
5. Change header color if required.
6. Choose [OK] to accept the changes.
Note: all temperature control cards initally default to probe zones and
use probe default values.
Congure Tool Parameters Zone By Zone
1. Choose [Settings].
2. Choose the zone or zones to be congured and choose the
column of the required parameter.
3. Choose [Set] and enter the password if required.
4. Set the required value.
5. Repeat steps 2 through 5 for each parameter that requires
adjustment.
NOTE: see the user manual for a list of tool parameters and their
descriptions.
Congure Tool / System Settings
1. Choose [Settings] and then choose [Cong].
2. Enter the password if required.
3. Choose [Tool Cong] from Tool Settings or [System Cong] from
System Settings.
4. Choose the required setting and enter the required value or
option.
5. Choose [OK] to accept the value.
IMPORTANT: to save a setting change permanently, save it to the
ToolStore.
Congure the ControllerMain Screens and Menus
Main Screens and Menus
Congure the Controller
Create a New Tool
Congure Control Cards
Congure Tool Parameters Zone By Zone
Congure Tool and System Settings
Save a Tool / Settings to the Toolstore
Set Zone Temperature
Set up Easyview Screen
Operate the Controller
Startup
Load Tool Settings
Change Modes—Individual Zones
Change Modes—Multiple Zones
Check Zone Performance
Shutdown
Global Support
Display Screen Functions:
Monitor and Information:
observe zone condition
Control: side command buttons
change from page to page
Navigation: tabs allow the user to
switch between the di󰀨erent pages
ToolStore Screen Description:
List of tools with names and saved
settings.
Apps Screen Gives access to other pages:
• Testing
• Export
• Pictures
• Actions
• Alarms
• Remote
• Energy
• Purge Wizard
• Smart Mold
Settings Screen Description:
Gives access to tool and system
settings.
Graph Screen Description:
Displays graphs of temperature
or power versus time for up to 20
zones.
M3--QG--EN--00--01
Global Support
Global Headquarters
Canada
Mold-Masters (2007) Limited
tel: +1 905 877 0185
[email protected]
European Headquarters
Germany
Mold-Masters Europa GmbH
tel: +49 7221 50990
[email protected]
Asian Headquarters
China
Mold-Masters (KunShan) Co, Ltd
tel: +86 512 86162882
[email protected]
South American Headquarters
Brazil
Mold-Masters do Brasil Ltda.
tel: +55 19 3518 4040
[email protected]
India
Mold-Masters Technologies
Private Limited
tel: +91 422 423 4888
[email protected]
Japan
Mold-Masters K.K.
tel: +81 44 986 2101
[email protected]
United Kingdom
Mold-Masters (UK) Ltd
tel: +44 1432 265768
[email protected]
U.S.A.
Mold-Masters Injectioneering LLC
tel: +1 800 450 2270 (USA only)
tel: +1 (248) 544-5710
[email protected]
Original Instructions
Save a Tool / Settings to the Toolstore
1. Choose the ToolStore page.
2. Choose the required tool.
3. Choose [Save].
Set Zone Temperature
1. Choose the required zone or zones.
2. Choose [Set].
3. Choose one of the options:
• Enter a new value for the temperature
• Choose [Add] - raise the overall temperature
• Choose [Subtract] - lower the overall temperature
4. Choose [Enter] to set required temperature.
Set up the Easyview Screen
Step One: Import A Picture
1. Save one or more pictures onto a USB memory stick.
2. Insert the USB memory stick into the console.
3. Choose [Pictures].
4. Choose [Import] and enter password if required.
5. Choose the required picture.
Step Two: Link a Picture
1. Choose the required picture.
2. Choose [Link] and enter the password if required.
3. Choose an empty slot and press [OK] to make the link.
Step Three: Add Mini Panel to Tool Picture
1. Choose the required picture.
2. Choose [Show] and enter the password if required.
3. Choose [Place] to open the zone selection box.
4. Choose [Auto] or [Alias Name].
• [Auto]: the zones will be placed sequentially where you
touch the screen. You do not need to press [Place] before
every zone.
• [Zone number or alias]: choose a specic zone to place
and press the [Place] button each time a new zone is to
be located.
Operate the Controller
Startup
1. Use the main switch to energize the cabinet.
2. After the cabinet is switched on, press the console switch until
the display lights up.
Once the display screen is on, you have two options:
• If console startup is set to Stop, then the tool remains at
zero power, and it does not heat up.
• If the console startup is set to Startup, Standby or Run,
the controller applies power to the zones so that they heat
up.
Load Tool Settings
1. Choose the required tool and choose [Load].
2. Choose [OK].
NOTE: if the controller is in Run mode and a tool with a di󰀨erent
temperature setting is loaded, the tool will immediately change to run
at the new temperature setting.
Change Modes—Individual Zones
1. Choose the required zone.
2. Choose [Set] and enter the password if required.
3. Choose one of the two following options:
• [Boost]: to raise the temperature of that zone until Boost time
expires.
• [OFF]: to switch o󰀨 the zone.
Change Modes—Multiple Zones
1. Choose the required zones.
2. Choose [Set] to display the keyboard.
3. Choose one of the following options:
• To change to Manual mode: choose [Manual] and set
percentage power.
• To Slave a zone: choose [Slave] and choose a similar Master
zone from the zone list.
• To return to Auto mode: choose [Auto] and enter the required
zone temperature.
Check Zone Performance
The Graph screen shows graphs of temperature versus time or power
versus time for up to 20 zones.
1. Choose [Graph] to open the Graph screen.
2. Choose [Timeline] to show history of operation for the tool.
3. Choose [Power] to show power on the bottom axis of the graph.
4. Choose [Temp] to show temperature on the bottom axis of the
graph.
5. Choose [Scale] to choose the required time interval. Options
include: 5 minutes, 30 minutes, or 24 hours.
6. Choose [] or [] to move up or down through the zones.
Shutdown
1. Choose [Mode] from the Display screen and enter the password if
required.
2. Choose [Stop] to reduce the heating load to zero.
3. Choose [Shutdown] from either the Mode box or from the upper
menu buttons and then accept the conrmation on the screen.
4. Choose [ ].
5. From the Information screen choose [Exit].
6. Choose [OK] to turn the console o󰀨.

Other manuals for TempMaster M3 Series

1

Other Mold-Masters Controllers manuals

Mold-Masters TempMasters ME Series User manual

Mold-Masters

Mold-Masters TempMasters ME Series User manual

Mold-Masters E_DRIVE User manual

Mold-Masters

Mold-Masters E_DRIVE User manual

Mold-Masters TempMaster M1 Plus Series User manual

Mold-Masters

Mold-Masters TempMaster M1 Plus Series User manual

Mold-Masters M2 User manual

Mold-Masters

Mold-Masters M2 User manual

Mold-Masters TempMaster Series User manual

Mold-Masters

Mold-Masters TempMaster Series User manual

Mold-Masters E-Multi EM1 User manual

Mold-Masters

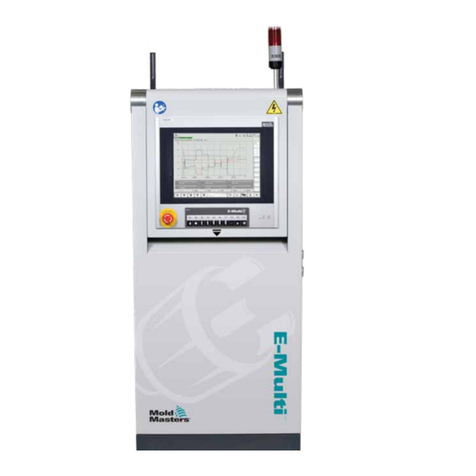
Mold-Masters E-Multi EM1 User manual

Mold-Masters TempMaster MT User manual

Mold-Masters

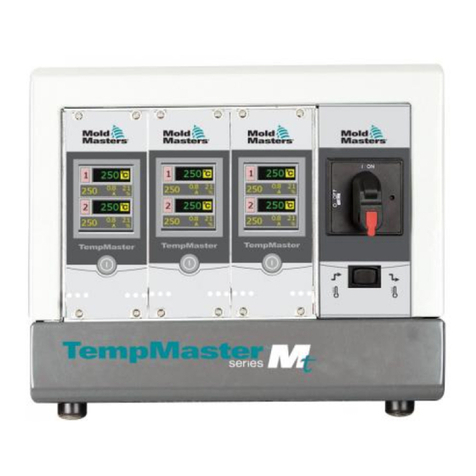
Mold-Masters TempMaster MT User manual

Mold-Masters TempMaster M2 Plus Series User manual

Mold-Masters

Mold-Masters TempMaster M2 Plus Series User manual

Mold-Masters TempMaster M2 Plus Series User manual

Mold-Masters

Mold-Masters TempMaster M2 Plus Series User manual

Mold-Masters Tempmaster M1 User manual

Mold-Masters

Mold-Masters Tempmaster M1 User manual

Mold-Masters TempMaster M2 Plus Series User manual

Mold-Masters

Mold-Masters TempMaster M2 Plus Series User manual

Popular Controllers manuals by other brands

AUTOK TC818 instruction manual

AUTOK

AUTOK TC818 instruction manual

DX Engineering DXE-CC-8A user manual

DX Engineering

DX Engineering DXE-CC-8A user manual

Regada MO 3.4 Installation, service and maintenance instructions

Regada

Regada MO 3.4 Installation, service and maintenance instructions

OptoSigma GSC-02A user manual

OptoSigma

OptoSigma GSC-02A user manual

Watlow MLS-PM user guide

Watlow

Watlow MLS-PM user guide

Armacost Lighting 723421 instructions

Armacost Lighting

Armacost Lighting 723421 instructions

Danfoss ADAP-KOOL AK-PC 651 user guide

Danfoss

Danfoss ADAP-KOOL AK-PC 651 user guide

Samson Type 5824 Mounting and operating instructions

Samson

Samson Type 5824 Mounting and operating instructions

CD Automation CD3000E user manual

CD Automation

CD Automation CD3000E user manual

Danfoss EKC 102B instructions

Danfoss

Danfoss EKC 102B instructions

SMART-HOUSE BGP-COD-BAT user manual

SMART-HOUSE

SMART-HOUSE BGP-COD-BAT user manual

Linear Acoustic UPMAX ISC manual

Linear Acoustic

Linear Acoustic UPMAX ISC manual

Holman PRO469 user guide

Holman

Holman PRO469 user guide

Danfoss PN 25 instructions

Danfoss

Danfoss PN 25 instructions

Ultraflex B47 installation instructions

Ultraflex

Ultraflex B47 installation instructions

Linear Technology 1158A quick start guide

Linear Technology

Linear Technology 1158A quick start guide

Motortech MIC500 operating manual

Motortech

Motortech MIC500 operating manual

Emerson Keystone EPI2 Installation, operation and maintenance manual

Emerson

Emerson Keystone EPI2 Installation, operation and maintenance manual

manuals.online logo
manuals.online logoBrands
  • About & Mission
  • Contact us
  • Privacy Policy
  • Terms and Conditions

Copyright 2025 Manuals.Online. All Rights Reserved.