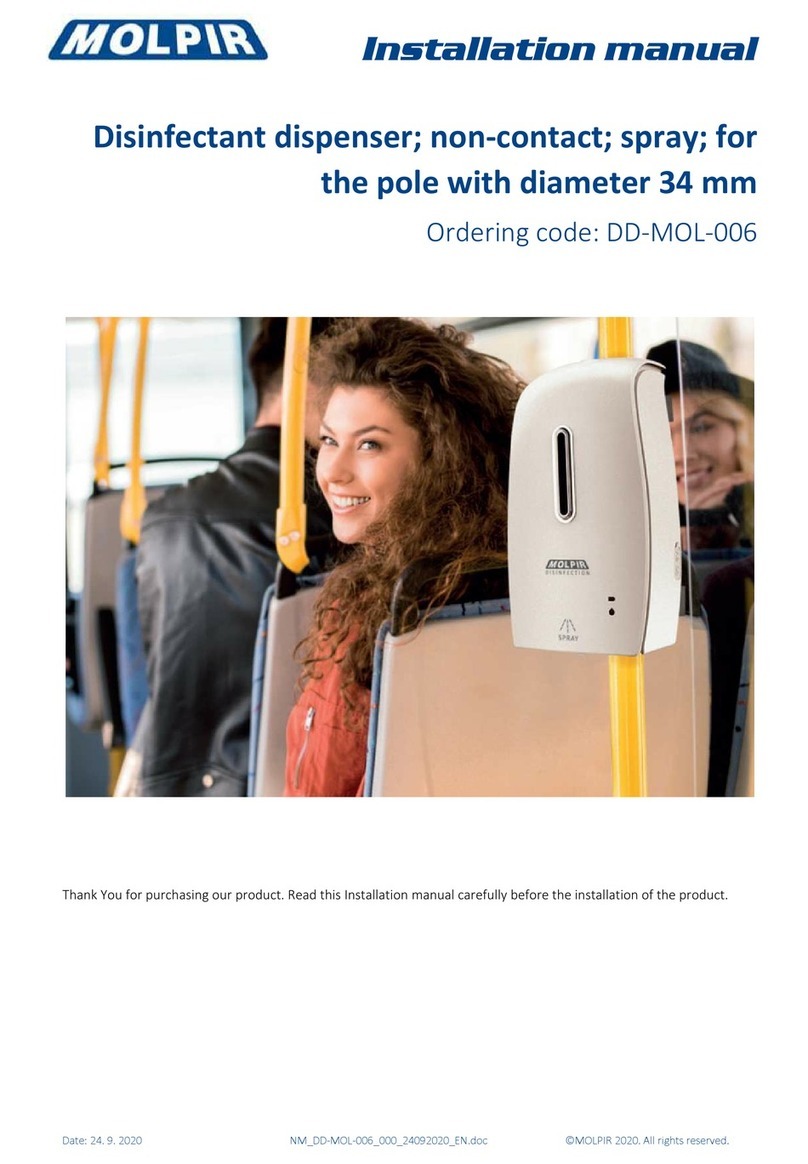
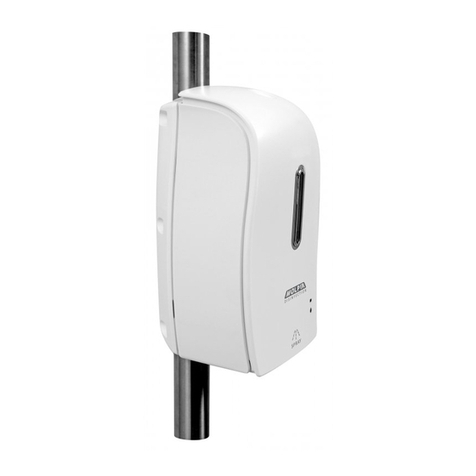
Molpir DD-MOL-010 User manual

User manual
Date: July 9, 2020 NU_DD-MOL-010_000_09072020_EN.doc ©MOLPI 2020. All rights reserved.
Disinfectant dispenser; non-contac with spray;
on the wall installation bracket
Ord. code: DD-MOL-010
The non-contact disinfectant dispenser integrated on the on the wall installation bracket. With solid
construction made of stainless steel with atractive design. The smooth surface is easy to clean.

Date: July 9, 2020 NU_DD-MOL-010_000_09072020_EN.doc Page 2 of 7
General information
The non-contact spray disinfection dispenser can be used with the following fillings:
• liquid with alcohol content up to 75%
• Oxychlorine with an active substance concentration of 0.03%
• other chlorine-based disinfectants: Cl max. 50 ml / 1 l
Description of controls and main components of the dispenser
① key (lock oft he front cover)
② disinfectant level control window
③ connector for 230 V / 6 V DC power adapter
④ red LED (battery status)
⑤ green LED (operation status)
⑥ dosing nozzle (sprayer)
⑦ disinfectant reservoir filler neck
⑧ disinfectant reservoir
⑨ main switch / single disinfection dose size switch
⑩ battery compartment (water resistant)
⑪ I sensors

Date: July 9, 2020 NU_DD-MOL-010_000_09072020_EN.doc Page 3 of 7
Installation on the wall
Select a suitable location for mounting the disinfection dispenser. It should be a flat, smooth surface indoors and out of
direct sunlight and out of reach of the heat source.
For assembly, you can use the installation material, which is intended for brick masonry and concrete structures and is
part of the package. Use suitable dowels or anchors for mounting on plasterboard or lightweight building walls.
•Place the rear metal bracket on the wall at a suitable height (lower edge of the rear bracket approx. 970 mm from the
floor for adults and approx. 750 mm for children) and mark 6 holes - Fig. 1.
•Drill 6 holes with a diameter of 6 mm to a depth of 30 mm and insert the enclosed dowels into them.
•Place the rear bracket on the wall and screw it on with enclosed 4 x 15 mm cross head screws.
•Place the dispenser with the stainless steel plate mounted on the rear bracket so that the protruding "tab" fits into the
cut-off on the rear wall-mounted bracket, press it over the entire surface against the rear bracket and then slide it all
the way down - Fig. 2.
•Unlock the front cover of the dispenser with the plastic key (included in the package) and open the front cover of the
dispenser.
•Use 2 enclosed M5x10 screws with Torx 25 head to firmly attach the dispenser to the rear bracket - Fig. 3.
• Insert the drip tray (part of the package) at an angle of approx. 45° into the holes in the lower part of the stainless
steel plate of the dispenser and then lower it to a horizontal position - Fig. 4.
Fig. 1 – rear bracket - fixation points on the wall Fig. 2 – placing the dispenser to rear bracket

Date: July 9, 2020 NU_DD-MOL-010_000_09072020_EN.doc Page 4 of 7
1 2
Fig. 3 – fix the dispenser to the rear holder Fig. 4 – attaching the drip tray
Filling with disinfectant
•elease the reservoir (item no. ⑧) by pushing it downwards and pulling the upper part with the cap towards you and
then remove it upwards and towards you - Fig. 5.
•Fill the tank with a suitable disinfectant solution (see page 7 of this manual). Be careful not to overfill the tank.
•Tighten the reservoir cap tightly.
•If disinfectant is spilled on the tank during filling, wipe it dry before putting it back in the dispenser.
•Insert the reservoir back into the dispenser at a 45° angle and, after inserting the outlet of the tank into the dispenser
pump, secure it by moving it downwards and backwards, thus locking it in the dispenser – Fig. 6.
Fig. 5 – re oving the reservoir Fig. 6 – inserting back the reservoir

Date: July 9, 2020 NU_DD-MOL-010_000_09072020_EN.doc Page 5 of 7
Inserting the batteries
Gently push and slide the battery Insert 4 pcs of new alkali
alkalialkali
alkalin
nn
ne batteries
e batteriese batteries
e batteries
Insert back the battery cover
cover in the direction of the arrow AA type type so that the polarity of the
inserted batteries is in accordance with
the marking polarity on the dispenser
motor body
Then turn the main switch to position I or II to select a single dose size (0.5 or 1.0 ml) and close the front cover. The
dispenser is set to energy saving mode and "waits" for the hands to approach the detection space under the dispenser
nozzle.
The battery compartment has a water-resistant design.
If you want to use the AC adapter instead of the batteries to power the dispenser, insert the 230 V/50 Hz 6 VDC 1 A
power adapter connector into the power connector located on the right side of the dispenser.
Use only a cer
Use only a cerUse only a cer
Use only a certified power adapter DD
tified power adapter DDtified power adapter DD
tified power adapter DD-
--
-MOL
MOLMOL
MOL-
--
-303 for this type of dispenser to prevent possible damage to the
303 for this type of dispenser to prevent possible damage to the 303 for this type of dispenser to prevent possible damage to the
303 for this type of dispenser to prevent possible damage to the
dispenser by using an unsuitable power adapter.
dispenser by using an unsuitable power adapter.dispenser by using an unsuitable power adapter.
dispenser by using an unsuitable power adapter.

Date: July 9, 2020 NU_DD-MOL-010_000_09072020_EN.doc Page 6 of 7
Description of LED signaling
•The red LED flashes when the dispenser is switched on, when the dose size is set and when the front cover is
opened / closed.
•Green LED - lights up once for 1 second when the dose size is switched, followed by a flashing of the red LED once
when switching to position I, resp. The red LED flashes twice when switching to position II.
•Green LED - flashes once each time a hand is placed under the dispenser within range of the sensor and the green
LED lights up while the dispenser motor is running.
•Signaling of supply voltage drop below 4.8 V:
oThe red LED flashes every 3 seconds when the supply voltage is in the range of 3.9 V - 4.8 V, the dispenser is still
working (spray disinfectant after detecting a hand under the sensor).
oWhen the supply voltage drops below 3.9 V, the red LED flashes twice each time the dispenser sensor is activated,
but the dispenser no longer works (disinfectant does not spray out).
Use and maintenance
•Do not expose the dispenser to direct sunlight or elevated ambient temperatures.
•The detection range of the sensor is 2 – 10 cm (±2 cm).
•Use only the recommended types of disinfectants in the dispenser:
o Alcohol based
o Water based with active additives
Do not
Do not Do not
Do not use disinfectant gels or foam disinfectants in this type of dispenser (spray).
use disinfectant gels or foam disinfectants in this type of dispenser (spray).use disinfectant gels or foam disinfectants in this type of dispenser (spray).
use disinfectant gels or foam disinfectants in this type of dispenser (spray).
•After filling the disinfectant reservoir, allow the dispenser to spray several times to expel possible air bubbles from the
disinfectant distribution ways in the dispenser.
•Setting the single dose volume:
oOpen the front cover, set the switch to position "I" for a 0.5 ml dose of disinfectant or to position "II" for a 1.0 ml
dose. In position 0, the dispenser is switched off.
•When the dispenser motor is running but the sprayer does not dispense disinfectant, please check and add
disinfectant.
Do not let the dispenser run idle, as this could damage it!
Do not let the dispenser run idle, as this could damage it!Do not let the dispenser run idle, as this could damage it!
Do not let the dispenser run idle, as this could damage it!
•When operating the dispenser with weaker (discharged) batteries, the dose of disinfectant solution may be
smaller and the spray angle smaller.
•Do not use acid, solvent or abrasive cleaners to clean the dispenser.
•inse the outer cover of the dispenser with detergent and water or use a detergent containing alcohol.
•When cleaning the dispenser, make sure that the cleaning agent does not get into the disinfectant reservoir.
•If the dispenser will not be used for a long time, remove the batteries and empty the disinfectant reservoir.

Date: July 9, 2020 NU_DD-MOL-010_000_09072020_EN.doc Page 7 of 7
ecommendet disinfectant refills
Ordering code Product description
DD-MOL-201 Alcohol based disinfectant with glycerine for direct use in hand dispenser; 5 l container
DD-MOL-202 Alcohol based disinfectant with glycerine for direct use in hand dispenser; 1 l bottle
DD-MOL-203 Solution for hands disinfection Steriland DE MA with HCl 0,025 %; for direct use in
disinfection dispenser; 5 L
DD-MOL-204 Solution for hands disinfection Steriland DE MA with HCl 0,025 %; for direct use in
disinfection dispenser; 1 L
DD-MOL-207 Alcohol based disinfectant with glycerine for direct use; 1 l bottle
DD-MOL-208 Disinfectant on alcohol base with glycerine and aloe vera; for direct use; 5 l
DD-MOL-209 Alcohol based disinfectant with glycerine for direct use; 1 l bottle
ecommended power adapter
Ordering code Product description
DD-MOL-303 Power adapter 6 V / 2000 mA
Before storing, moving or transporting in a position
Before storing, moving or transporting in a position Before storing, moving or transporting in a position
Before storing, moving or transporting in a position other than upright and when
other than upright and when other than upright and when
other than upright and when
sending the dispenser for servi
sending the dispenser for servisending the dispenser for servi
sending the dispenser for service, please empty the disinfectant
ce, please empty the disinfectant ce, please empty the disinfectant
ce, please empty the disinfectant reservoir
reservoirreservoir
reservoir
to prevent
to prevent to prevent
to prevent
it from leaking out
it from leaking outit from leaking out
it from leaking out!
!!
!
Table of contents
Other Molpir Dispenser manuals