manuals.online logo
Brands
  1. Home
  2. •
  3. Brands
  4. •
  5. Monacor
  6. •
  7. Automobile Accessories
  8. •
  9. Monacor Carpower FGA-22HQ User manual

Monacor Carpower FGA-22HQ User manual

Übertrager für
Car-HiFi-Endstufen
Bitte lesen Sie diese Anleitung vor der Inbetriebnahme
gründlich durch und heben Sie sie für ein späteres
Nachlesen auf.
1 Verwendungsmöglichkeiten
Der Übertrager FGA-22HQ dient zum Anschluss der
Line-Eingänge einer Car-HiFi-Endstufe an die Laut-
sprecherausgänge eines Autoradios. Die Ausgangs-
leistung des Autoradios darf nicht mehr als 20 W
betragen, sonst wird der Übertrager überlastet. Fol-
gende Anpassprobleme werden mit dem FGA-22HQ
behoben:
1. Reduzierung des hohen Ausgangspegels des
Autoradios für die empfindlichen Line-Eingänge
der Car-HiFi-Endstufe
2. Massefreie Übertragung der Autoradio-Ausgänge
(bei Brückenschaltung im Autoradio unbedingt er-
forderlich!) auf die asymmetrischen Line-Eingänge
der Car-HiFi-Endstufe
2 Hinweise für den sicheren Gebrauch
Der Übertrager entspricht allen relevanten Richtlinien
der EU und ist deshalb mit gekennzeichnet.
GSchützen Sie den Übertrager vor Feuchtigkeit und
Hitze (zulässiger Einsatztemperaturbereich 0 °C bis
40 °C).
SPEAKER OUT / LINE IN
TRANSFORMER
FGA-22HQ
Best.-Nr. 06.6370
GVerwenden Sie zum Reinigen nur ein trockenes,
weiches Tuch, niemals Chemikalien oder Wasser.
GWird der Übertrager zweckentfremdet, nicht richtig
angeschlossen, falsch bedient oder nicht fachge-
recht repariert, kann keine Garantie für den Übertra-
ger und keine Haftung für daraus resultierende
Sach- oder Personenschäden übernommen wer-
den.
3 Montage
Den Übertrager über die beiden Montagewinkel fest
im Fahrzeug anschrauben, damit er sich nicht löst und
beim Bremsen zu einem gefährlichen Geschoss wird.
4 Anschluss
Alle Anschlüsse dürfen nur bei ausgeschalteter Car-
HiFi-Anlage hergestellt werden!
1) Die Cinch-Buchsen OUTPUT („L“ für den linken
und „R“ für den rechten Kanal) über abgeschirmte
Cinch-Audiokabel mit dem rechten und linken Line-
Eingang der Car-HiFi-Endstufe verbinden.
2) Die Plus- und Minuspole der Radio-Lautsprecher-
ausgänge mit den entsprechenden Schrauban-
schlüssen INPUT des Übertragers verbinden.
Soll der Übertrager endgültig aus dem
Betrieb genommen werden, übergeben Sie
ihn zur umweltgerechten Entsorgung einem
örtlichen Recyclingbetrieb.
Ist am Autoradio nur ein gemeinsamer Minusan-
schluss für beide Lautsprecher vorhanden, dann
die beiden Minusanschlüsse des Übertragers mit
dem gemeinsamen Minusanschluss des Auto-
radios verbinden.
3) Den mittleren Schraubanschluss „G“ mit der Masse
des Fahrzeugs verbinden.
4) Mit den beiden Reglern SIGNAL LEVEL lässt sich
der Übertrager an den Eingangspegel der Car-
HiFi-Endstufe anpassen. Das Autoradio auf maxi-
male, nicht verzerrende Lautstärke einstellen (z. B.
3/4vom Maximum). Die Regler am Übertrager mit-
hilfe eines Schraubendrehers ebenfalls auf maxi-
male, nicht verzerrende Lautstärke der Endstufe
einstellen.
5 Technische Daten
Frequenzbereich: . . . . . . . 20 – 30 000 Hz
Eingangsimpedanz: . . . . . 45 Ω
Ausgangsimpedanz: . . . . . 30 Ω – 2,8 kΩ
Klirrfaktor: . . . . . . . . . . . . . < 0,001 %
max. Eingangsleistung: . . . 20 WRMS
Einsatztemperatur: . . . . . . 0 – 40 °C
Abmessungen: . . . . . . . . . 42 × 29 × 96 mm
Gewicht: . . . . . . . . . . . . . . 110 g
Änderungen vorbehalten.
GNo guarantee claims for the transformer or liability
for any resulting personal damage or material dam-
age will be accepted if the transformer is used for
other purposes than originally intended, if it is not
correctly connected, operated, or not repaired in an
expert way.
3 Mounting
Use the two mounting brackets to screw down the
transformer in the vehicle to ensure that it will not
work loose and turn into a dangerous projectile when
braking.
4 Connection
Always switch off the car HiFi system before making
any connections!
1) Connect the phono jacks OUTPUT (“L” for the left
and “R” for the right channel) via screened audio
cables with phono connectors to the right and left
line inputs of the car HiFi power amplifier.
2) Connect the positive and the negative poles of the
radio speaker outputs to the corresponding screw
terminals INPUT of the transformer.
If the car radio is only provided with a common
negative connection for both speakers, connect the
If the transformer is to be put out of operation
definitively, take it to a local recycling plant
for a disposal which is not harmful to the
environment.
Transformer for
Car HiFi Power Amplifiers
Please read these operating instructions carefully
prior to setting the transformer into operation and keep
them for later use.
1 Applications
The transformer FGA-22HQ serves for connecting the
line inputs of a car HiFi power amplifier to the speaker
outputs of a car radio. The output power of the car
radio must not exceed 20 W, otherwise this will result
in overload of the transformer. With the FGA-22HQ,
the following matching problems will be solved:
1. Reduction of the high output level of the car radio
for the sensitive line inputs of the car HiFi power
amplifier
2. Floating transformation of the car radio outputs
(indispensable in case of bridge connection in the
car radio!) to the unbalanced line inputs of the car
HiFi power amplifier
2 Safety Notes
The transformer corresponds to all relevant directives
of the EU and is therefore marked with .
G
Protect the transformer against humidity and heat
(admissible ambient temperature range 0 °C to 40 °C).
GFor cleaning only use a dry, soft cloth; never use
chemicals or water.
two negative connections of the transformer to the
common negative connection of the car radio.
3) Connect the central screw terminal “G” to the
ground of the vehicle.
4) Use the two controls SIGNAL LEVEL to match the
transformer to the input level of the car HiFi power
amplifier. Set the car radio to maximum non-distort-
ing volume (e. g. 3/4of the maximum volume). Use
a screwdriver to set the controls on the transformer
also to maximum non-distorting volume of the
power amplifier.
5 Specifications
Frequency range: . . . . . . . 20 – 30 000 Hz
Input impedance: . . . . . . . 45 Ω
Output impedance: . . . . . . 30 Ω – 2.8 kΩ
THD: . . . . . . . . . . . . . . . . . < 0.001 %
Max. input power: . . . . . . . 20 WRMS
Ambient temperature: . . . 0 – 40 °C
Dimensions: . . . . . . . . . . . 42 × 29 × 96 mm
Weight: . . . . . . . . . . . . . . . 110 g
Subject to technical modification.
MONACOR INTERNATIONAL GmbH & Co. KG • Zum Falsch 36 • 28307 Bremen • Germany www.carpower.com
Copyright©by MONACOR INTERNATIONAL. All rights reserved. A-0115.99.05.09.2011
®
D A CH
GB
Car Radio Transformer Power Amp
Ground
FGA-22HQ
Speakers
OUTPUT
+
R
INPUT
-
L
LGR
+
-
1 2 3 4 5 6 7 8
TP
Bass
Tre
EJECT CD / RADIO
AM
FM
CD Menu
Transformateur pour
amplificateur voiture
Lisez entièrement la notice avant la mise en fonction
du transformateur et conservez-la pour toute utilisa-
tion ultérieure.
1 Possibilités dʼutilisation
Le transformateur dʼimpédance FGA-22HQ permet de
relier les entrées ligne dʼun amplificateur voiture aux
sorties haut-parleurs dʼun autoradio. La puissance de
sortie de lʼautoradio ne doit pas dépasser 20 W sinon
le transformateur est en surcharge. Avec le FGA-
22HQ, on peut résoudre les problèmes suivants :
1. Réduction dʼun niveau de sortie élevé de lʼauto-
radio pour les entrées ligne sensibles de lʼamplifi-
cateur voiture.
2. Transmission flottante des sorties autoradio (en
mode bridgé dans lʼautoradio, impérativement
nécessaire) sur les entrées ligne asymétriques des
amplificateurs voiture.
2 Conseils dʼutilisation et de sécurité
Le transformateur répond à toutes les directives
nécessaires de lʼUnion européenne et porte donc le
symbole .
GProtégez le transformateur de lʼhumidité et de la
chaleur (plage de température de fonctionnement
autorisée : 0 °C à +40 °C).
SPEAKER OUT / LINE IN
TRANSFORMER
FGA-22HQ
Best.-Nr. 06.6370
GPour le nettoyer, utilisez un chiffon sec et doux, en
aucun cas de produits chimiques ou dʼeau.
GNous déclinons toute responsabilité en cas de dom-
mages corporels ou matériels résultants si le trans-
formateur est utilisé dans un but autre que celui
pour lequel il a été conçu, sʼil nʼest pas correctement
branché, utilisé ou réparé par un technicien habilité ;
de même, la garantie deviendrait caduque.
3 Montage
Vissez le transformateur dans le véhicule via les deux
étriers de montage solidement de telle sorte quʼil ne
se desserre pas et quʼen cas de freinage, il ne se
transforme pas en projectile dangereux.
4 Branchement
Lʼensemble des branchements ne doit être réalisé que
lorsque lʼinstallation audio est débranchée !
1) Reliez les fiches RCA OUTPUT (“L” pour le canal
gauche et “R” pour le canal droit) via les cordons
audio RCA blindés à lʼentrée droite et à lʼentrée
gauche de lʼamplificateur voiture.
2) Reliez les pôles plus et moins des sorties haut-par-
leurs de lʼautoradio aux bornes à vis correspon-
dantes INPUT du transformateur.
Lorsque le transformateur est définitivement
retiré du marché, vous devez le déposer dans
une usine de recyclage de proximité pour
contribuer à son élimination non polluante.
Si sur lʼautoradio, il nʼexiste quʼune seule borne
moins commune pour les deux haut-parleurs,
reliez les deux bornes moins du transformateur à la
borne moins commune de lʼautoradio.
3) Reliez la borne du milieu “G” à la masse du véhi-
cule.
4) Avec les deux réglages SIGNAL LEVEL, on peut
adapter le transformateur au niveau dʼentrée de
lʼamplificateur voiture. Réglez lʼautoradio sur un
volume maximal, non distordant (par exemple 3/4
du maximum). Sur le transformateur, réglez les
réglages à lʼaide dʼun tournevis également sur un
volume maximal, non distordant de lʼamplificateur.
5 Caractéristiques techniques
Bande passante : . . . . . . . 20 – 30 000 Hz
Impédance dʼentrée : . . . . 45 Ω
Impédance de sortie : . . . . 30 Ω – 2,8 kΩ
Taux de distorsion : . . . . . . < 0,001 %
Puissance entrée max. : . . 20 WRMS
Température fonc. : . . . . . . 0 – 40 °C
Dimensions : . . . . . . . . . . . 42 × 29 × 96 mm
Poids : . . . . . . . . . . . . . . . . 110 g
Tout droit de modification réservé.
GNel caso dʼuso improprio, di collegamenti sbagliati,
dʼimpiego scorretto o di riparazione non a regola
dʼarte del trasformatore cessa ogni diritto di garan-
zia e non si assume nessuna responsabilità per
eventuali danni conseguenti a persone o a cose.
3 Montaggio
Avvitare bene il trasformatore nellʼautovettura serven-
dosi delle due staffe di montaggio facendo ben atten-
zione che non si possa staccare diventando un proiet-
tile pericoloso in caso di brusca frenata.
4 Collegamenti
Tutti i collegamenti devono essere eseguiti solo con
lʼimpianto car-hifi spento!
1) Collegare le prese RCA OUTPUT (“L” per il canale
sinistro e “R” per il canale destro) con gli ingressi
Line destro e sinistro dello stadio finale car-hifi, ser-
vendosi di cavi audio RCA schermati.
2) Collegare i poli positivo e negativo delle uscite per
altoparlanti dellʼautoradio con i relativi contatti a
vite INPUT del trasformatore.
Se lʼautoradio dispone solo di un contatto nega-
tivo comune ai due altoparlanti, occorre collegare i
Se si desidera eliminare il trasformatore defi-
nitivamente, consegnarlo per lo smaltimento
ad unʼistituzione locale per il riciclaggio.
Trasformatore di
stadi finali per car-hifi
Vi preghiamo di leggere attentamente le presenti istru-
zioni prima della messa in funzione e conservatele per
un uso futuro.
1 Possibilità dʼimpiego
Il trasformatore FGA-22HQ serve per collegare gli
ingressi Line di uno stadio finale per car-hifi con le
uscite per altoparlanti di unʼautoradio. La potenza dʼu-
scita dellʼautoradio non deve superare i 20 W per non
sovraccaricare il trasformatore. Con il FGA-22HQ si
risolvano i seguenti problemi di adattamento:
1. riduzione dellʼalto livello dʼuscita dellʼautoradio per i
sensibili ingressi Line dello stadio finale per car-hifi
2. trasformazione senza massa delle uscite autoradio
(assolutamente necessario nel caso di un collega-
mento a ponte nellʼautoradio!) per gli ingressi asim-
metrici Line dello stadio finale per car-hifi.
2 Avvertenze di sicurezza
Il trasformatore è conforme a tutte le direttive rilevanti
dellʼUE e pertanto porta la sigla .
GProteggere il trasformatore dallʼumidità dellʼaria e
dal calore (temperatura dʼimpiego ammessa fra
0 e 40 °C).
GPer la pulizia usare solo un panno morbido, asciut-
to; non impiegare in nessun caso prodotti chimici o
acqua.
due contatti negativi del trasformatore con il nega-
tivo comune dellʼautoradio.
3) Collegare il contatti centrali a vite “G” con la massa
dellʼautovettura.
4) Con i due regolatori SIGNAL LEVEL, il trasforma-
tore può essere adattato al livello dʼingresso dello
stadio finale car-hifi. Impostare sullʼautoradio il
volume massimo, senza distorsioni (p. es. 3/4del
massimo). Impostare anche i regolatori del trasfor-
matore sul massimo di volume dello stadio finale,
senza distorsioni, servendosi di un cacciavite.
5 Dati tecnici
Gamma di frequenze: . . . . 20 – 30 000 Hz
Impedenza dʼingresso: . . . 45 Ω
Impedenza dʼuscita: . . . . . 30 Ω – 2,8 kΩ
Fattore di distorsione: . . . . < 0,001 %
Potenza max. dʼingresso: . 20 WRMS
Temperatura dʼesercizio: . . 0 – 40 °C
Dimensioni: . . . . . . . . . . . . 42 × 29 × 96 mm
Peso: . . . . . . . . . . . . . . . . . 110 g
Con riserva di modifiche tecniche.
MONACOR INTERNATIONAL GmbH & Co. KG • Zum Falsch 36 • 28307 Bremen • Germany www.carpower.com
Copyright©by MONACOR INTERNATIONAL. All rights reserved. A-0115.99.05.09.2011
®
F B CH
I
Car Radio Transformer Power Amp
Ground
FGA-22HQ
Speakers
OUTPUT
+
R
INPUT
-
L
LGR
+
-
1 2 3 4 5 6 7 8
TP
Bass
Tre
EJECT CD / RADIO
AM
FM
CD Menu

This manual suits for next models

1

Other Monacor Automobile Accessories manuals

Monacor Carpower CAP-10T User manual

Monacor

Monacor Carpower CAP-10T User manual

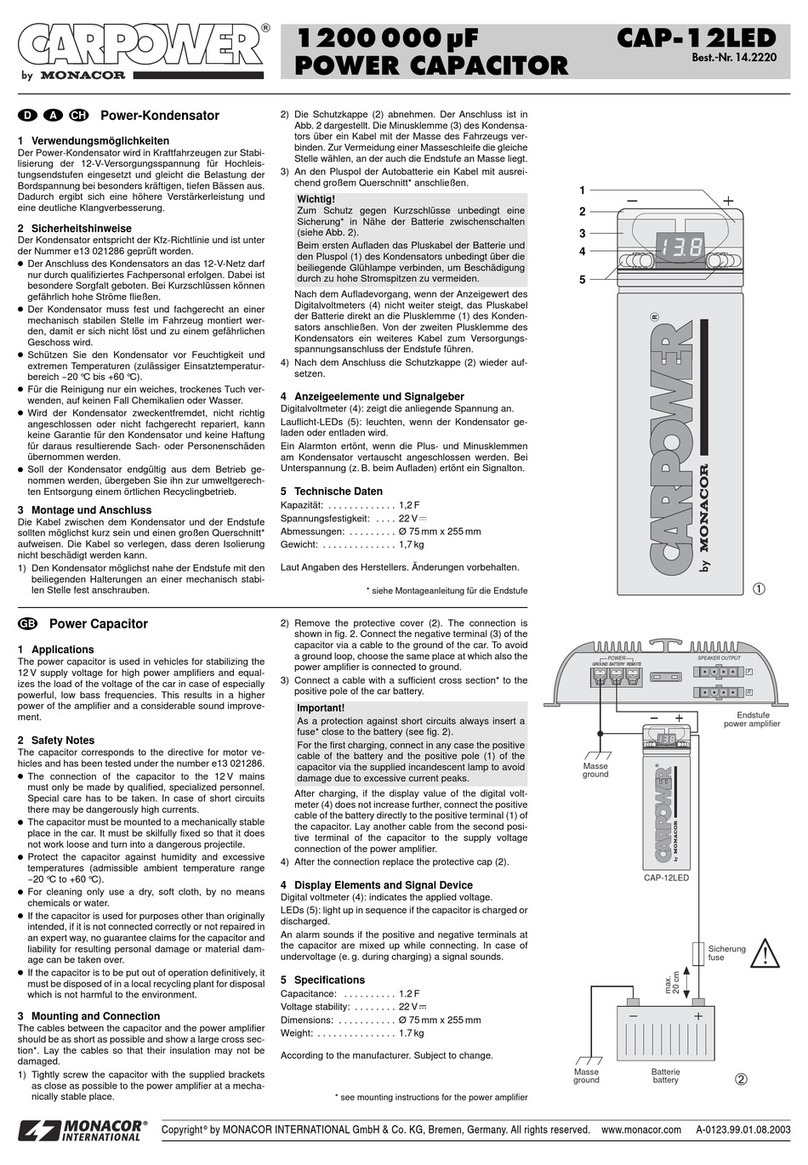
Monacor CARPOWER CAP-12LED User manual

Monacor

Monacor CARPOWER CAP-12LED User manual

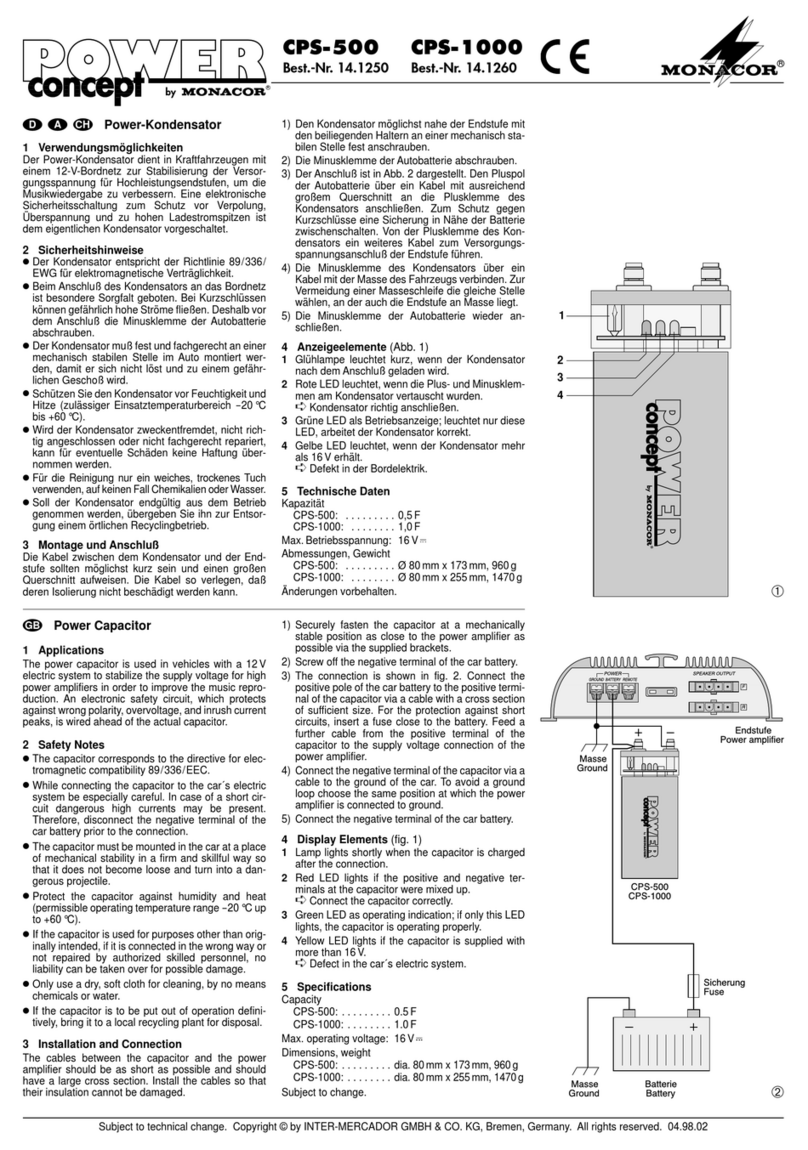
Monacor Power Concept CPS-500 User manual

Monacor

Monacor Power Concept CPS-500 User manual

Monacor Carpower HPB-450 User manual

Monacor

Monacor Carpower HPB-450 User manual

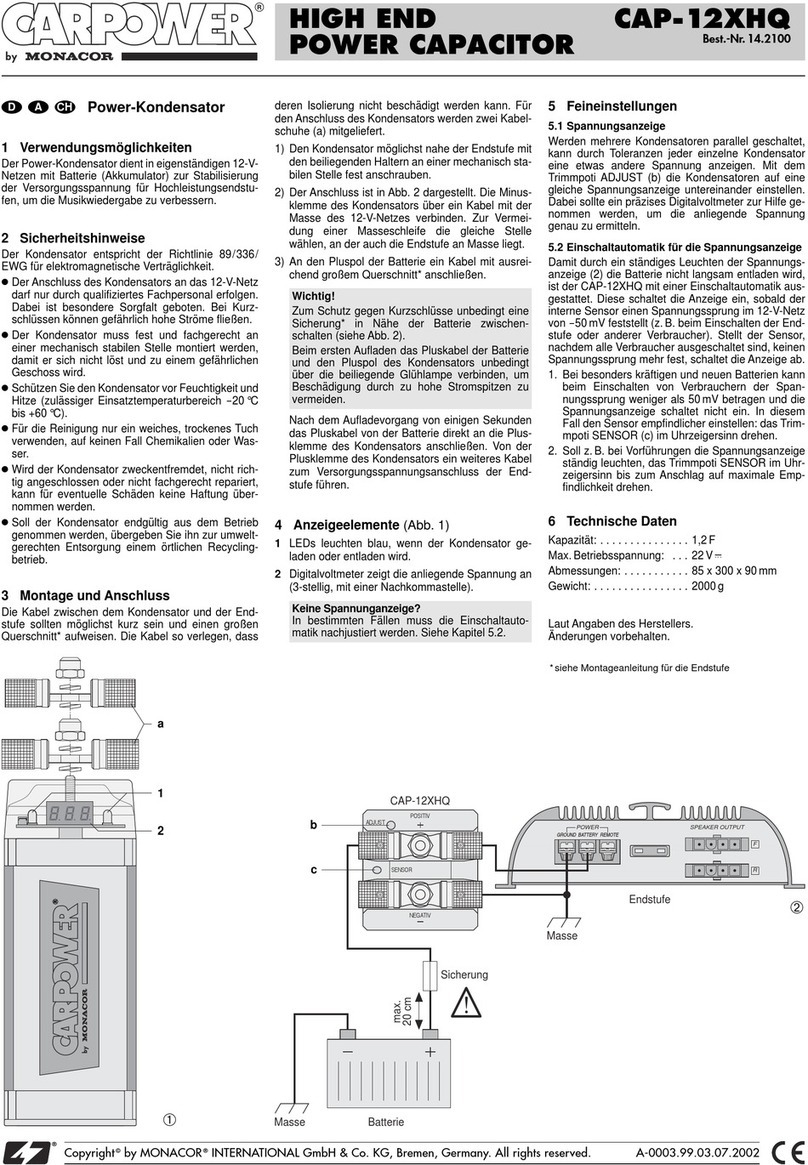
Monacor CARPOWER CAP-12XHQ User manual

Monacor

Monacor CARPOWER CAP-12XHQ User manual

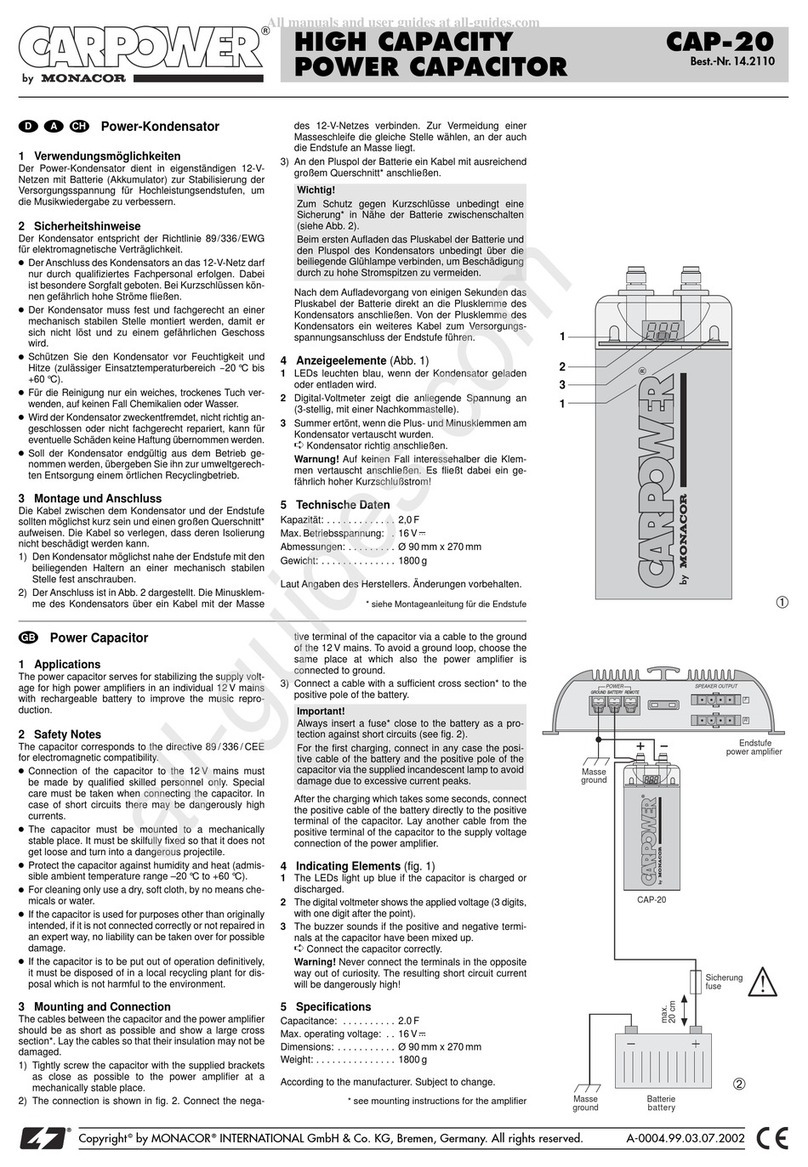
Monacor Carpower CAP-20 User manual

Monacor

Monacor Carpower CAP-20 User manual

Monacor Carpower ENF-30 User manual

Monacor

Monacor Carpower ENF-30 User manual

Monacor CARPOWER 14.2110 User manual

Monacor

Monacor CARPOWER 14.2110 User manual

Monacor CARPOWER CAP-20HEX User manual

Monacor

Monacor CARPOWER CAP-20HEX User manual

Popular Automobile Accessories manuals by other brands

NavLinkz RL2-CONCERT manual

NavLinkz

NavLinkz RL2-CONCERT manual

Nokia CK-200 User and installation guide

Nokia

Nokia CK-200 User and installation guide

VBG Onspot Mounting instruction/Spare Parts List

VBG

VBG Onspot Mounting instruction/Spare Parts List

Westin E Series installation instructions

Westin

Westin E Series installation instructions

Subaru starlink quick guide

Subaru

Subaru starlink quick guide

Hamron 619-029 User instructions

Hamron

Hamron 619-029 User instructions

Paser UNICOM CF0012UNPI21 installation manual

Paser

Paser UNICOM CF0012UNPI21 installation manual

Prorack K1208 quick start guide

Prorack

Prorack K1208 quick start guide

STL G-A6X4 instruction manual

STL

STL G-A6X4 instruction manual

Front Runner FAJK002 Start here

Front Runner

Front Runner FAJK002 Start here

Jeneer Auto Bump instruction manual

Jeneer

Jeneer Auto Bump instruction manual

bosal 032034 FITTING INSTRUCTION

bosal

bosal 032034 FITTING INSTRUCTION

Kolpin 93450 installation instructions

Kolpin

Kolpin 93450 installation instructions

Kaon KS0694 Fitting instructions

Kaon

Kaon KS0694 Fitting instructions

Virtual Reality Hands-Free Car Kit VRBT300V product manual

Virtual Reality

Virtual Reality Hands-Free Car Kit VRBT300V product manual

Havis-Shields P-MFK-9 installation instructions

Havis-Shields

Havis-Shields P-MFK-9 installation instructions

Parrot Parrot MKi + ParrotCK3100 range LOGAN installation manual

Parrot

Parrot Parrot MKi + ParrotCK3100 range LOGAN installation manual

Yakima HoldUp manual

Yakima

Yakima HoldUp manual

manuals.online logo
manuals.online logoBrands
  • About & Mission
  • Contact us
  • Privacy Policy
  • Terms and Conditions

Copyright 2025 Manuals.Online. All Rights Reserved.