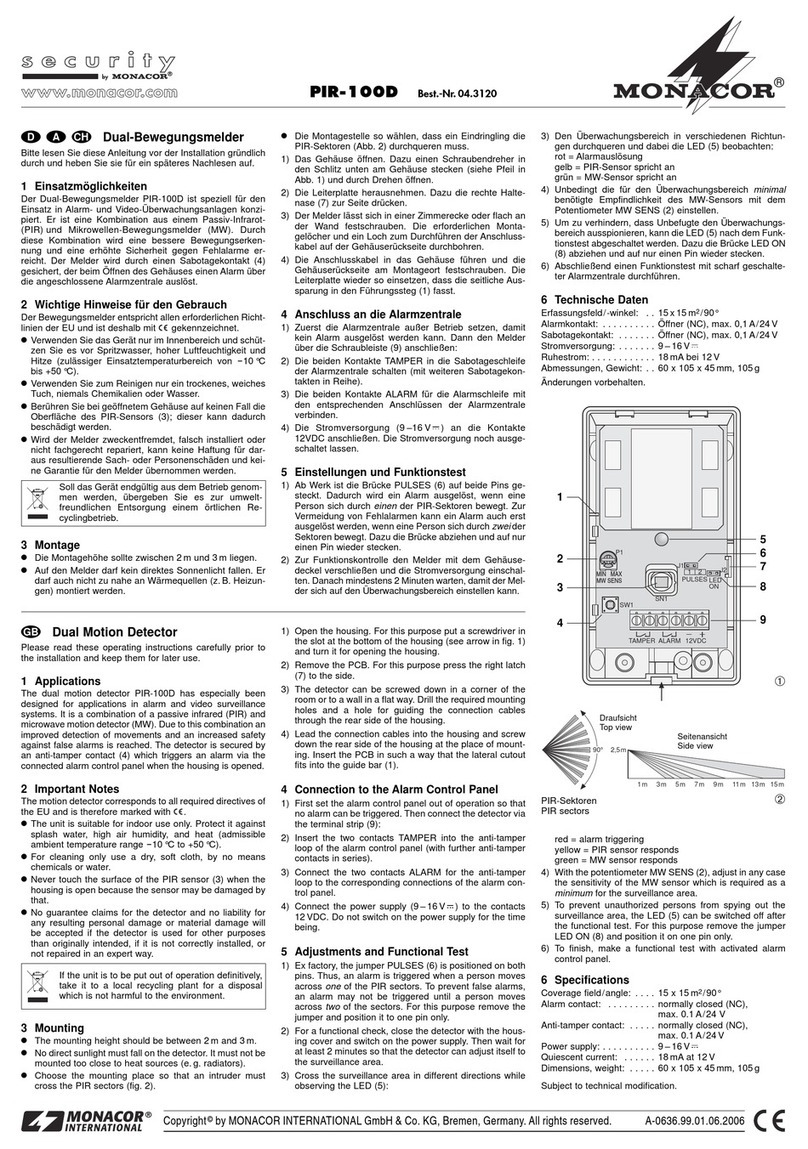
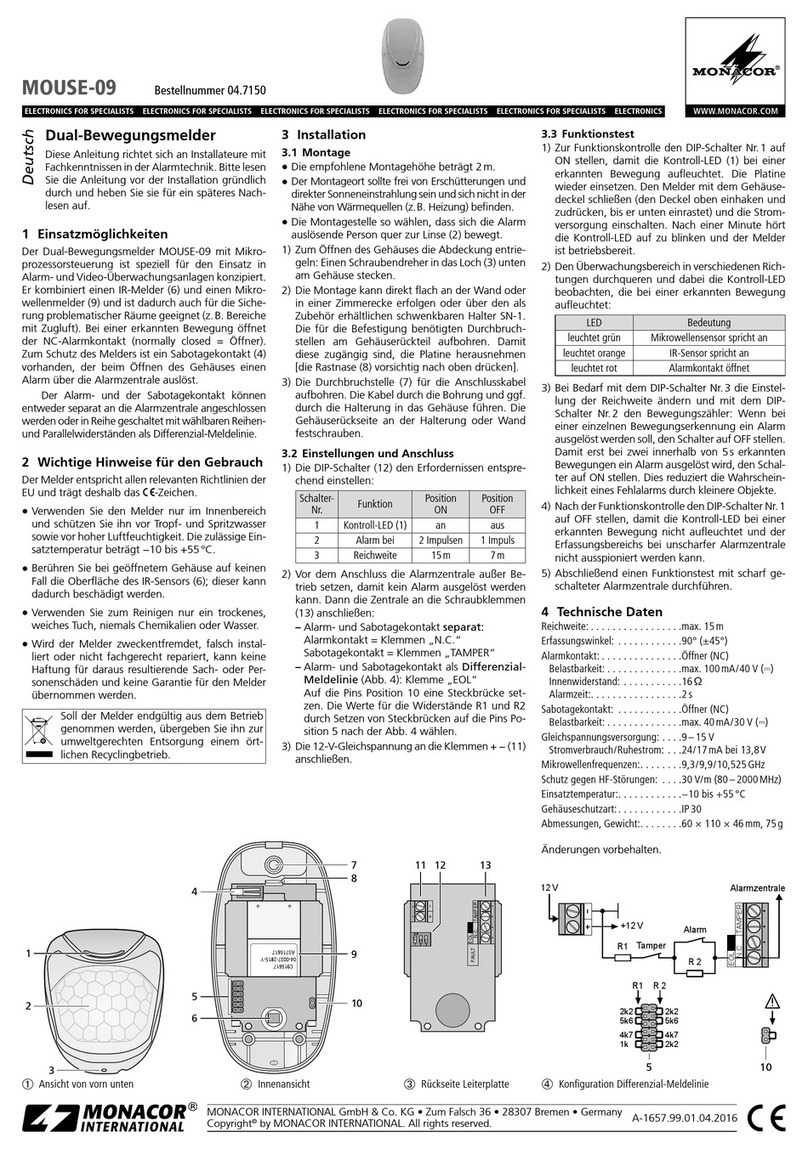
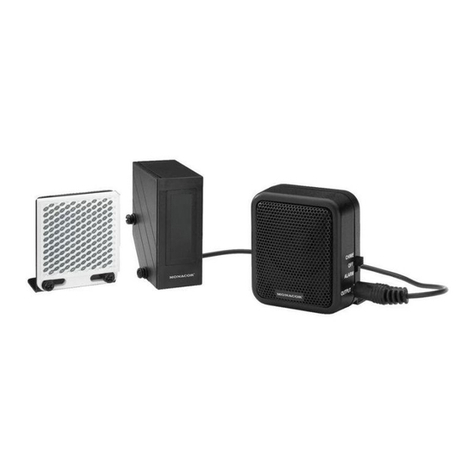
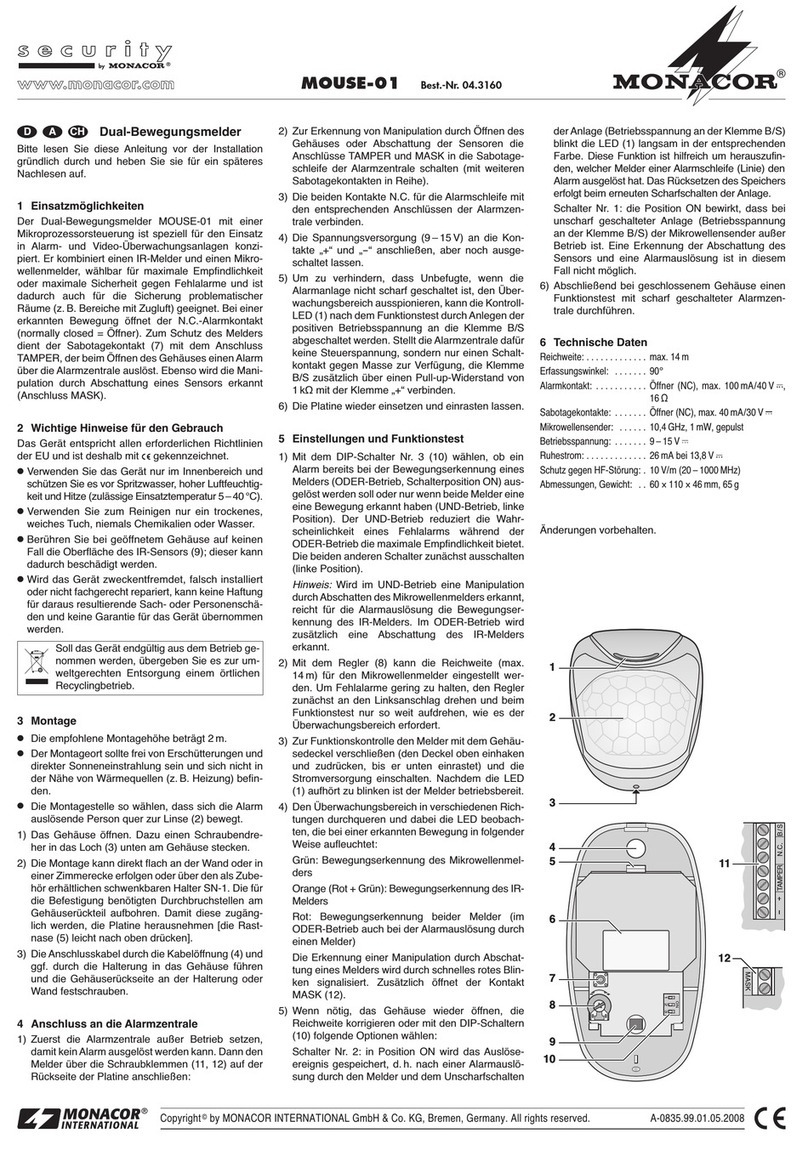
PIR-Bewegungsmelder
Bitte lesen Sie diese Anleitung vor der Installation gründlich
durch und heben Sie sie für ein späteres Nachlesen auf.
1 Einsatzmöglichkeiten
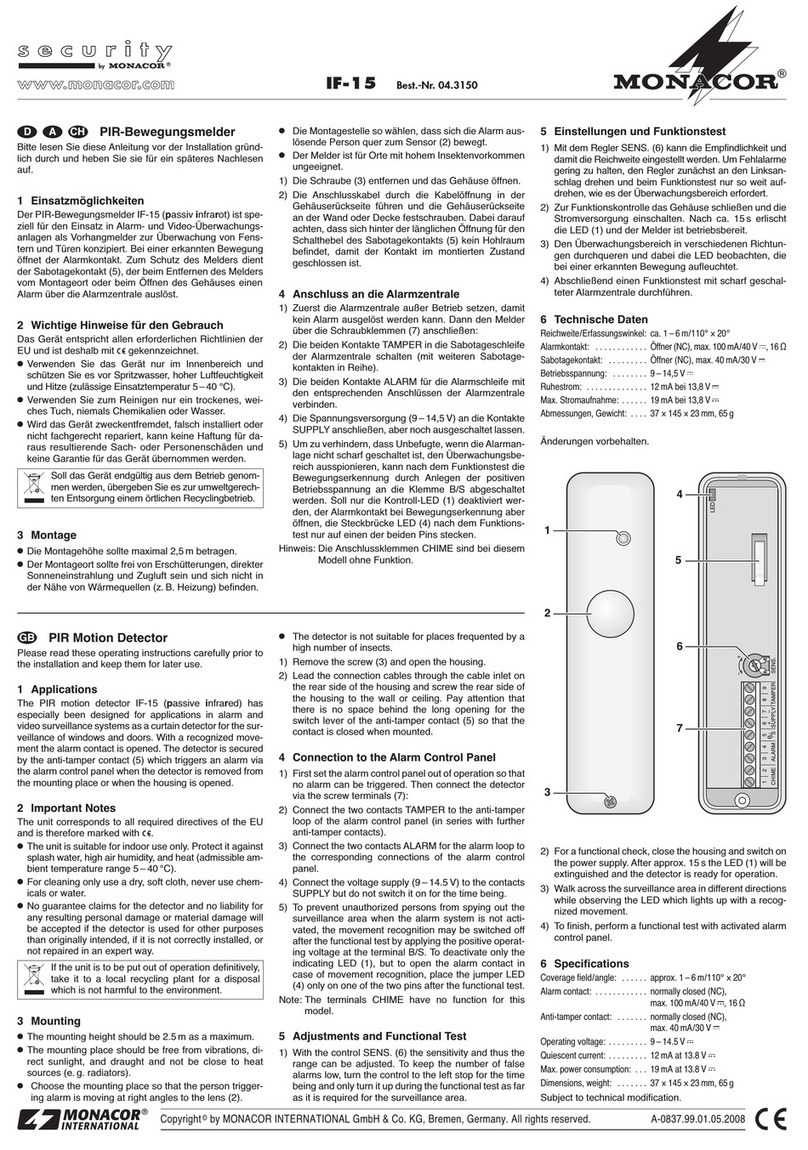
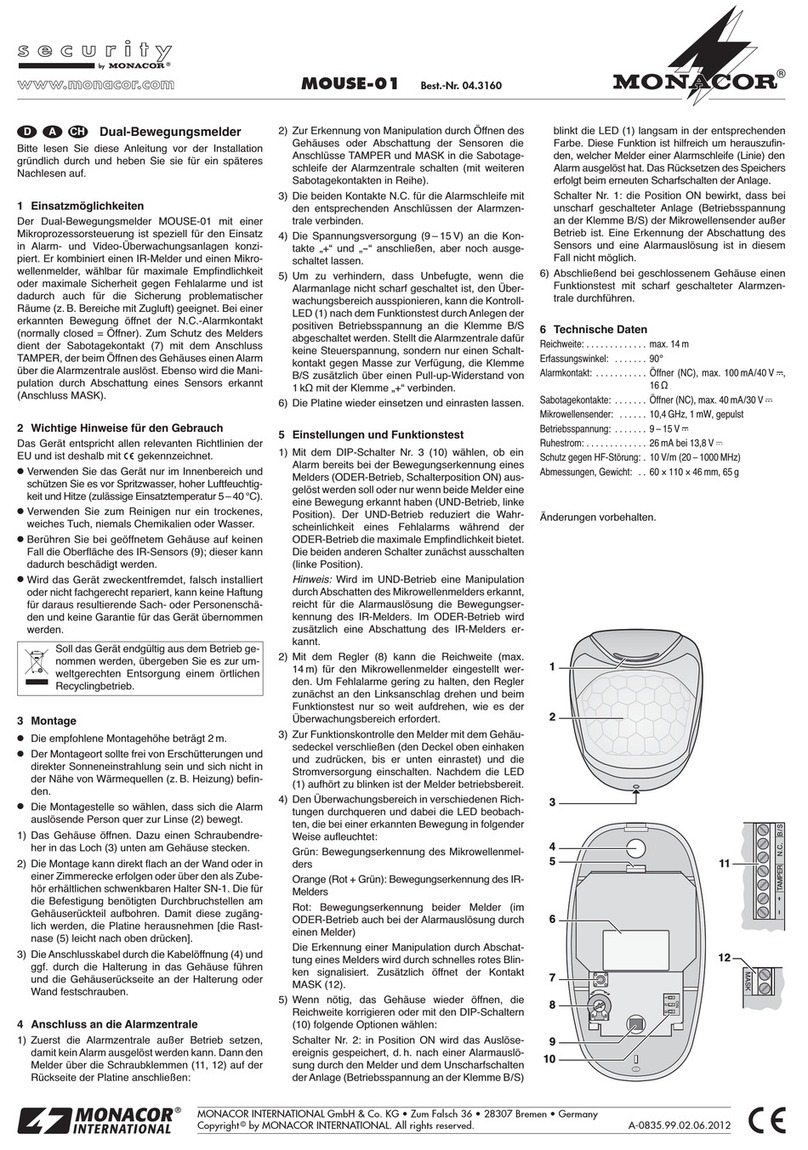
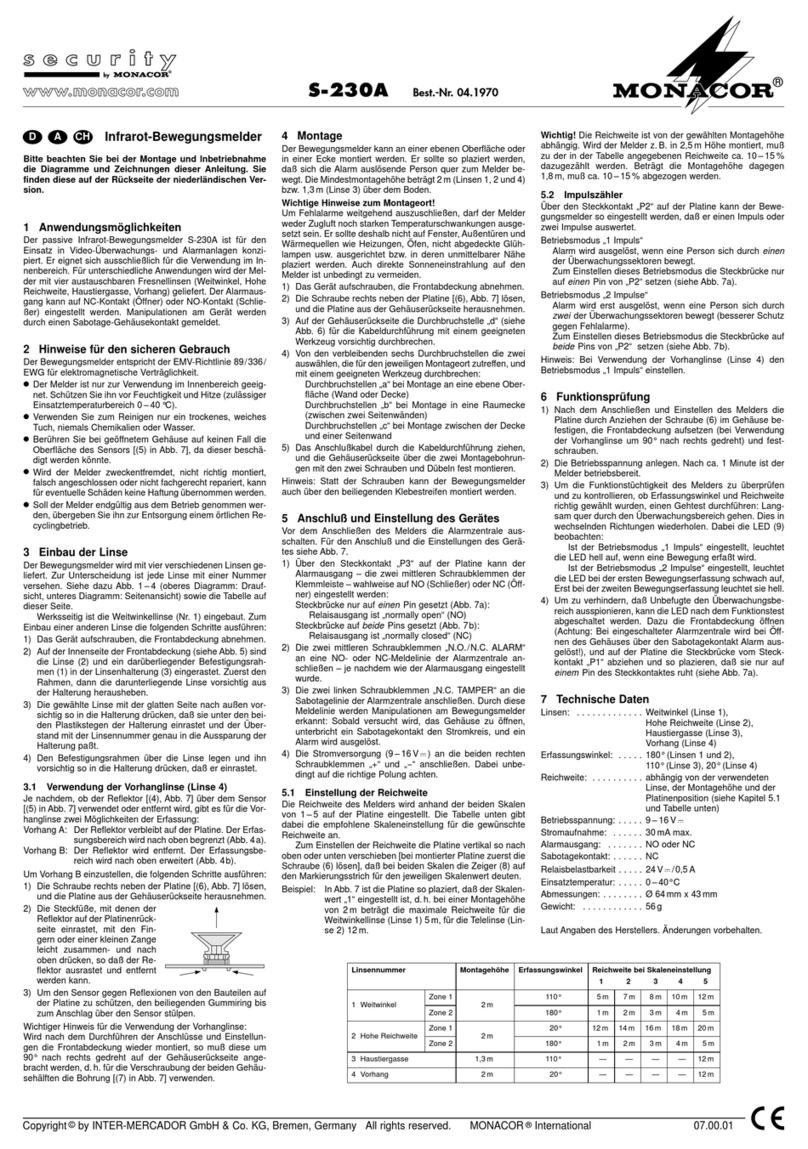
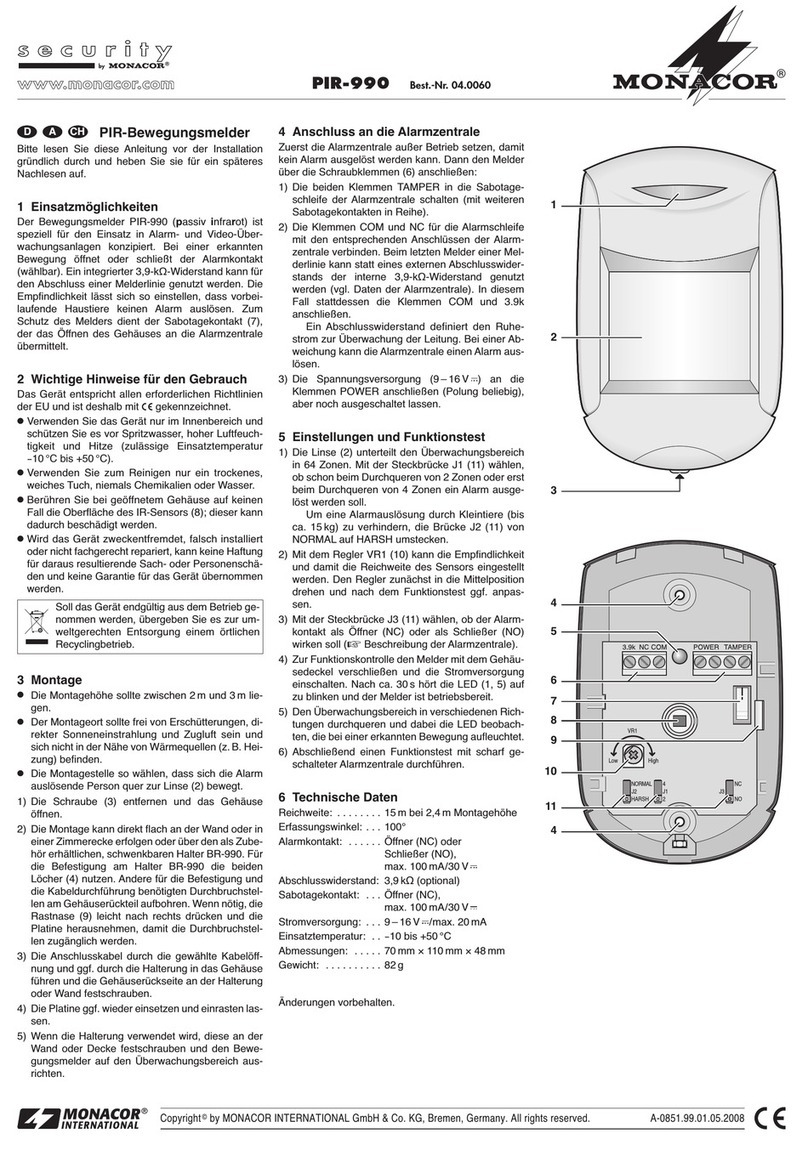
Der PIR-Bewegungsmelder SMILE-16 (passiv infrarot) mit
einer Mikroprozessorsteuerung ist speziell fur den Einsatz in
Alarm- und Video-Überwachungsanlagen konzipiert. Bei einer
erkannten Bewegung öffnet der N.C.-Alarmkontakt (normally
closed = Öffner) für 4 s. Zum Schutz des Melders dient der
Sabotagekontakt (8), der beim Öffnen des Gehäuses einen
Alarm uber die Alarmzentrale auslöst.
2 Wichtige Hinweise für den Gebrauch
Das Gerät entspricht allen erforderlichen Richtlinien der EU und
ist deshalb mit gekennzeichnet.
GVerwenden Sie das Gerät nur im Innenbereich und schutzen
Sie es vor Spritzwasser, hoher Luftfeuchtigkeit und Hitze (zu-
lässige Einsatztemperatur 5 – 40 °C).
GVerwenden Sie zum Reinigen nur ein trockenes, weiches
Tuch, niemals Chemikalien oder Wasser.
GBeruhren Sie bei geöffnetem Gehäuse auf keinen Fall die
Oberfläche des IR-Sensors (10); dieser kann dadurch be-
schädigt werden.
GWird das Gerät zweckentfremdet, falsch installiert oder nicht
fachgerecht repariert, kann keine Haftung fur daraus resul-
tierende Sach- oder Personenschäden und keine Garantie
fur das Gerät ubernommen werden.
3 Montage
GDie Montagehöhe sollte zwischen 2 m und 3 m liegen.
GDer Montageort sollte frei von Erschütterungen, direkter Son-
neneinstrahlung und Zugluft sein und sich nicht in der Nähe
von Wärmequellen (z. B. Heizung) befinden.
GDie Montagestelle so wählen, dass sich die Alarm auslö-
sende Person quer zur Linse (2) bewegt.
Soll das Gerät endgültig aus dem Betrieb genommen
werden, übergeben Sie es zur umweltgerechten Ent-
sorgung einem örtlichen Recyclingbetrieb.
1) Das Gehäuse öffnen. Dazu einen Schraubendreher in das
Loch (3) unten am Gehäuse stecken.
2) Die Montage kann direkt flach an der Wand oder in einer
Zimmerecke erfolgen oder über den als Zubehör erhältli-
chen schwenkbaren Halter SN-1. Die für die Befestigung
benötigten Durchbruchstellen am Gehäuserückteil aufboh-
ren. Damit diese zugänglich werden, die Platine heraus-
nehmen [die Rastnase (5) leicht nach oben drücken].
3) Die Anschlusskabel durch die Kabelöffnung (4) und ggf.
durch die Halterung in das Gehäuse fuhren und die Gehäu-
seruckseite an der Halterung oder Wand festschrauben.
4) Die Platine wieder einsetzen und einrasten lassen.
4 Anschluss an die Alarmzentrale
1) Zuerst die Alarmzentrale außer Betrieb setzen, damit kein
Alarm ausgelöst werden kann. Dann den Melder uber die
Schraubklemmen (6) anschließen:
2) Die beiden Kontakte TAMPER in die Sabotageschleife der
Alarmzentrale schalten (mit weiteren Sabotagekontakten in
Reihe).
3) Die beiden Kontakte N.C. fur die Alarmschleife mit den ent-
sprechenden Anschlussen der Alarmzentrale verbinden.
4) Die Spannungsversorgung (9 – 15V) an die Kontakte SUP-
PLY anschließen, aber noch ausgeschaltet lassen.
5) Um zu verhindern, dass Unbefugte, wenn die Alarmanlage
nicht scharf geschaltet ist, den Überwachungsbereich aus-
spionieren, kann die Kontroll-LED (1) nach dem Funktions-
test durch Anlegen der positiven Betriebsspannung an die
Klemme B/S abgeschaltet werden. Stellt die Alarmzentrale
dafür keine Steuerspannung, sondern nur einen Schalt-
kontakt gegen Masse zur Verfügung, die Klemme B/S
zusätzlich über einen Pull-up-Widerstand von 1 kΩ mit der
Klemme SUPPLY+ verbinden.
5 Einstellungen und Funktionstest
1) Die Steckbrucke JP1 (7) nur auf einen der beiden Pins ste-
cken, wenn bei einer einzelnen Bewegungserkennung ein
Alarm ausgelöst werden soll. Damit erst bei zwei innerhalb
von 5 s erkannten Bewegungen ein Alarm ausgelöst wird,
die Brücke auf beide Pins stecken. Dies reduziert die Wahr-
scheinlichkeit eines Fehlalarms durch kleinere Objekte.
SMILE-16 Best.-Nr. 04.3180
D A CH 2) Mit dem Regler COVERAGE (9) kann die Empfindlichkeit
und damit die Reichweite (3 – 18 m) eingestellt werden.
Den Regler zunächst in die Mittelposition drehen und nach
dem Funktionstest ggf. anpassen.
3) Zur Funktionskontrolle den Melder mit dem Gehäusede-
ckel verschließen (den Deckel oben einhaken und zudrü-
cken, bis er unten einrastet) und die Stromversorgung ein-
schalten. Nach ca. 40 s hört die LED (1) auf zu blinken und
der Melder ist betriebsbereit.
4) Den Überwachungsbereich in verschiedenen Richtungen
durchqueren und dabei die LED beobachten, die bei einer
erkannten Bewegung aufleuchtet.
5) Abschließend einen Funktionstest mit scharf geschalteter
Alarmzentrale durchfuhren.
6 Technische Daten
Reichweite/Erfassungswinkel: . 3 – 18 m/90°
Alarmkontakt: . . . . . . . . . . . . . . Öffner (NC), max. 100 mA/40 V , 16
Ω
Sabotagekontakt: . . . . . . . . . . . Öffner (NC), max. 40 mA/30 V
Betriebsspannung: . . . . . . . . . . 9 – 15 V
Ruhestrom: . . . . . . . . . . . . . . . . 10 mA bei 13,8 V
Schutz gegen HF-Störung: . . . . 10 V/m (20 – 1000 MHz)
Abmessungen, Gewicht: . . . . . . 60 × 110 × 46 mm, 65 g
Änderungen vorbehalten.
After approx. 40 s the LED (1) stops blinking and the detec-
tor is ready for operation.
4) Walk across the surveillance area in different directions
while observing the LED which lights up with a recognized
movement.
5) To finish, perform a functional test with activated alarm con-
trol panel.
6 Specifications
Coverage field/angle: . . . . . . . . 3 – 18 m/90°
Alarm contact: . . . . . . . . . . . . . . normally closed (NC),
max. 100 mA/40 V , 16
Ω
Anti-tamper contact: . . . . . . . . . normally closed (NC), max. 40 mA/30 V
Operating voltage: . . . . . . . . . . . 9 – 15 V
Quiescent current: . . . . . . . . . . . 10 mA at 13.8 V
Protection against
RF interference: . . . . . . . . . . . . 10 V/m (20 – 1000 MHz)
Dimensions, weight: . . . . . . . . . 60 × 110 × 46 mm, 65 g
Subject to technical modification.
PIR Motion Detector
Please read these operating instructions carefully prior to the
installation and keep them for later use.
1 Applications
The PIR motion detector SMILE-16 (passive infrared) with a
microprocessor control has especially been designed for appli-
cations in alarm and video surveillance systems. With a recog-
nized movement the NC alarm contact (normally closed) is
opened for 4 s. The detector is secured by the anti-tamper con-
tact (8) which triggers an alarm via the alarm control panel
when the housing is opened.
2 Important Notes
The unit corresponds to all required directives of the EU and is
therefore marked with .
GThe unit is suitable for indoor use only. Protect it against
splash water, high air humidity, and heat (admissible ambient
temperature range 5 – 40 °C).
GFor cleaning only use a dry, soft cloth, never use chemicals
or water.
GNever touch the surface of the PIR sensor (10) when the
housing is open because this may damage the sensor.
GNo guarantee claims for the detector and no liability for any
resulting personal damage or material damage will be ac-
cepted if the detector is used for other purposes than origi-
nally intended, if it is not correctly installed, or not repaired in
an expert way.
3 Mounting
GThe mounting height should be between 2 m and 3 m.
GThe mounting place should be free from vibrations, direct
sunlight, and draught and not be close to heat sources (e. g.
radiators).
GChoose the mounting place so that the person triggering
alarm is moving at right angles to the lens (2).
1) Open the housing. For this purpose put a screwdriver in the
hole (3) at the bottom of the housing.
If the unit is to be put out of operation definitively, take
it to a local recycling plant for a disposal which is not
harmful to the environment.
2) The unit can directly be mounted flat to the wall or in a cor-
ner of the room or via the movable support SN-1 available
as an accessory. Drill open the punched break-through
slots which are required for fixing at the rear part of the
housing. To make them accessible, remove the PCB
[slightly press the latch (5) upwards].
3) Lead the connection cables through the cable inlet (4) and,
if required, through the support into the housing and screw
the rear side of the housing to the support or wall.
4) Reinsert the PCB and have it lock into place.
4 Connection to the Alarm Control Panel
1) First set the alarm control panel out of operation so that no
alarm can be triggered. Then connect the detector via the
screw terminals (6):
2) Connect the two contacts TAMPER to the anti-tamper loop
of the alarm control panel (in series with further anti-tamper
contacts).
3) Connect the two contacts N.C. for the alarm loop to the cor-
responding connections of the alarm control panel.
4) Connect the voltage supply (9 – 15 V) to the contacts SUP-
PLY but do not switch it on for the time being.
5) To prevent unauthorized persons from spying out the sur-
veillance area when the alarm system is not activated, the
indicating LED (1) may be switched off after the functional
test by applying the positive operating voltage at the termi-
nal B/S. If the alarm control panel does not provide a con-
trol voltage for it but only a switching contact against
ground, connect the terminal B/S additionally via a pull-up
resistor of 1 kΩ to the terminal SUPPLY+.
5 Adjustments and Functional Test
1) Place the jumper JP1 (7) only on one of the two pins for trig-
gering an alarm in case a single movement is recognized.
To prevent alarm triggering until two movements are recog-
nized within 5 s, place the jumper on both pins. This
reduces the probability of a false alarm by smaller objects.
2) With the control COVERAGE (9) the sensitivity and thus
the range (3 – 18 m) can be adjusted. Turn the control to
mid-position for the time being and adapt it after the func-
tional test, if required.
3) For a functional check, close the detector with the housing
cover (hook in the cover at the top and press until it locks
into place at the bottom) and switch on the power supply.
GB
®
1
2
3
4
5
6
7
8
9
10
1
2
3
4
5
6
7
8
9
10
MONACOR INTERNATIONAL GmbH & Co. KG • Zum Falsch 36 • 28307 Bremen • Germany
Copyright©by MONACOR INTERNATIONAL. All rights reserved. A-0836.99.02.01.2012
®
D A CH
